NORFOLK’S TUNNELS & VIADUCTS

We recommend viewing this page on a desktop pc-laptop or tablet for a better viewing experience.
Please click the links below to go to the corresponding section of this webpage.
Part one: Norfolk’s Tunnels
Cromer Tunnel

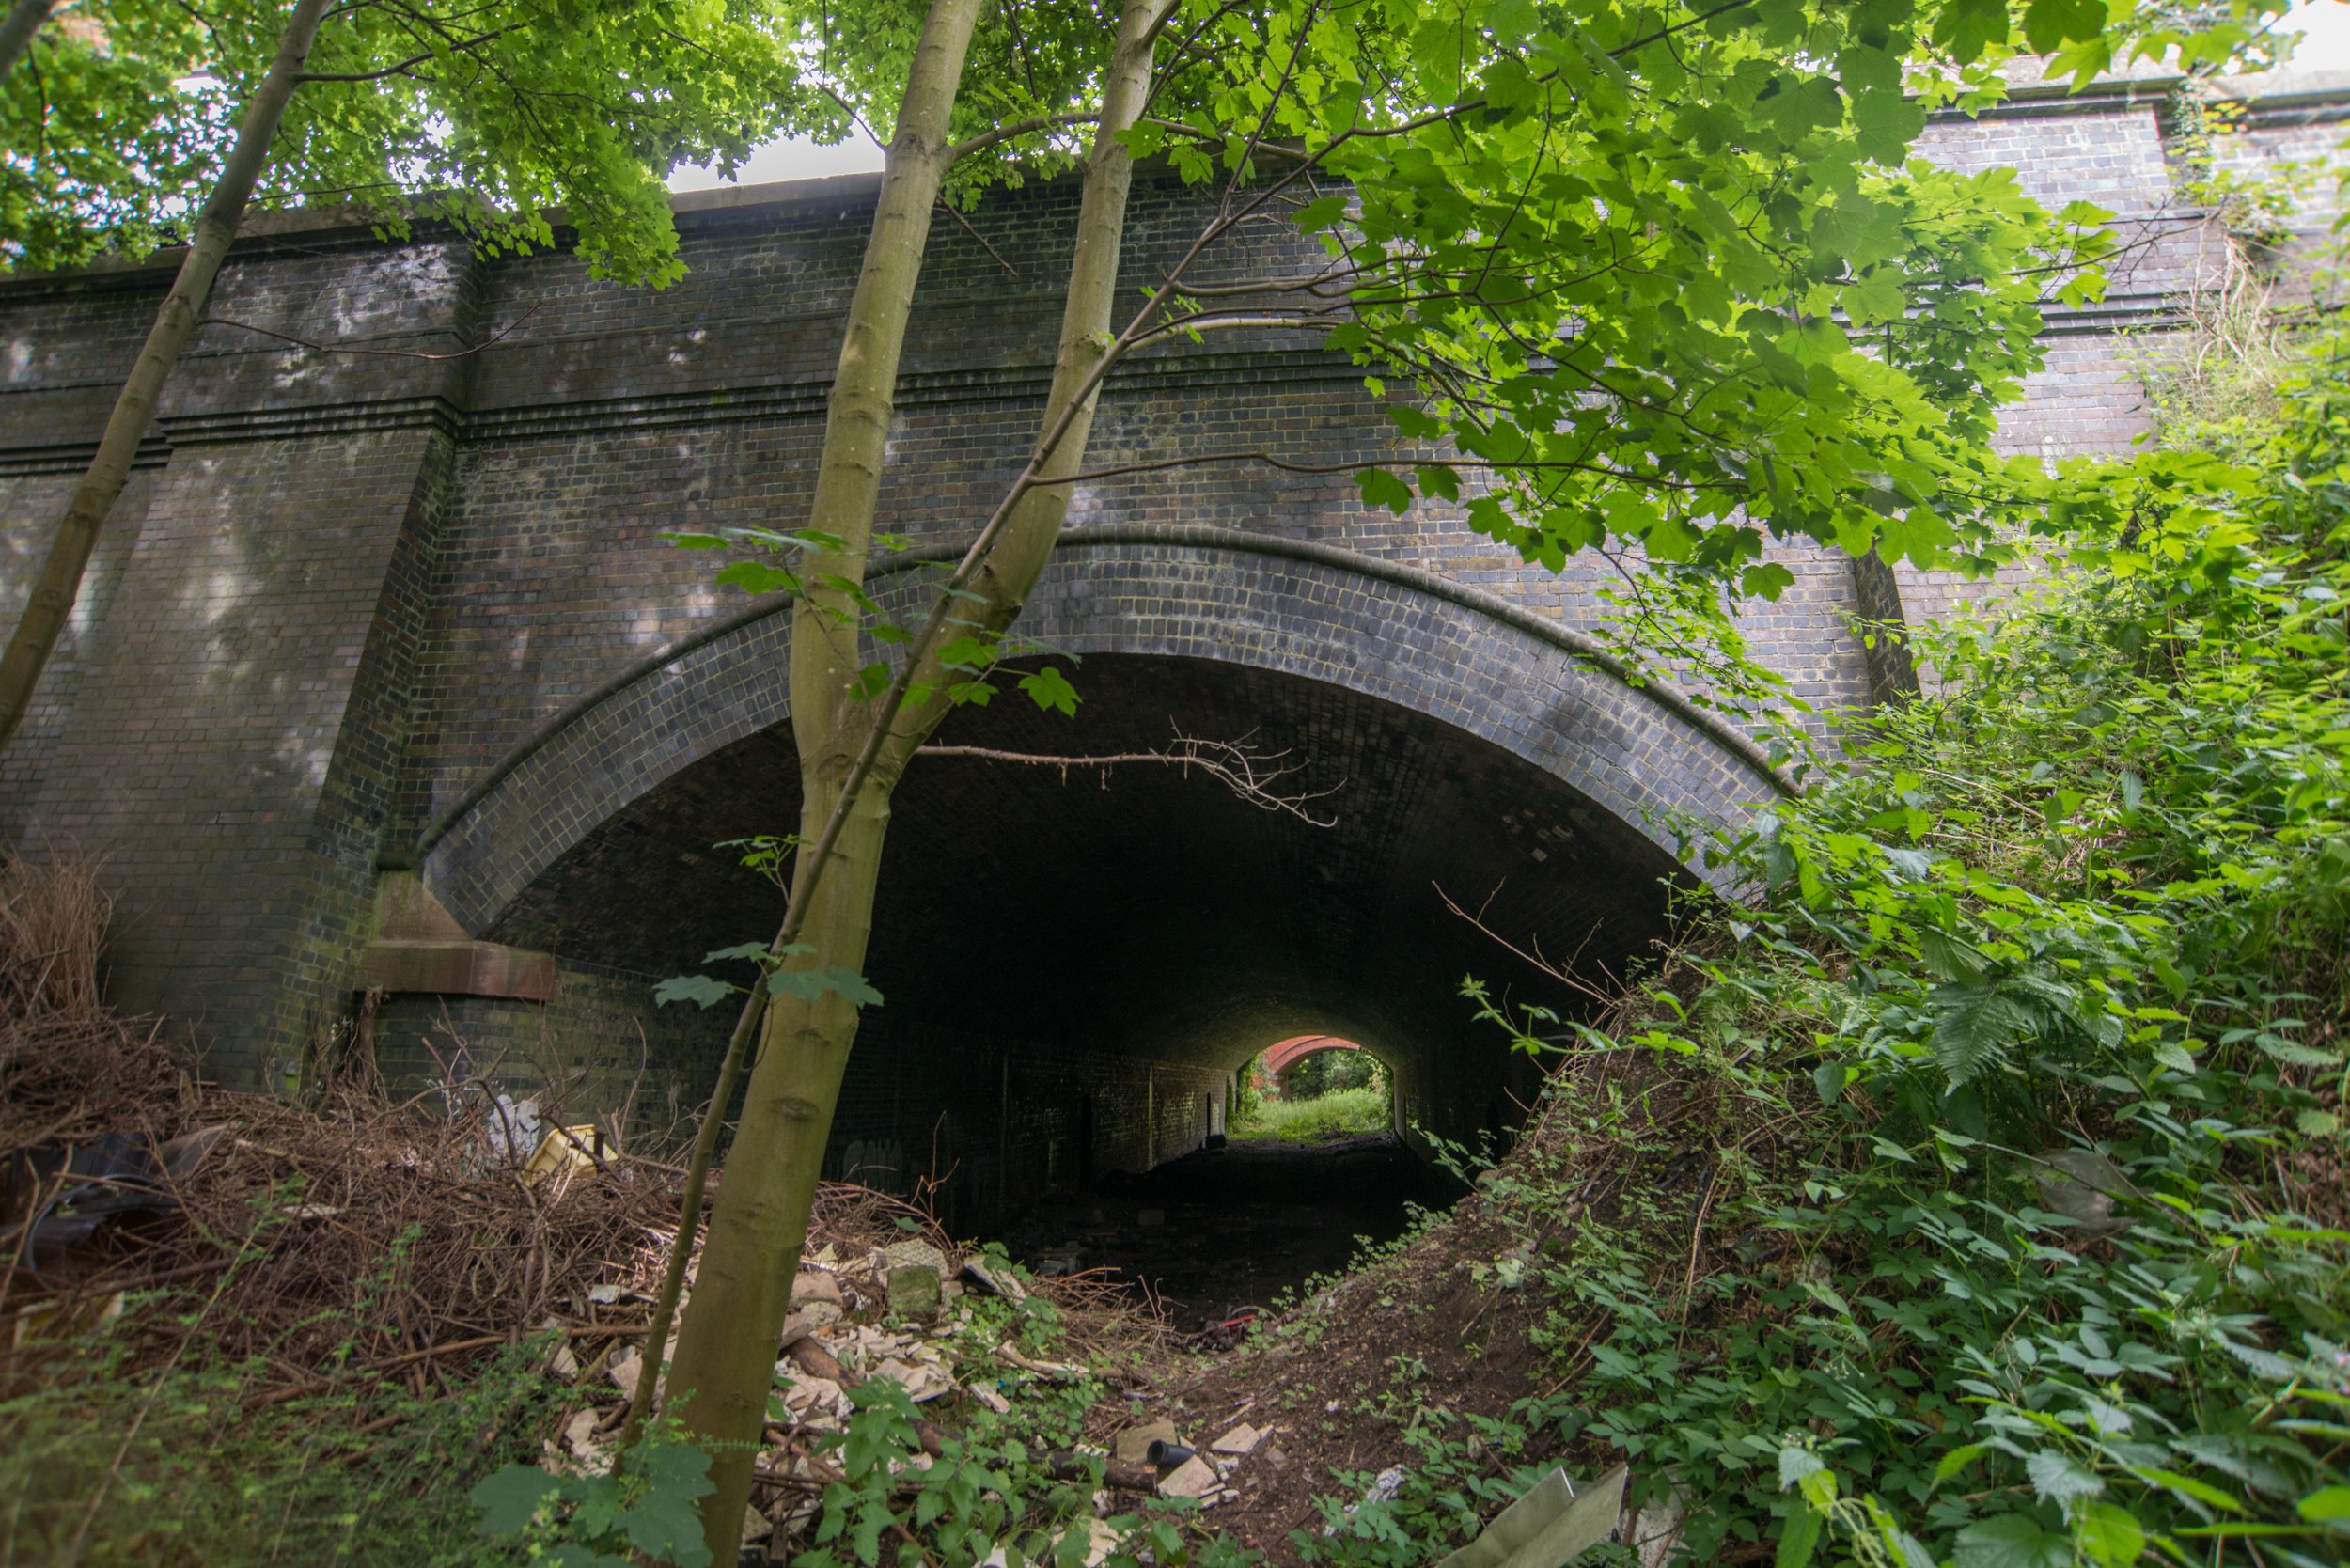
Cromer Tunnel was built by the Norfolk and Suffolk Joint Railway to take their Cromer Beach to Mundesley line under the Great Eastern's Cromer High to Norwich line
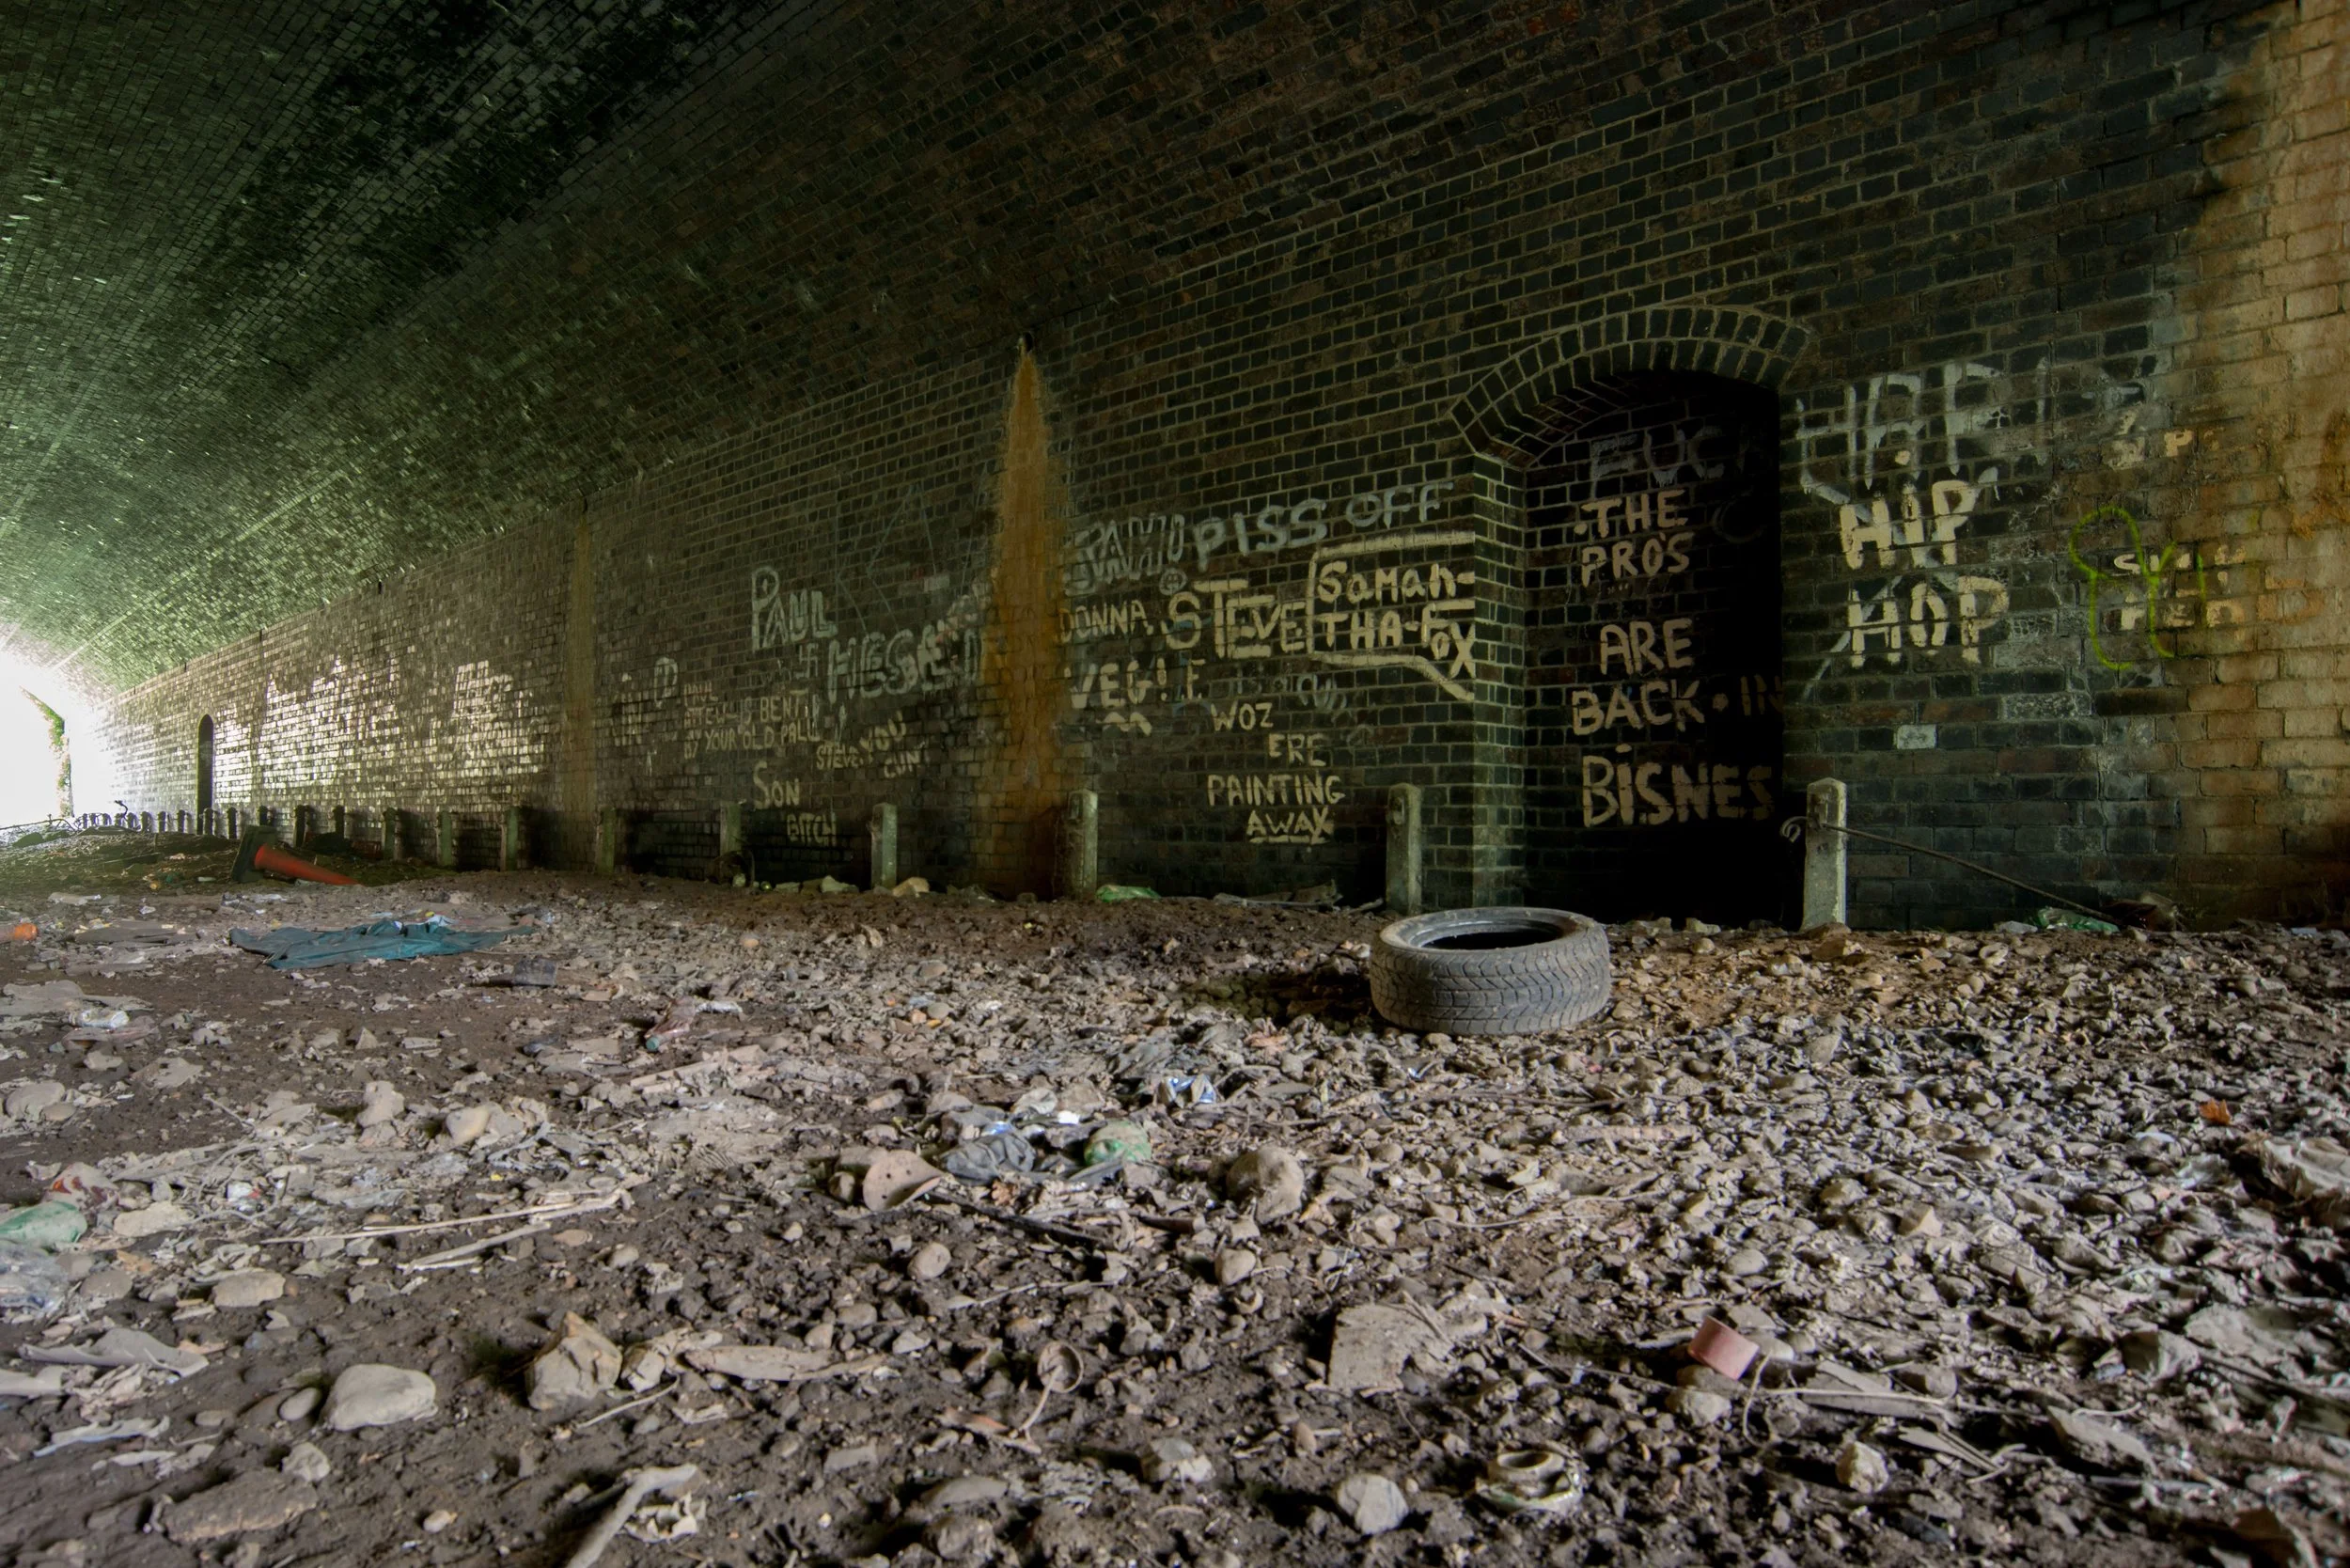
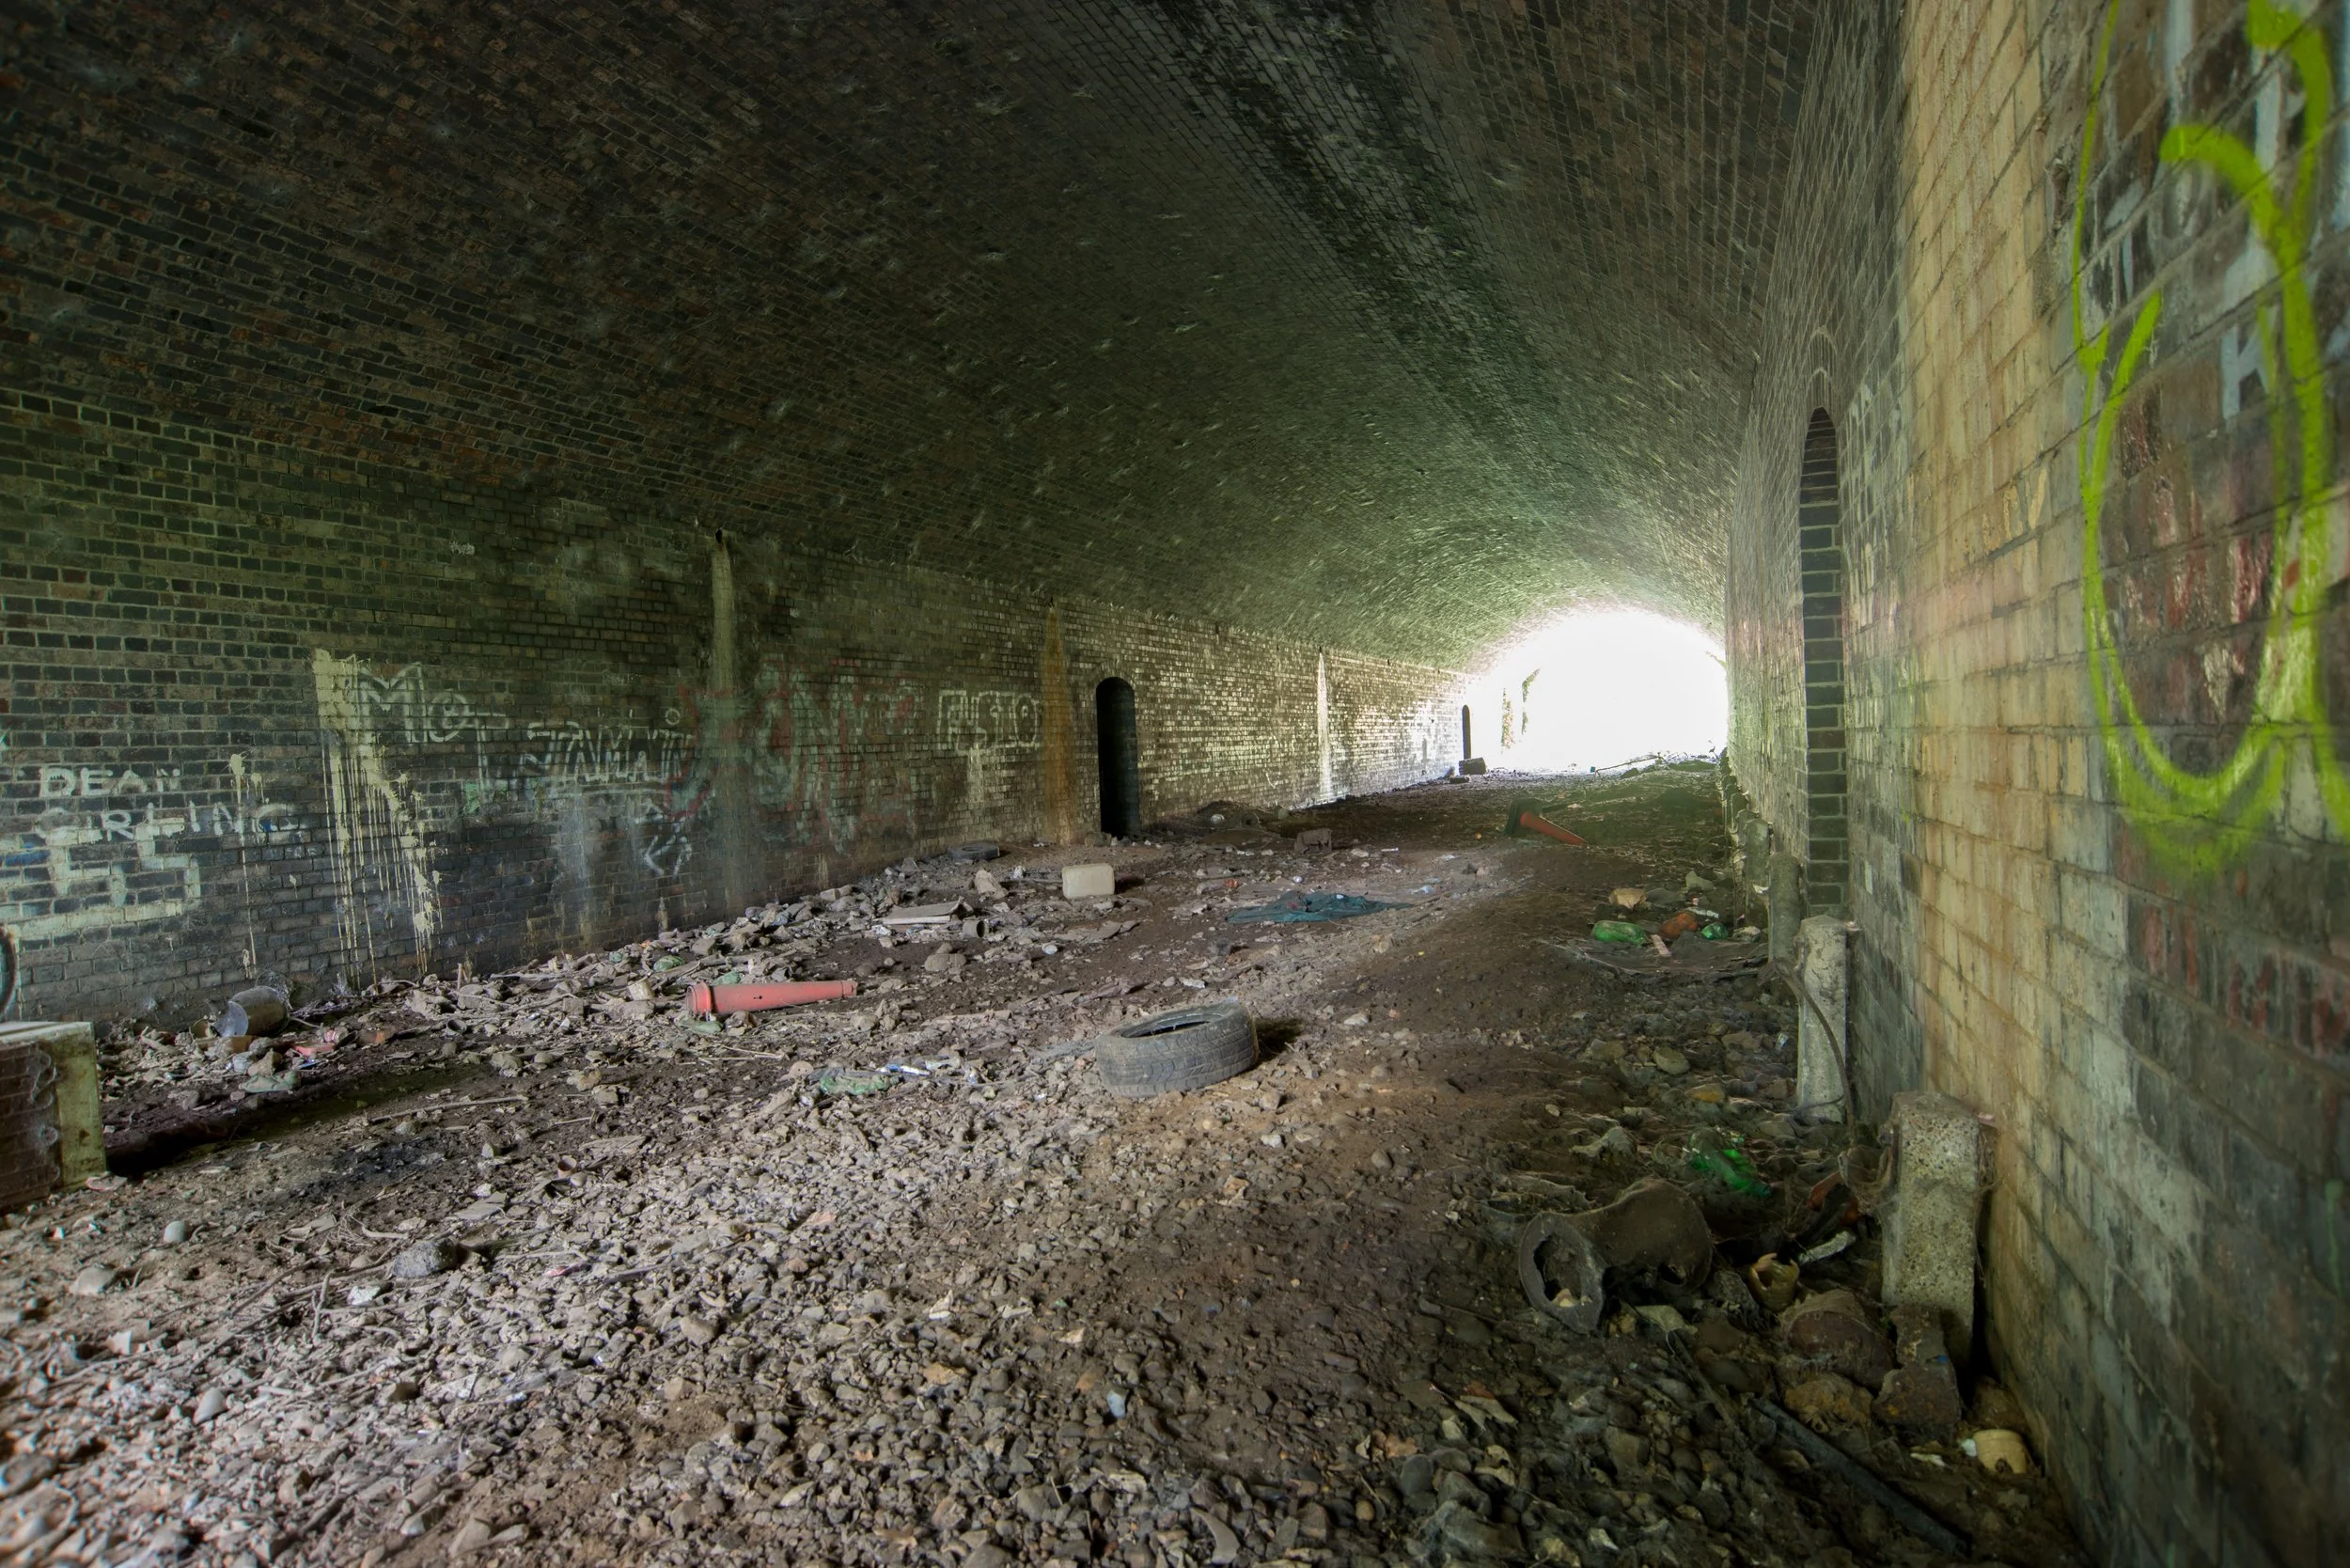
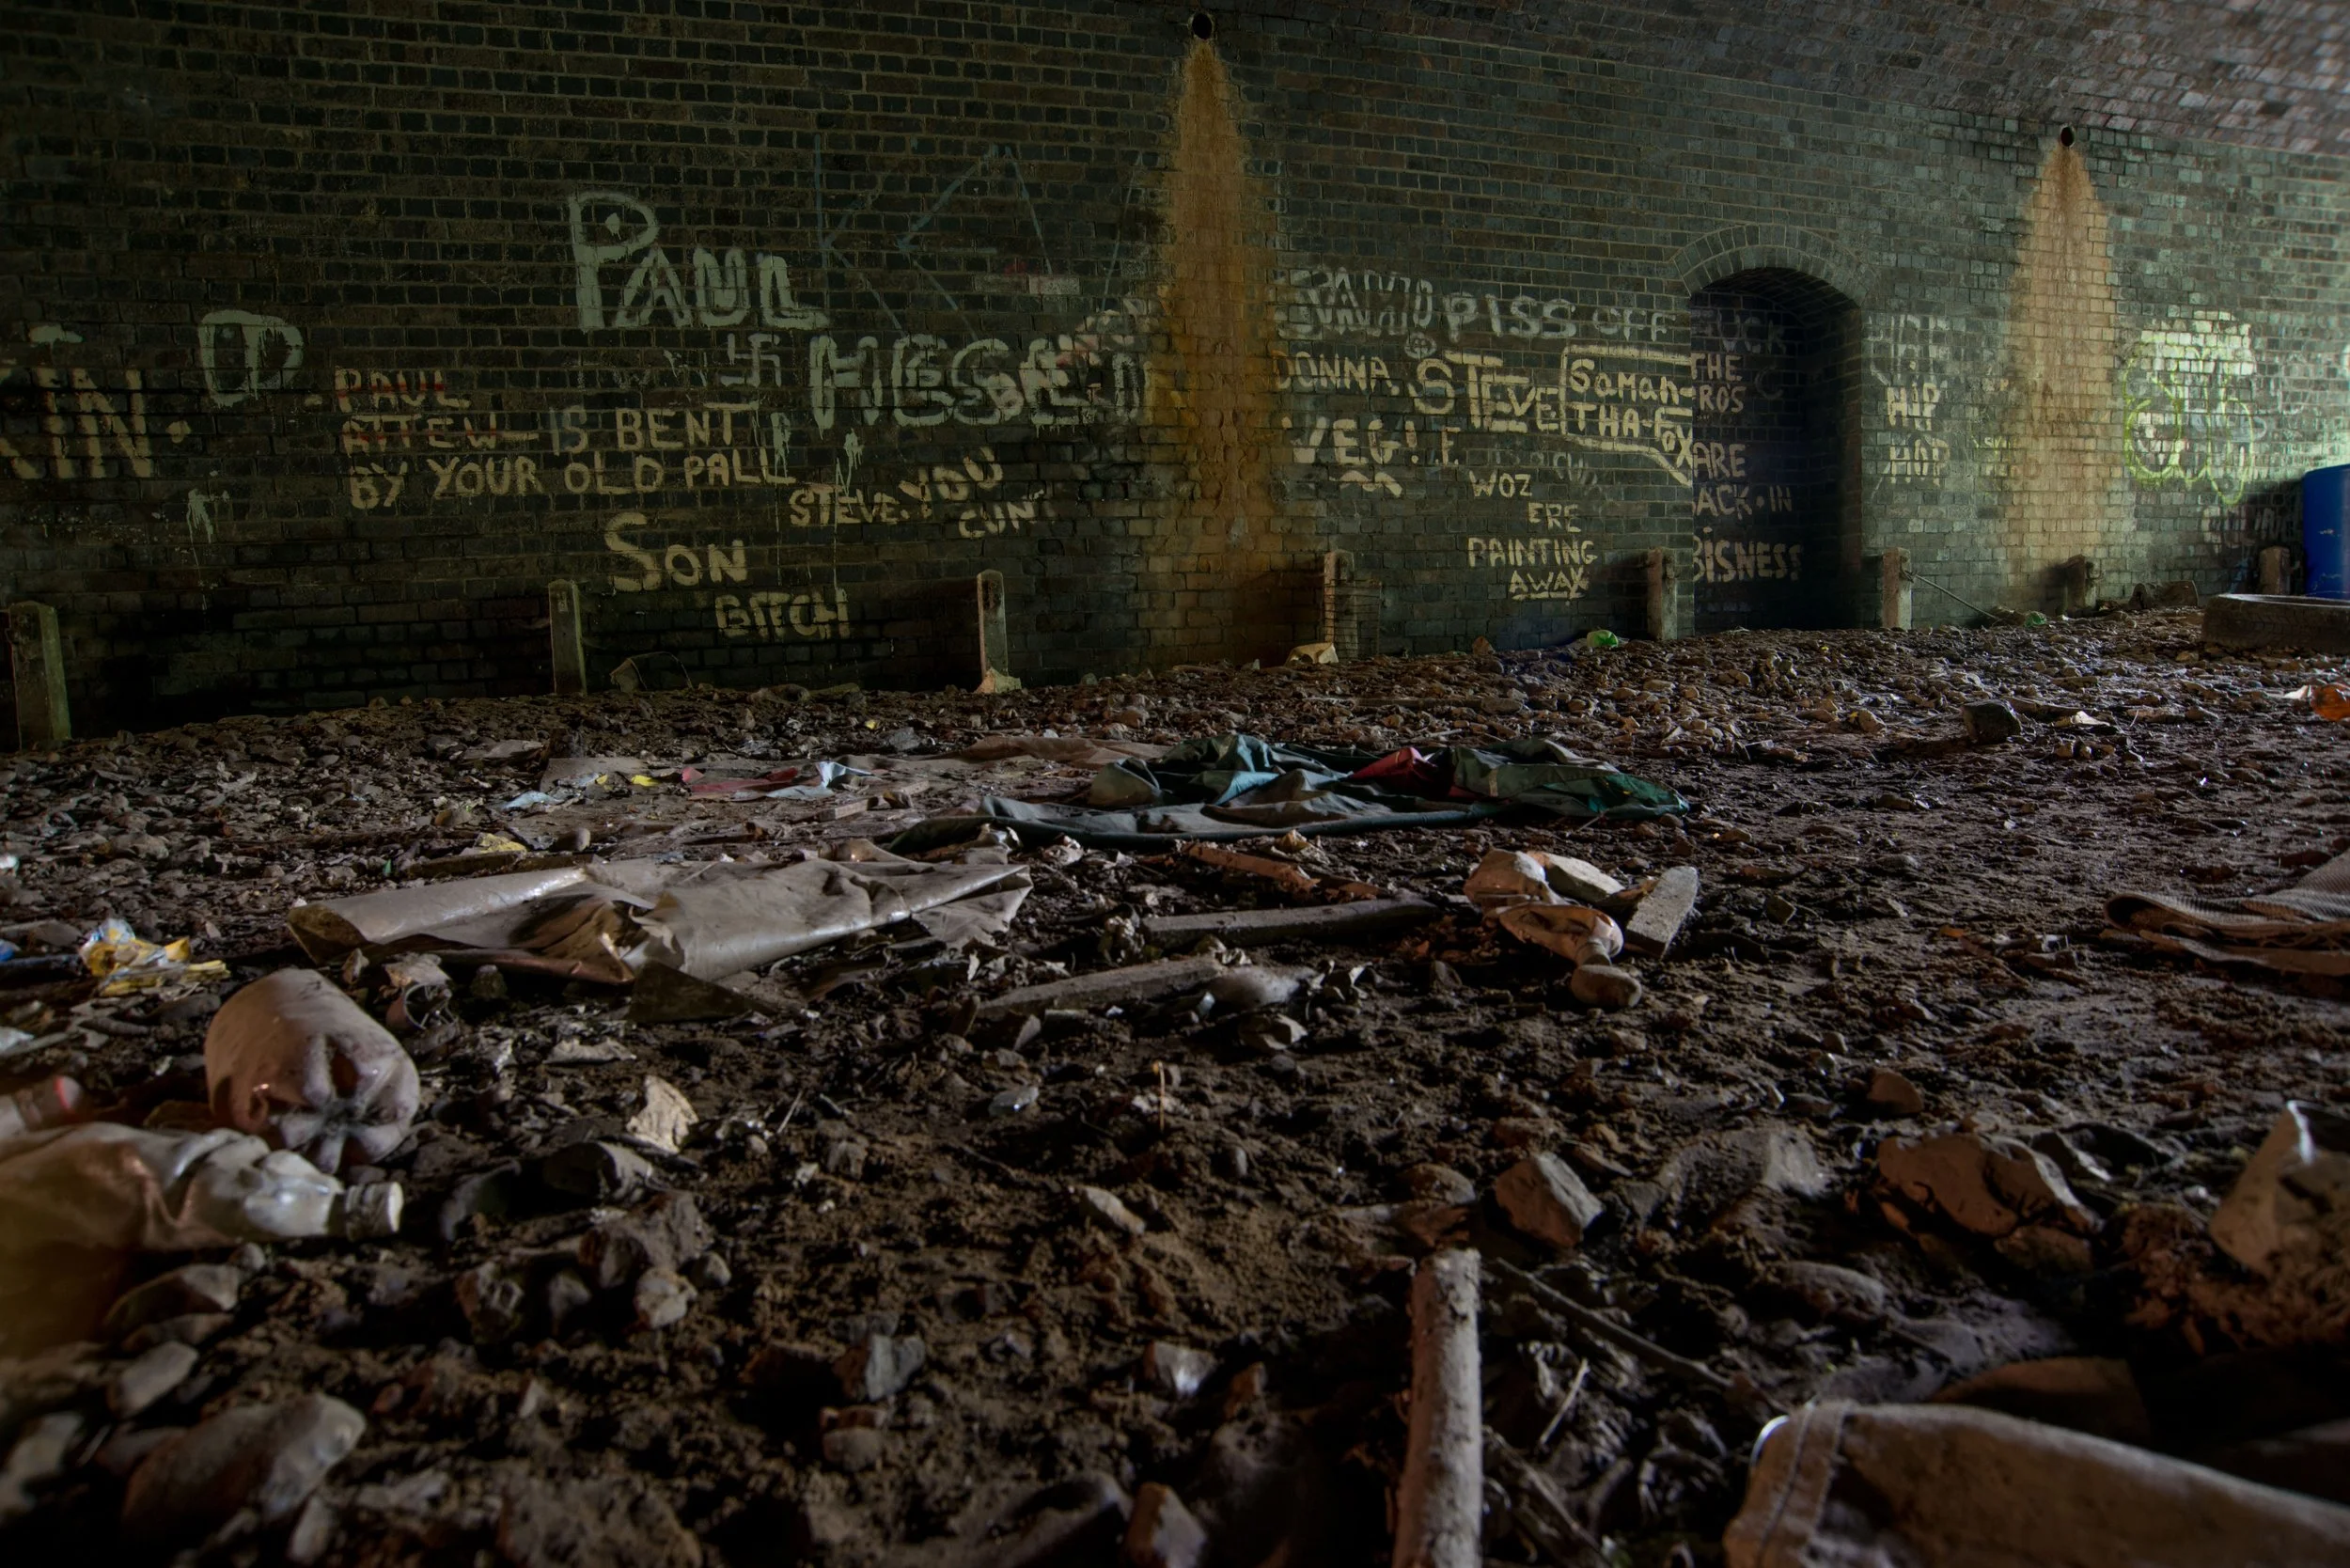
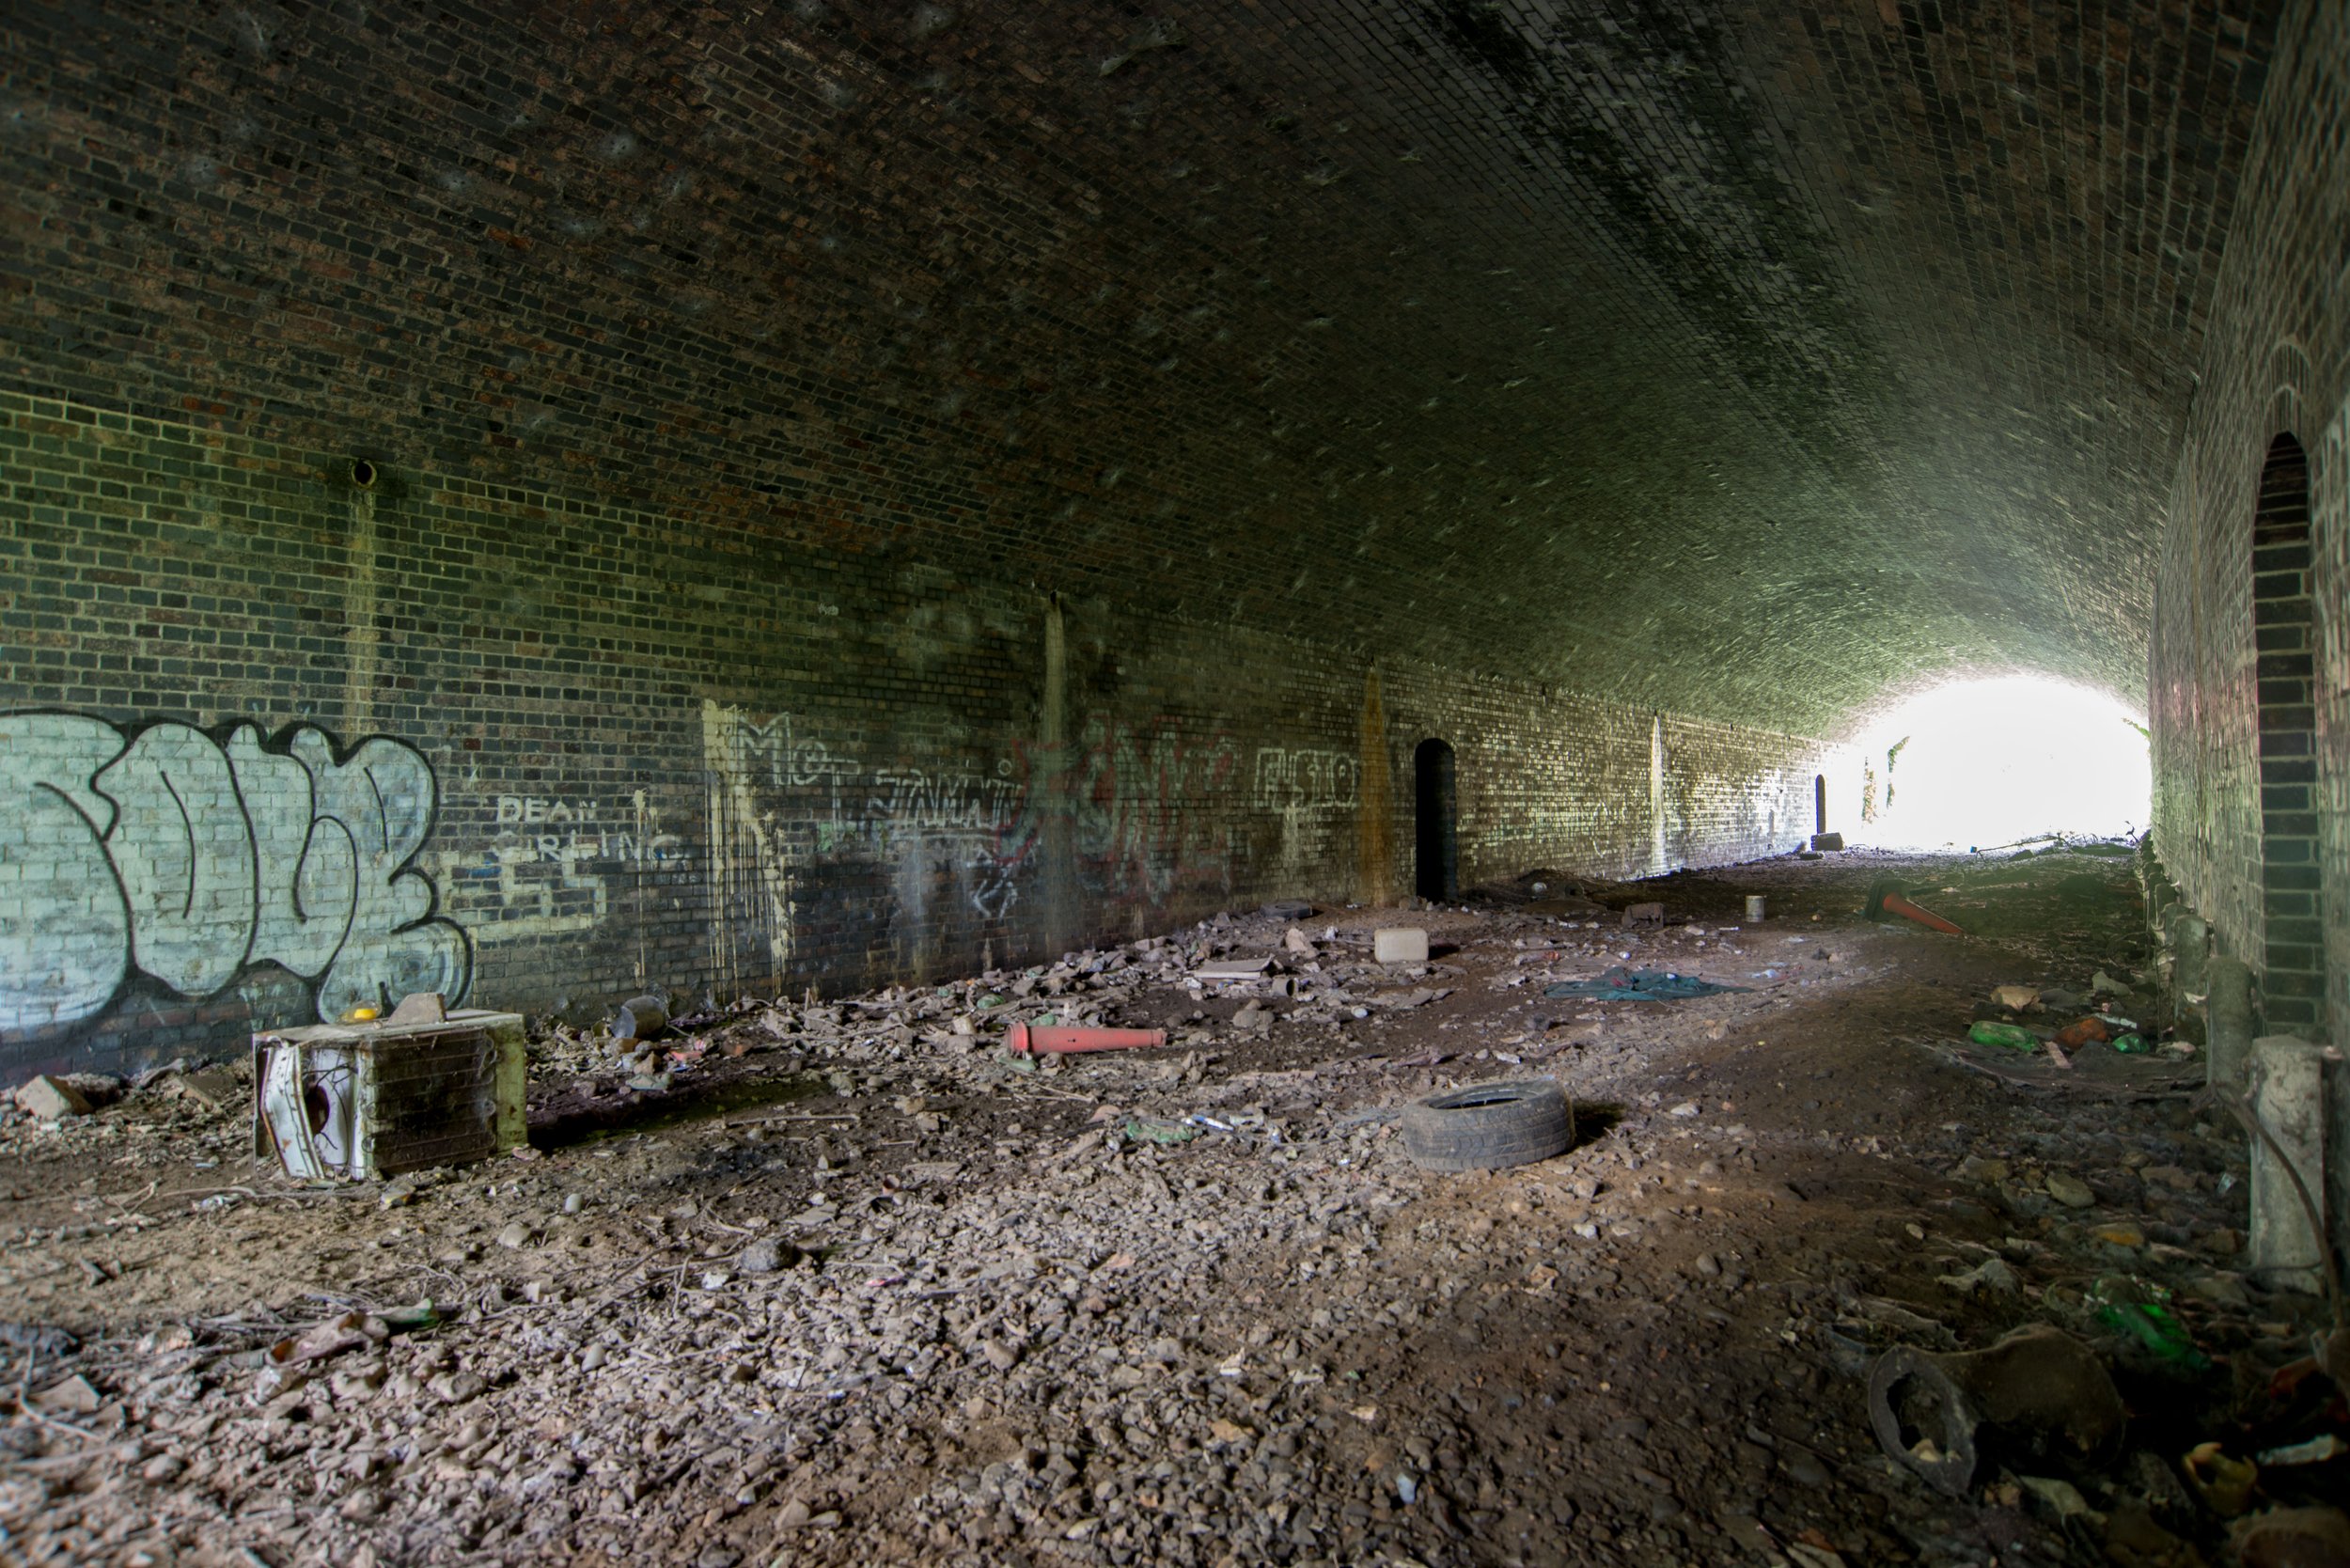
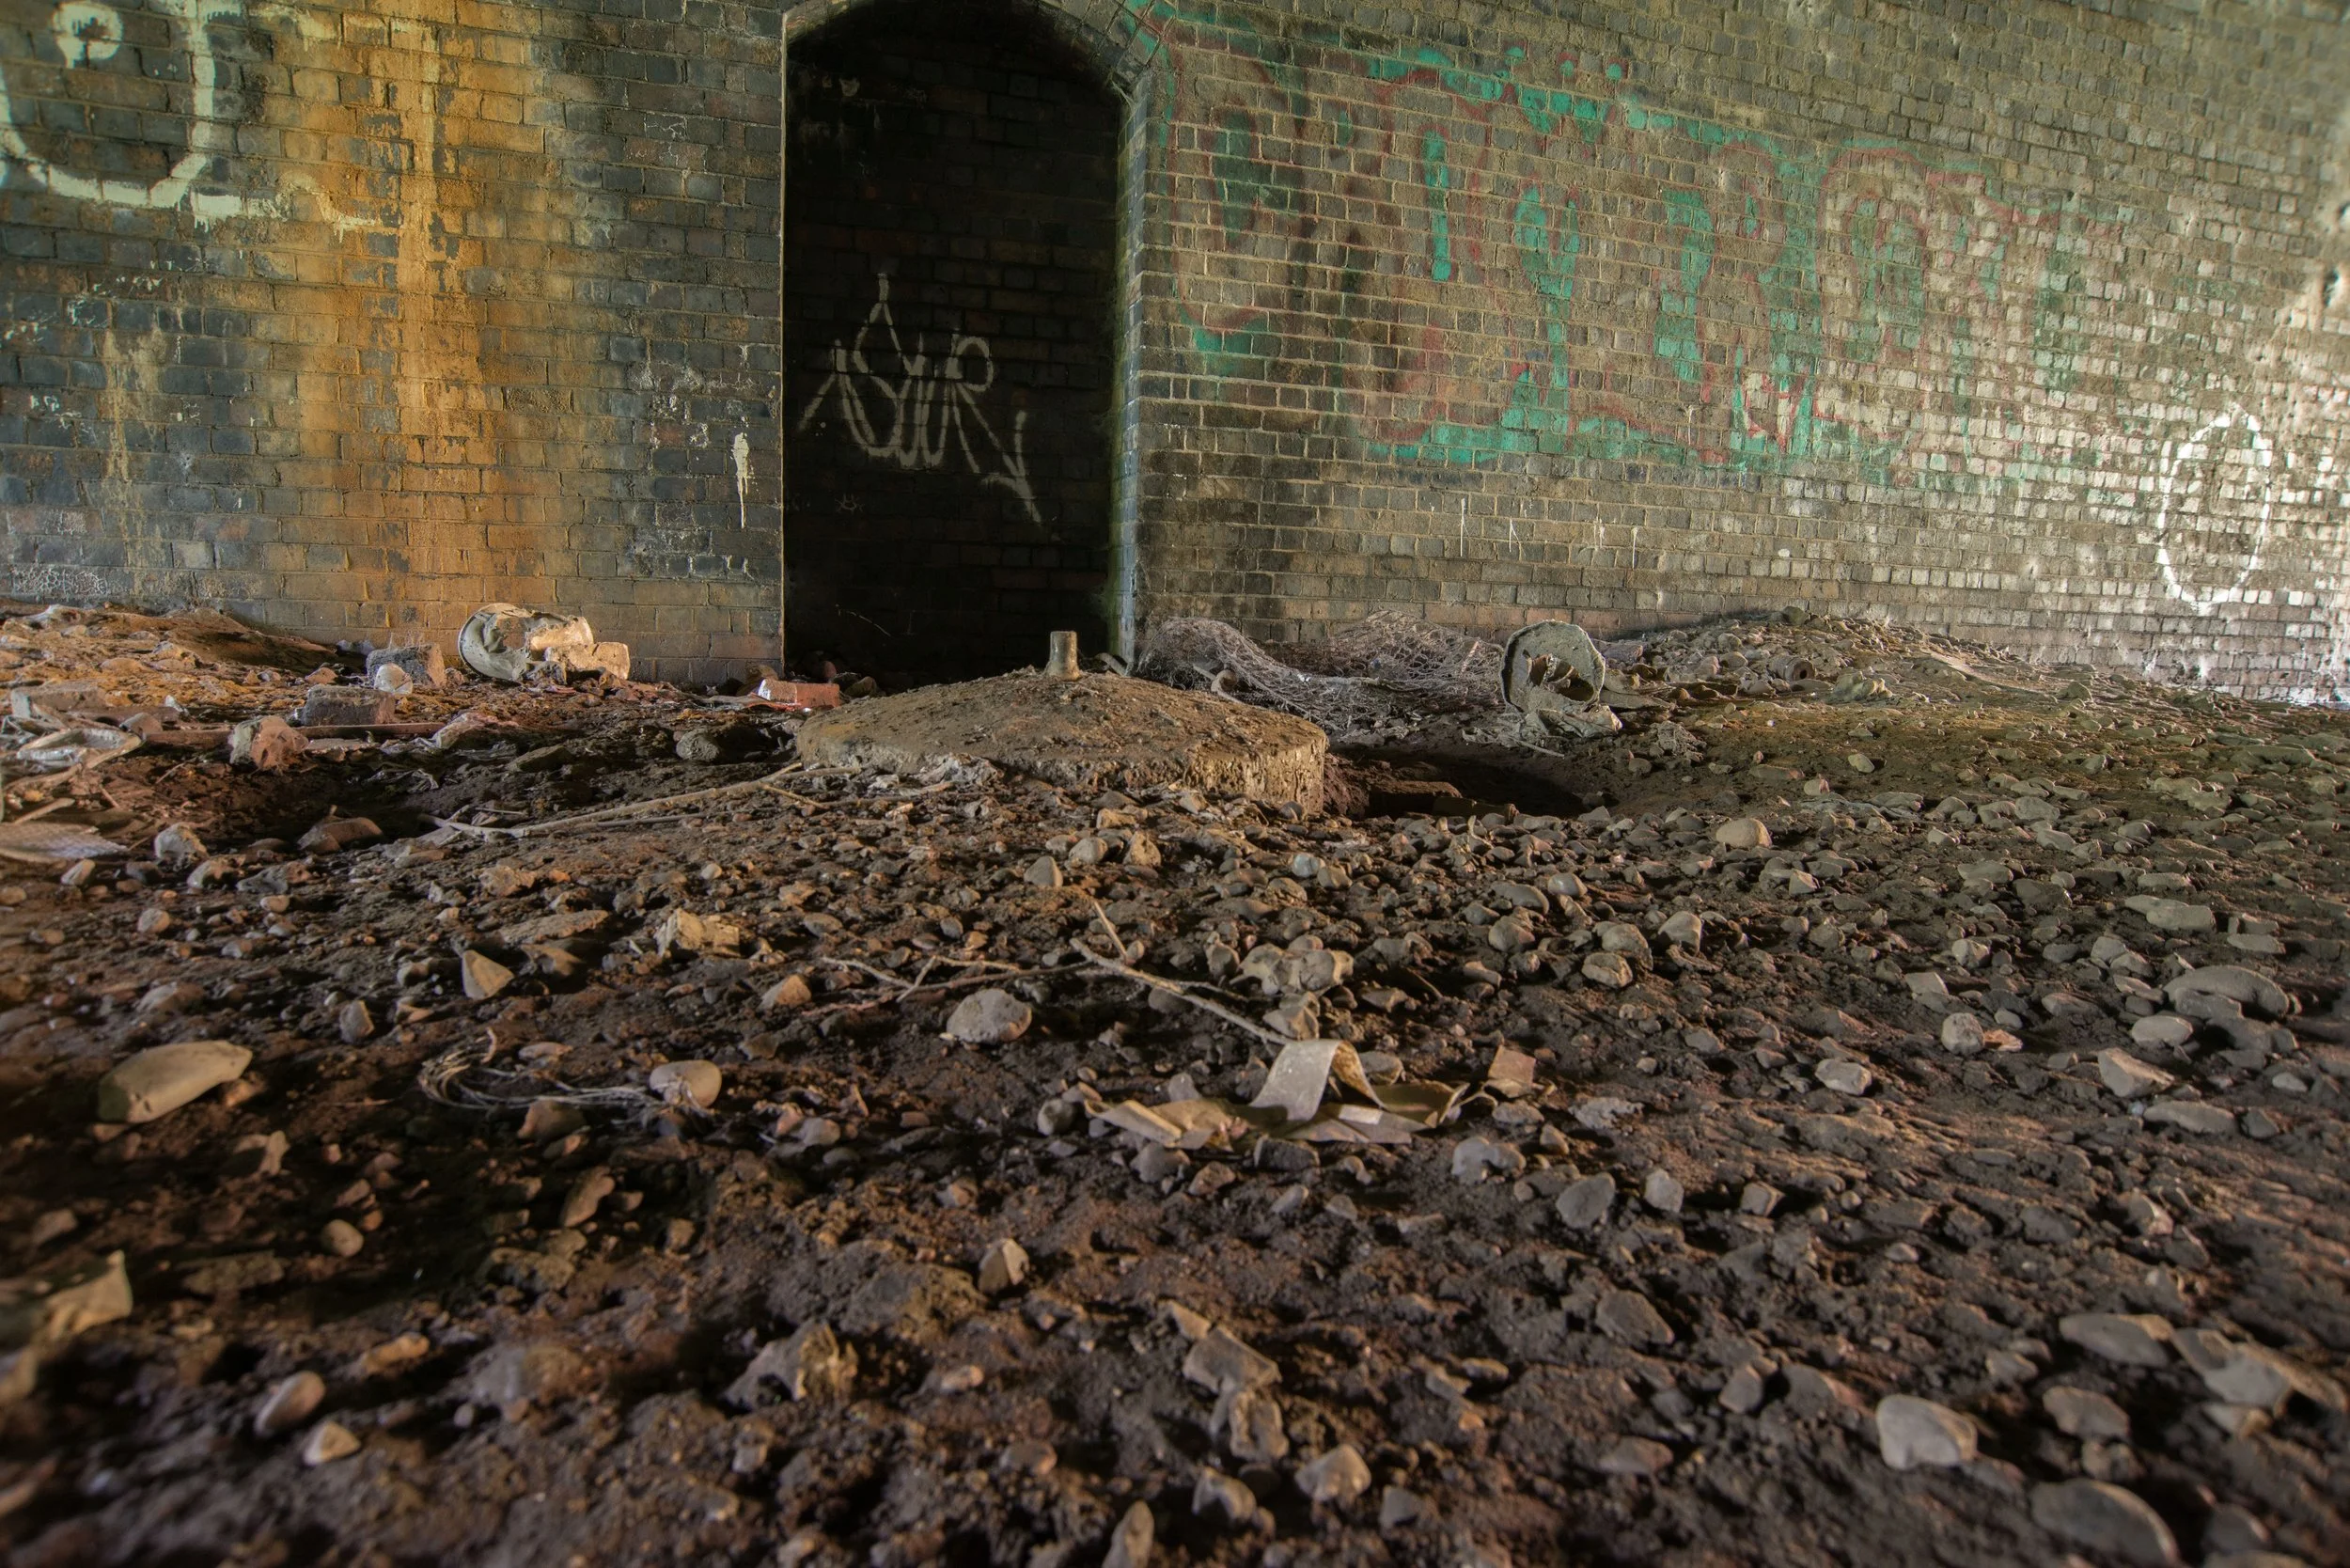
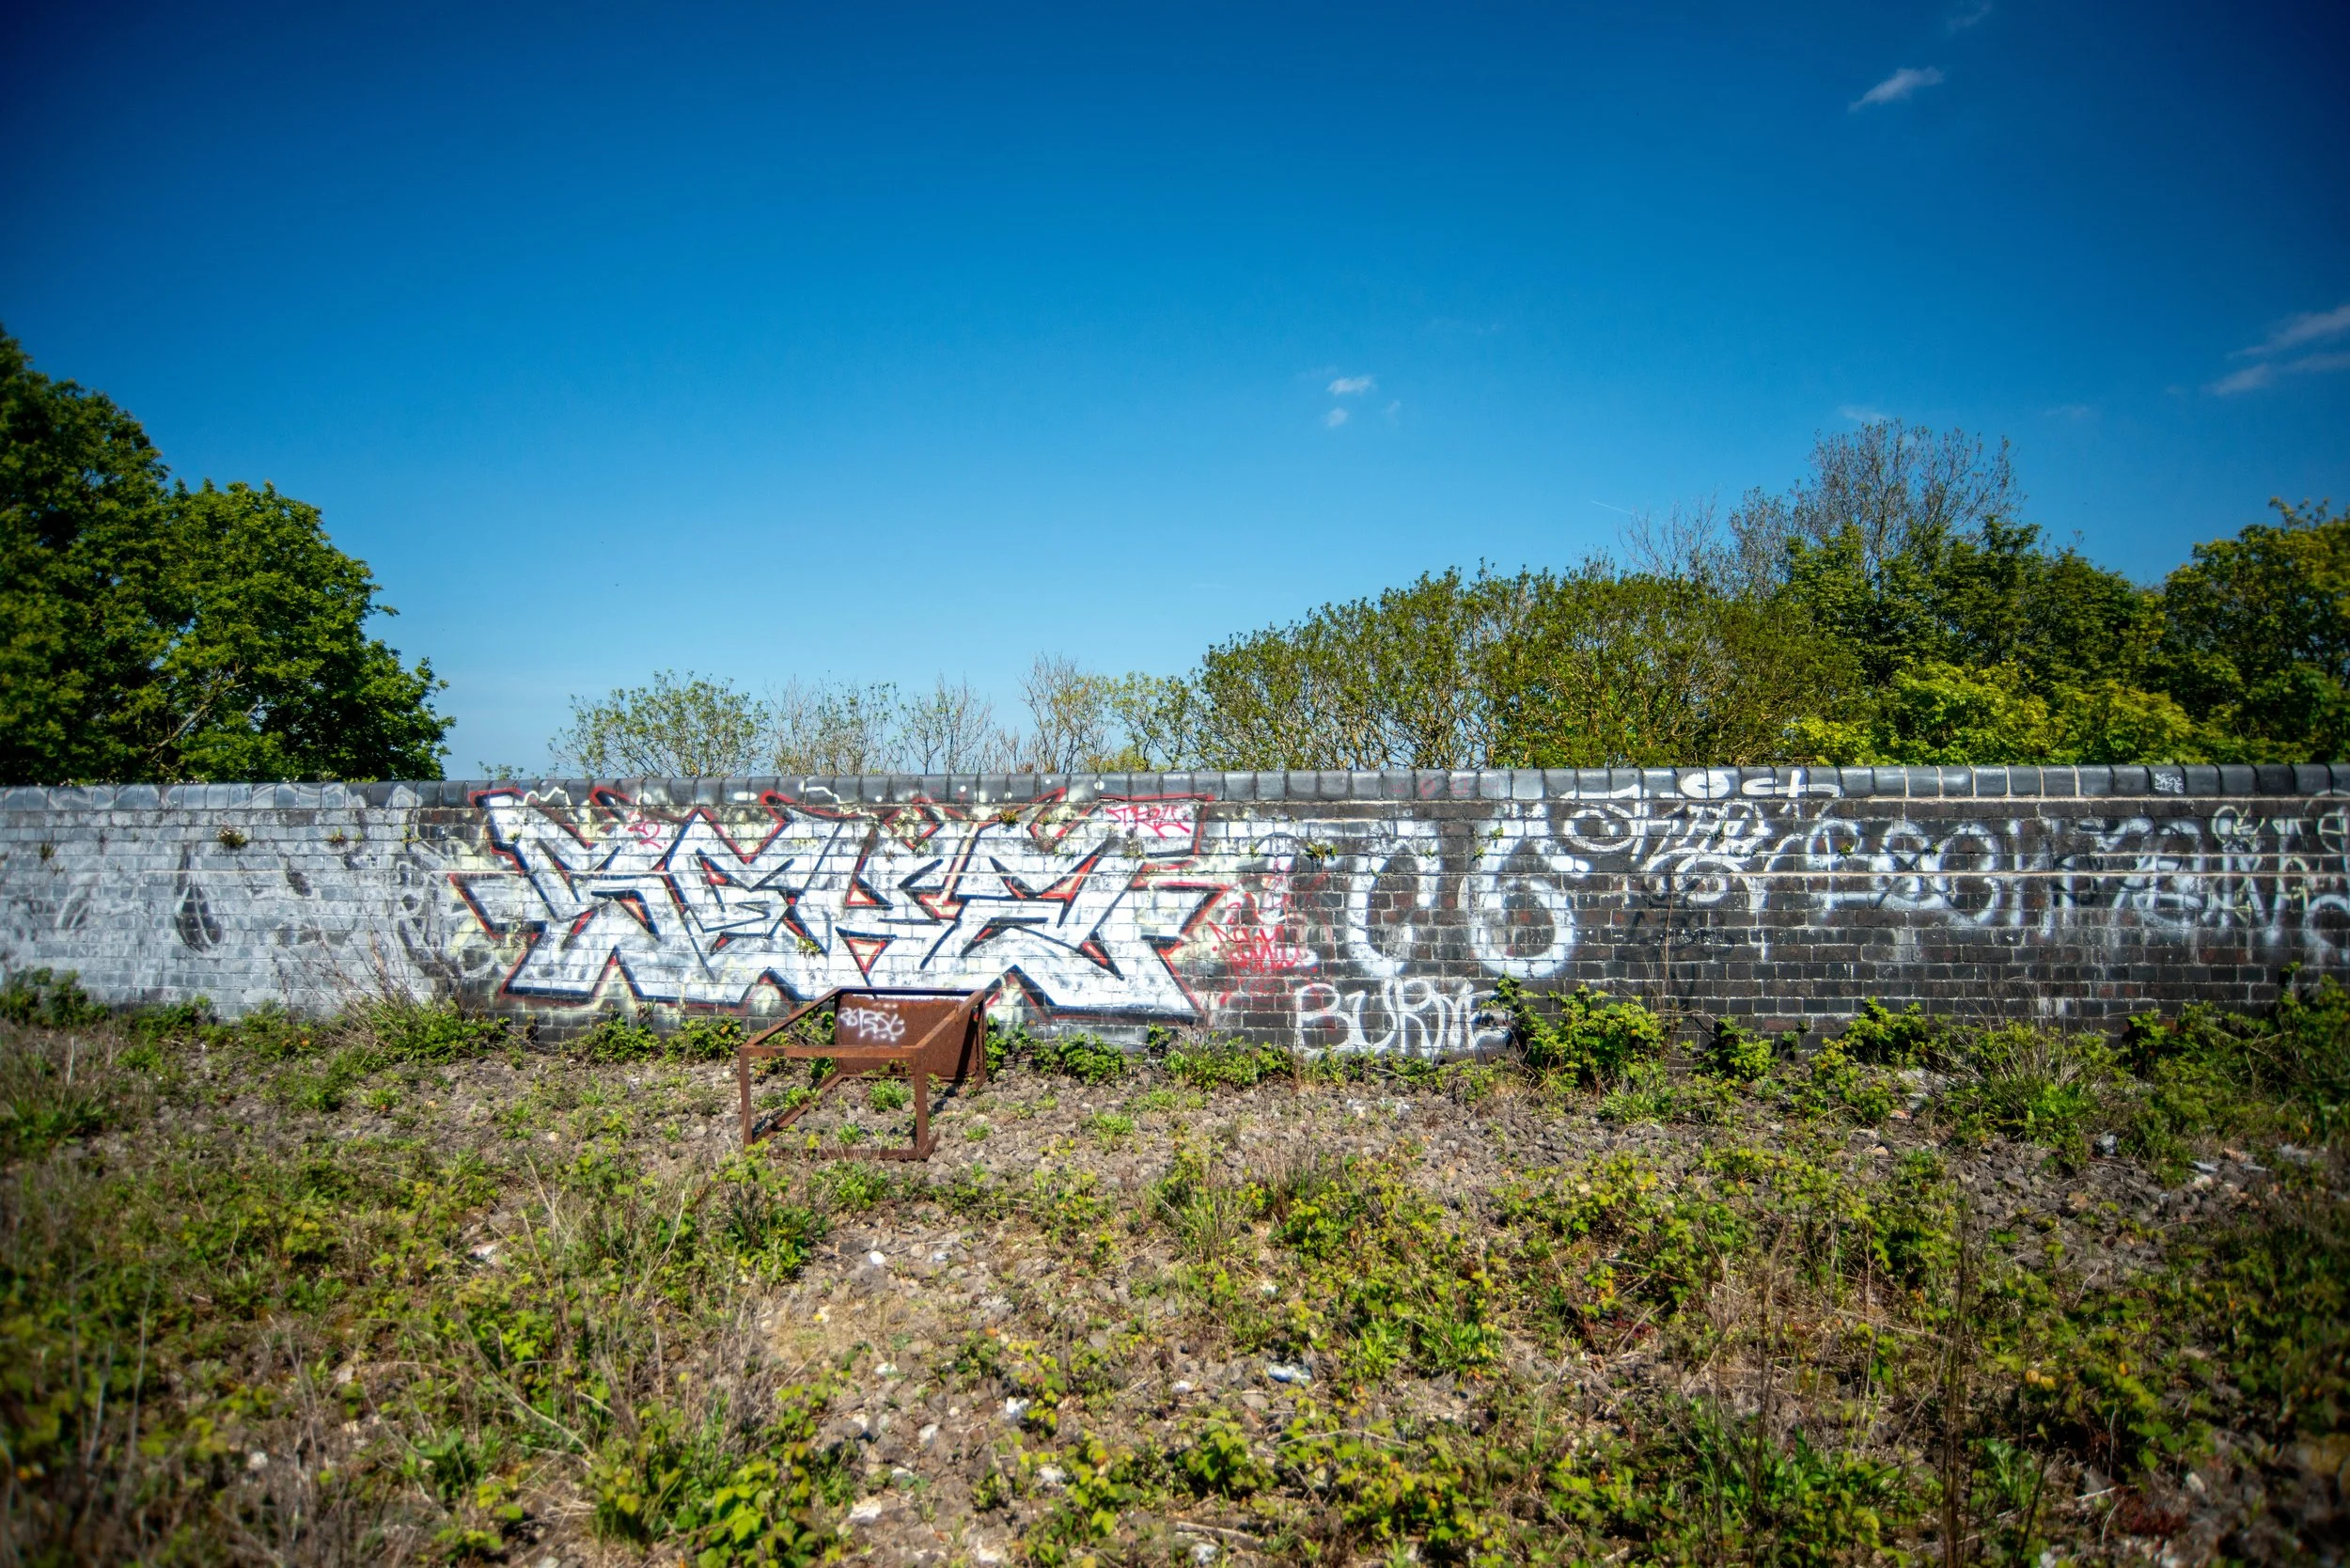
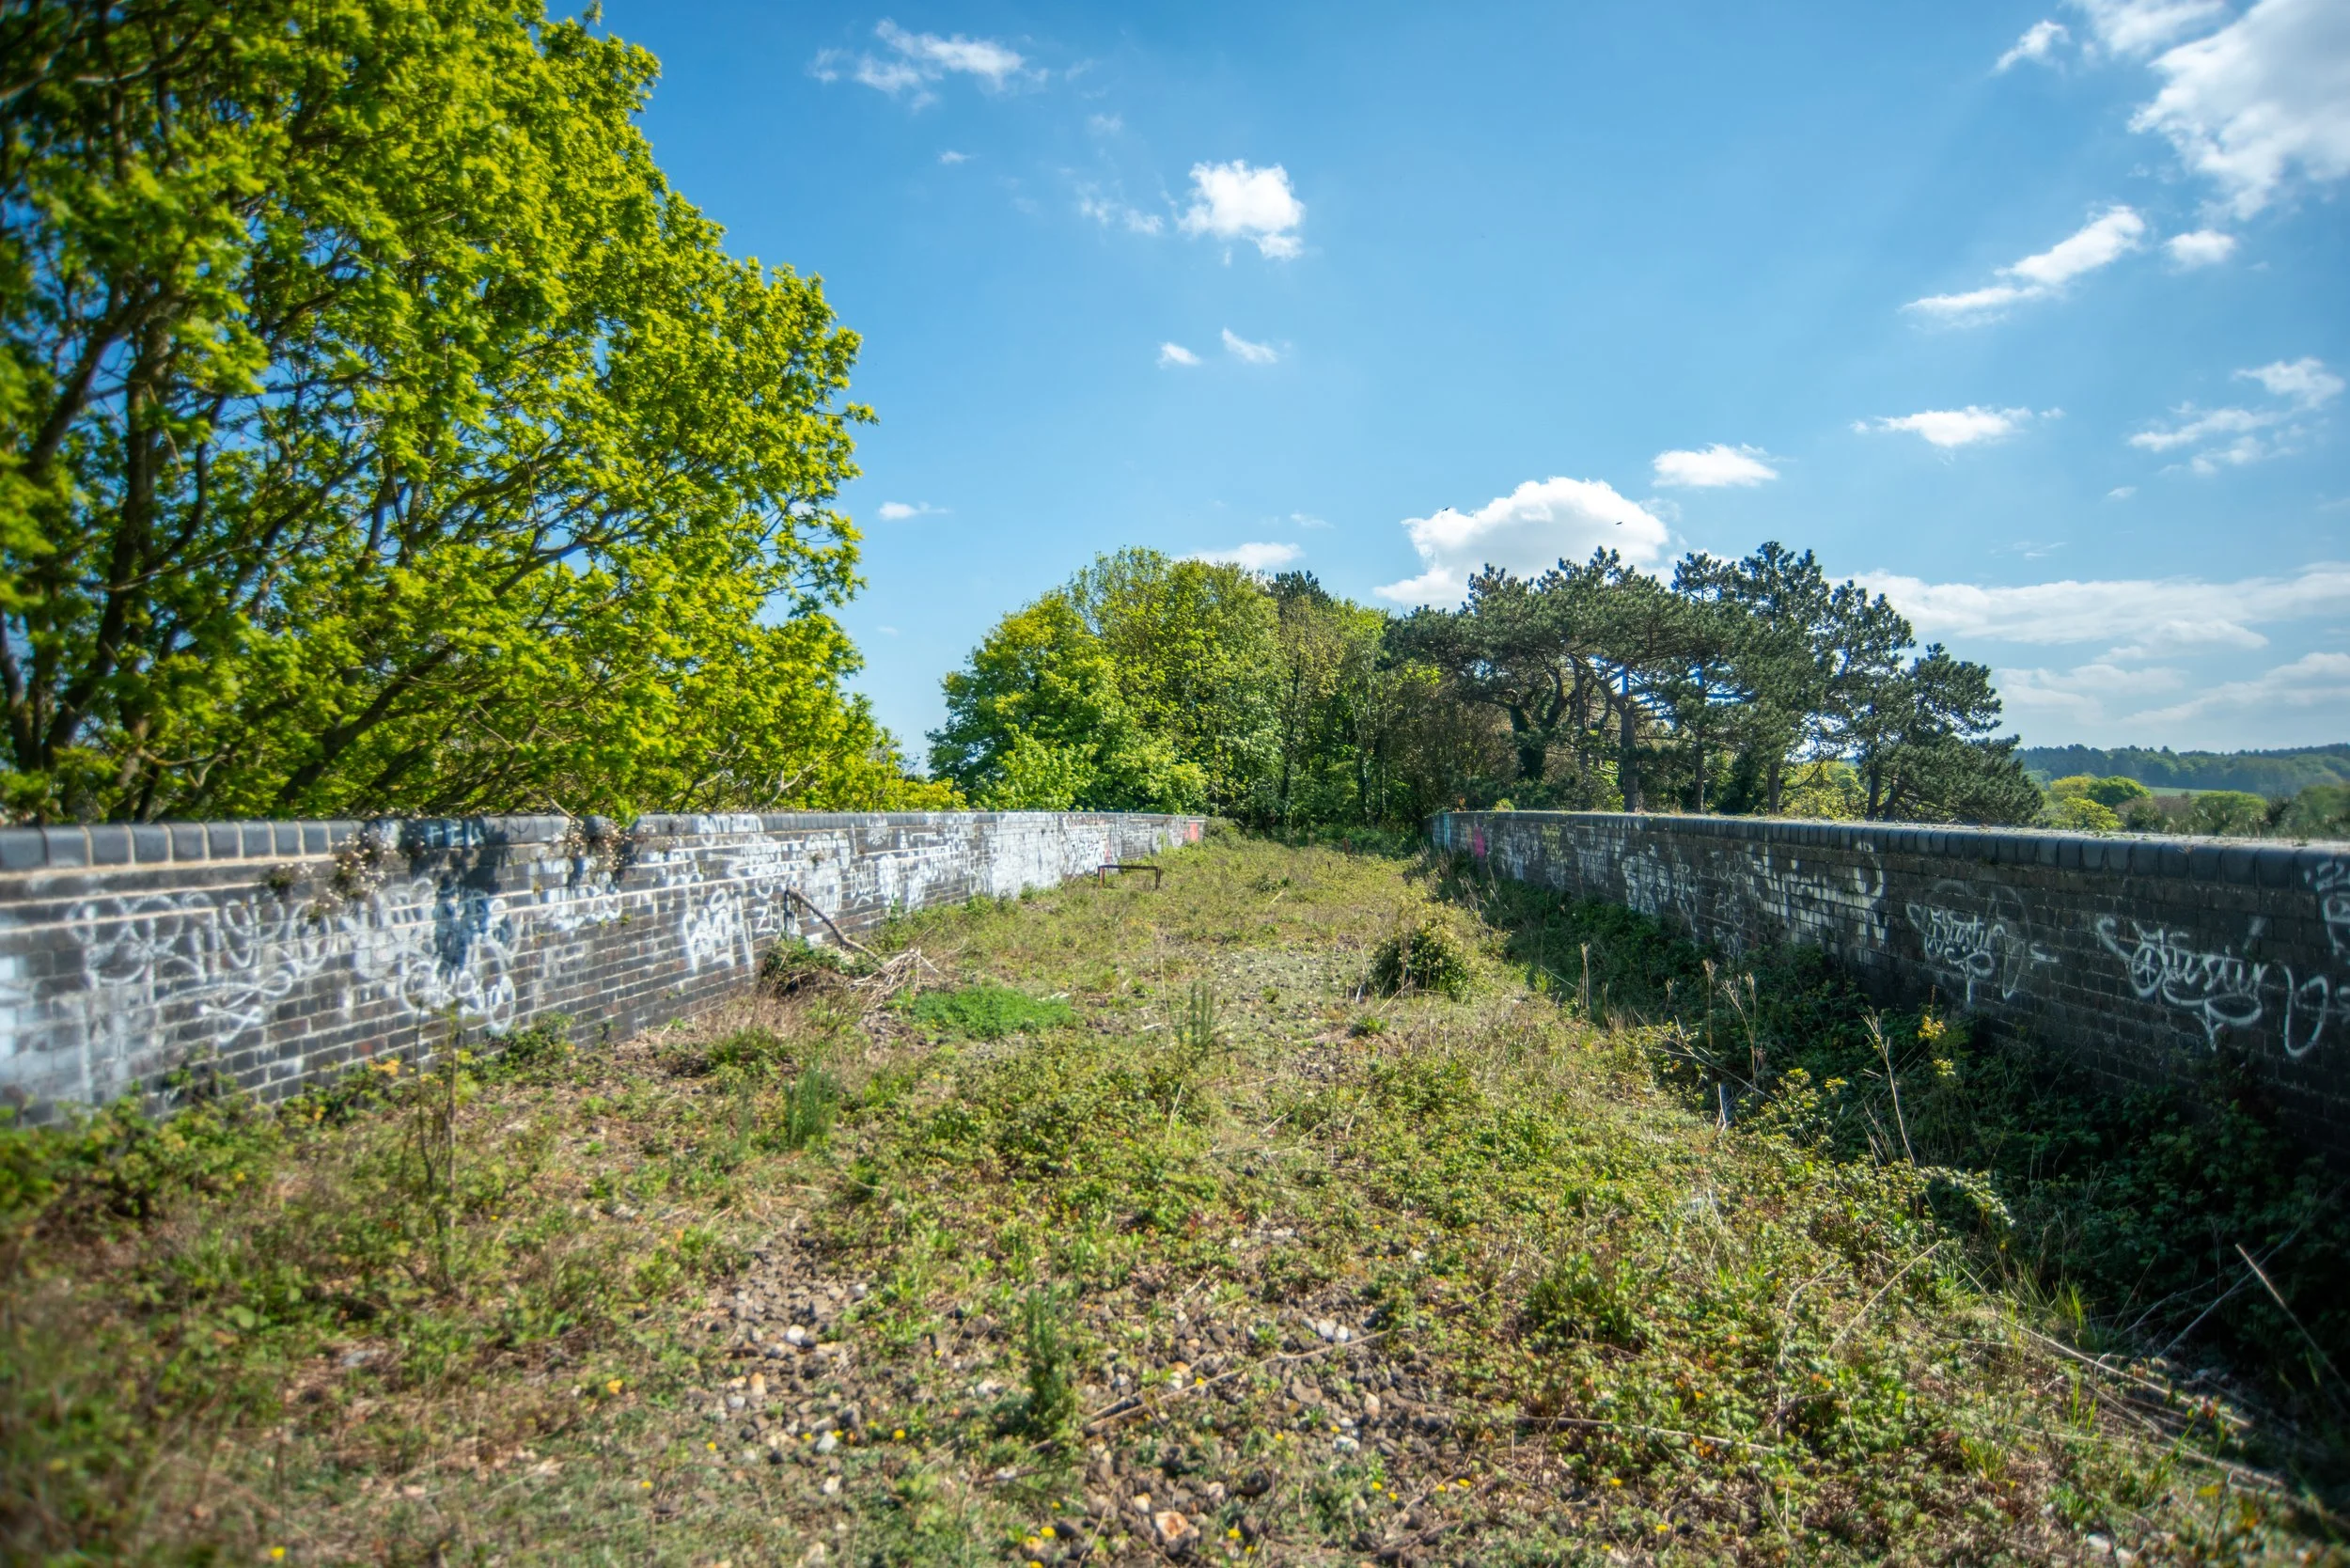
Although the railway is no longer in operation, the tunnel remains in excellent condition. As expected, though, there is graffiti and looking around, there seems to be no structural damage to the tunnel.
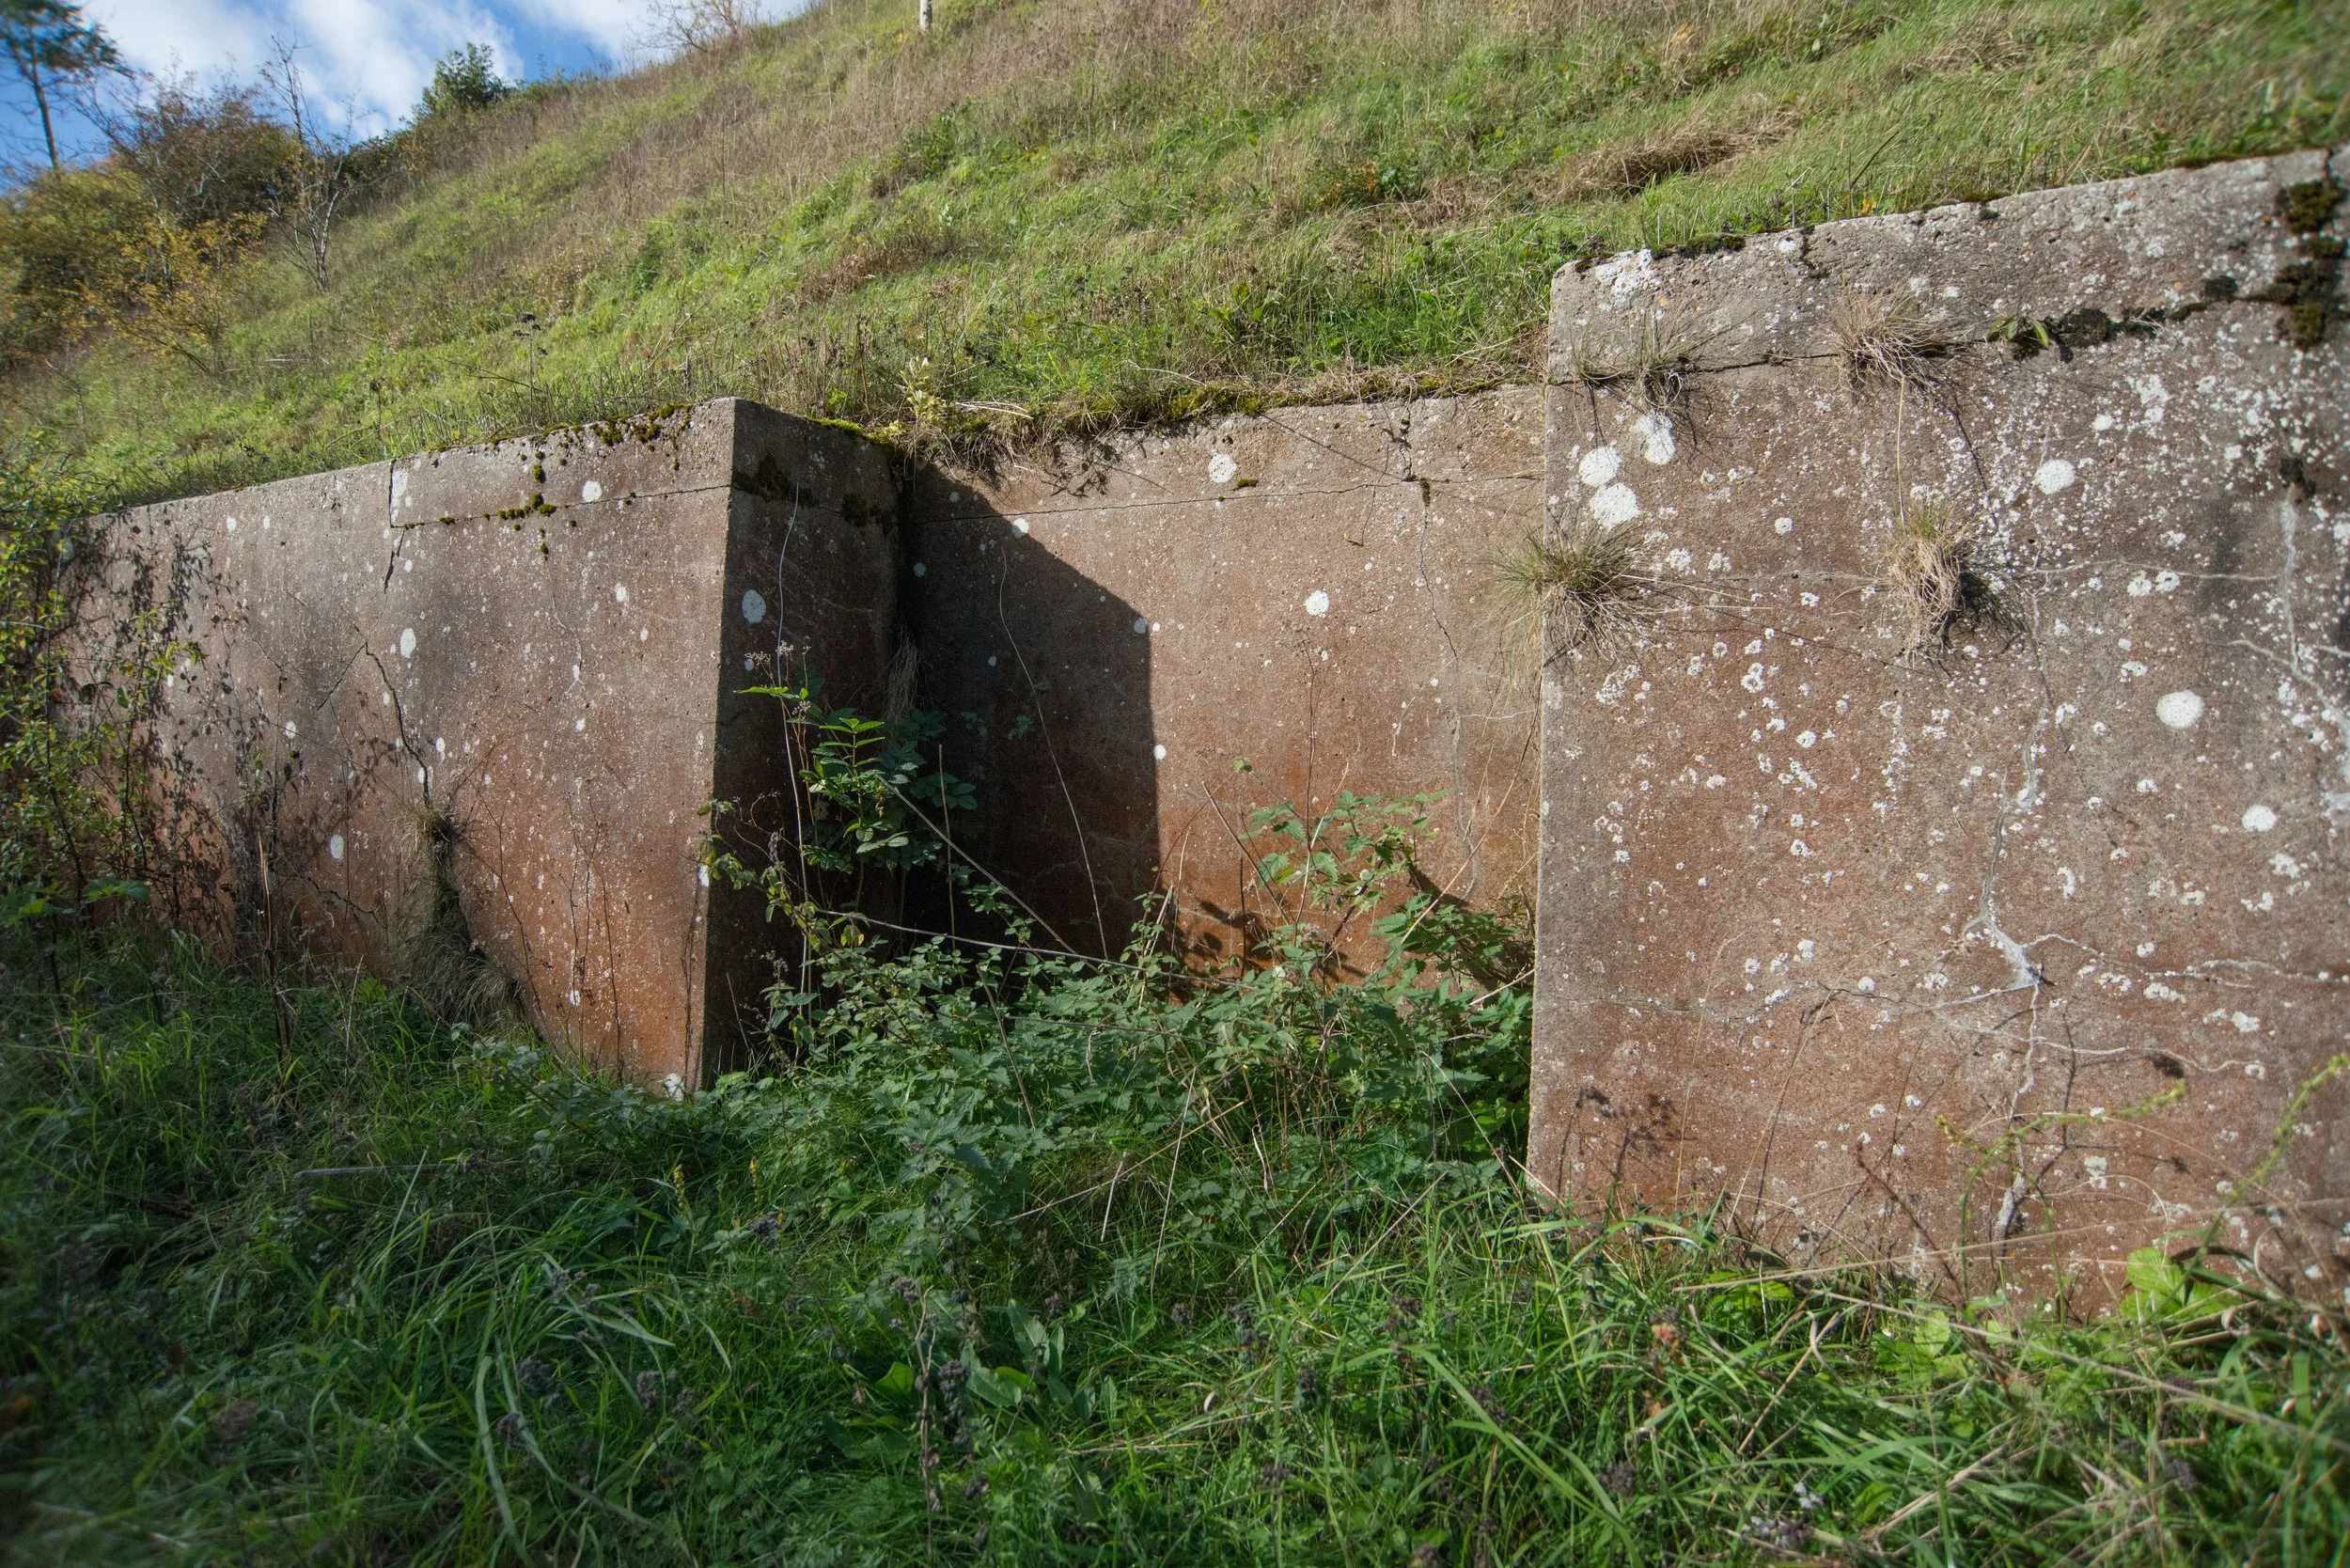
When inside the tunnel, I found an old mortar spigot left behind from the war, and some old signal wire carriers as well.
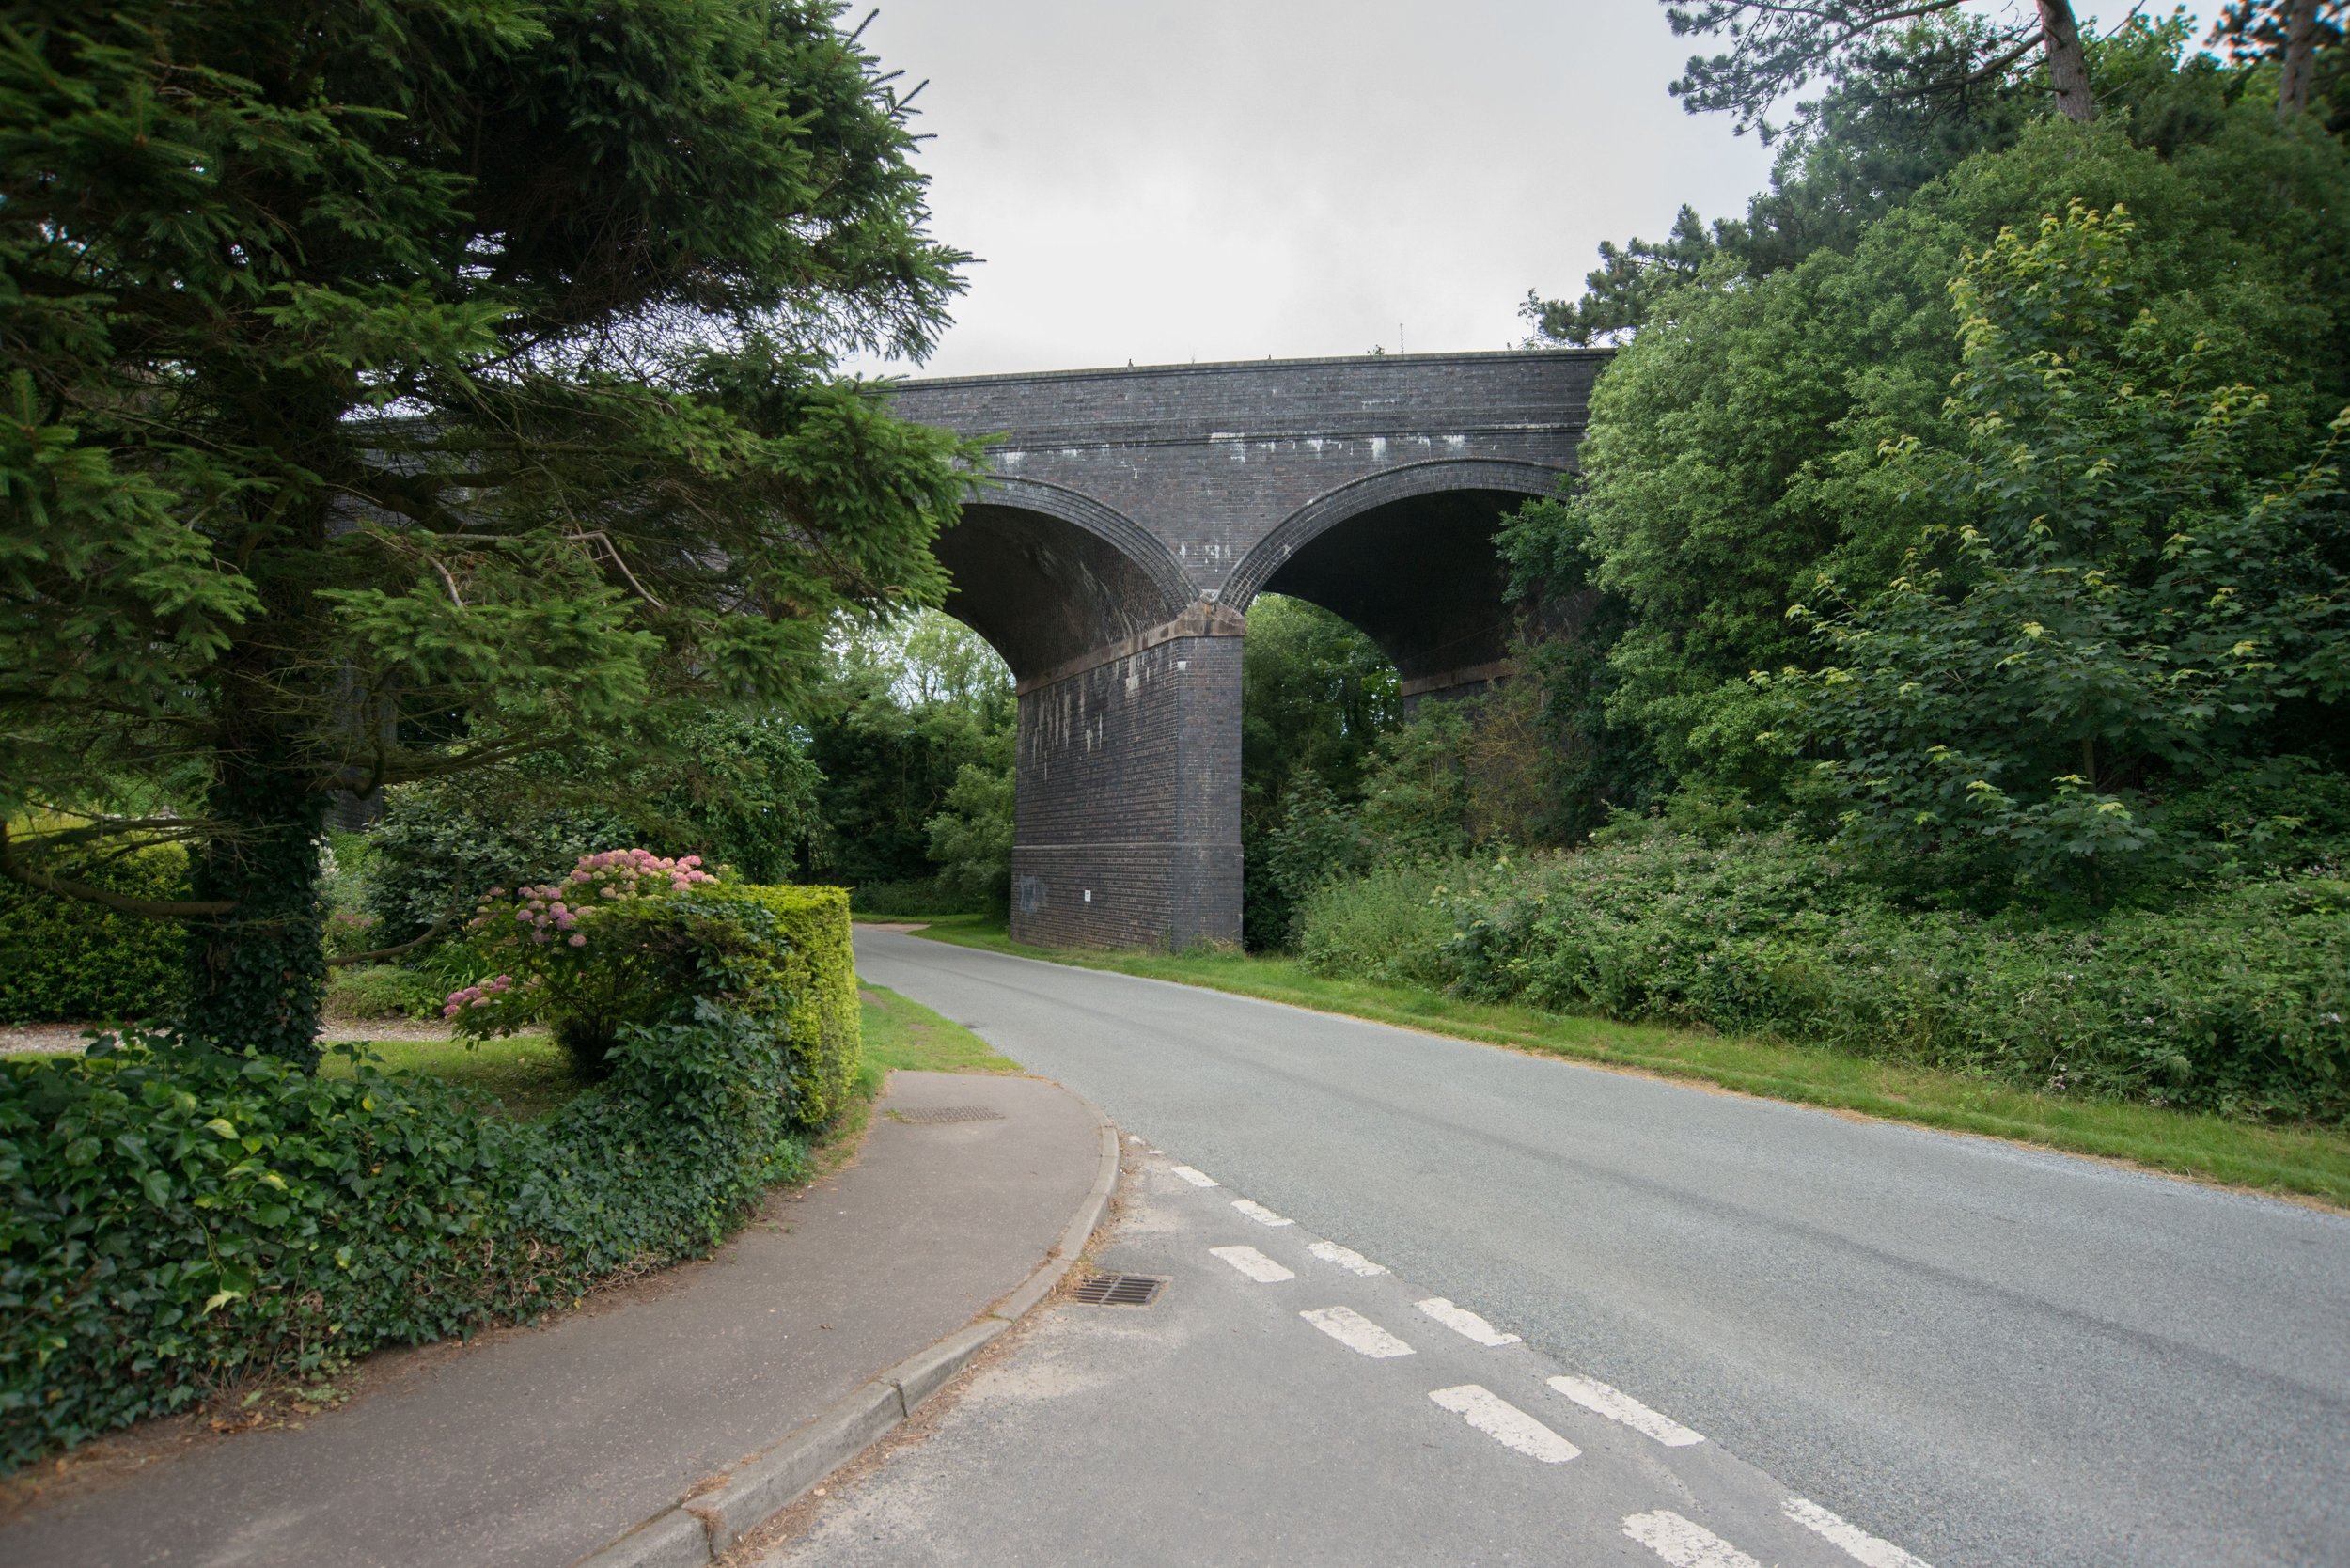
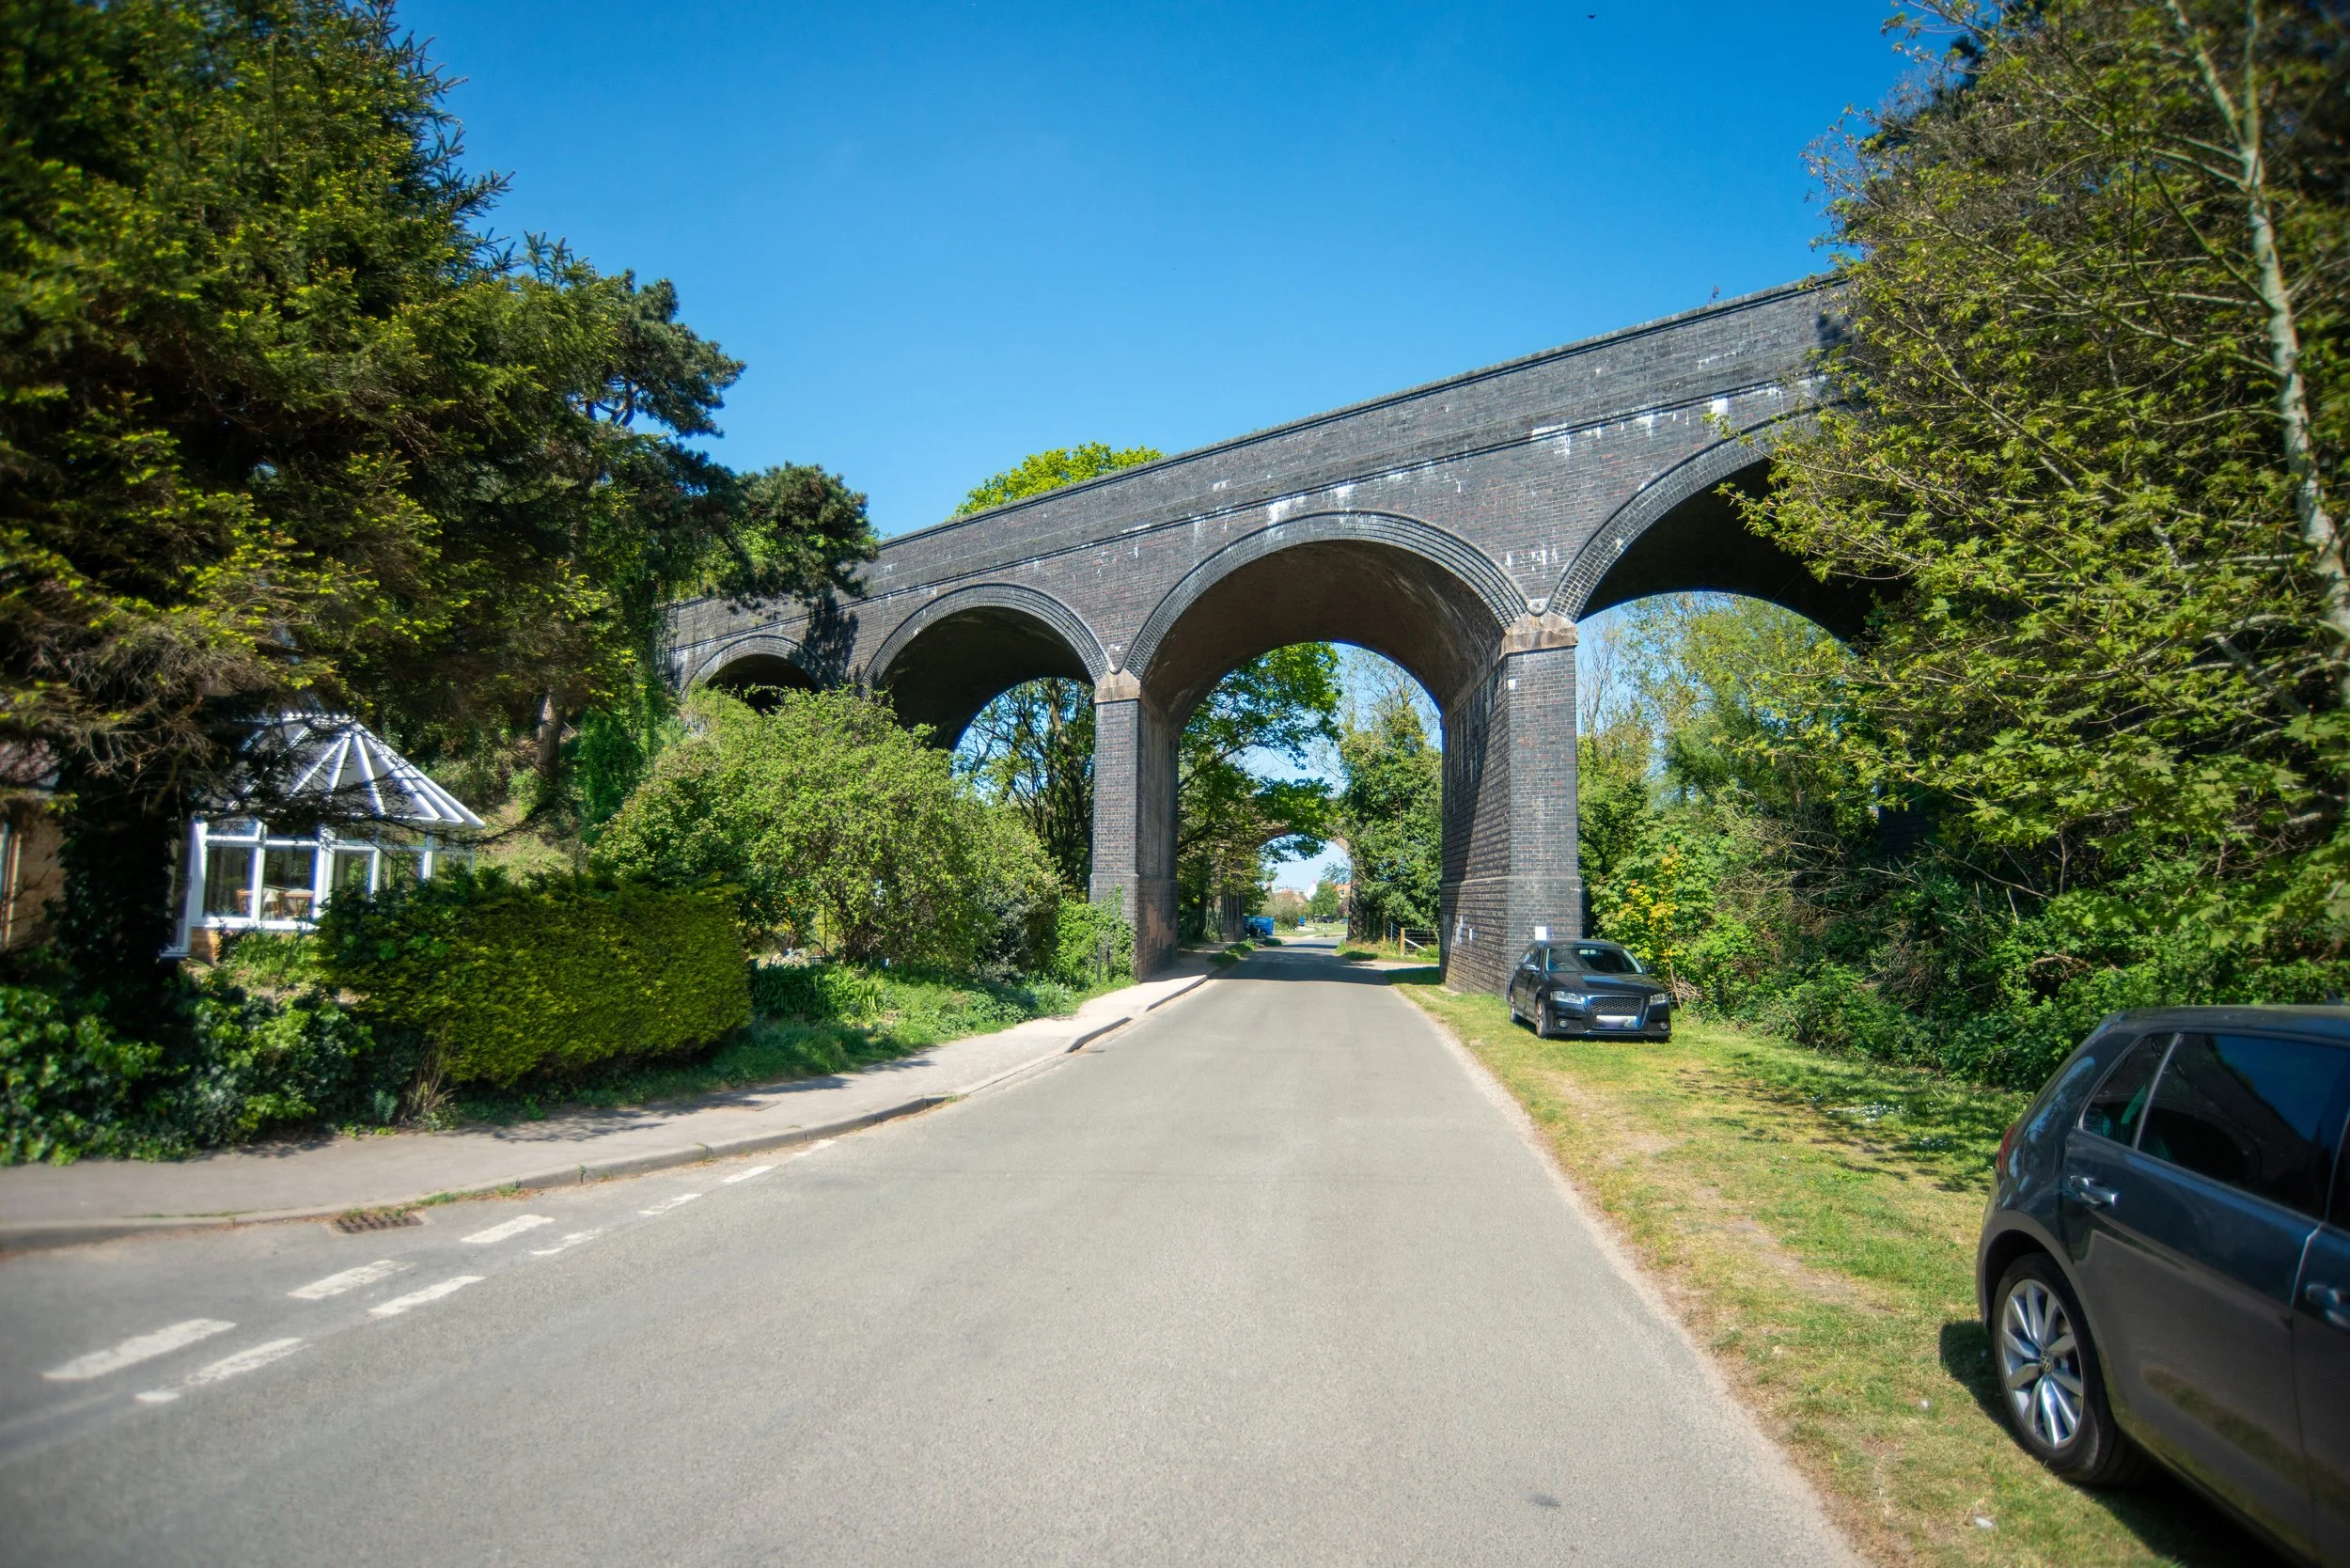
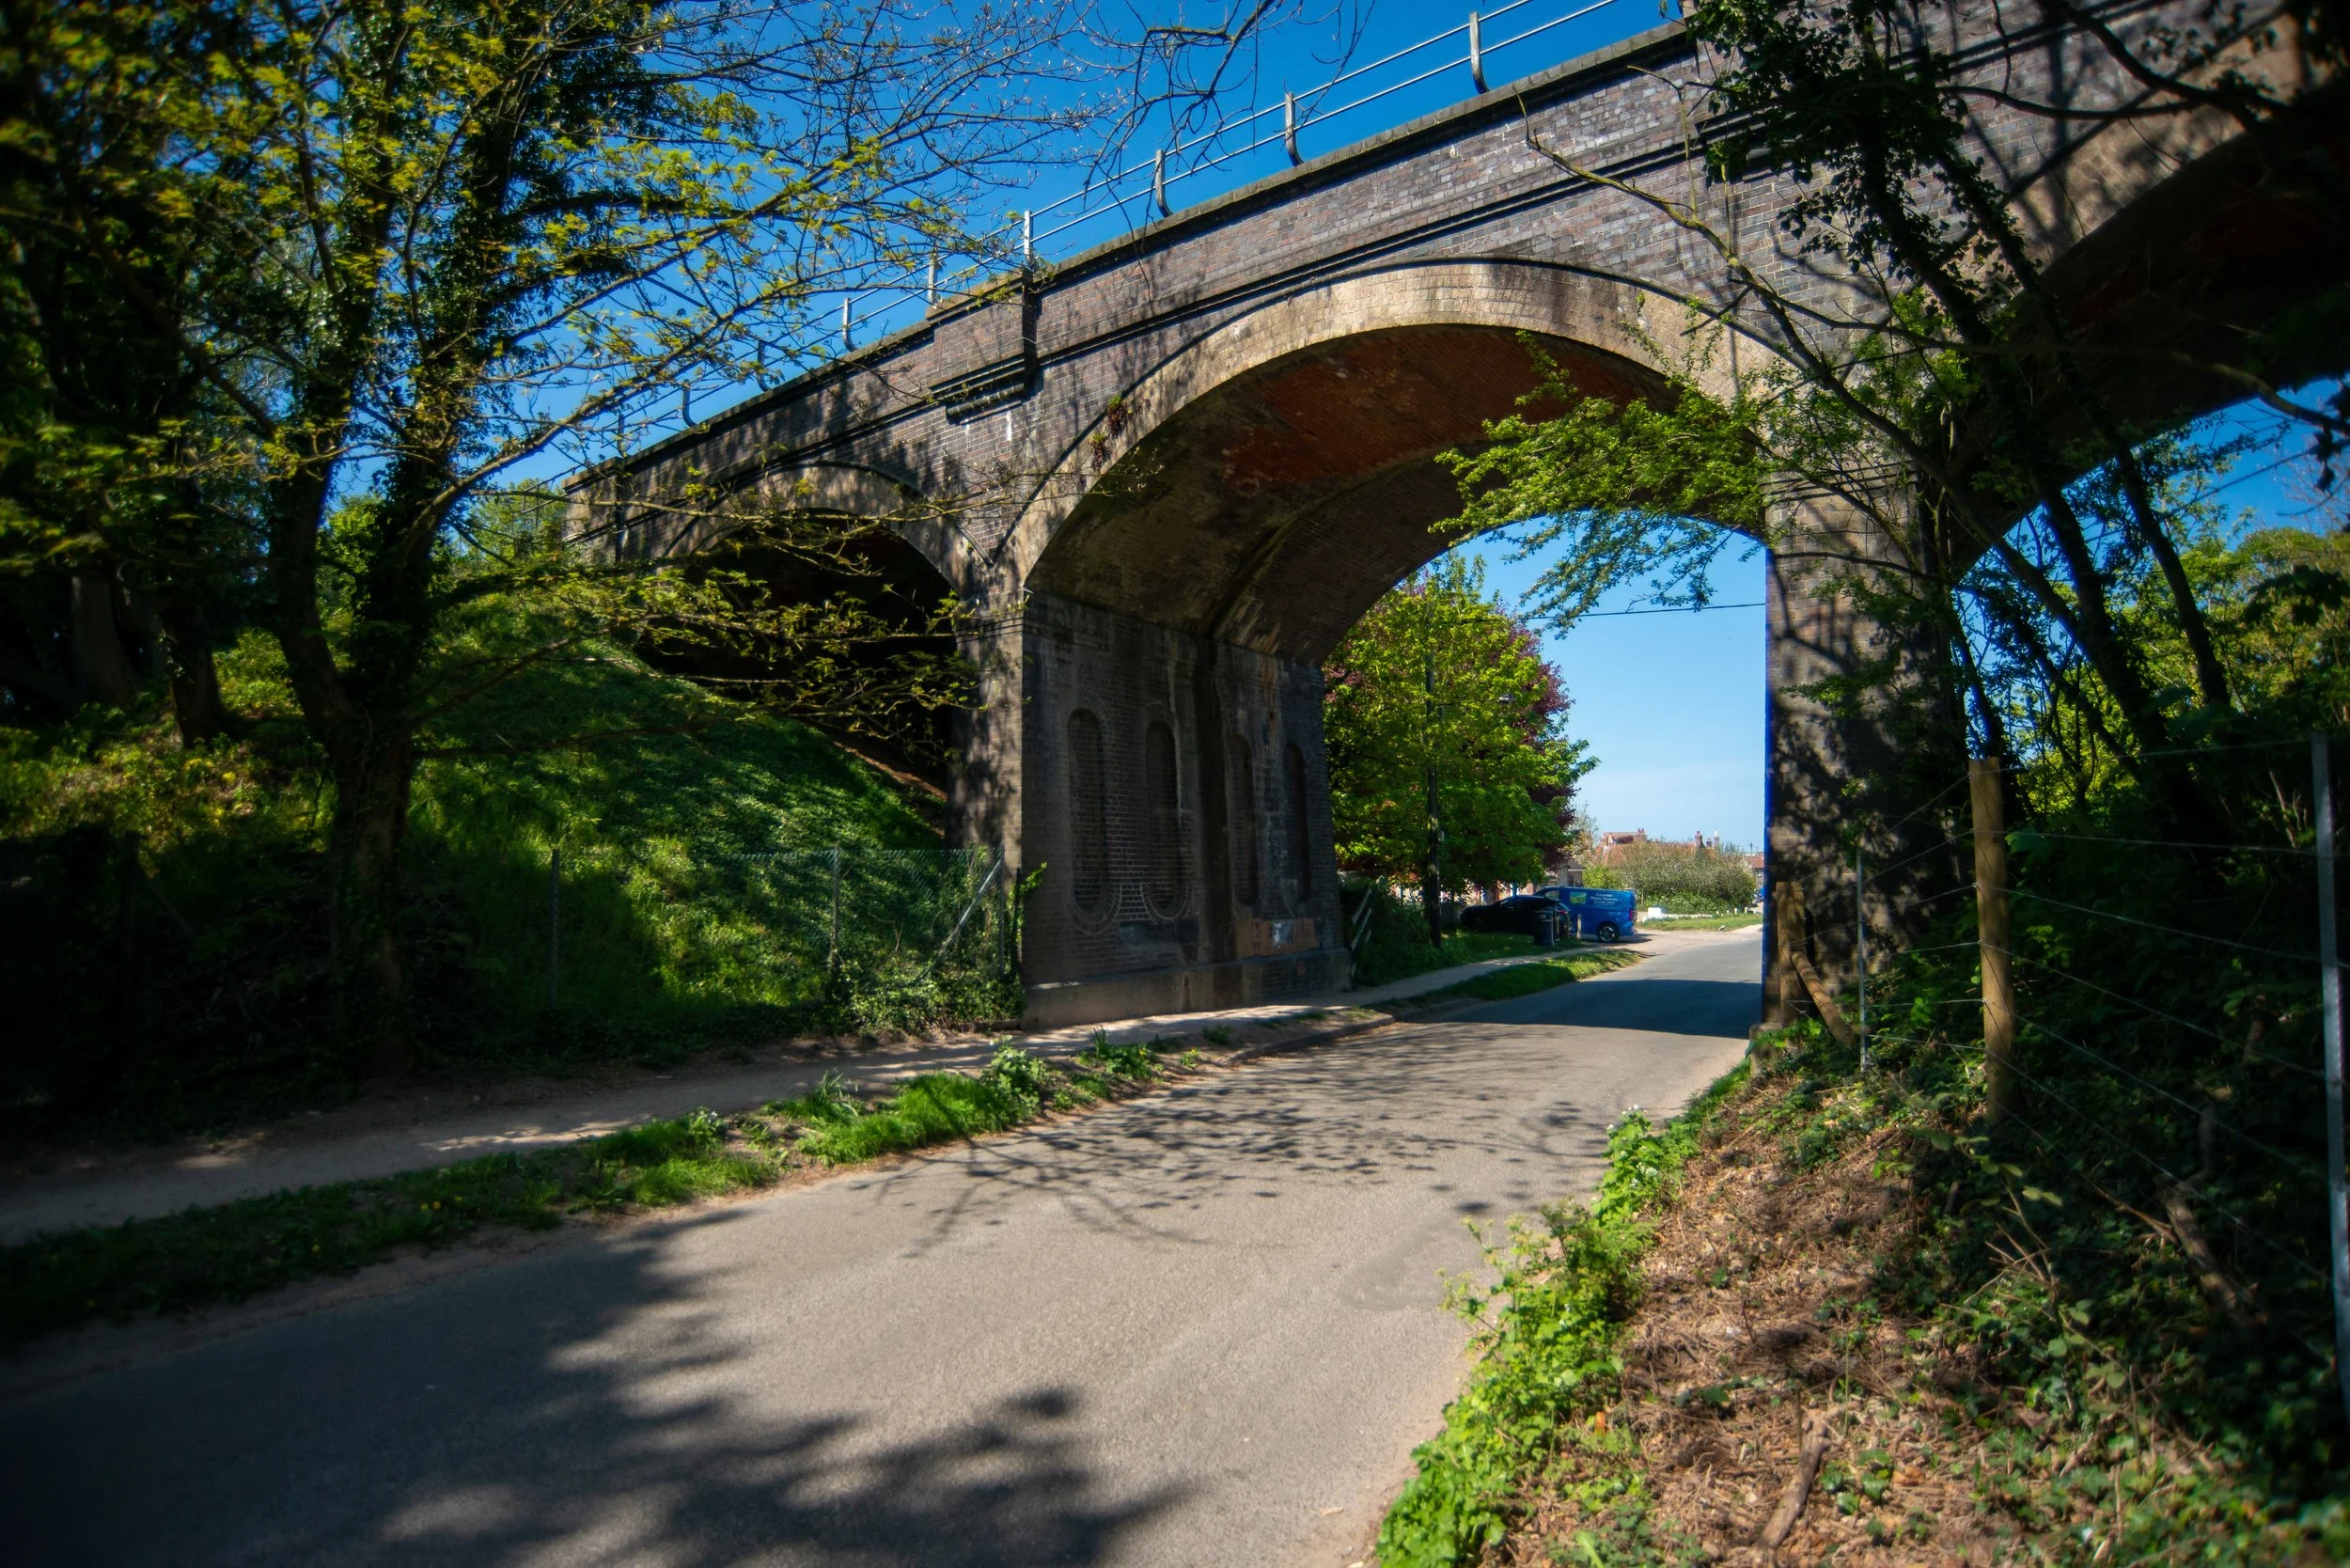
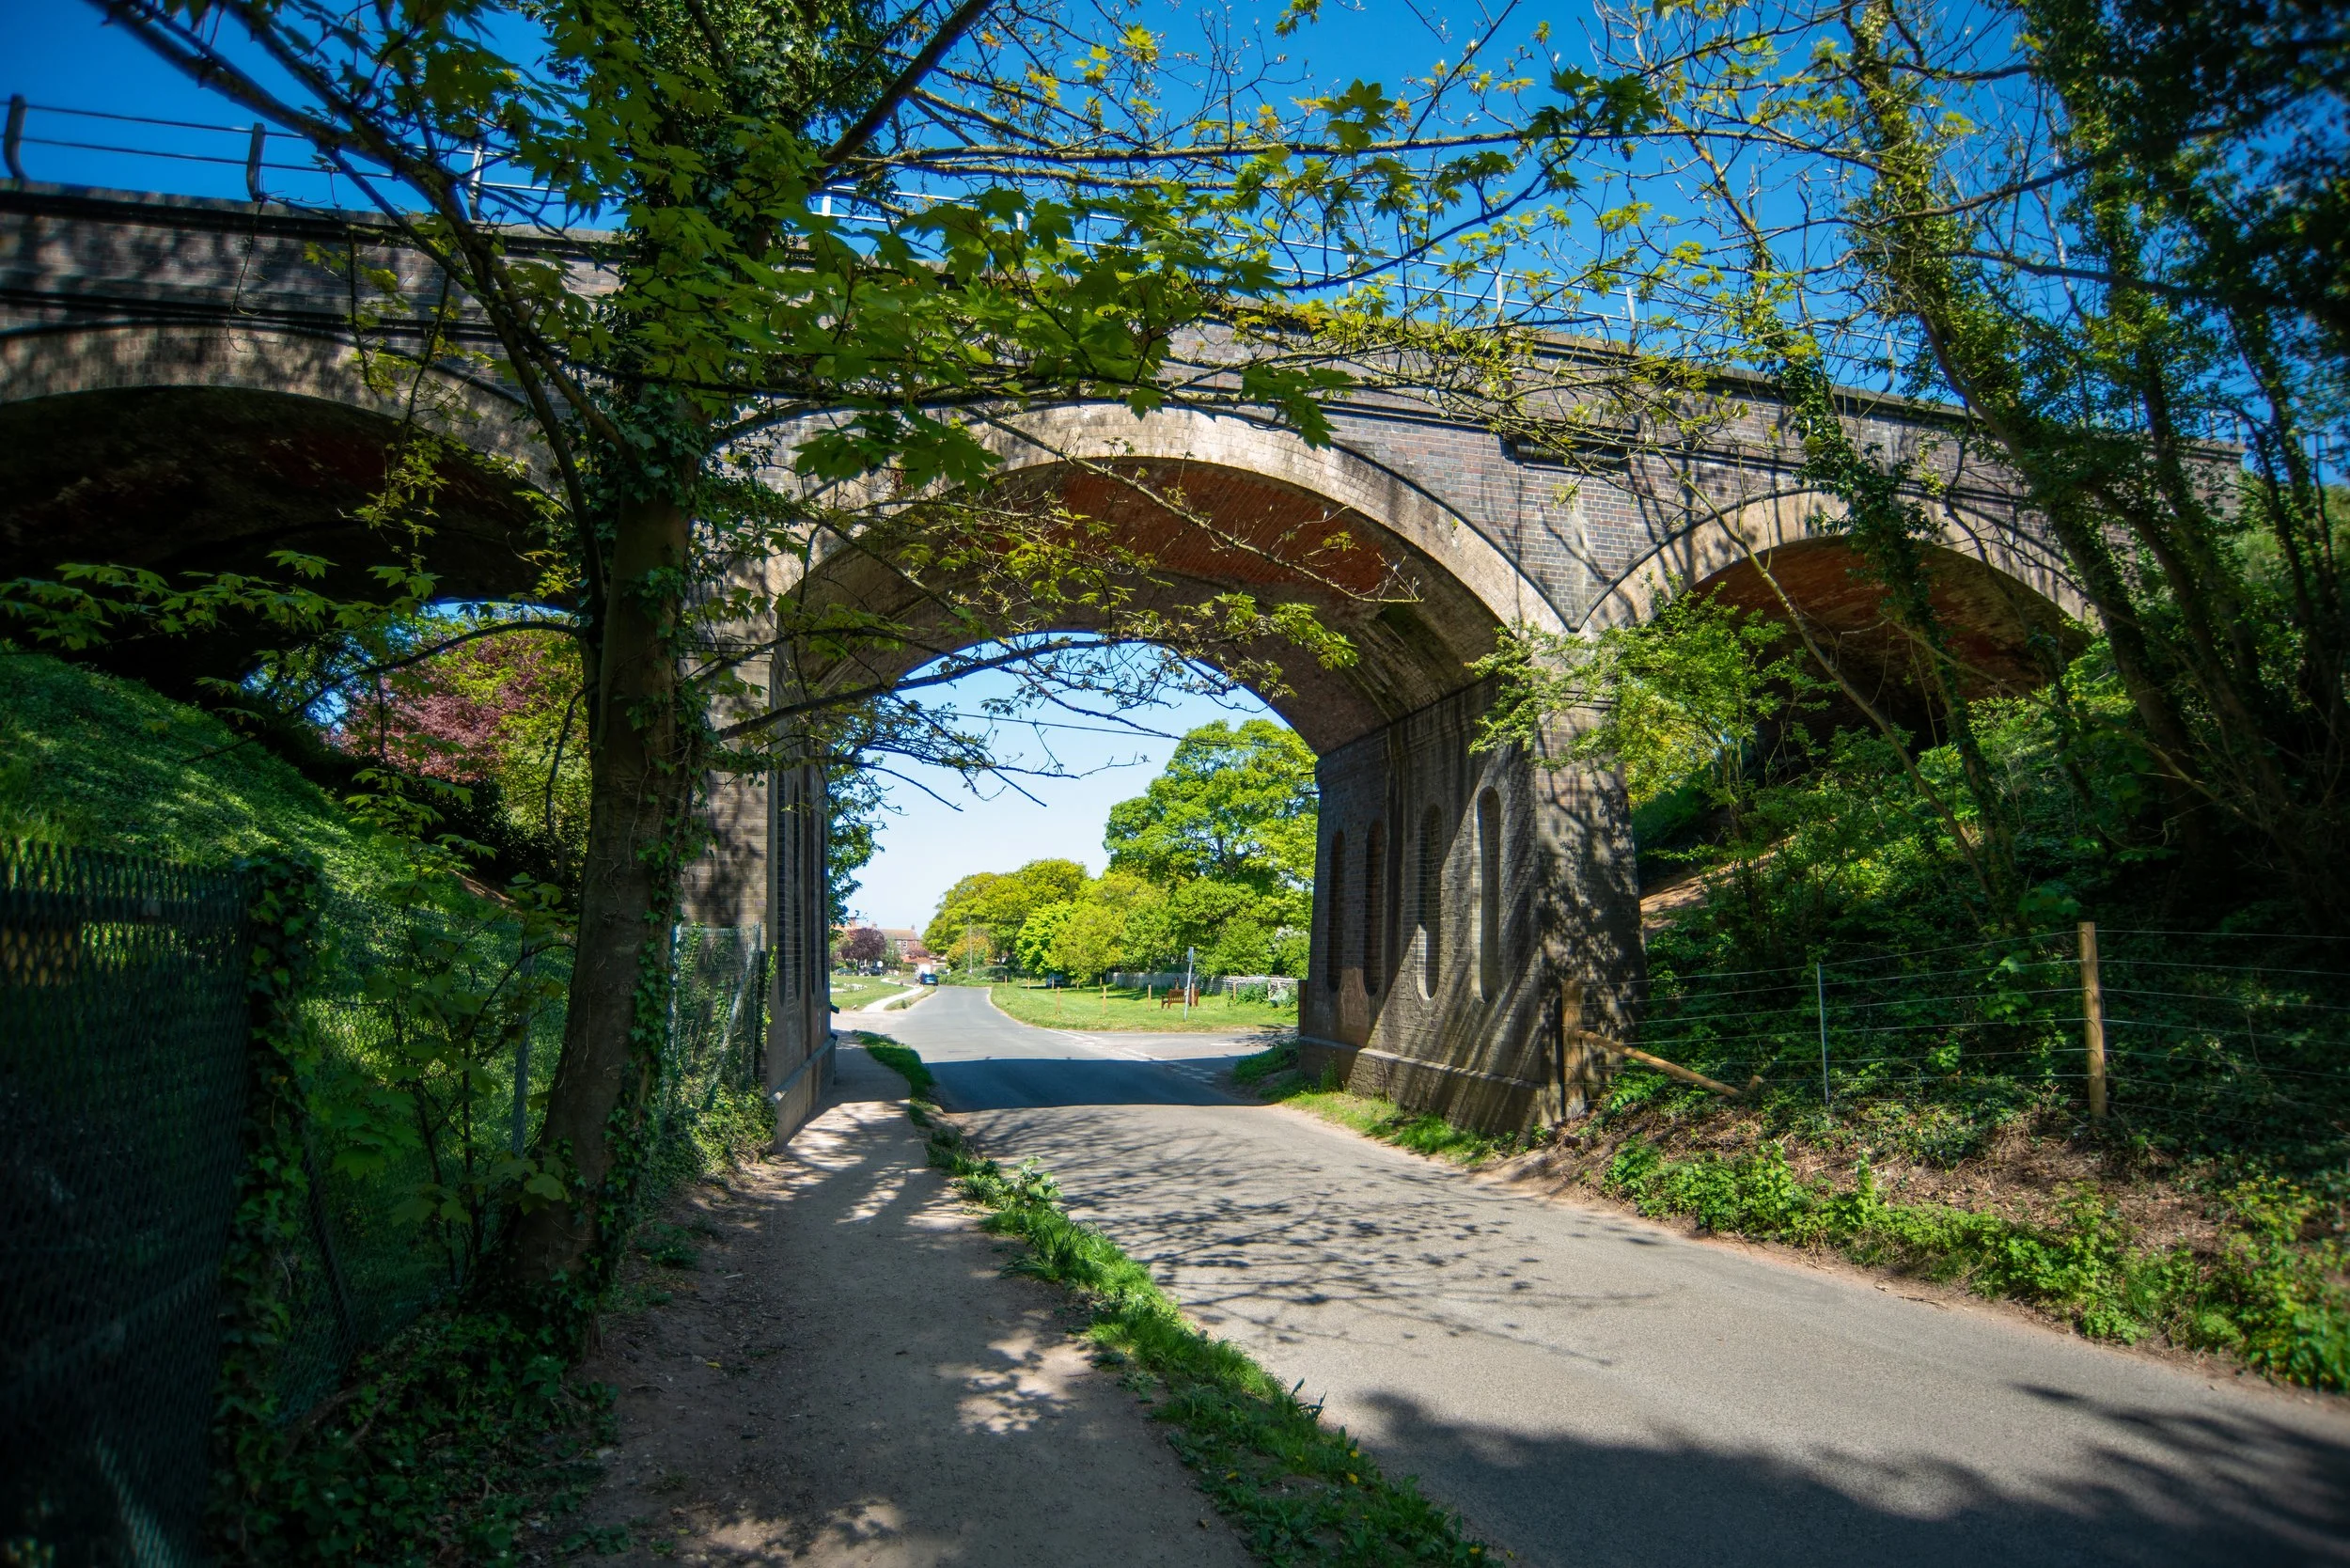
Just past Cromer tunnel lies another old railway bridge that now carries the A149 coast road over the old track bed.
There is another tunnel in Aylsham, the only railway tunnel in Norfolk currently open to trains. The tunnel is used by the narrow-gauge Bure Valley Railway to pass under the Aylsham Bypass. It was built after the standard-gauge East Norfolk Railway closed.
There was once also a tunnel at Barsham that has since been partially demolished and is also covered on this web page.
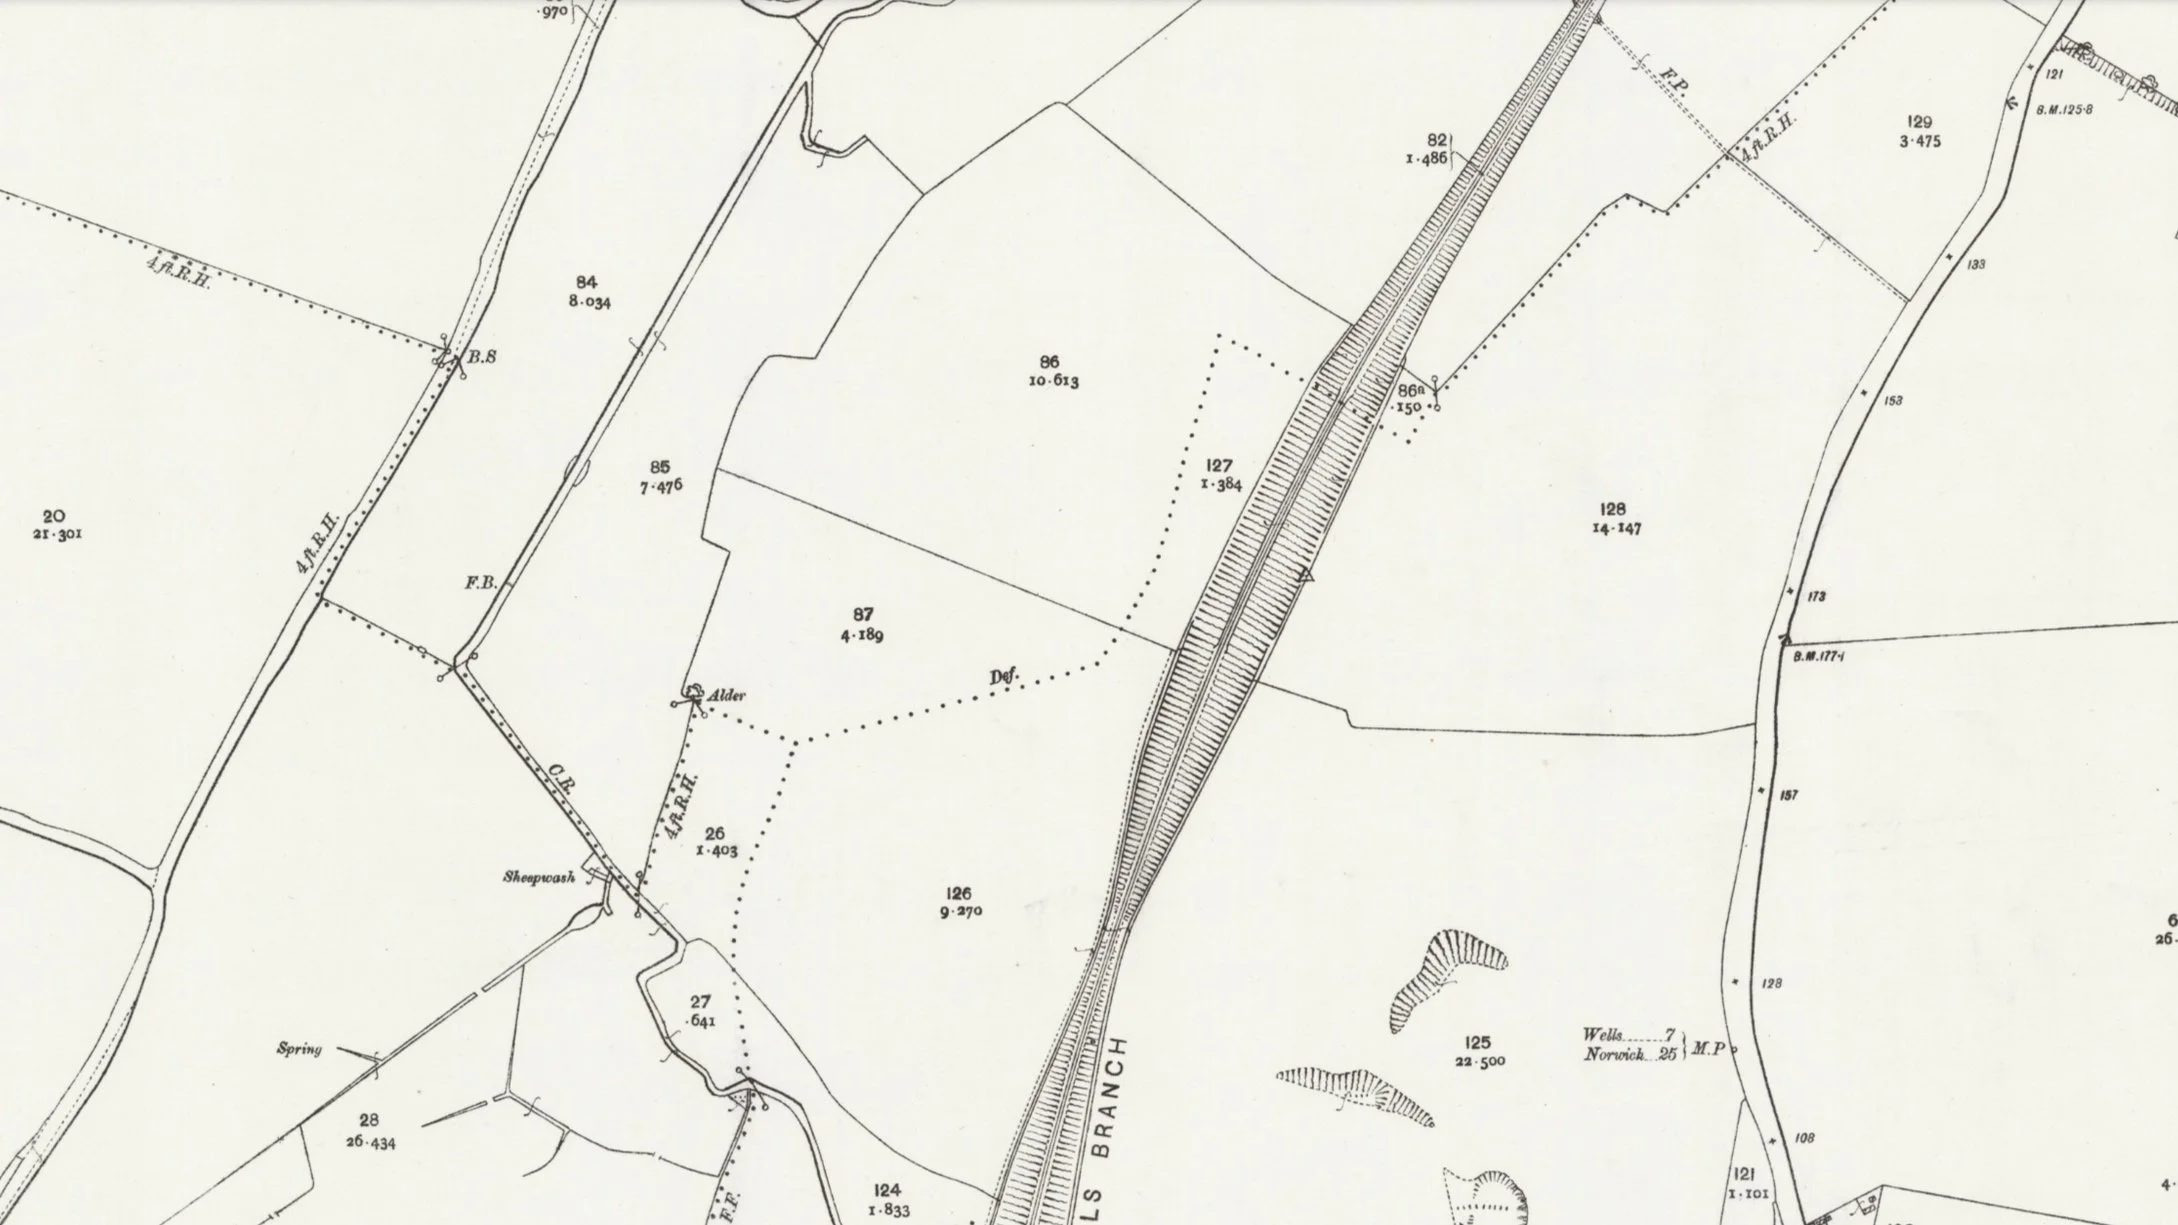
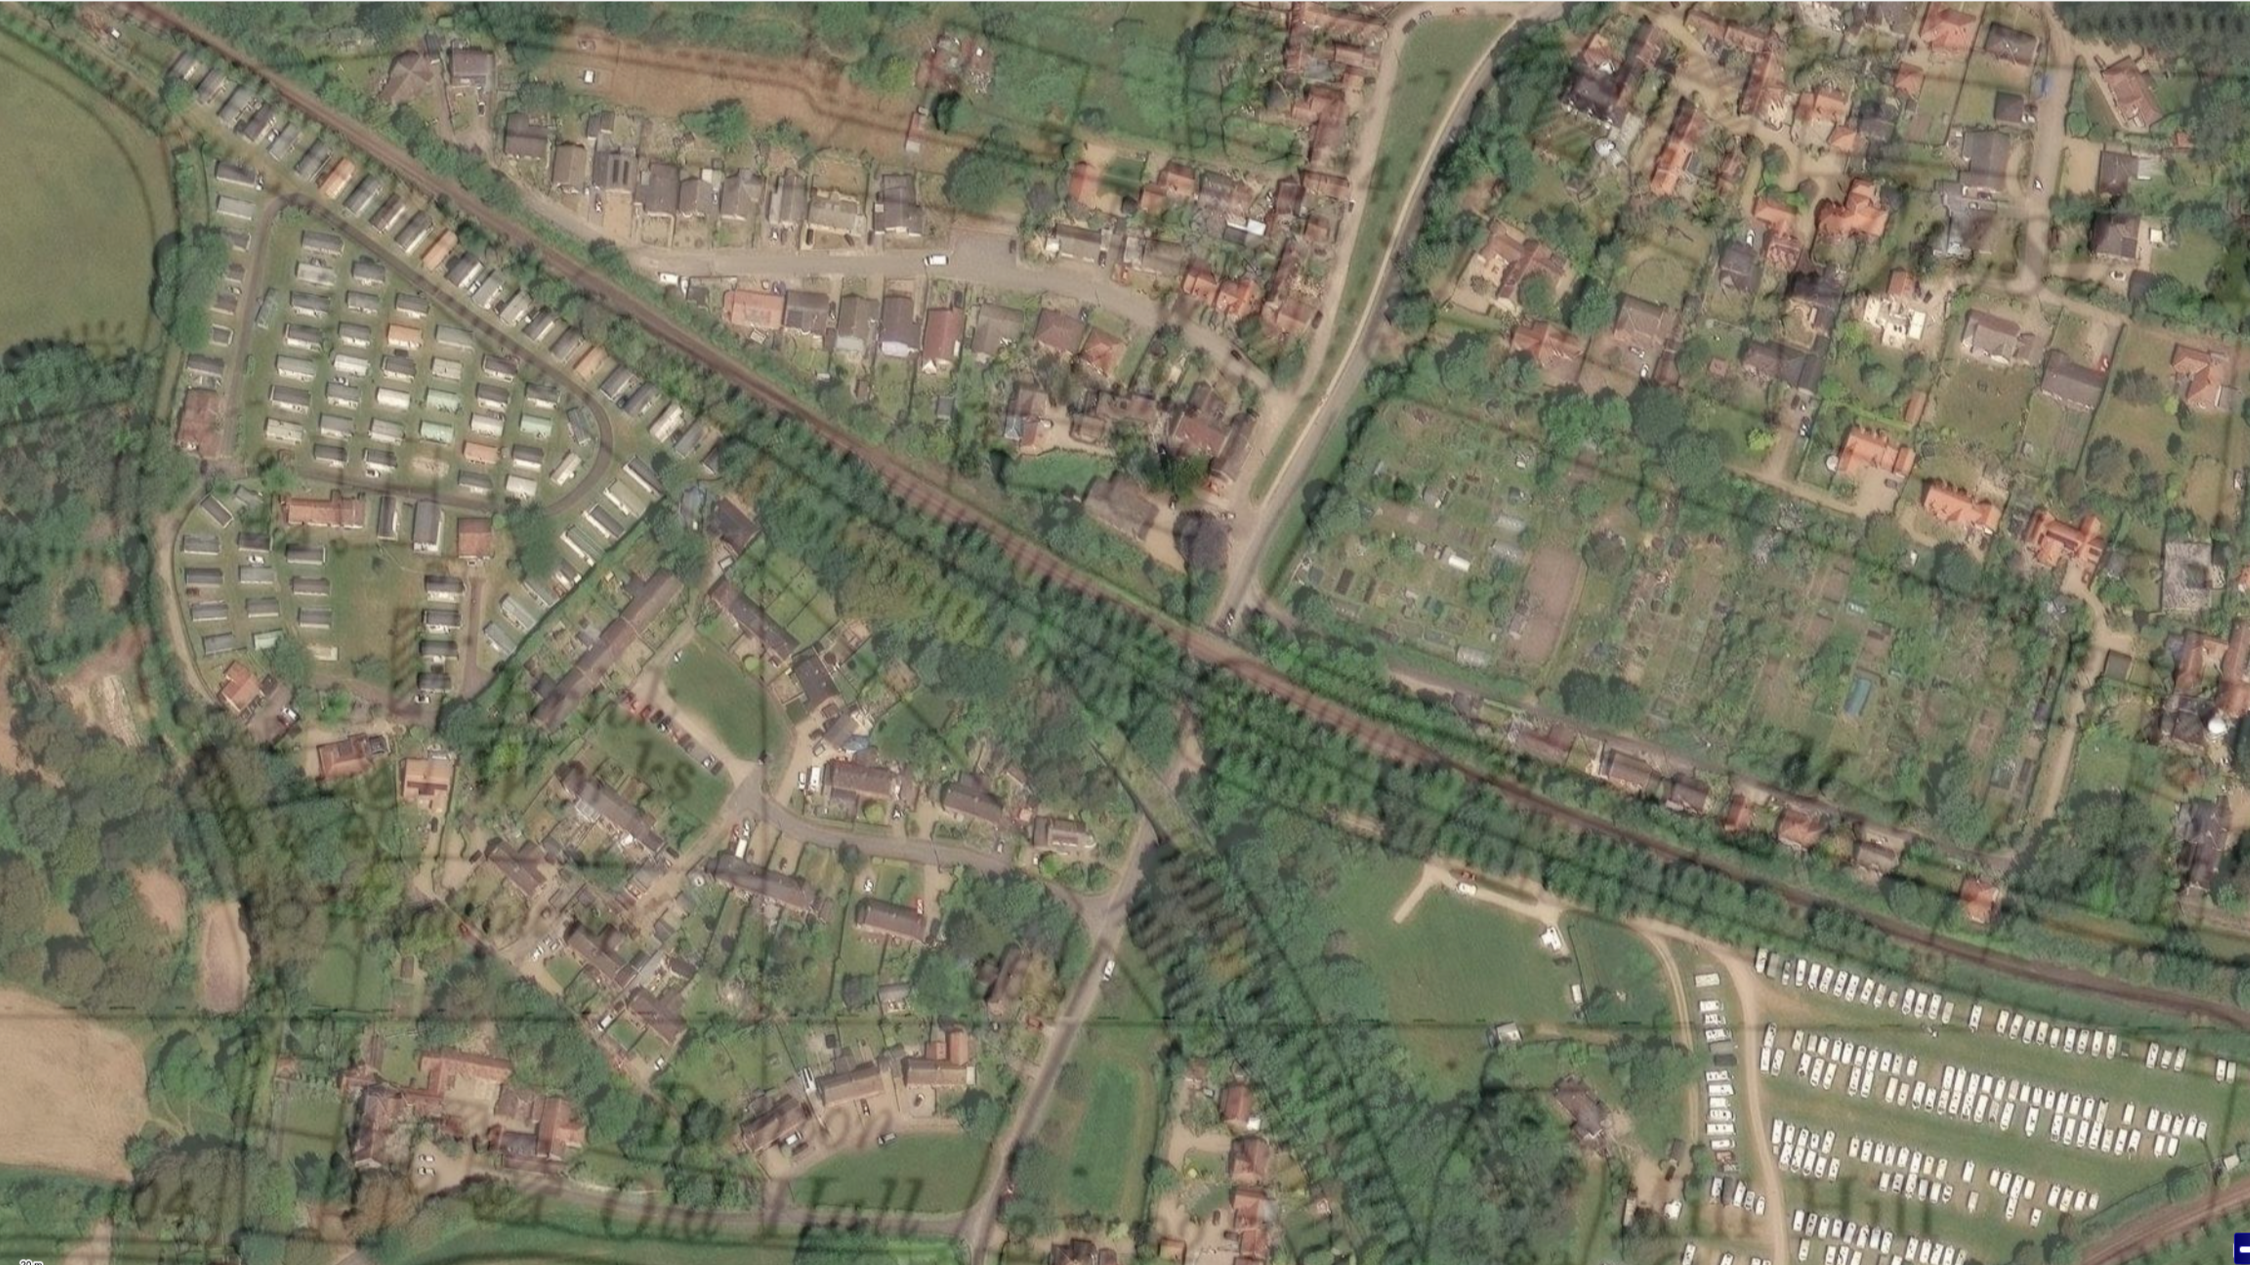
The tunnel at Cromer and Cromer High Station are both shown on the maps.
Thanks to the National Library of Scotland.

Split modern and historic maps.
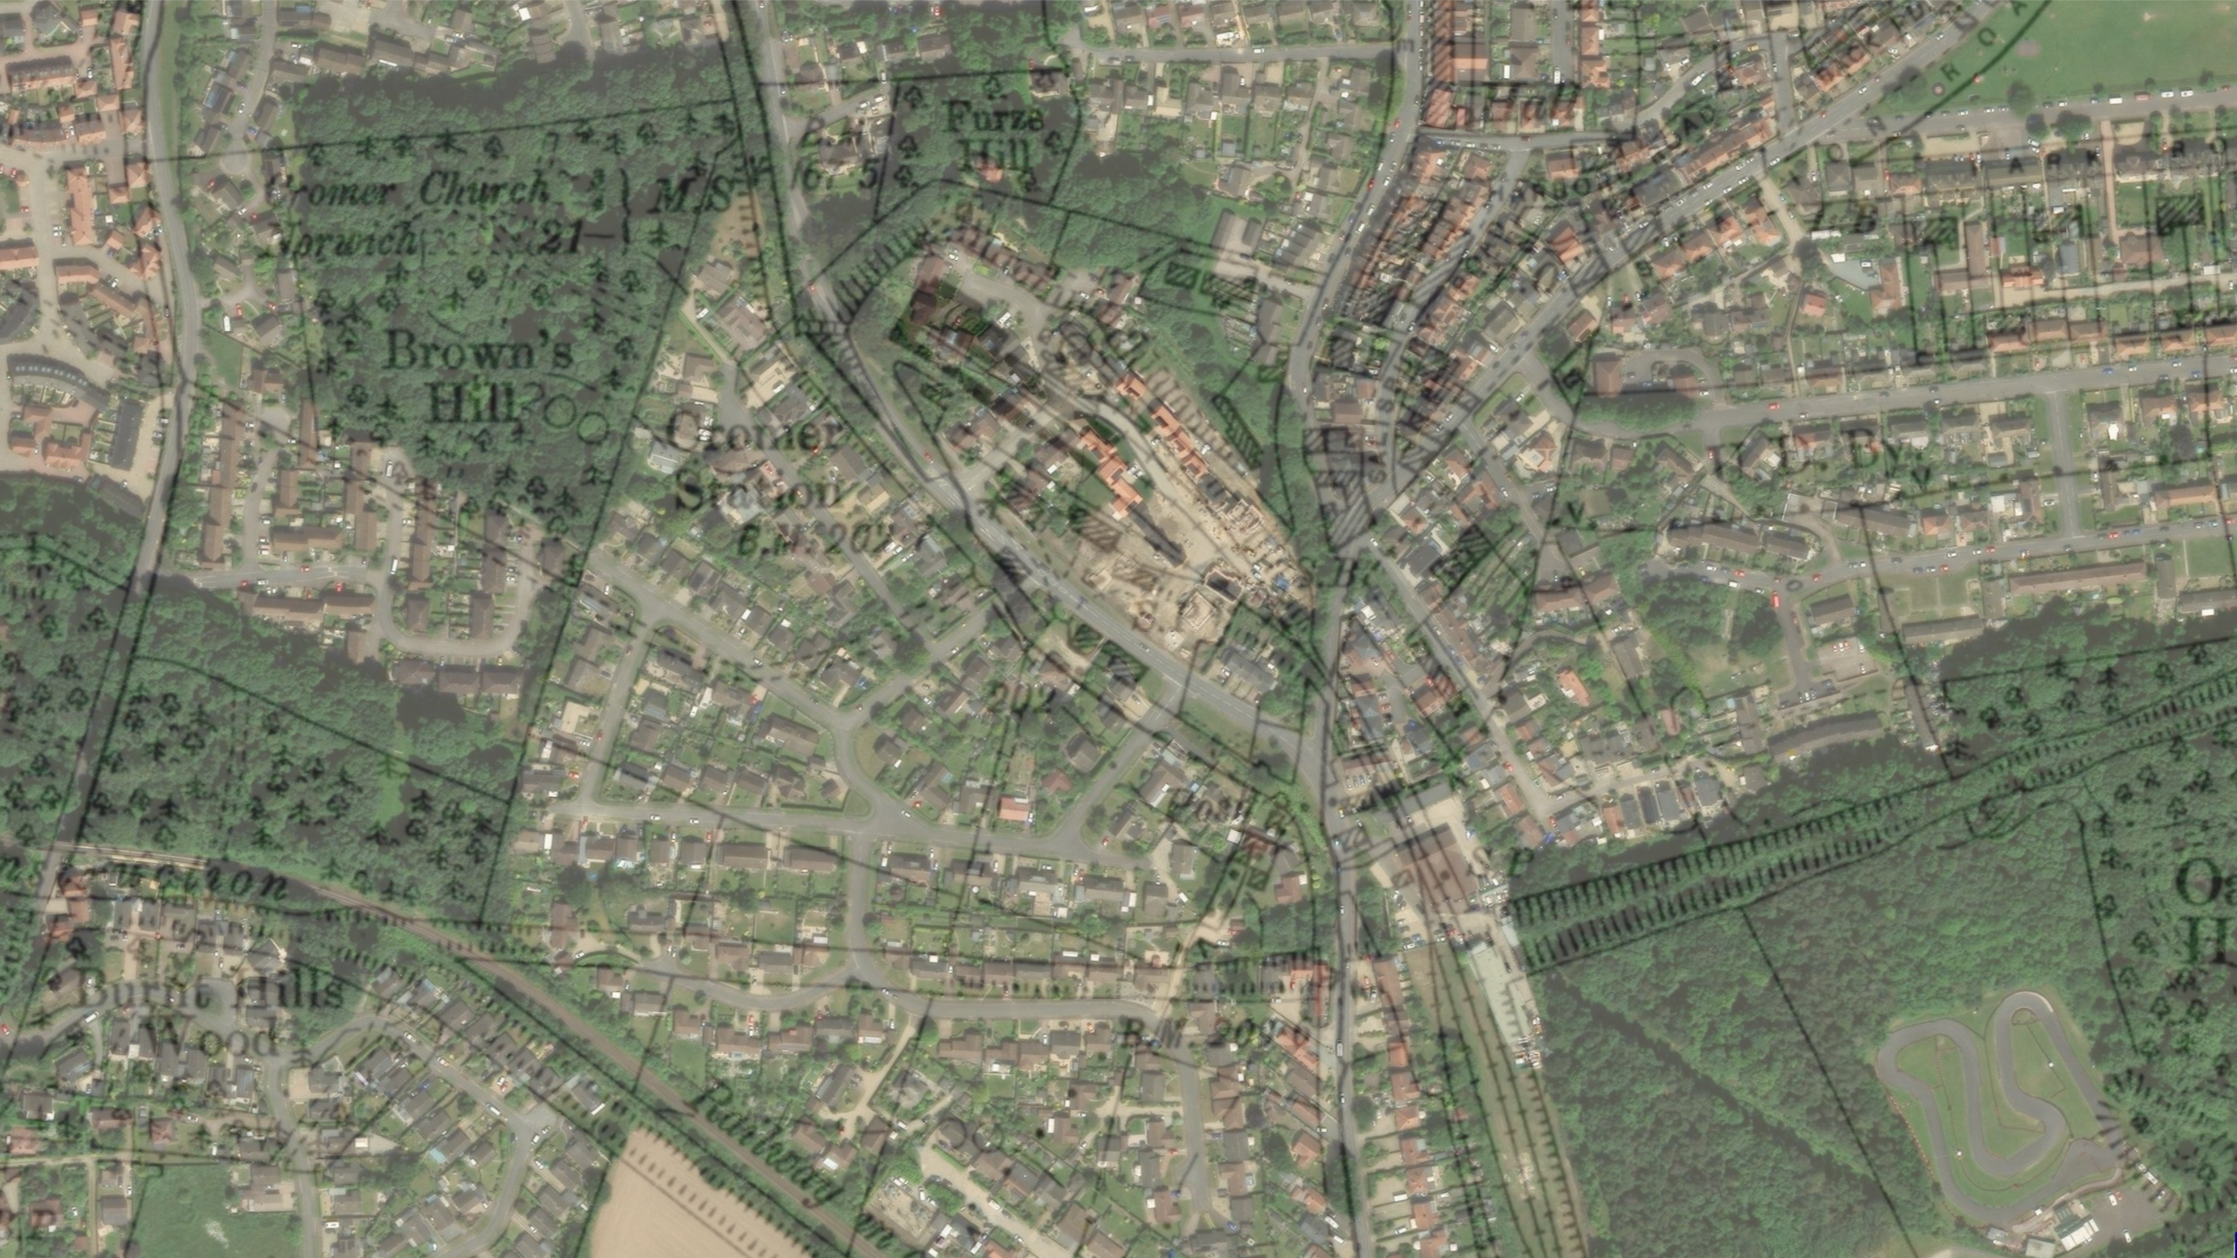
Historic maps showing when only one line was in use.
The Great Eastern-East Norfolk line to Norwich.

Historic maps show the second line as under construction.
Norfolk and Suffolk Joint Railway, North Walsham and Cromer via Mundesley line.

Later dated maps show the railway and tunnel as disused.

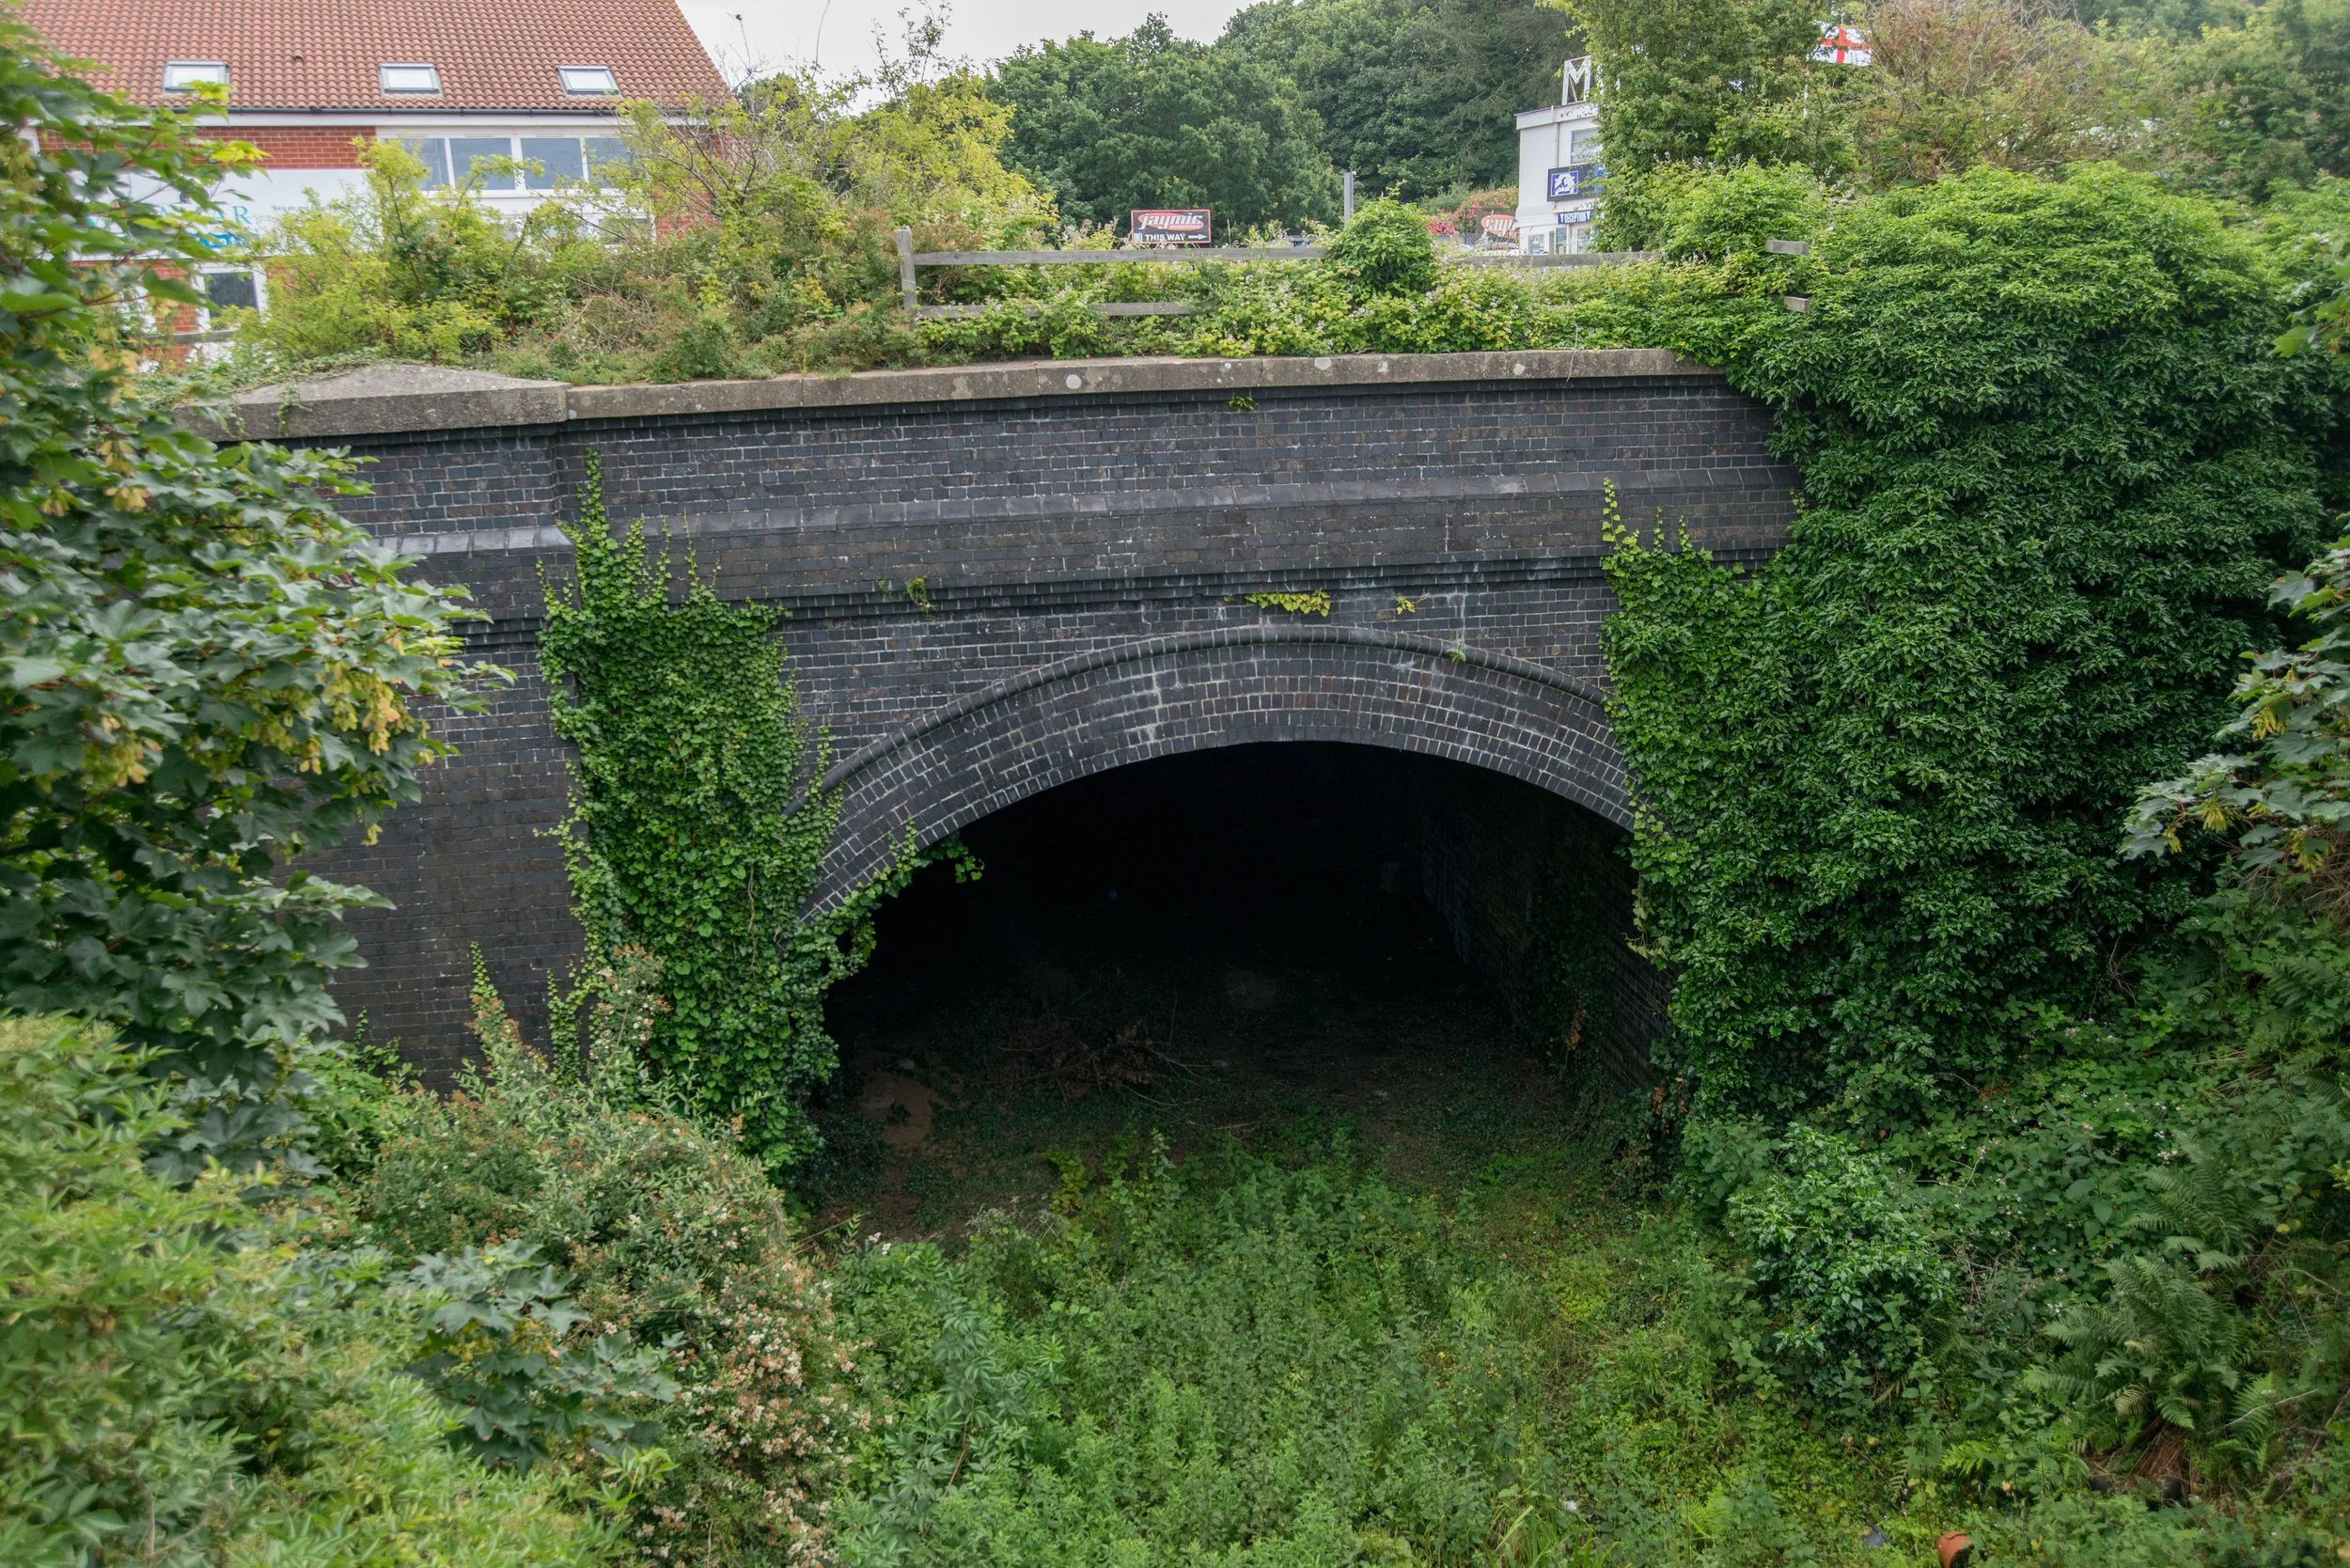
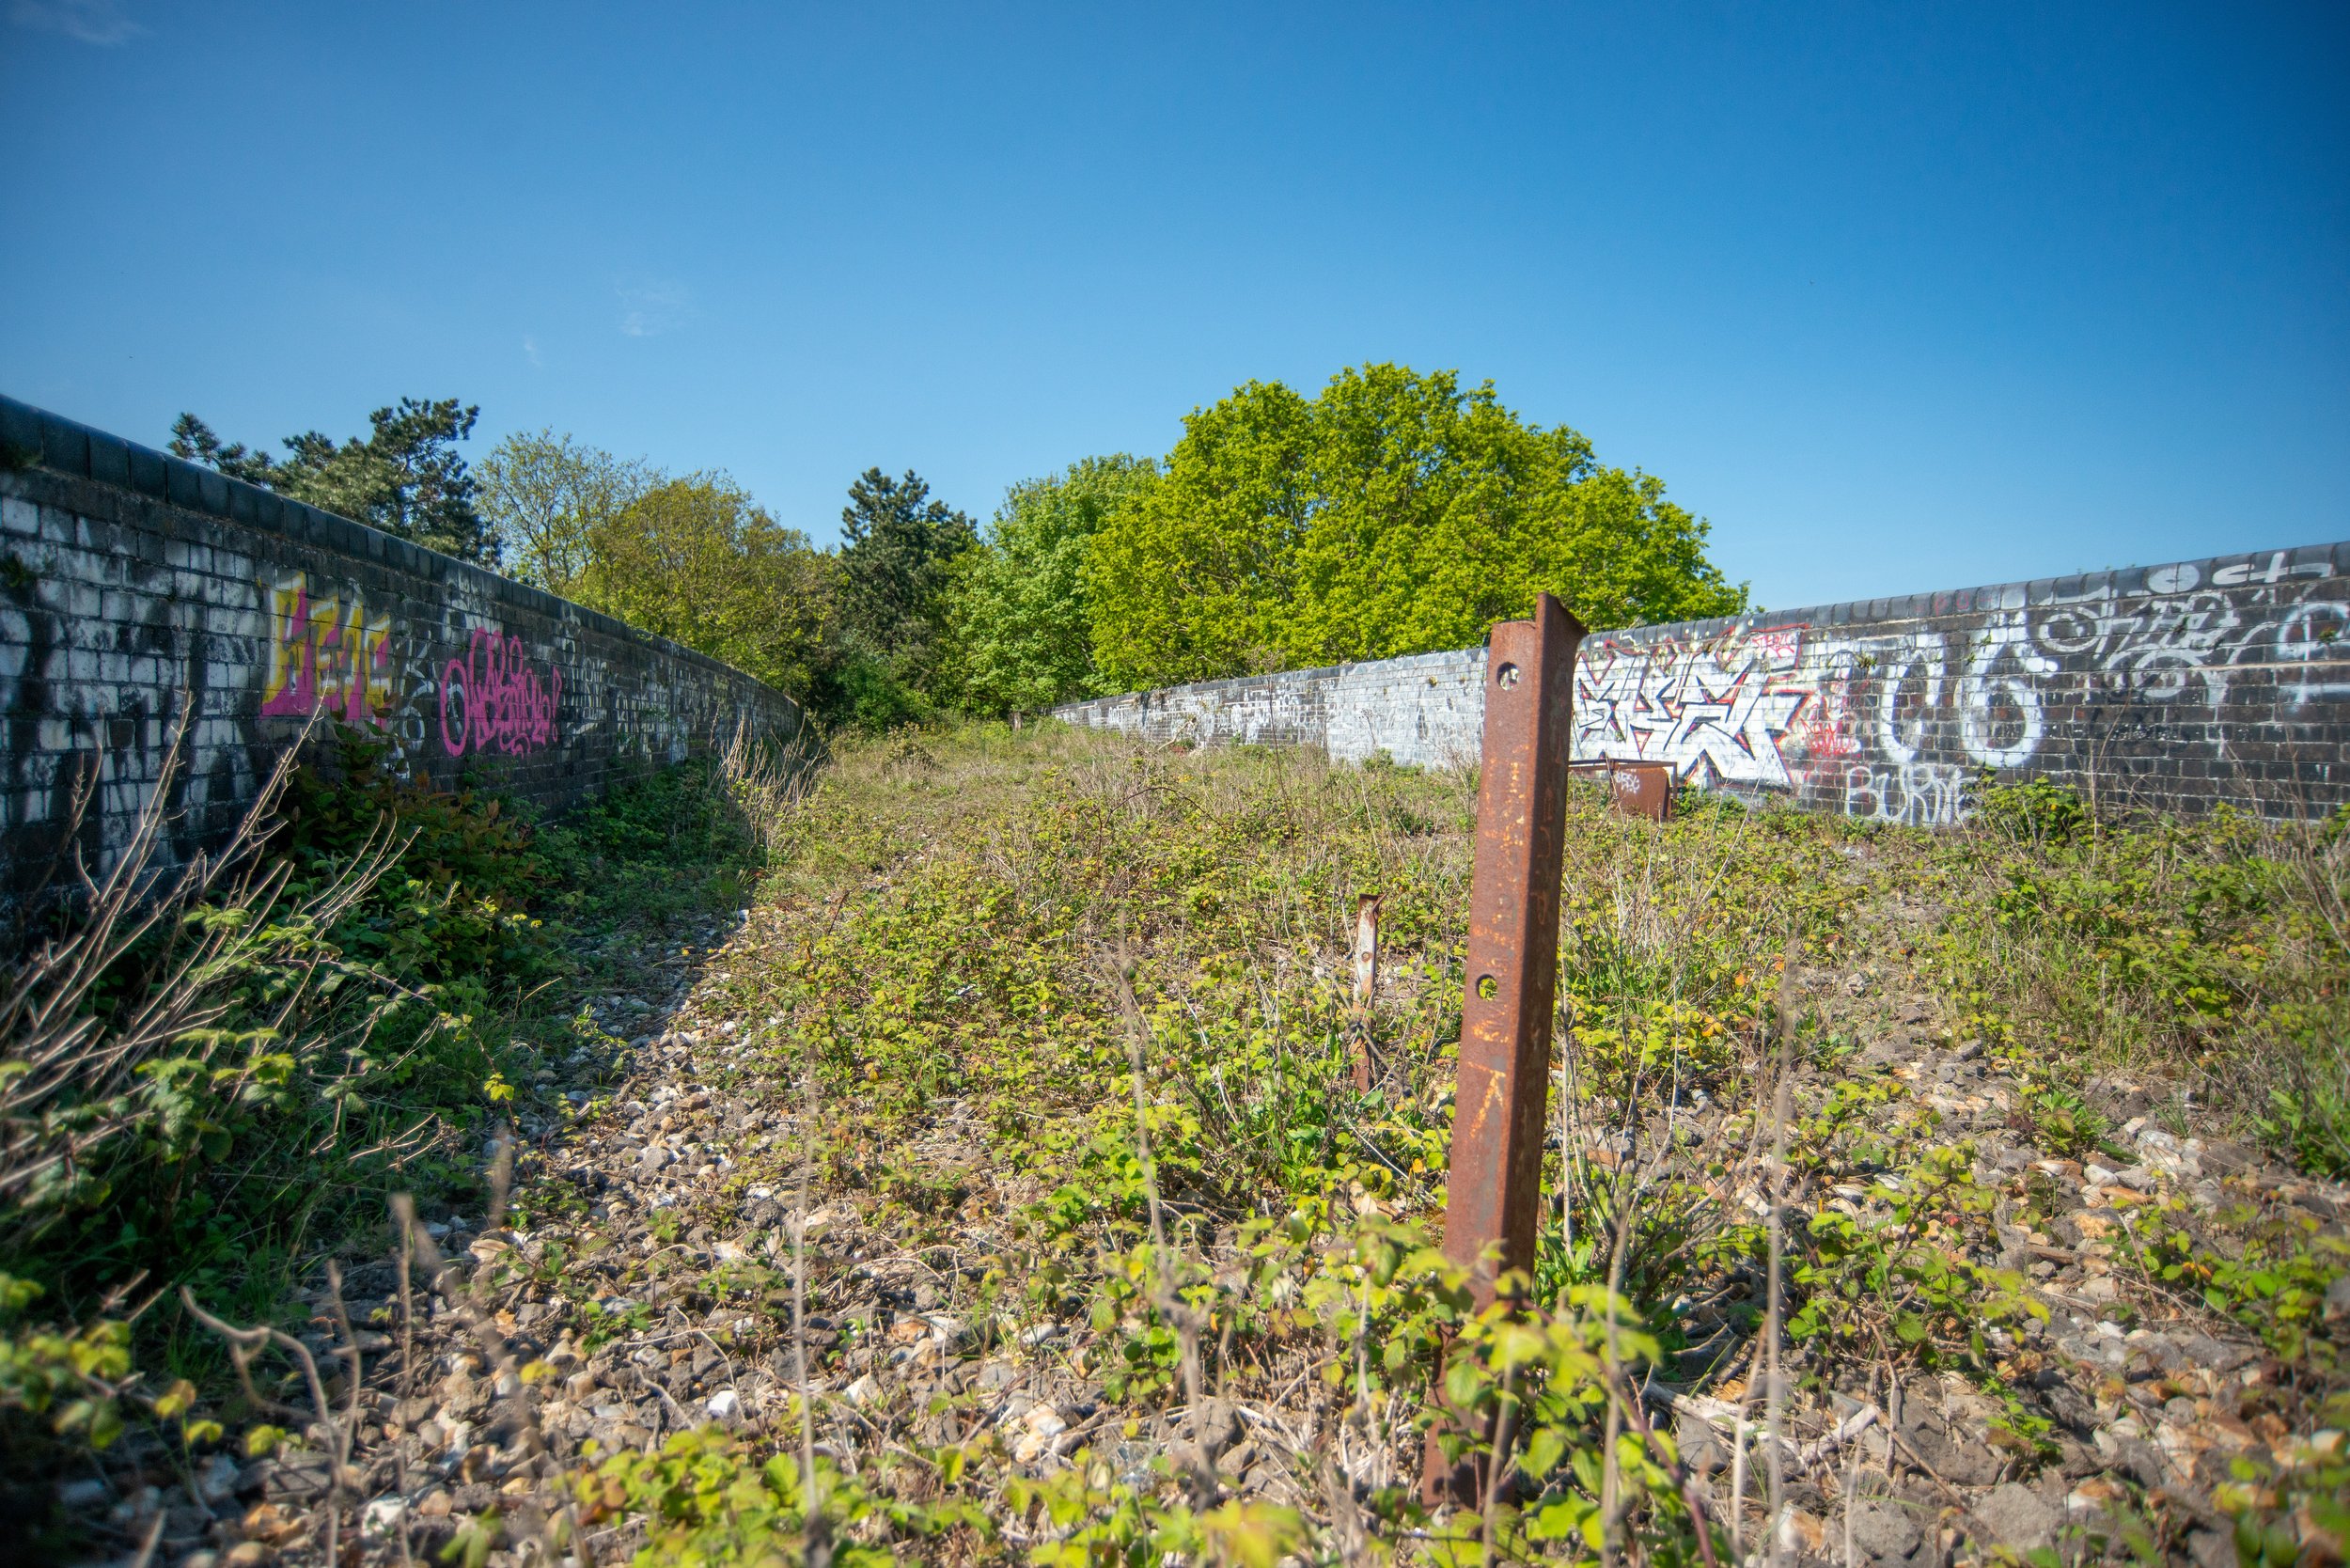
Photographed July 2021
When I arrived at the site, access to the tunnel was to the left of this picture, with the A149 main road also crossing the old track bed.

I first visited the tunnel in Cromer in 2021 and have updated this page in 2026. However, I have not returned to the site since 2021, so I cannot speak to the current access conditions. When I visited, access was not easy due to several trip hazards, and depending on the time of year, the site could be quite wet or overgrown.
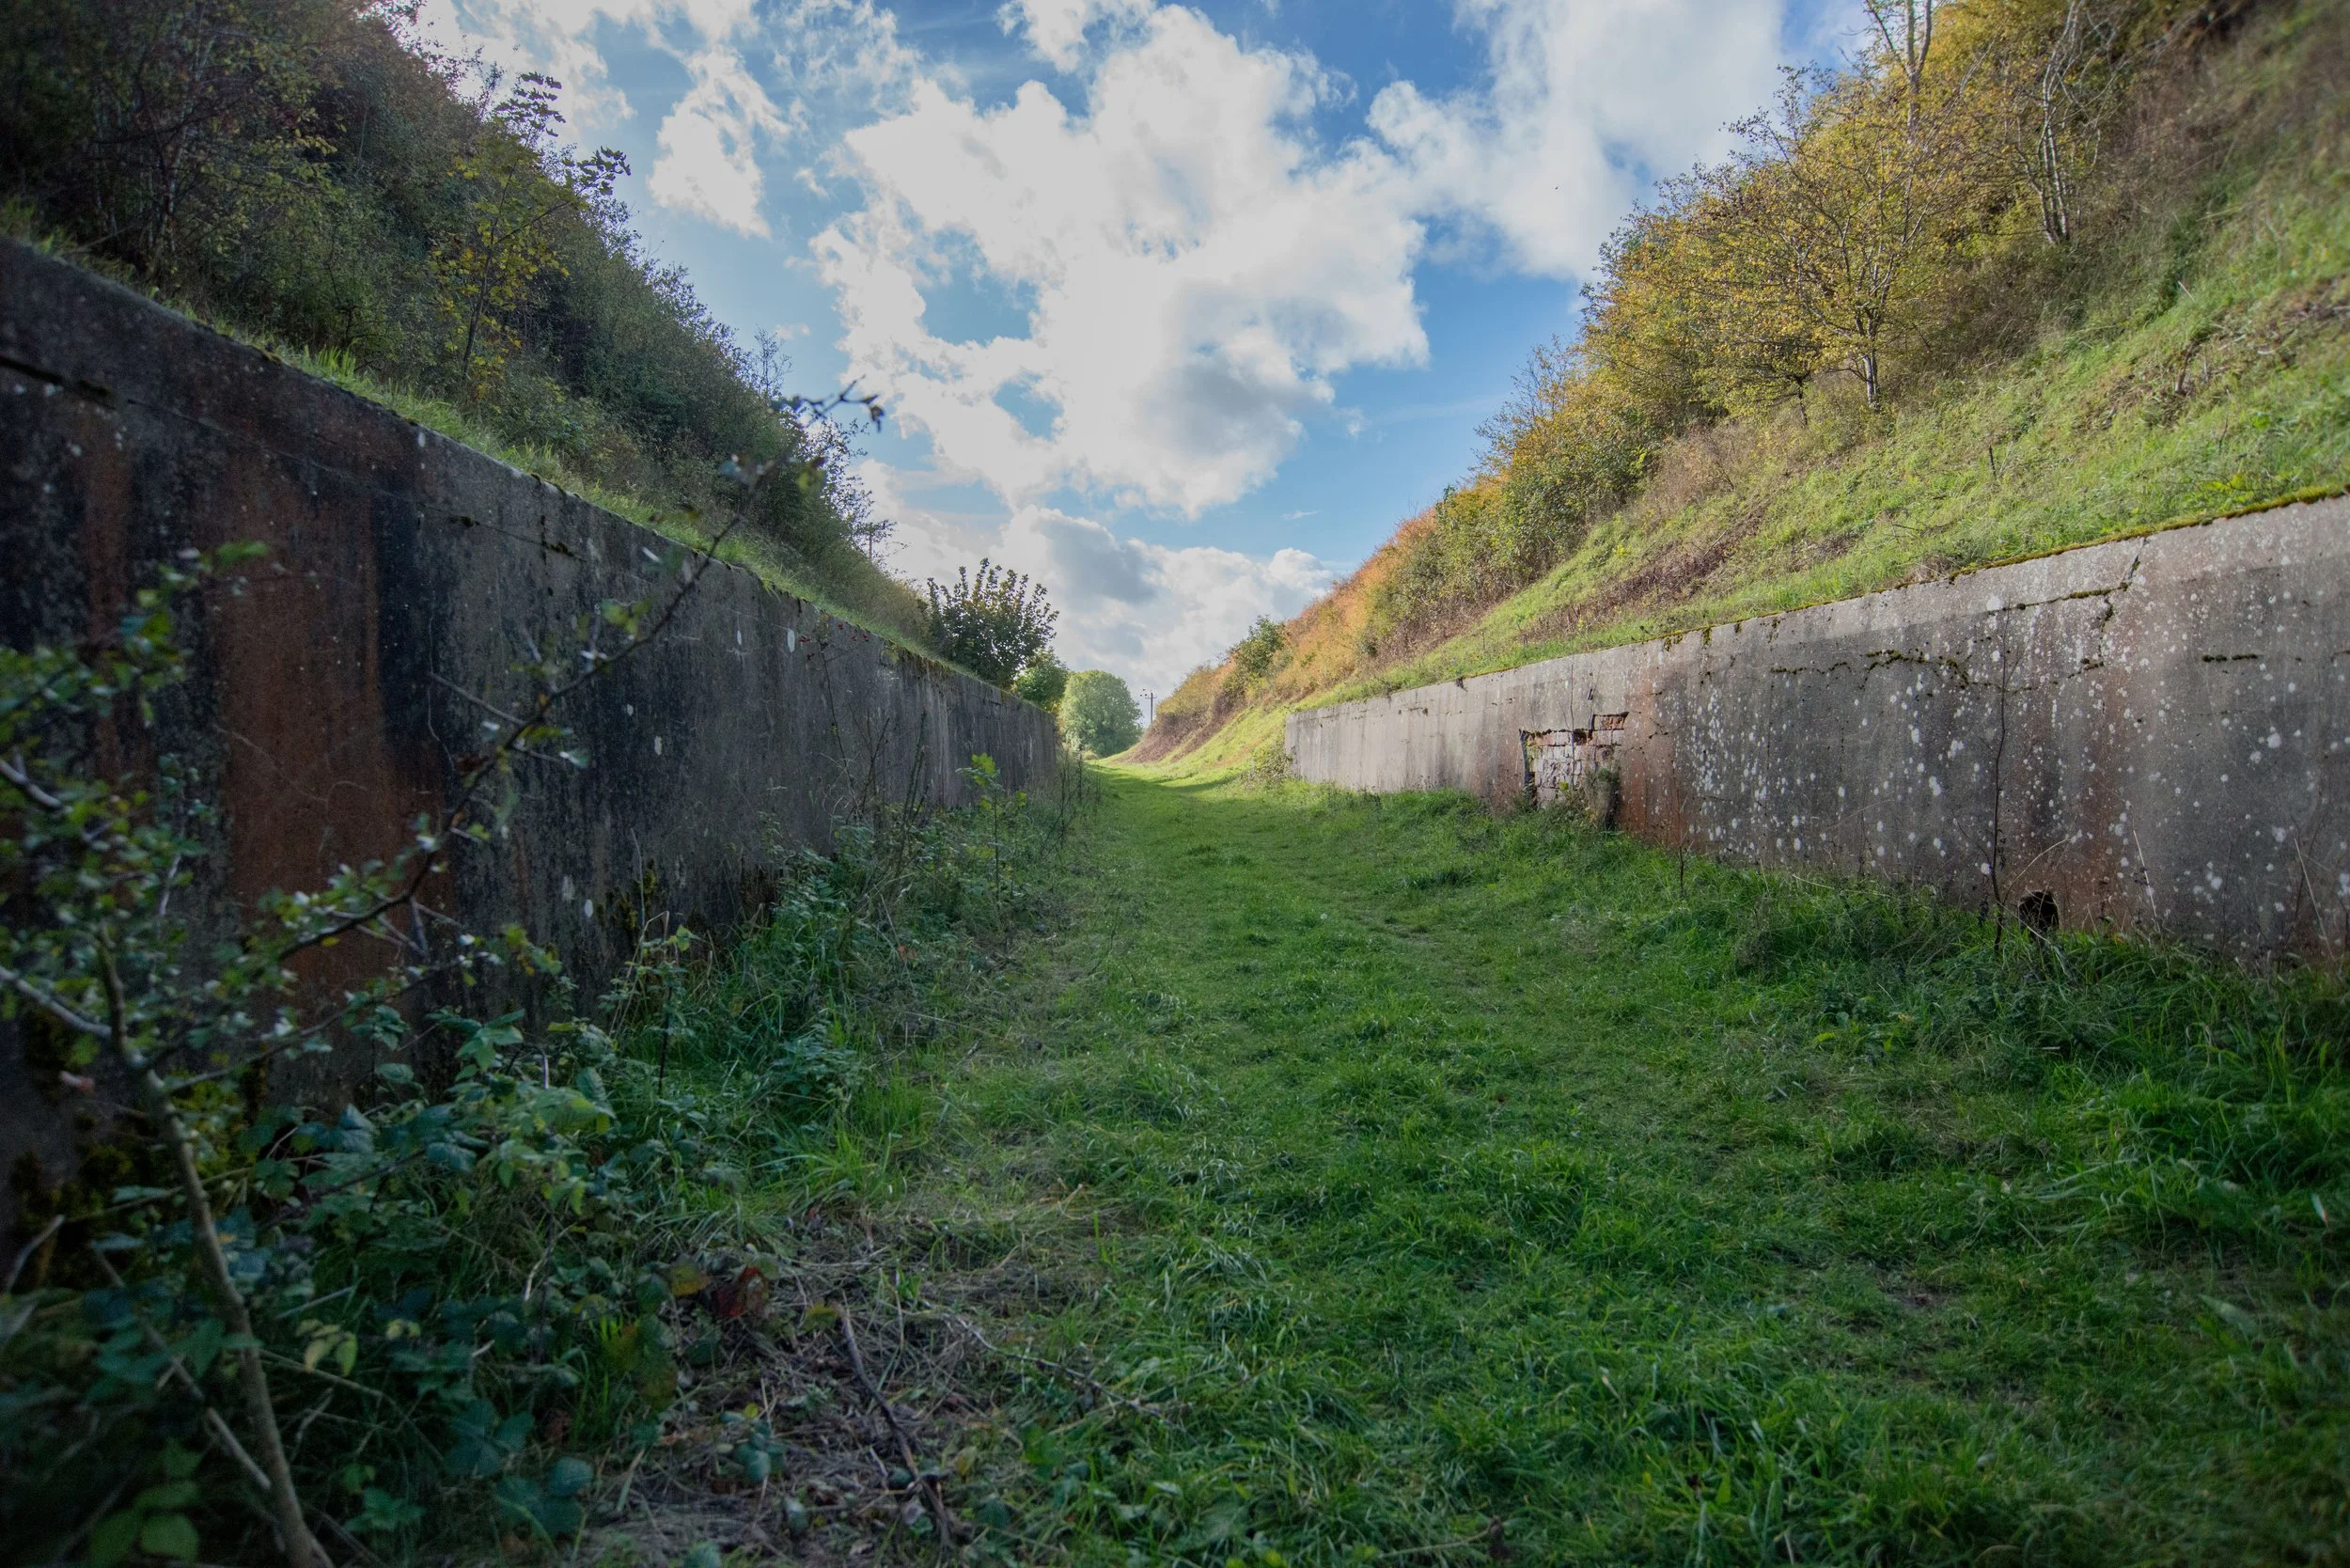
The portal of Cromer Tunnel
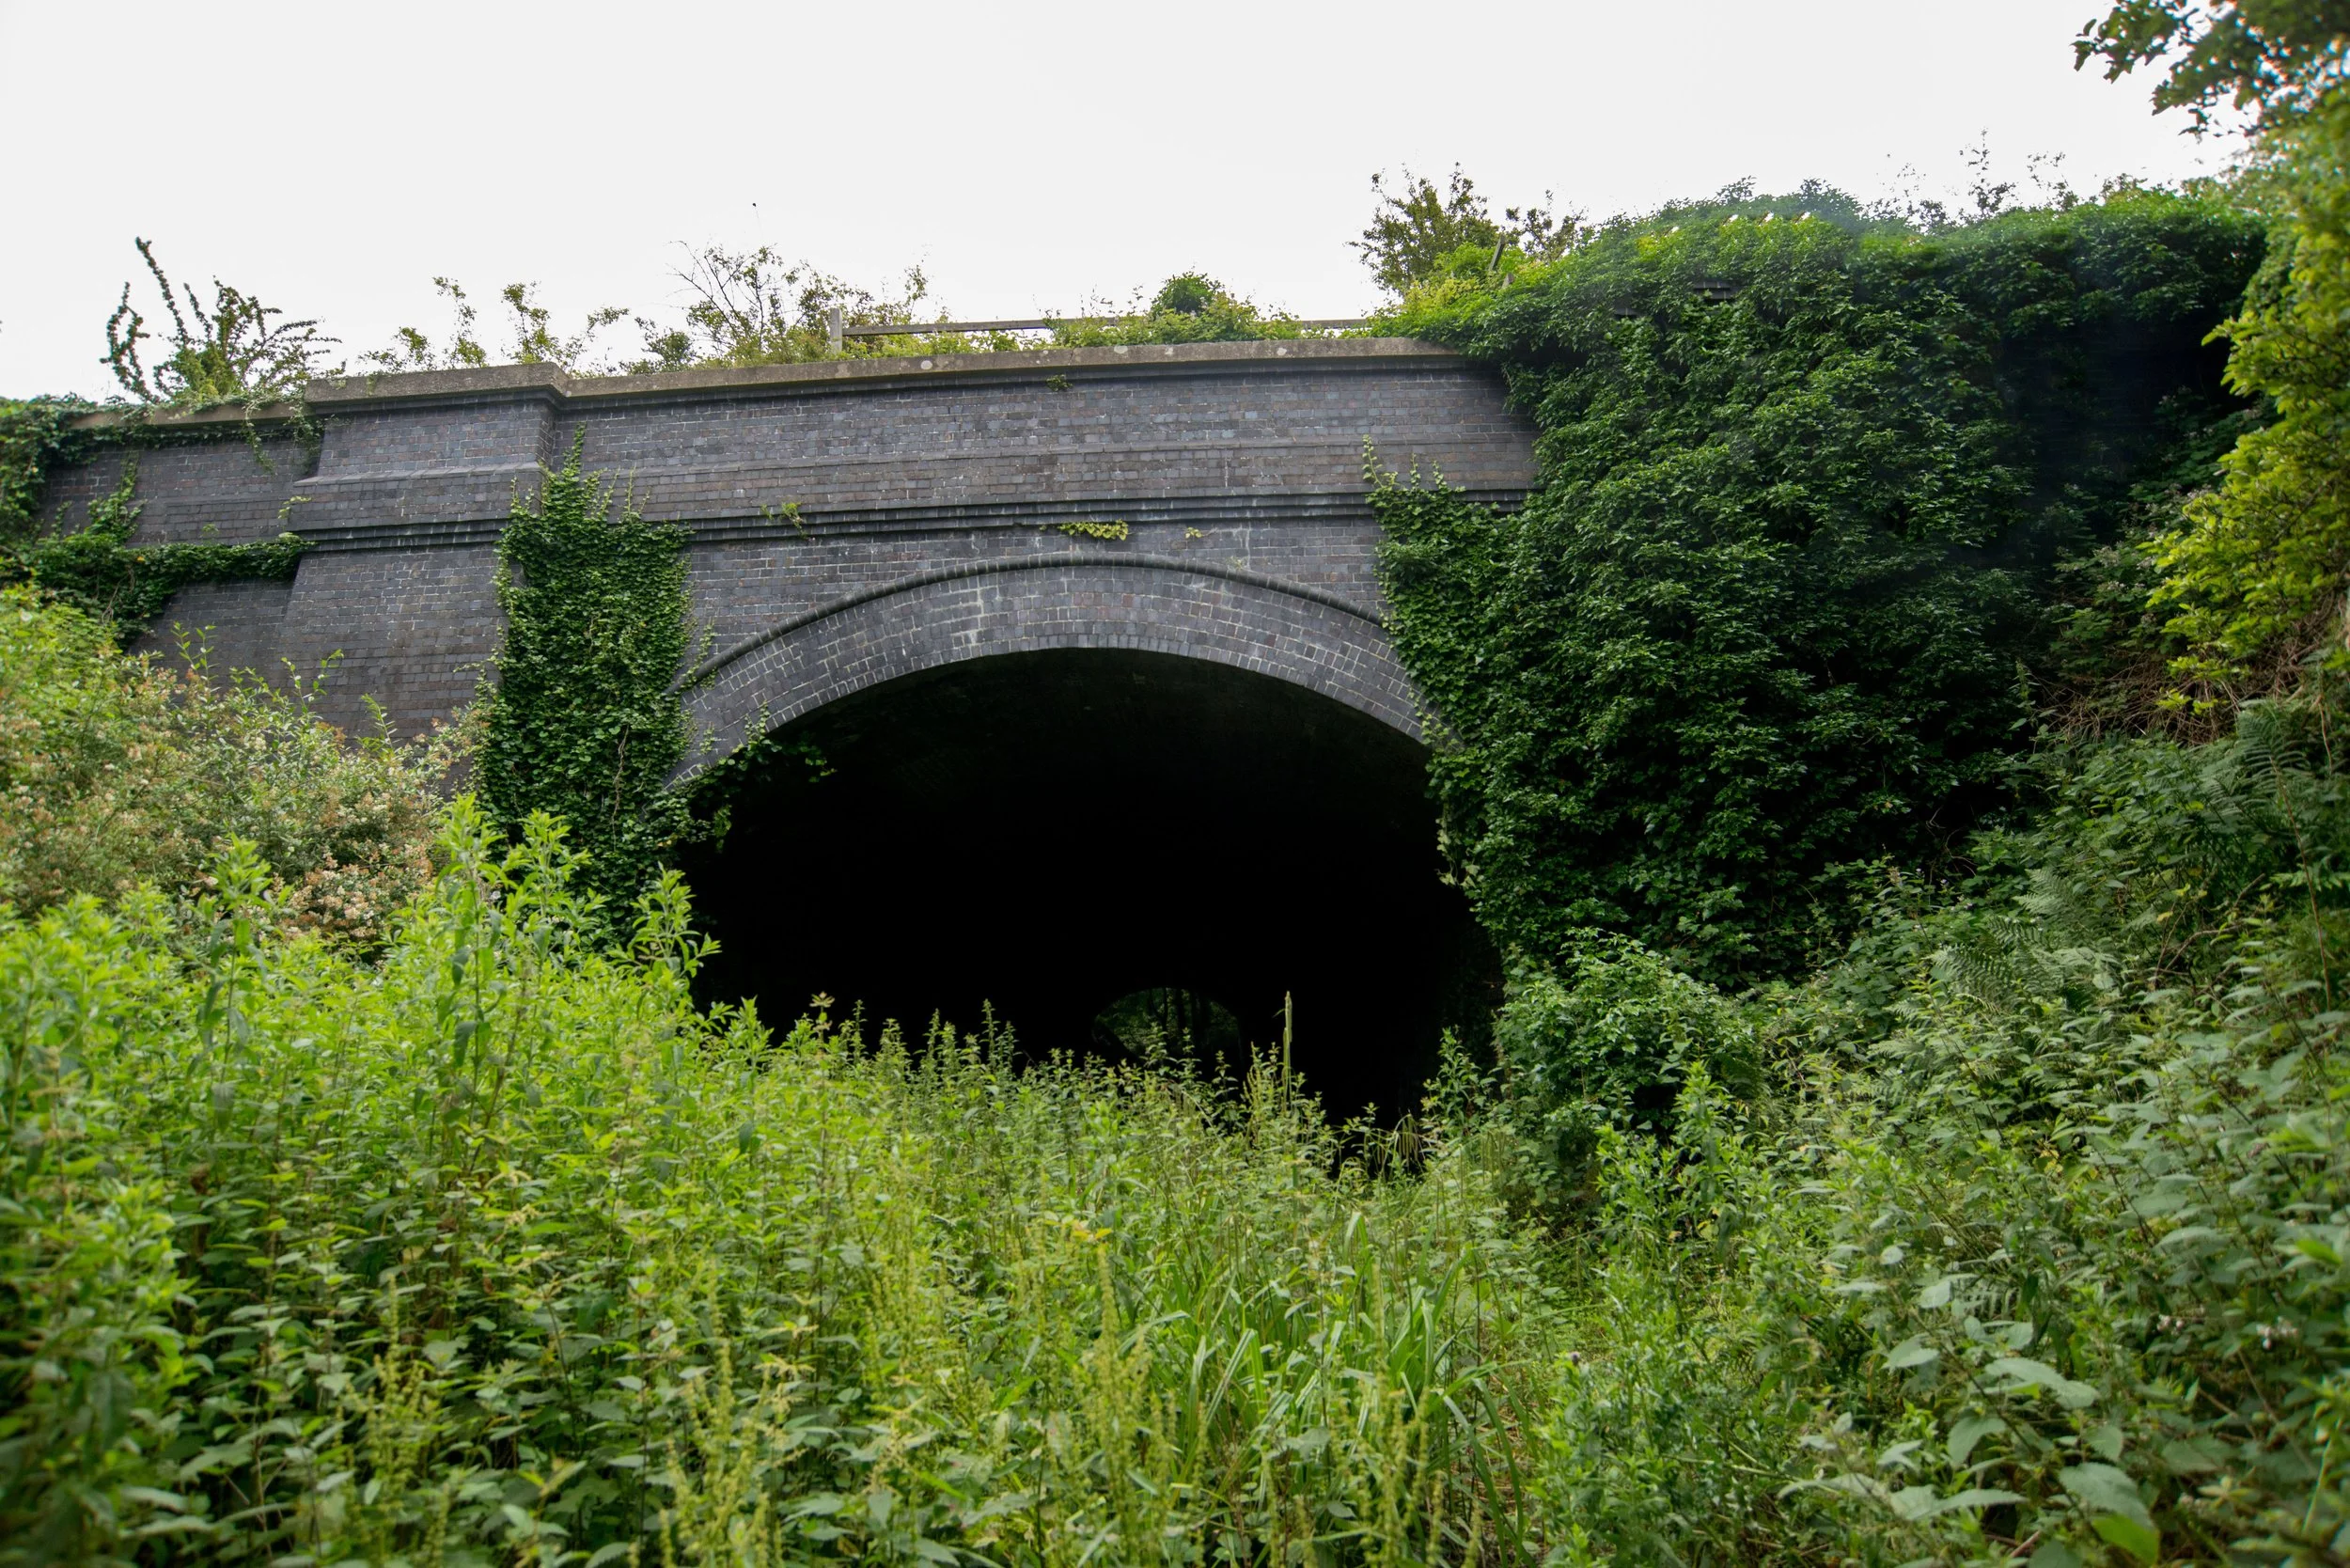
Entering the tunnel.
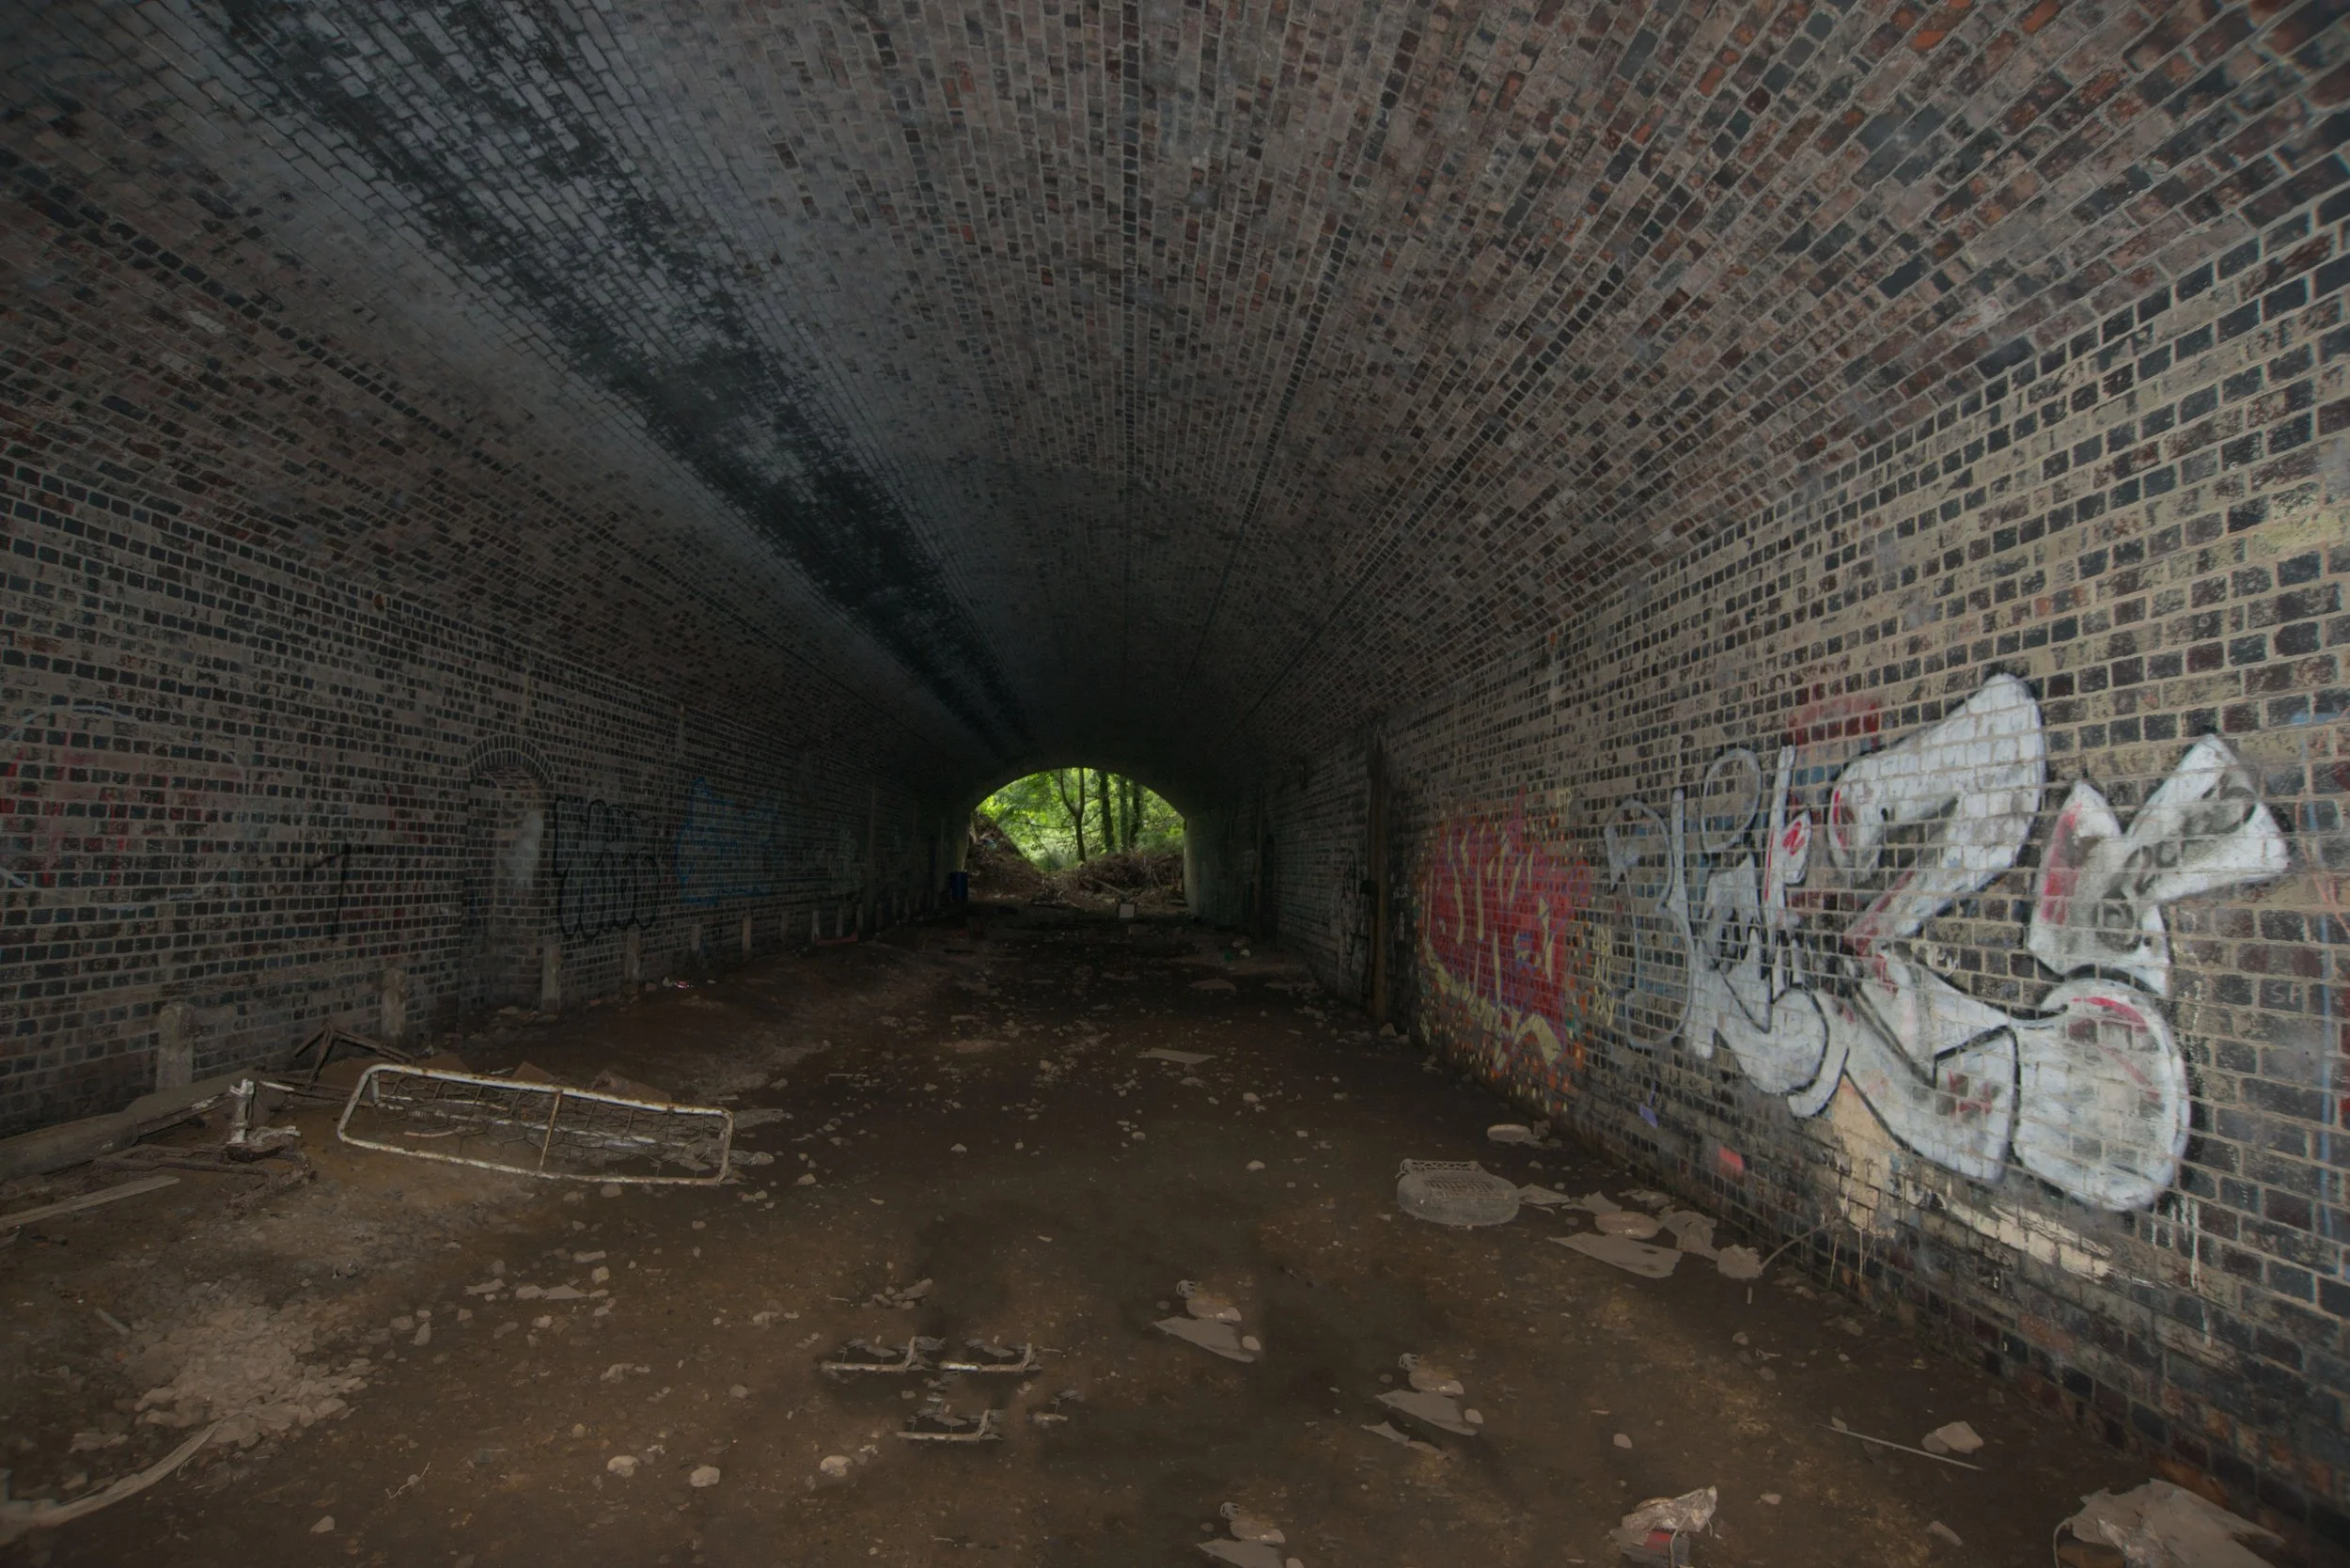
The mortar spiggot inside the disused tunnel.
The other portal at the tunnel, after this point, the track bed is inaccessible.

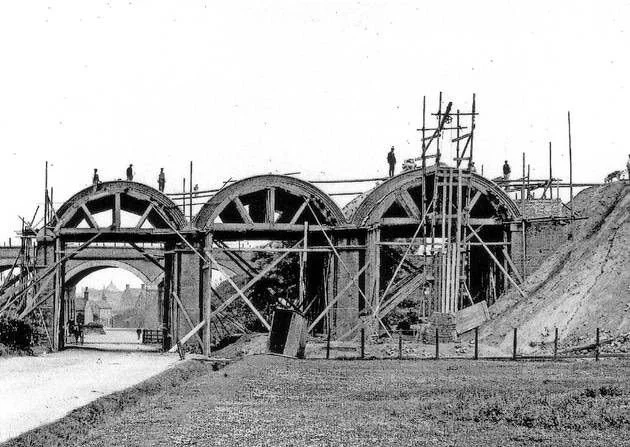
Cromer A149 bridge crossing
There's also a bridge that spans over the old track bed and carries the A149 Norwich road. Even after all these years, the bridge is still in fantastic shape and is used daily by road traffic. A new steel footbridge has also been constructed between the A149 Bridge and the Cromer tunnel.
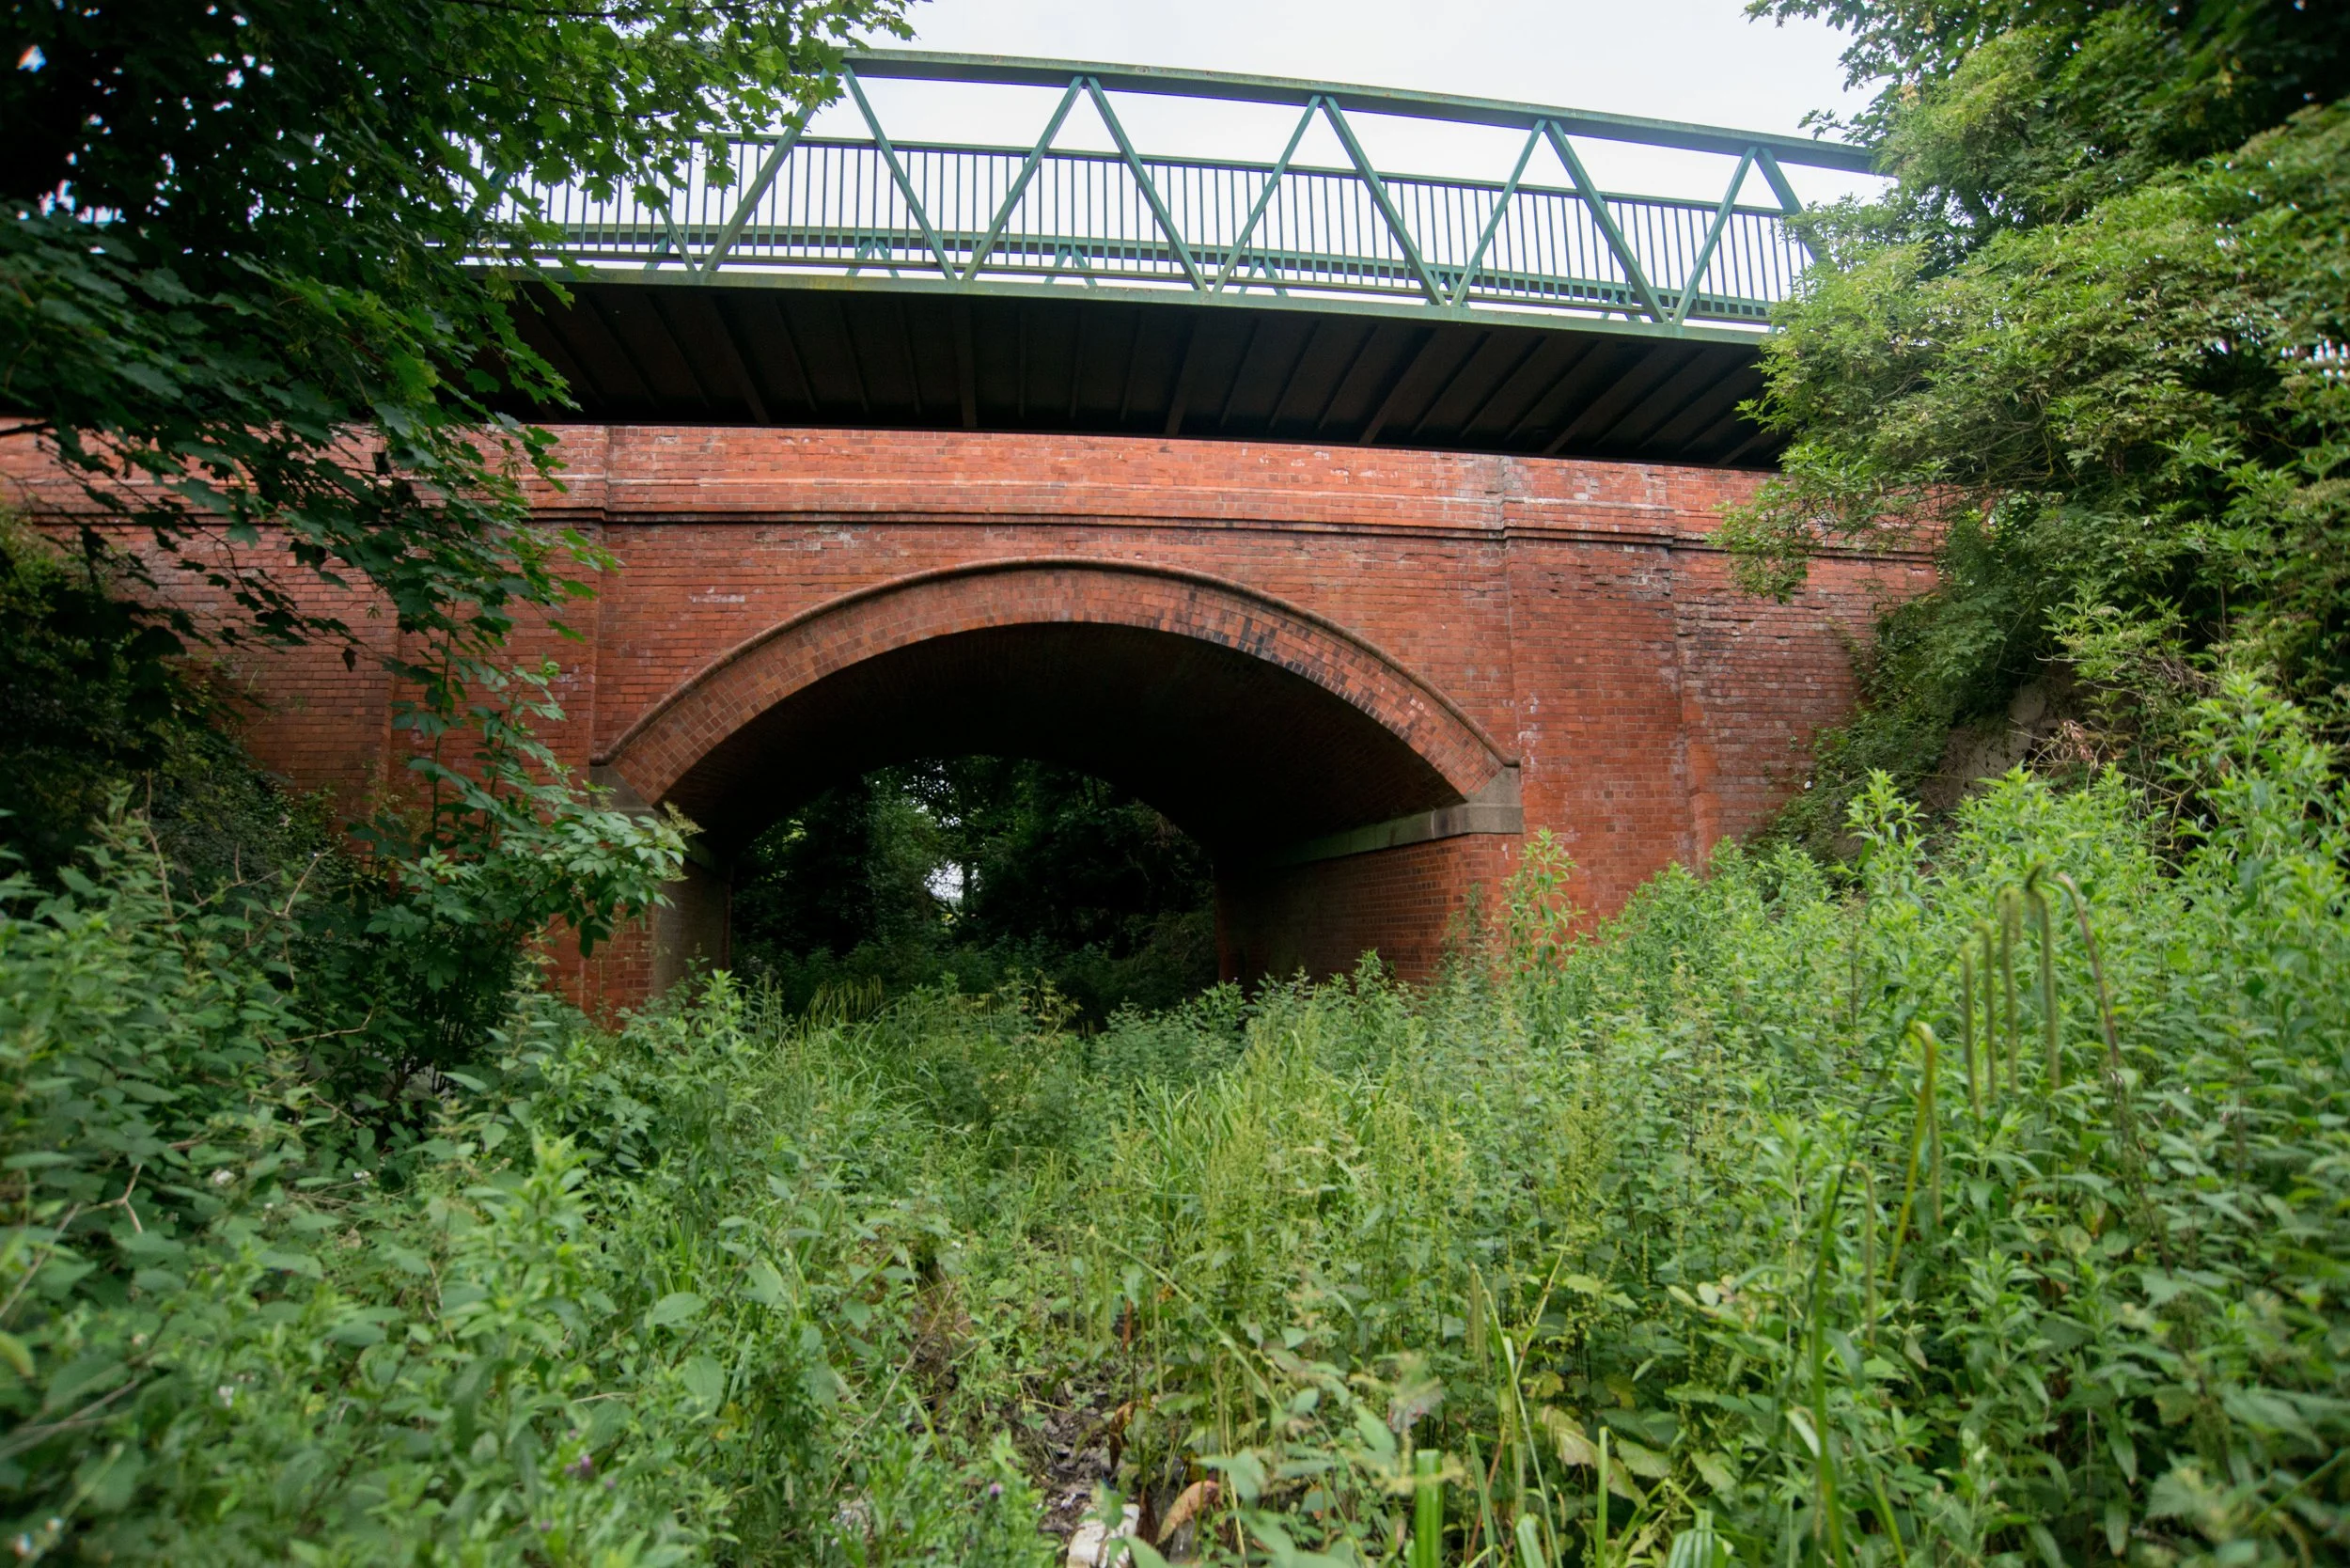
I also found some old signal wire carriers by the bridge.

Close to the old disused tunnel stand, these old buttresses that once carried the railway from Cromer High Station towards the tunnel.

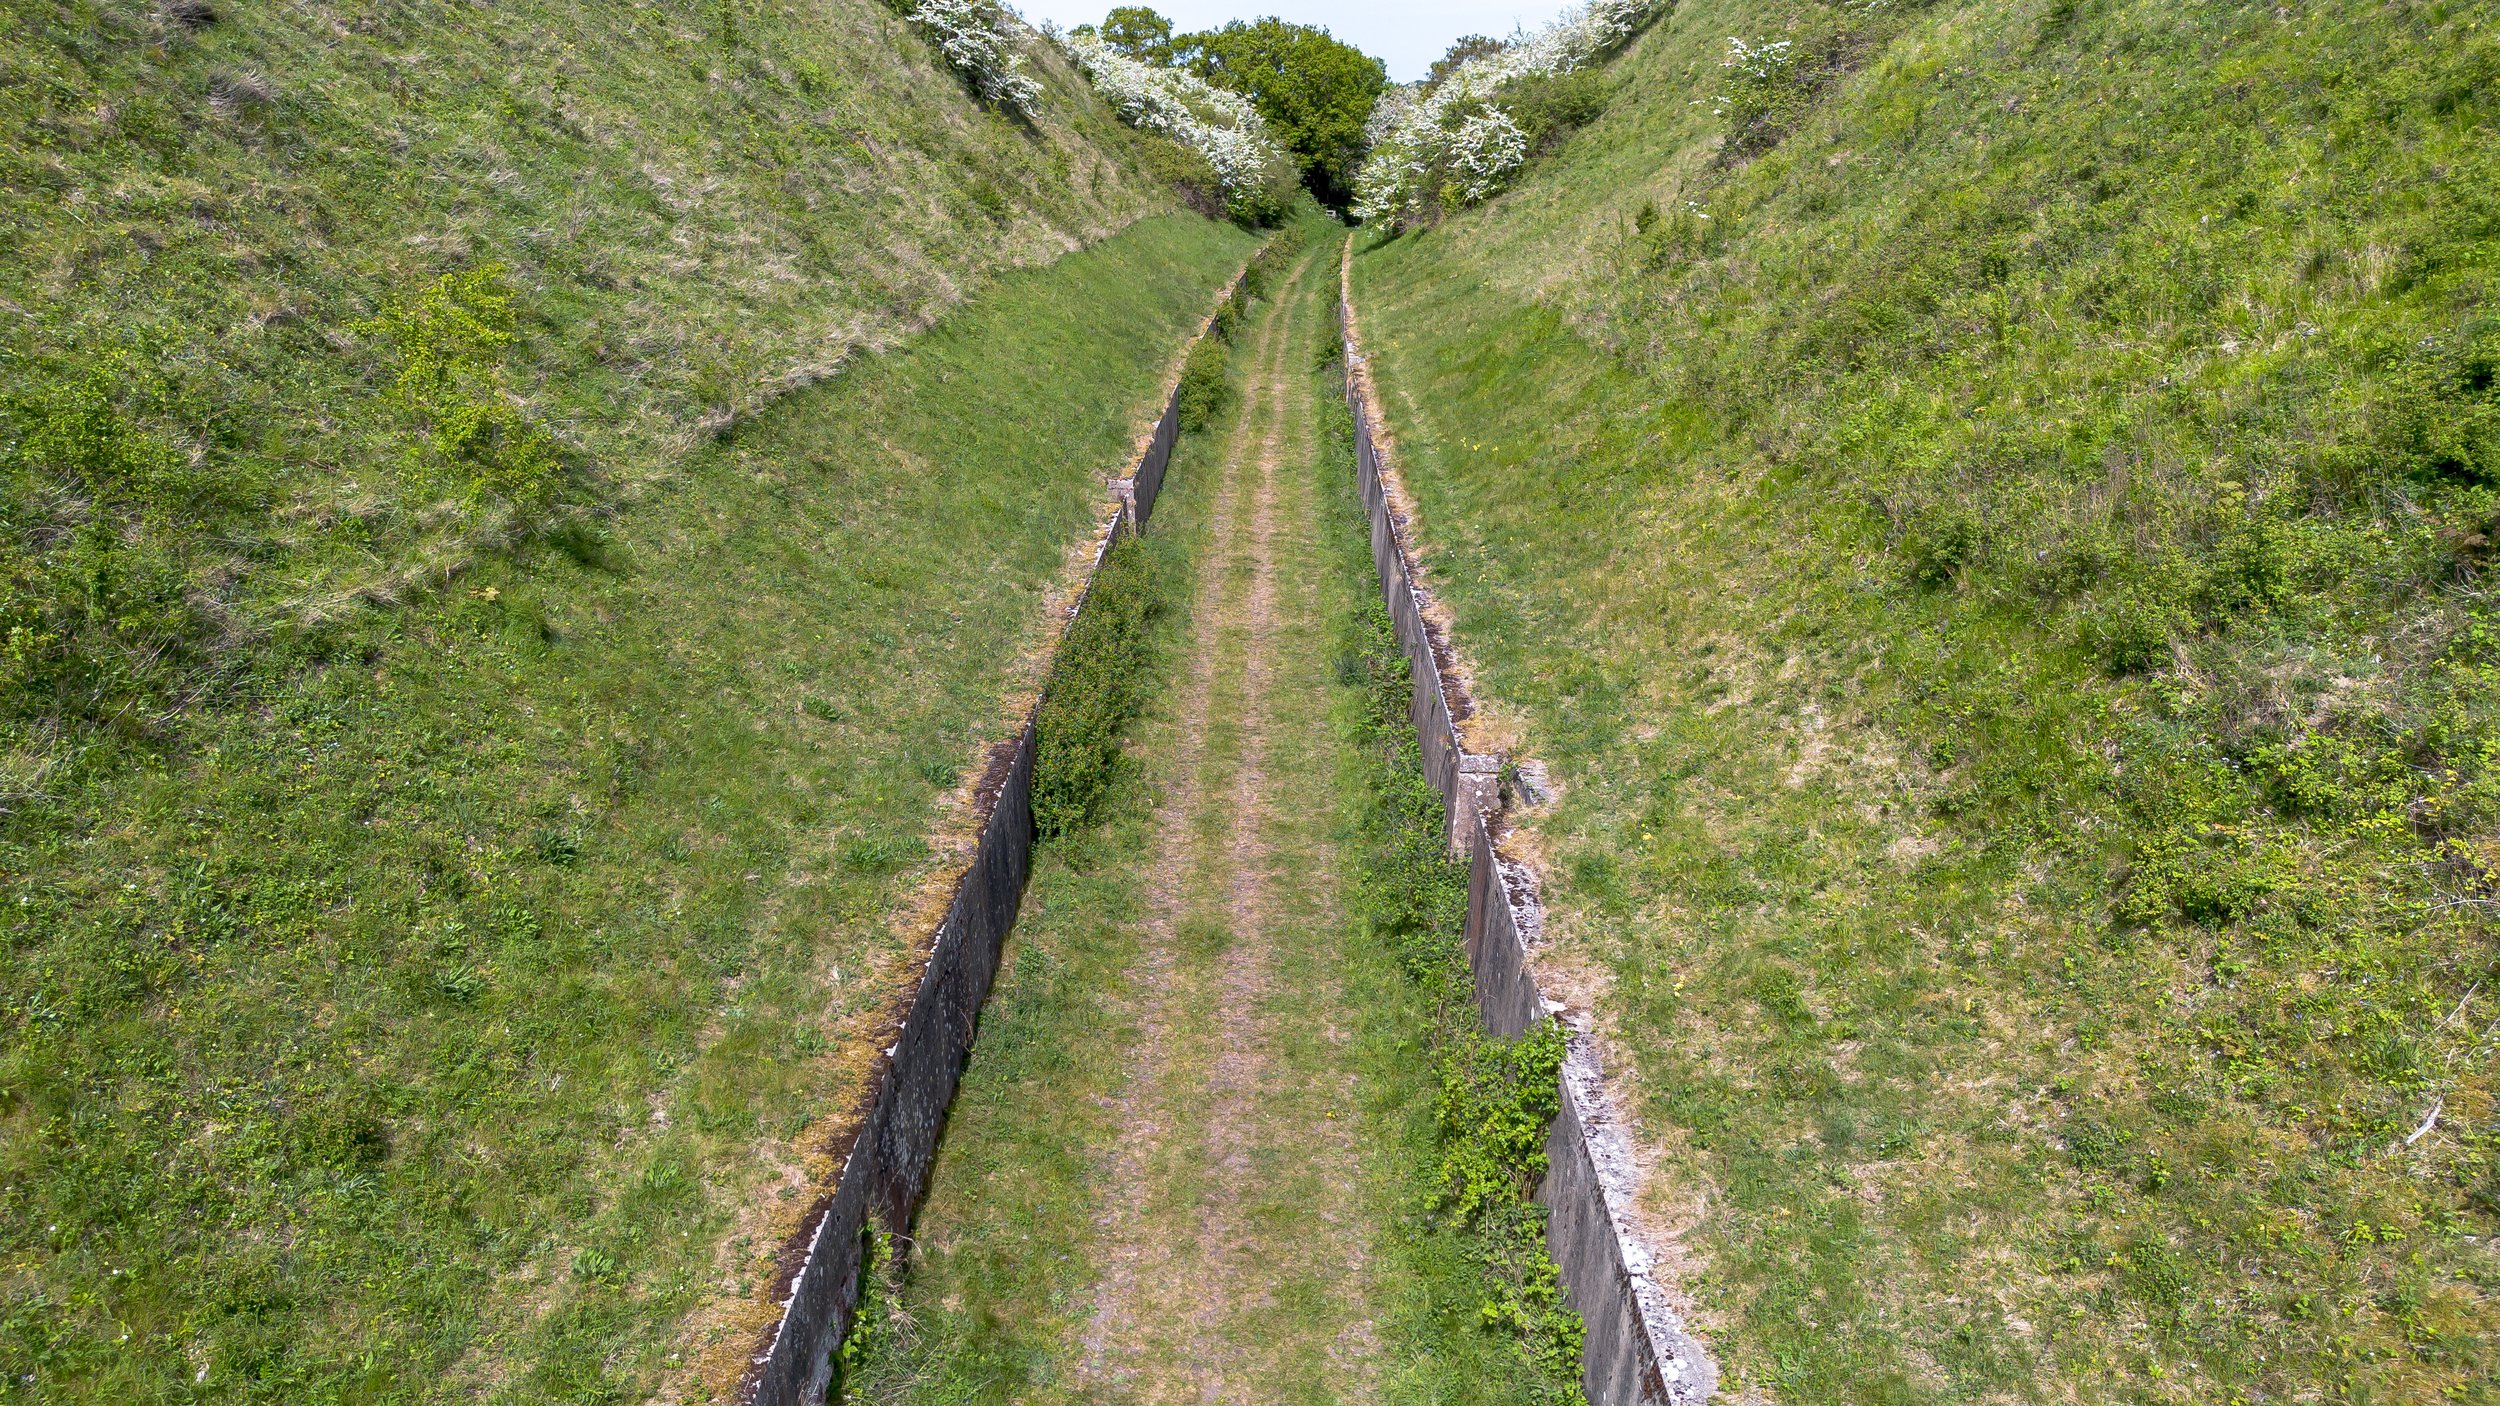
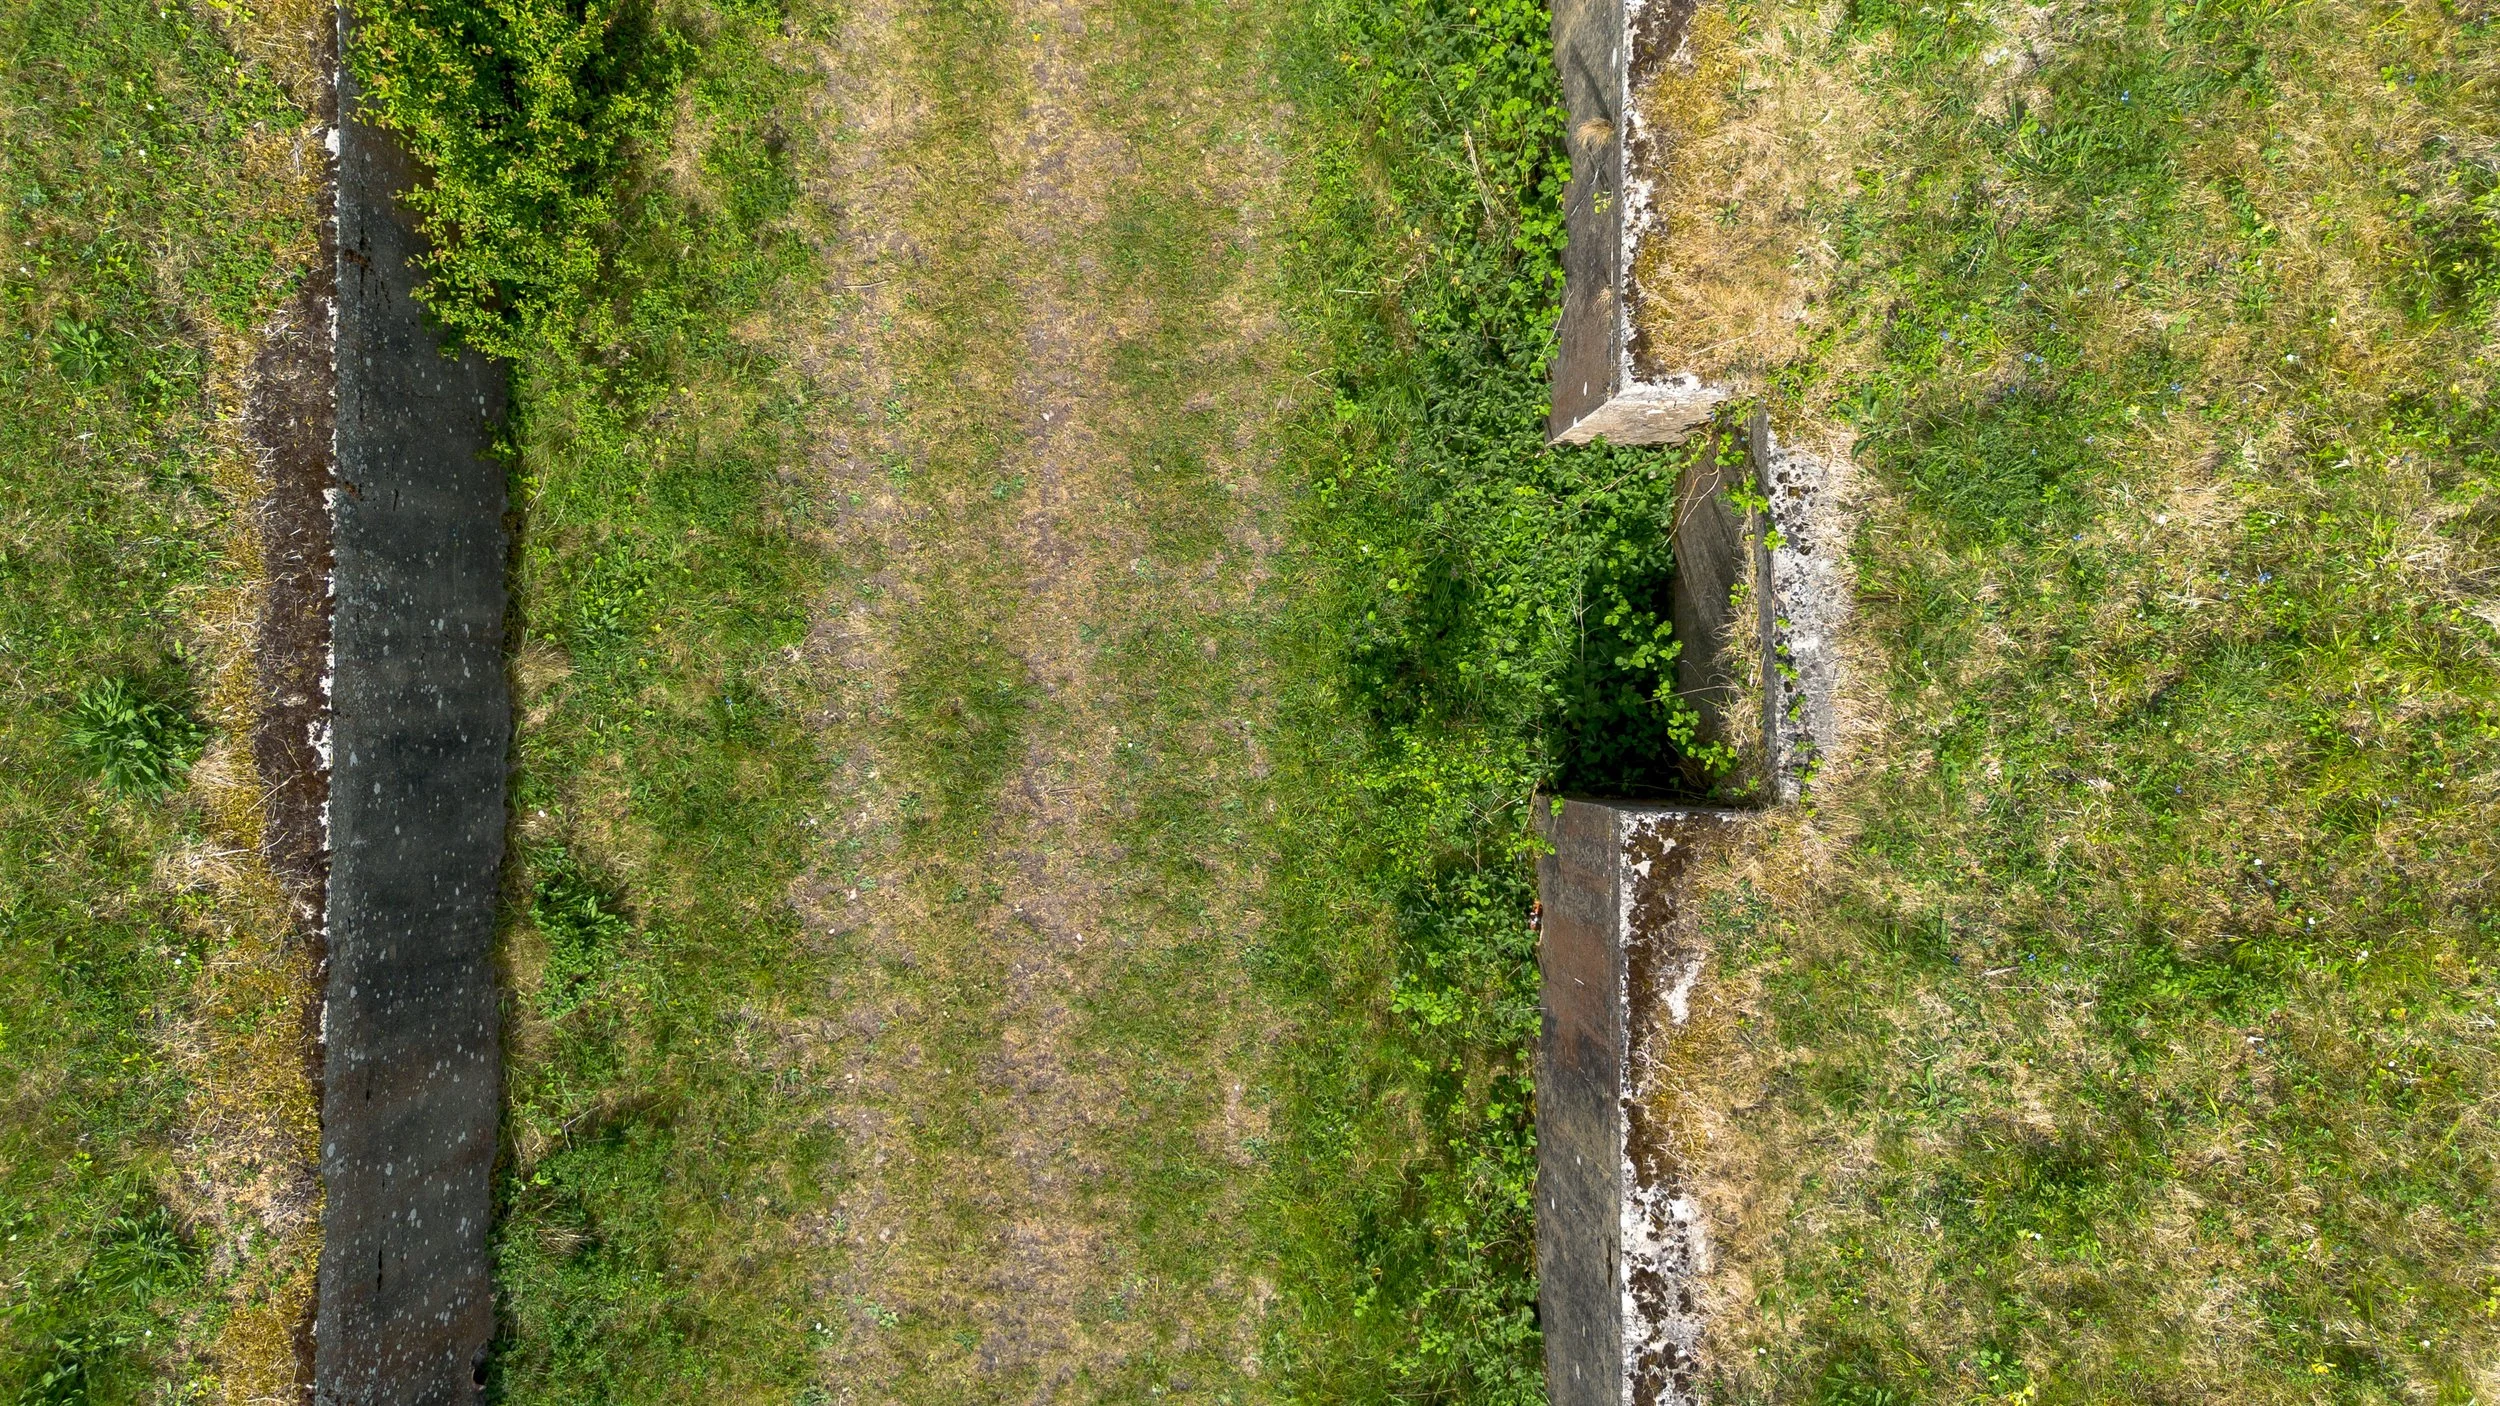
Barsham Tunnel.

Barsham Tunnel was located on the Wells to Wymondham railway line.
Although the railway had a much longer lifespan, the Tunnel's existence was relatively short.
The Barsham Tunnel, situated 36 miles and 68 chains from Dereham, was the sole tunnel in Norfolk during the 1850s. It was built with a single line, spanning 176 yards in length and measuring 14ft in width.
The railway line had been constructed 60ft underground, but had to be shut down in 1898 due to structural problems.
The tunnel was built using red bricks and covered with a layer of concrete.
After some time, it was reopened with a sturdy embankment set in place. The excess debris was utilised to create a fresh embankment near the Stiffkey River.
Similar to the Cromer Tunnel, the Barsham Tunnel also had internal portals for workers to seek shelter as trains passed.
Historic maps show when the tunnel existed.

The next historic map shows where the tunnel once existed, but is now a cutting.
The next historic map shows the railway as dismantled.

Photographed 2022
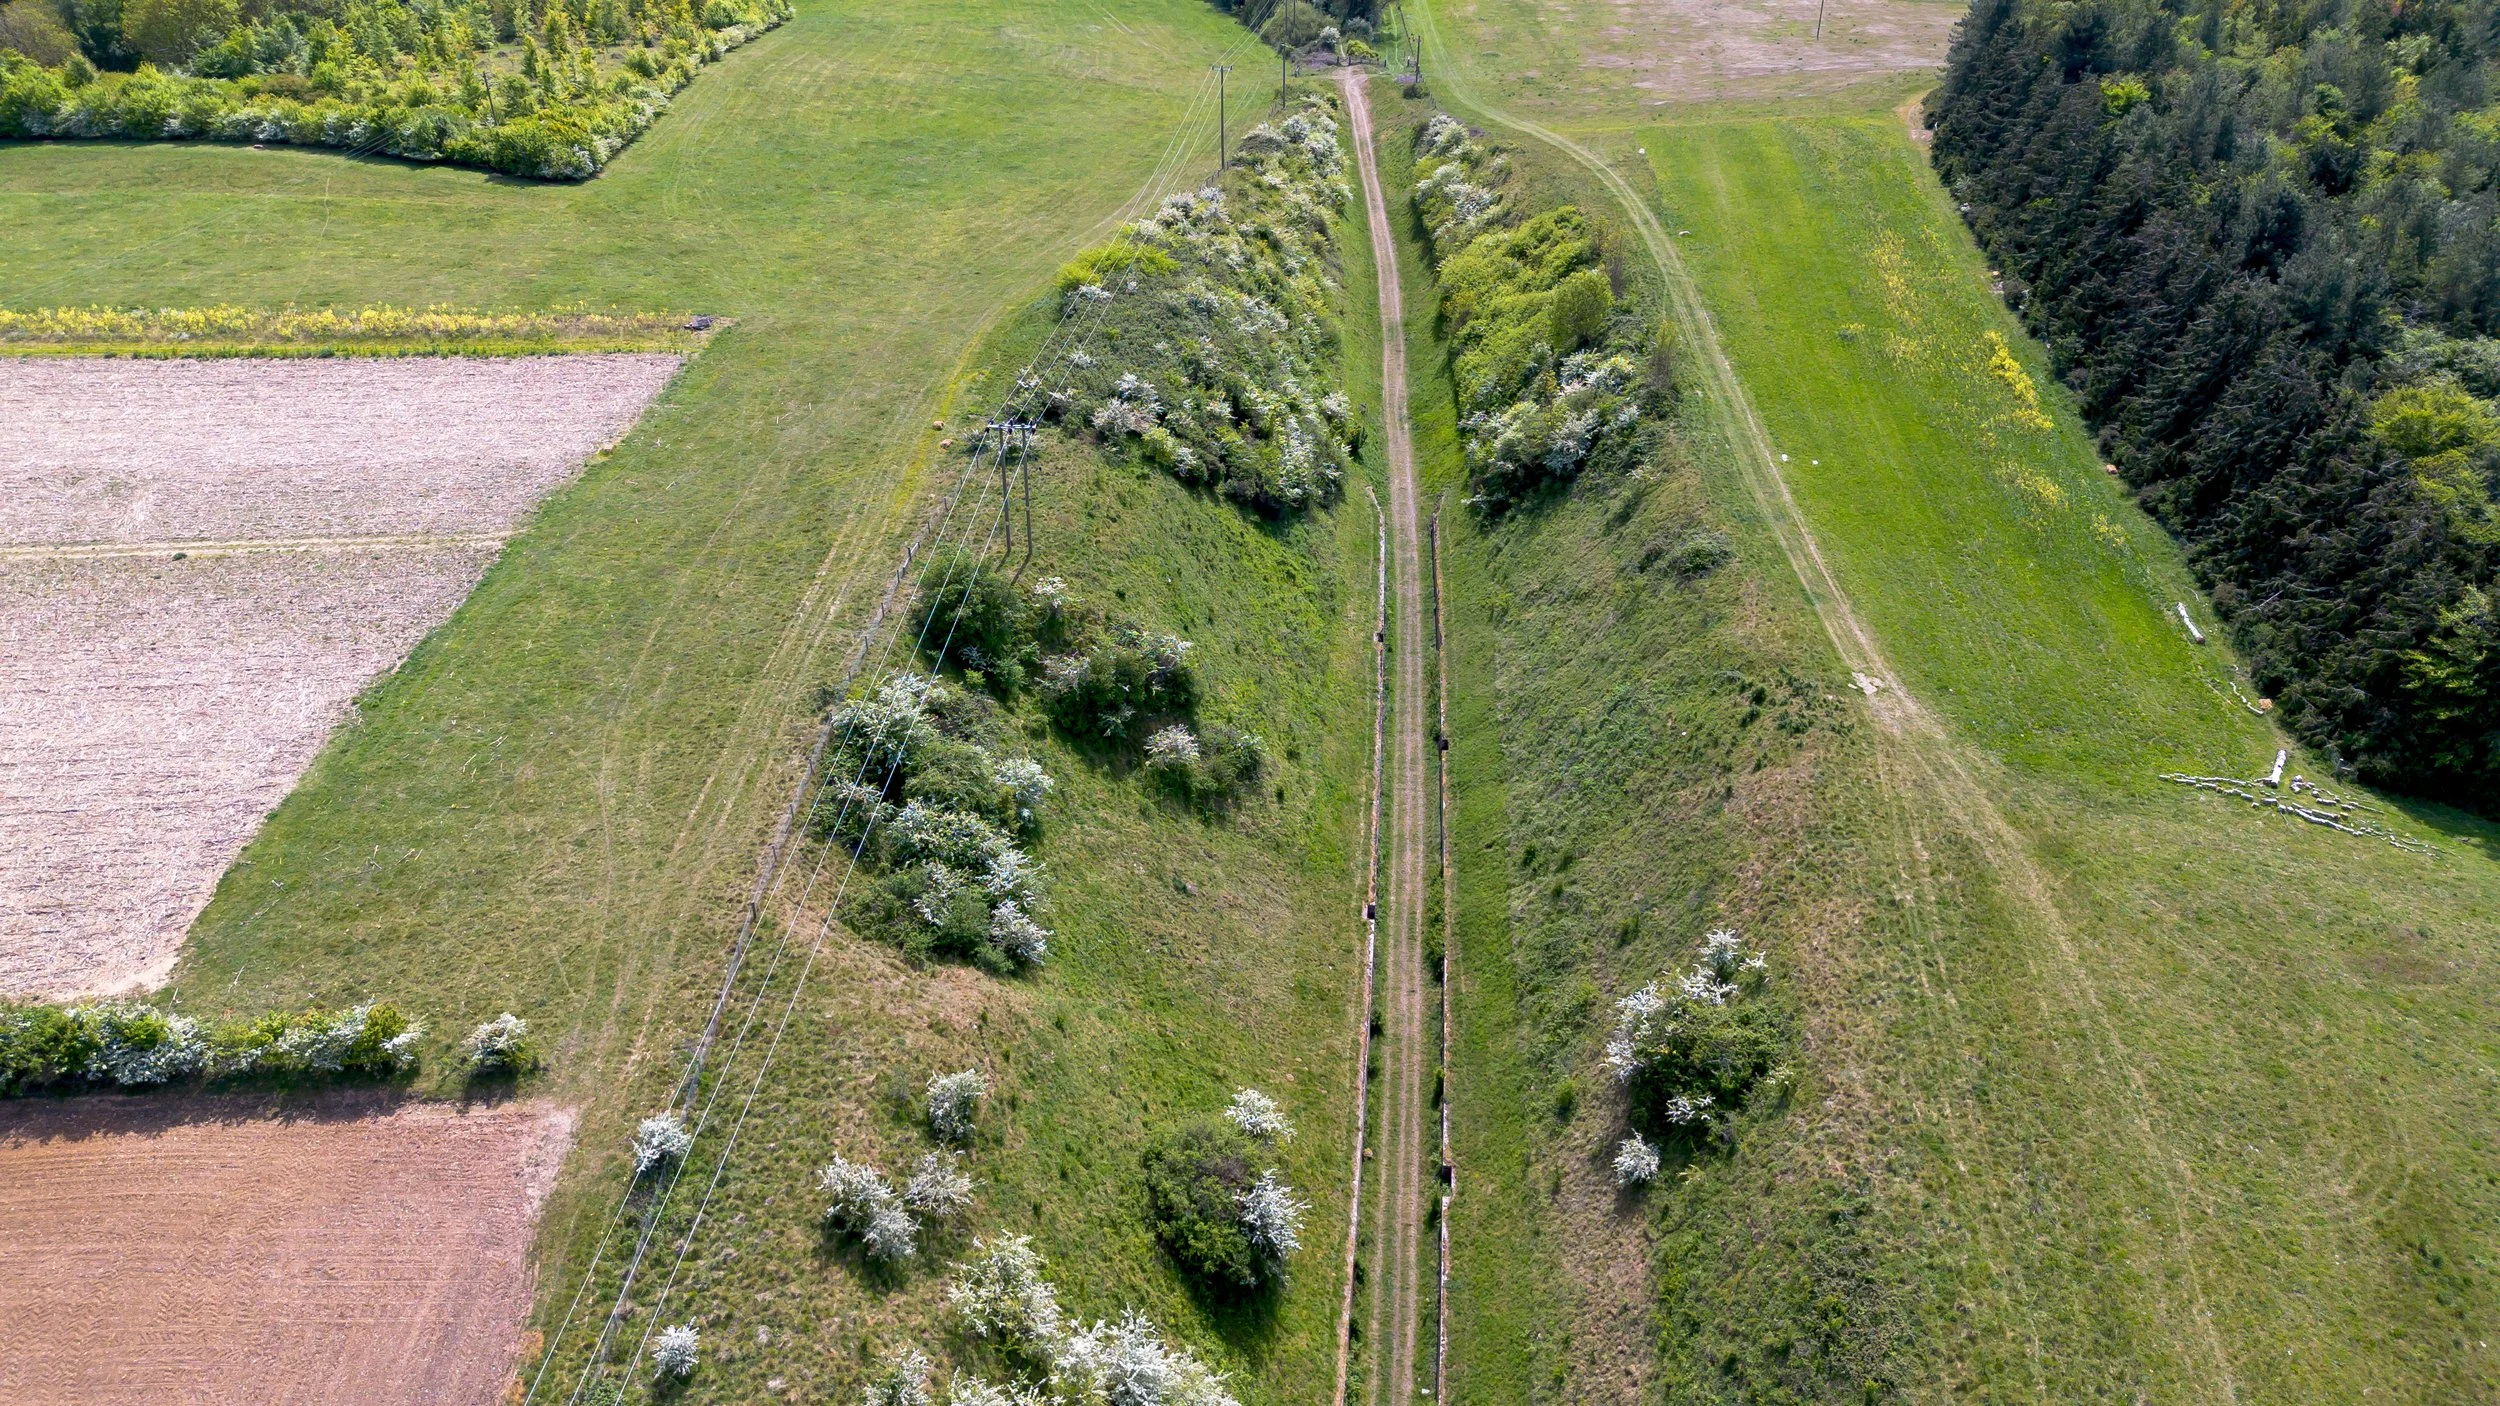
The old track bed leading up to the site of the old tunnel.


All that remains of the old Tunnel are these concrete supports.


The original red brick behind the concrete render.


Raised embankments.


2026 Drone revisit.

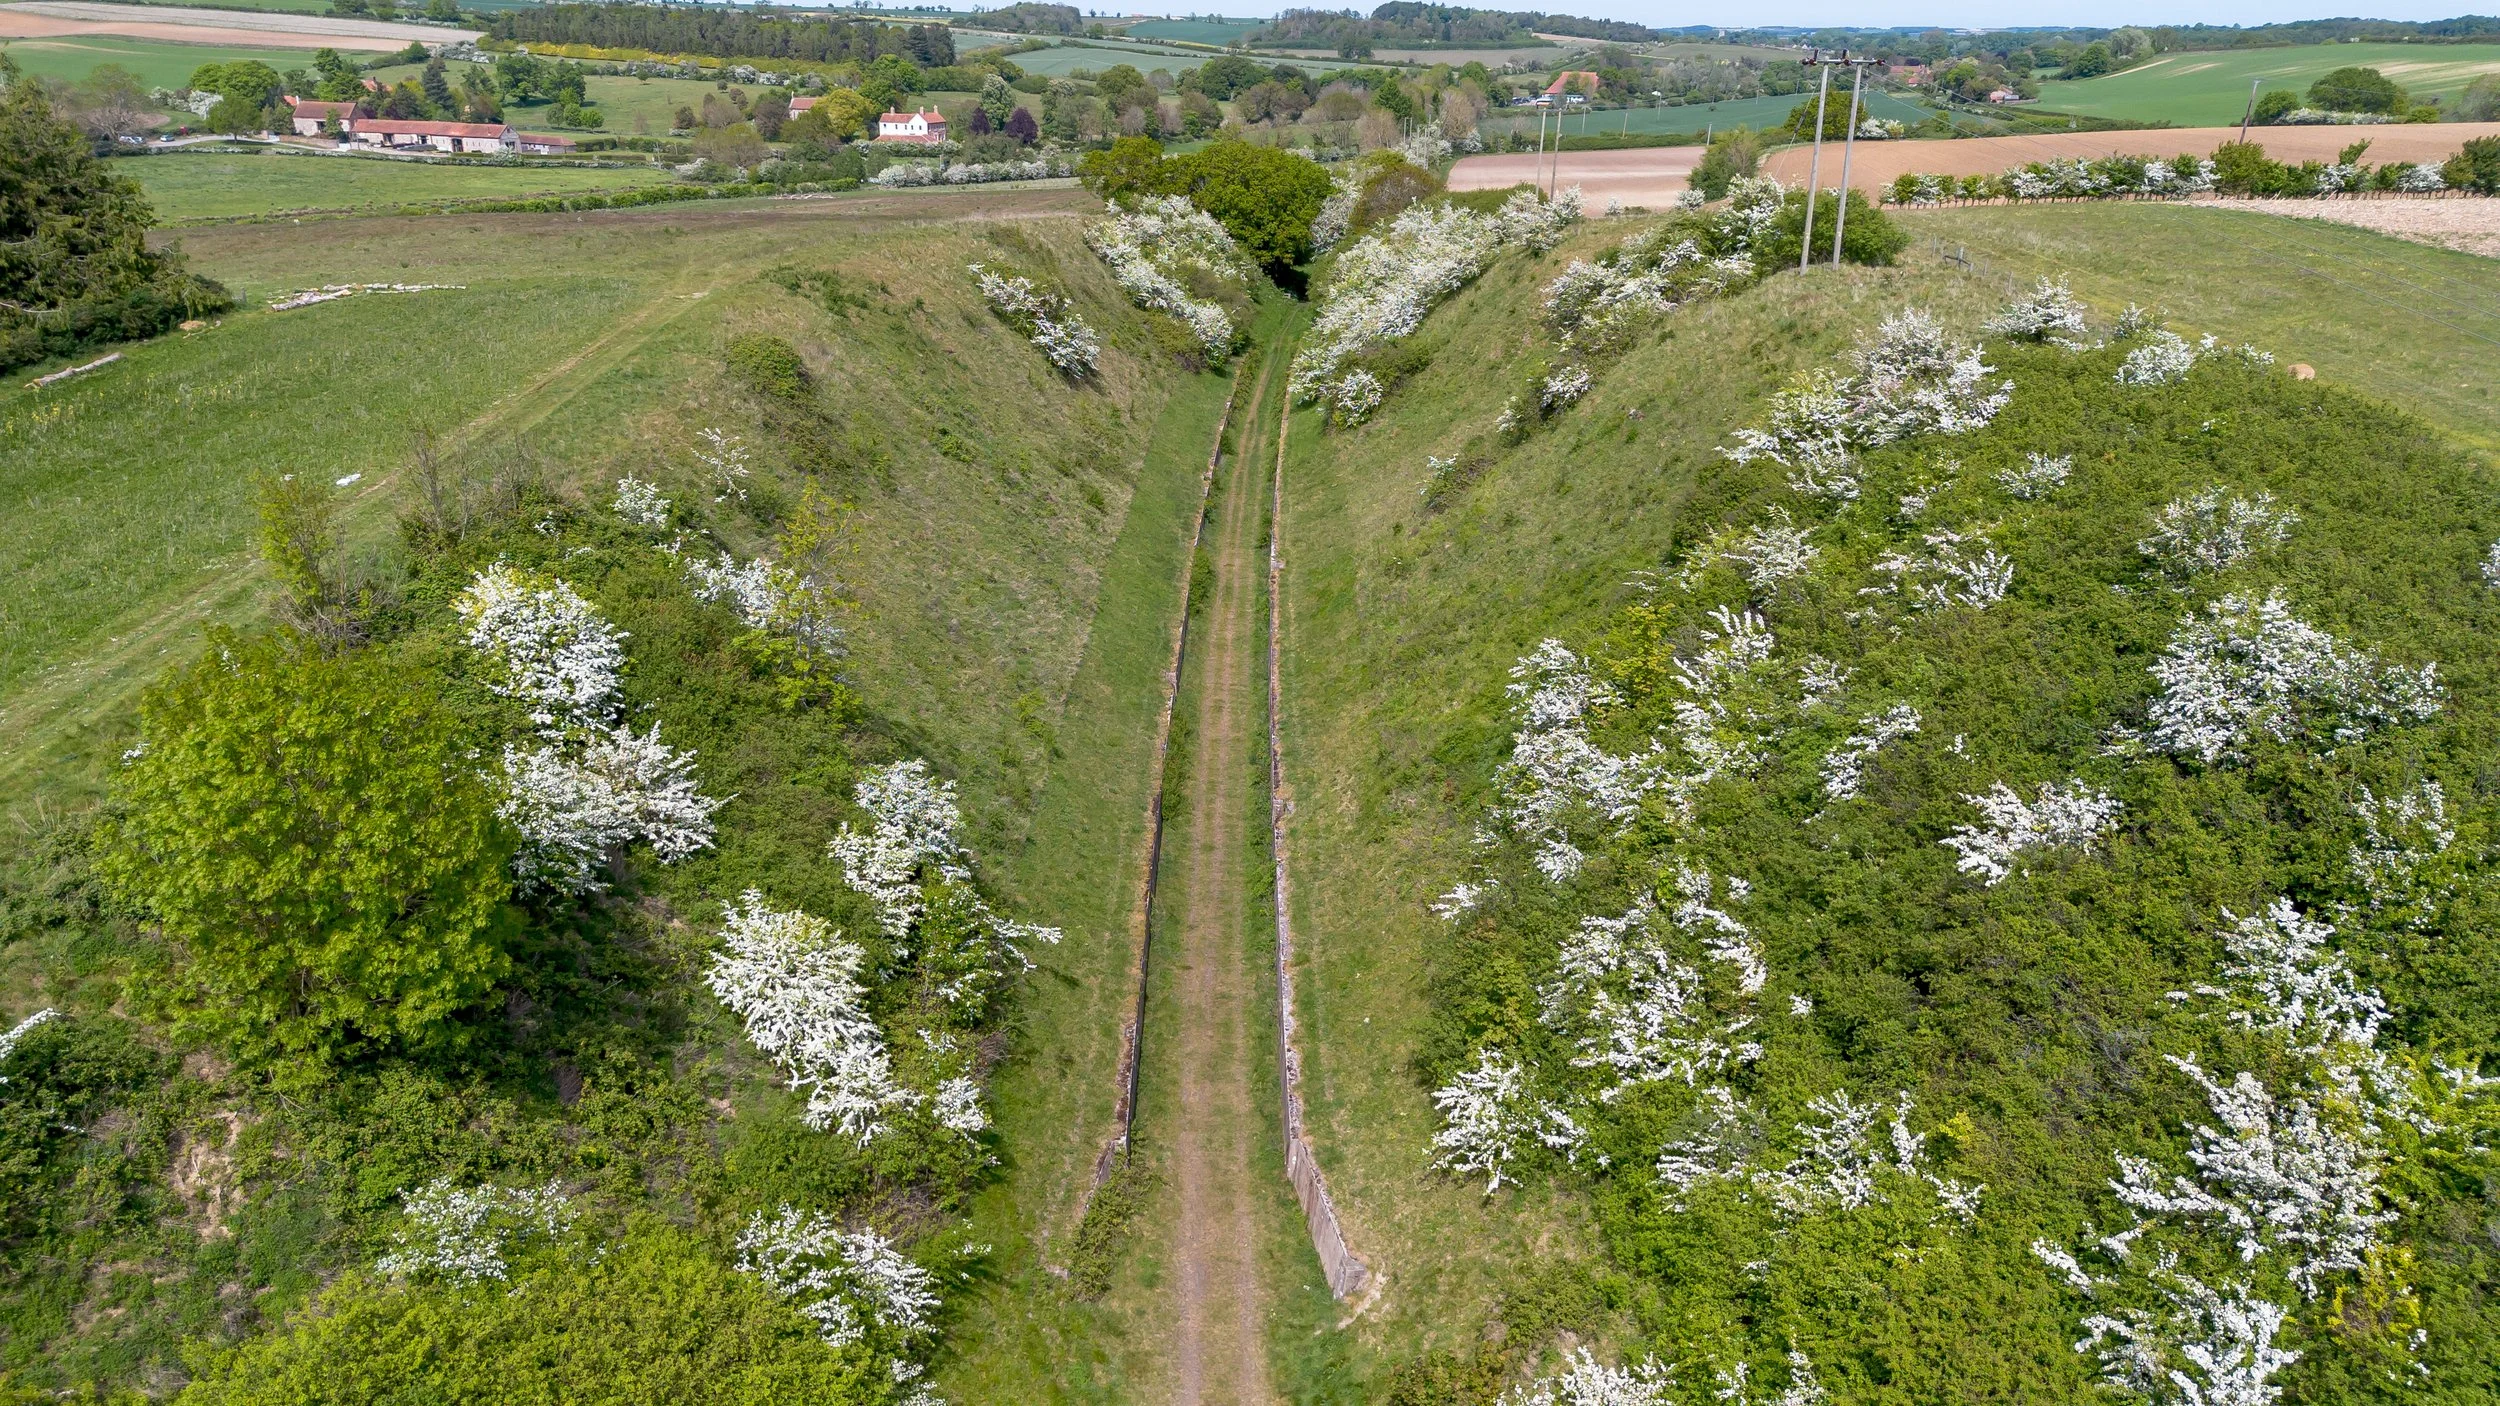
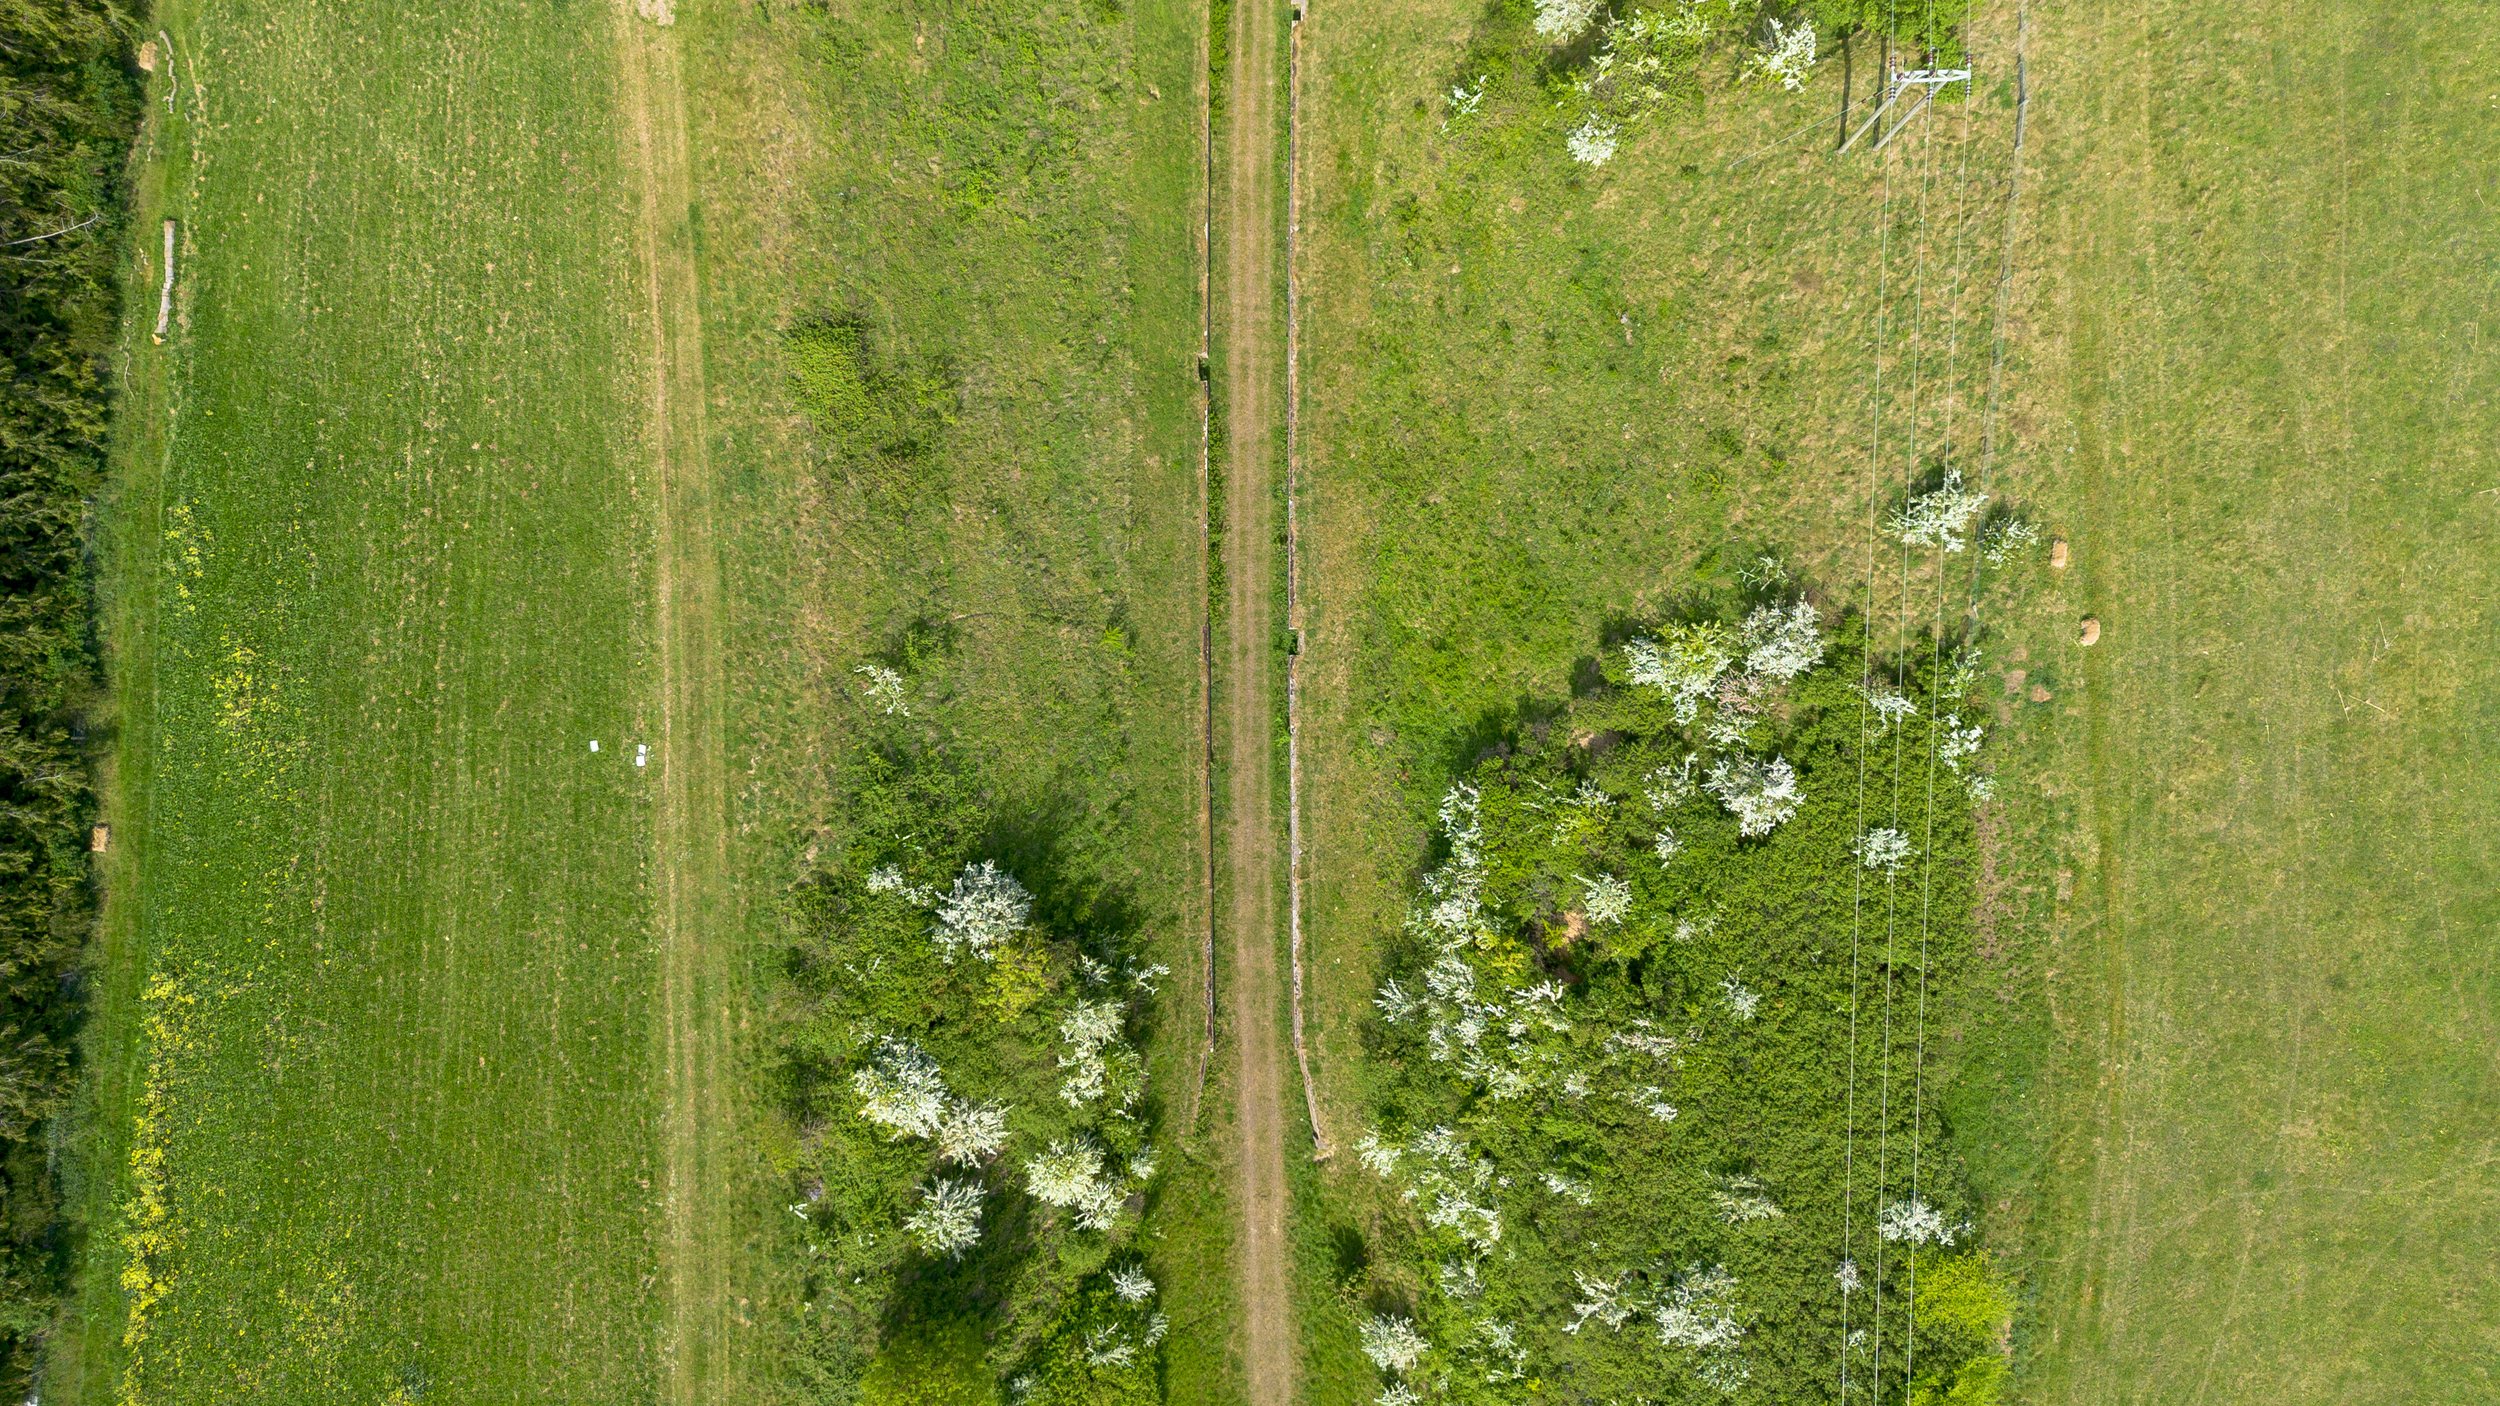
Looking towards Wells, you can see the tree line from where the old Wells to Wymondham line ran.
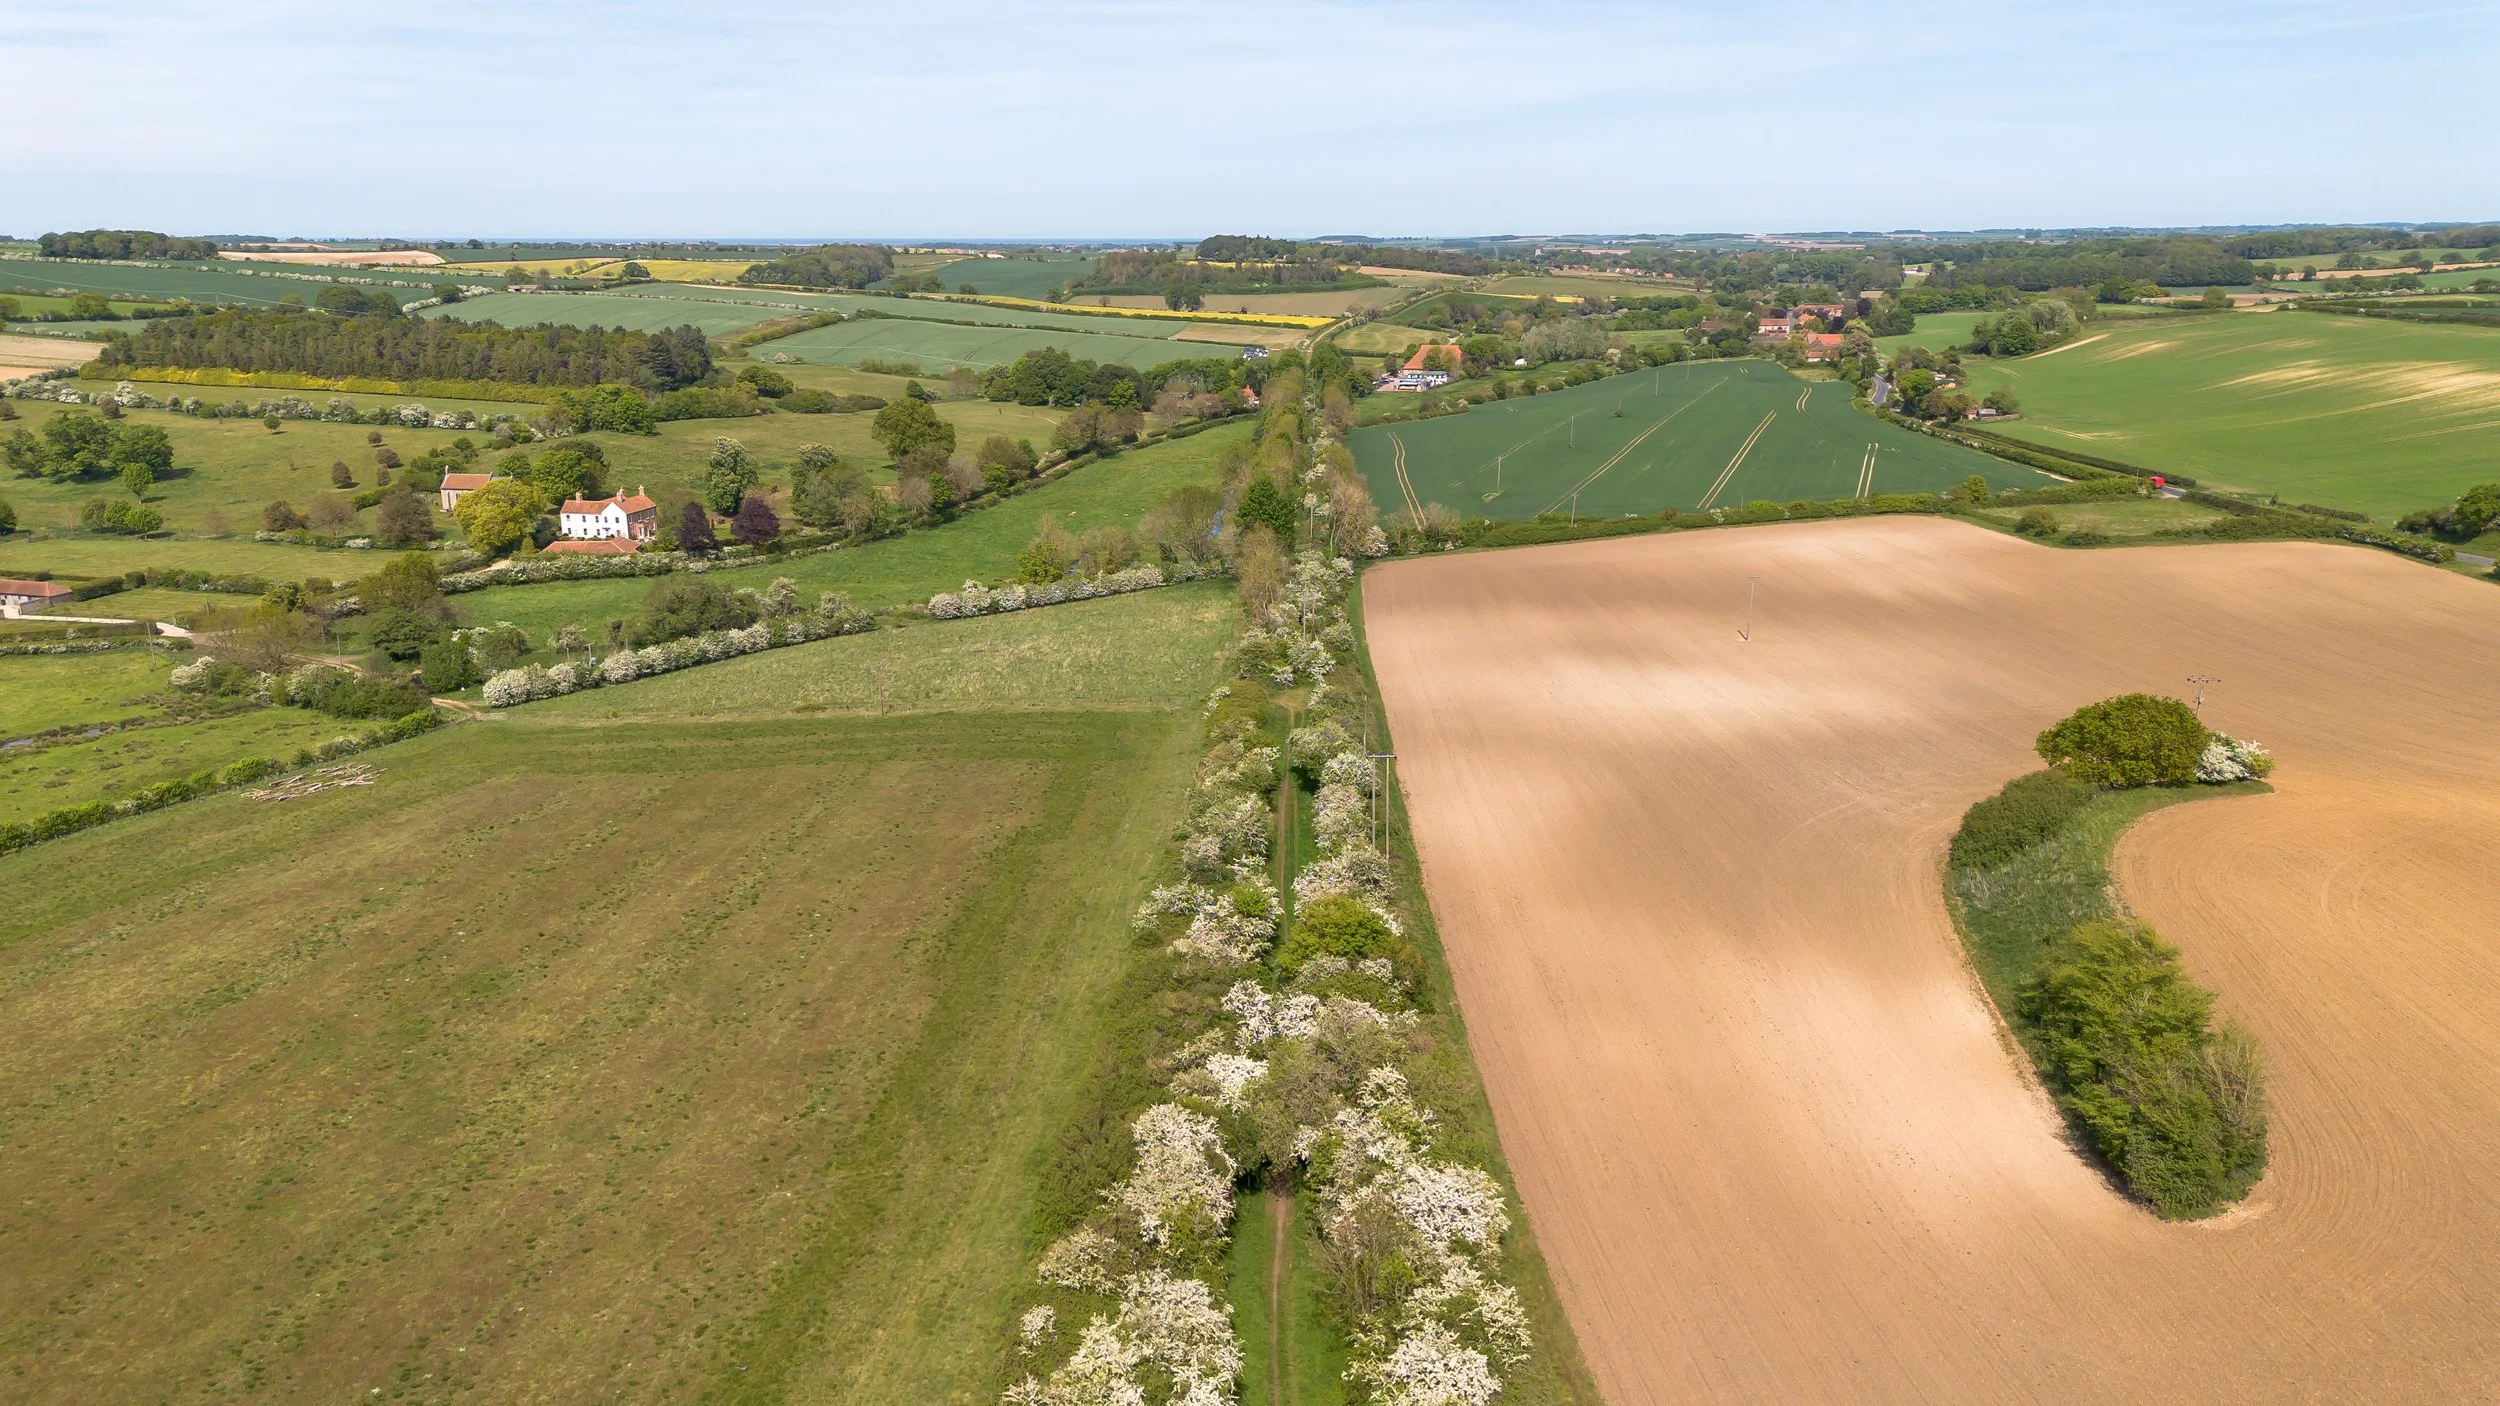
Just down from the old tunnel, I found this old bridge.
The bridge number for this location, thanks to Steve from Norfolk orbital railway, was
GER 1722


Part 2
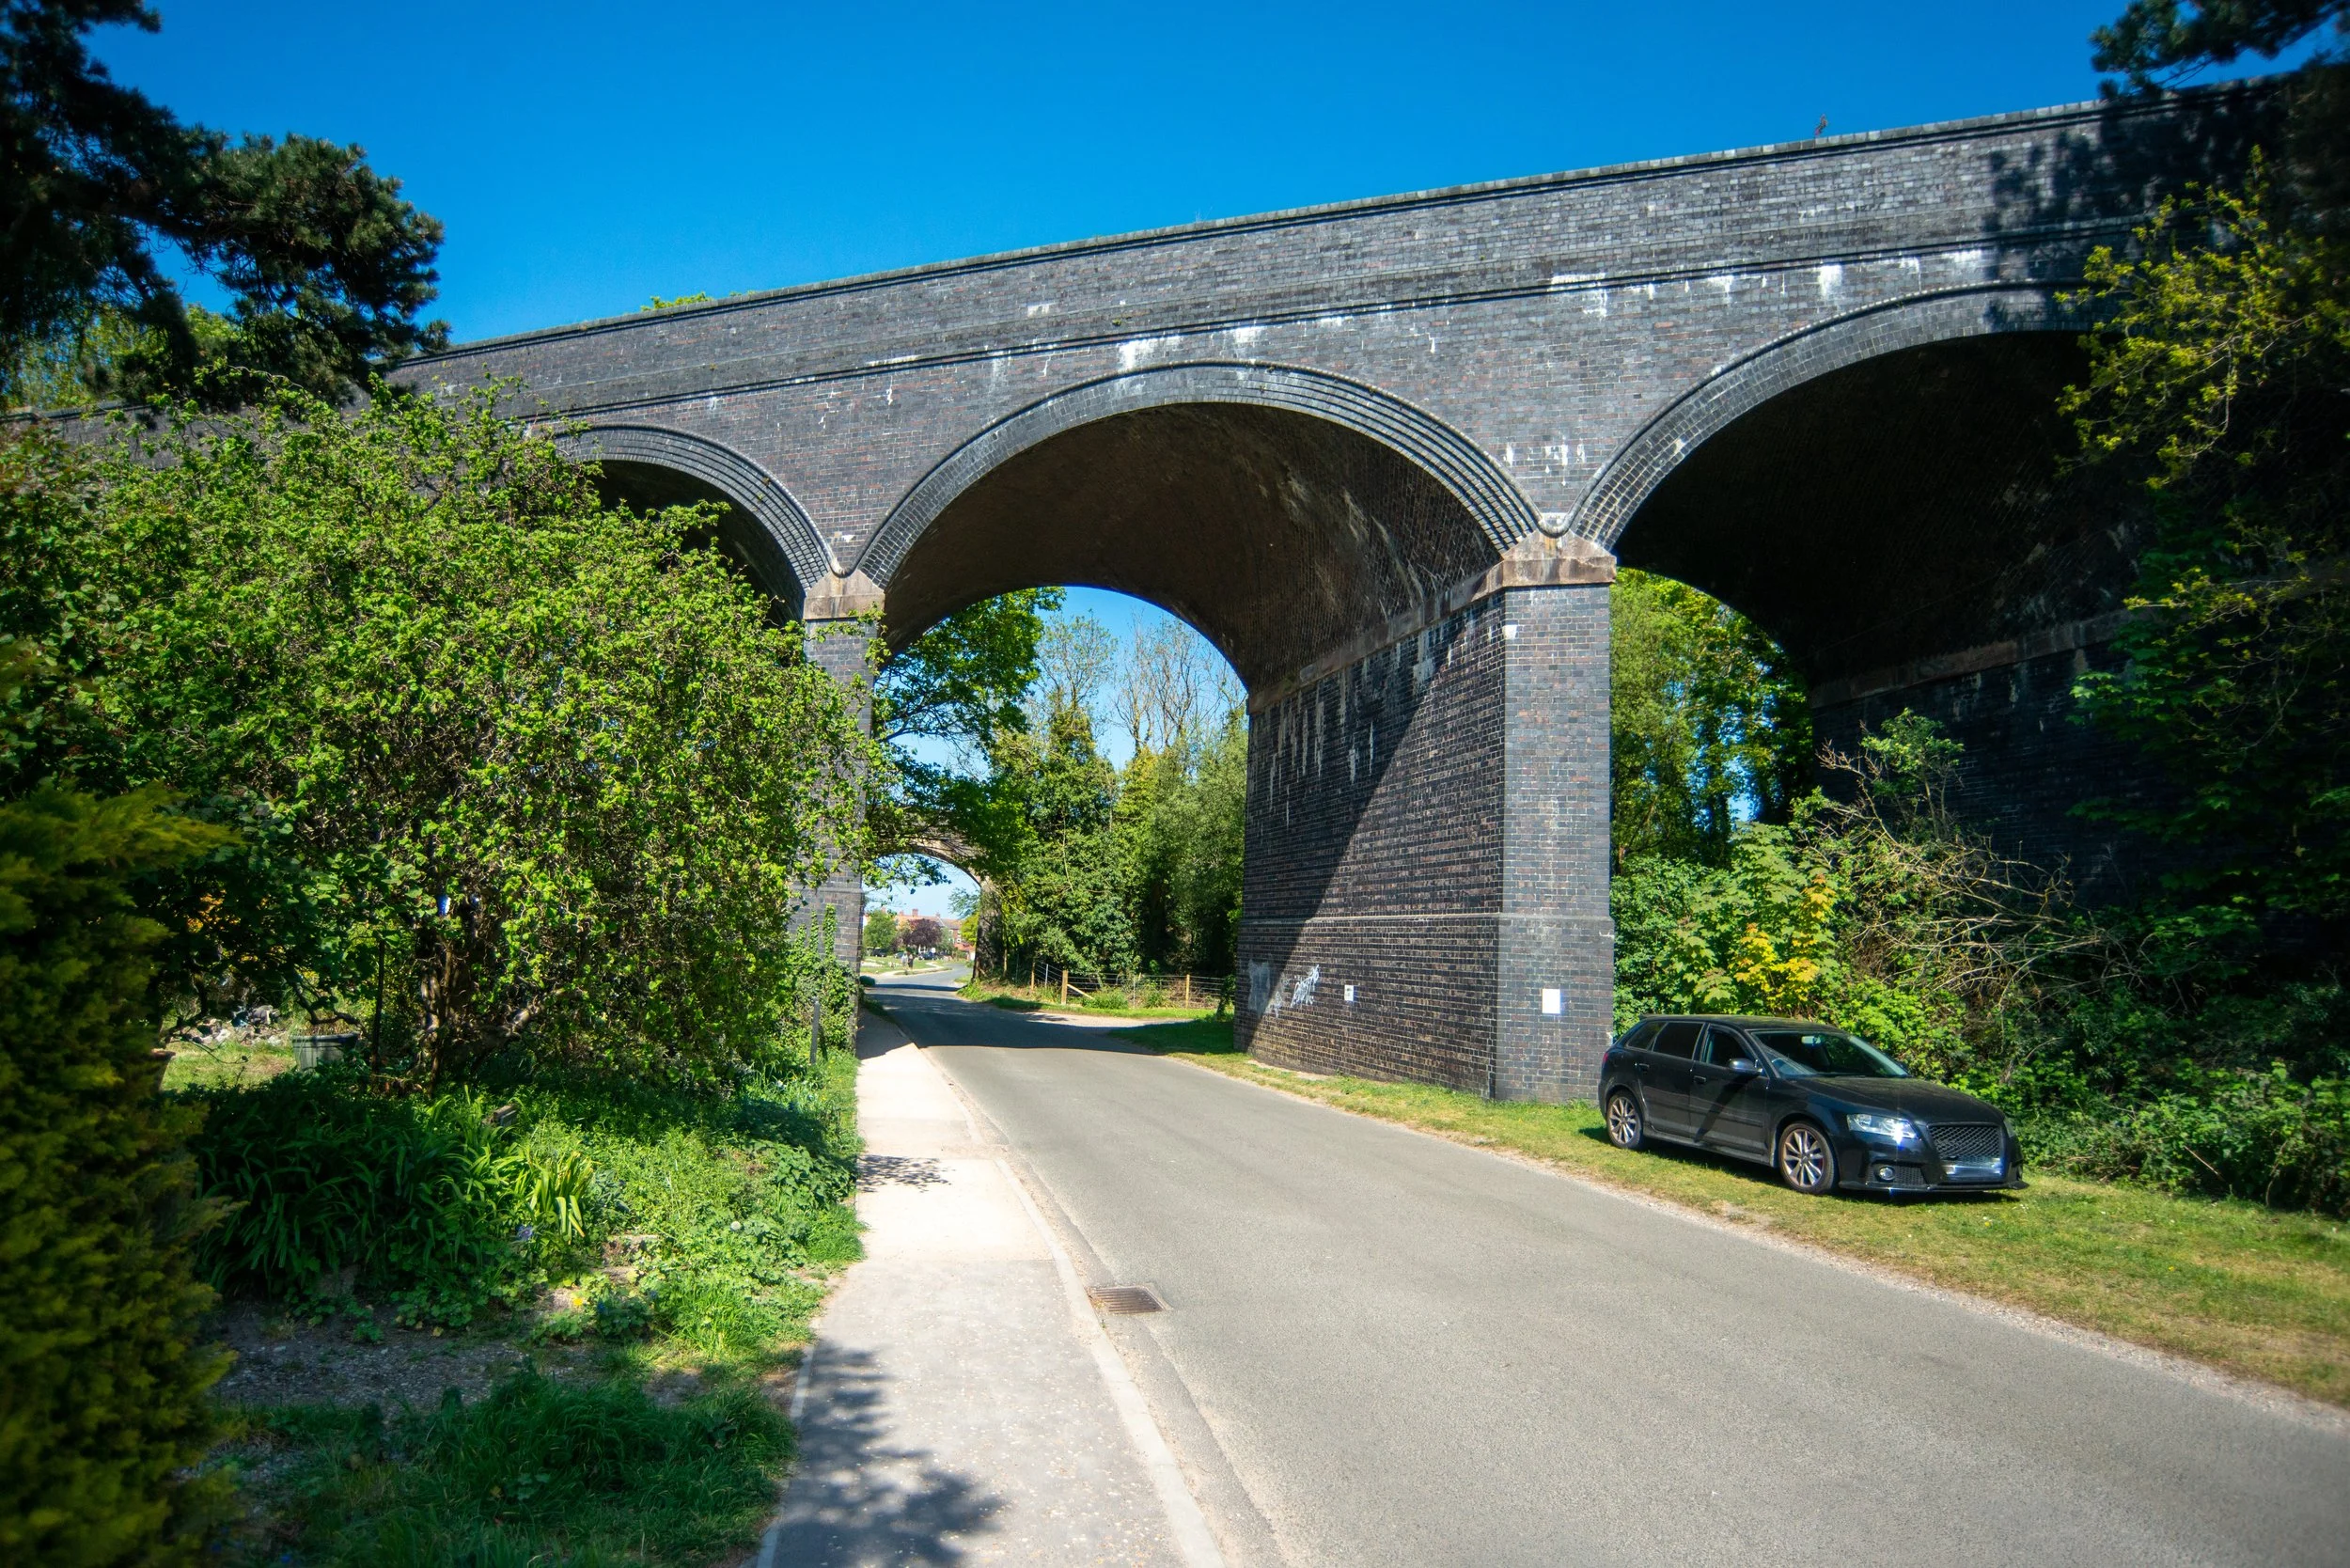
East Runton Viaduct’s

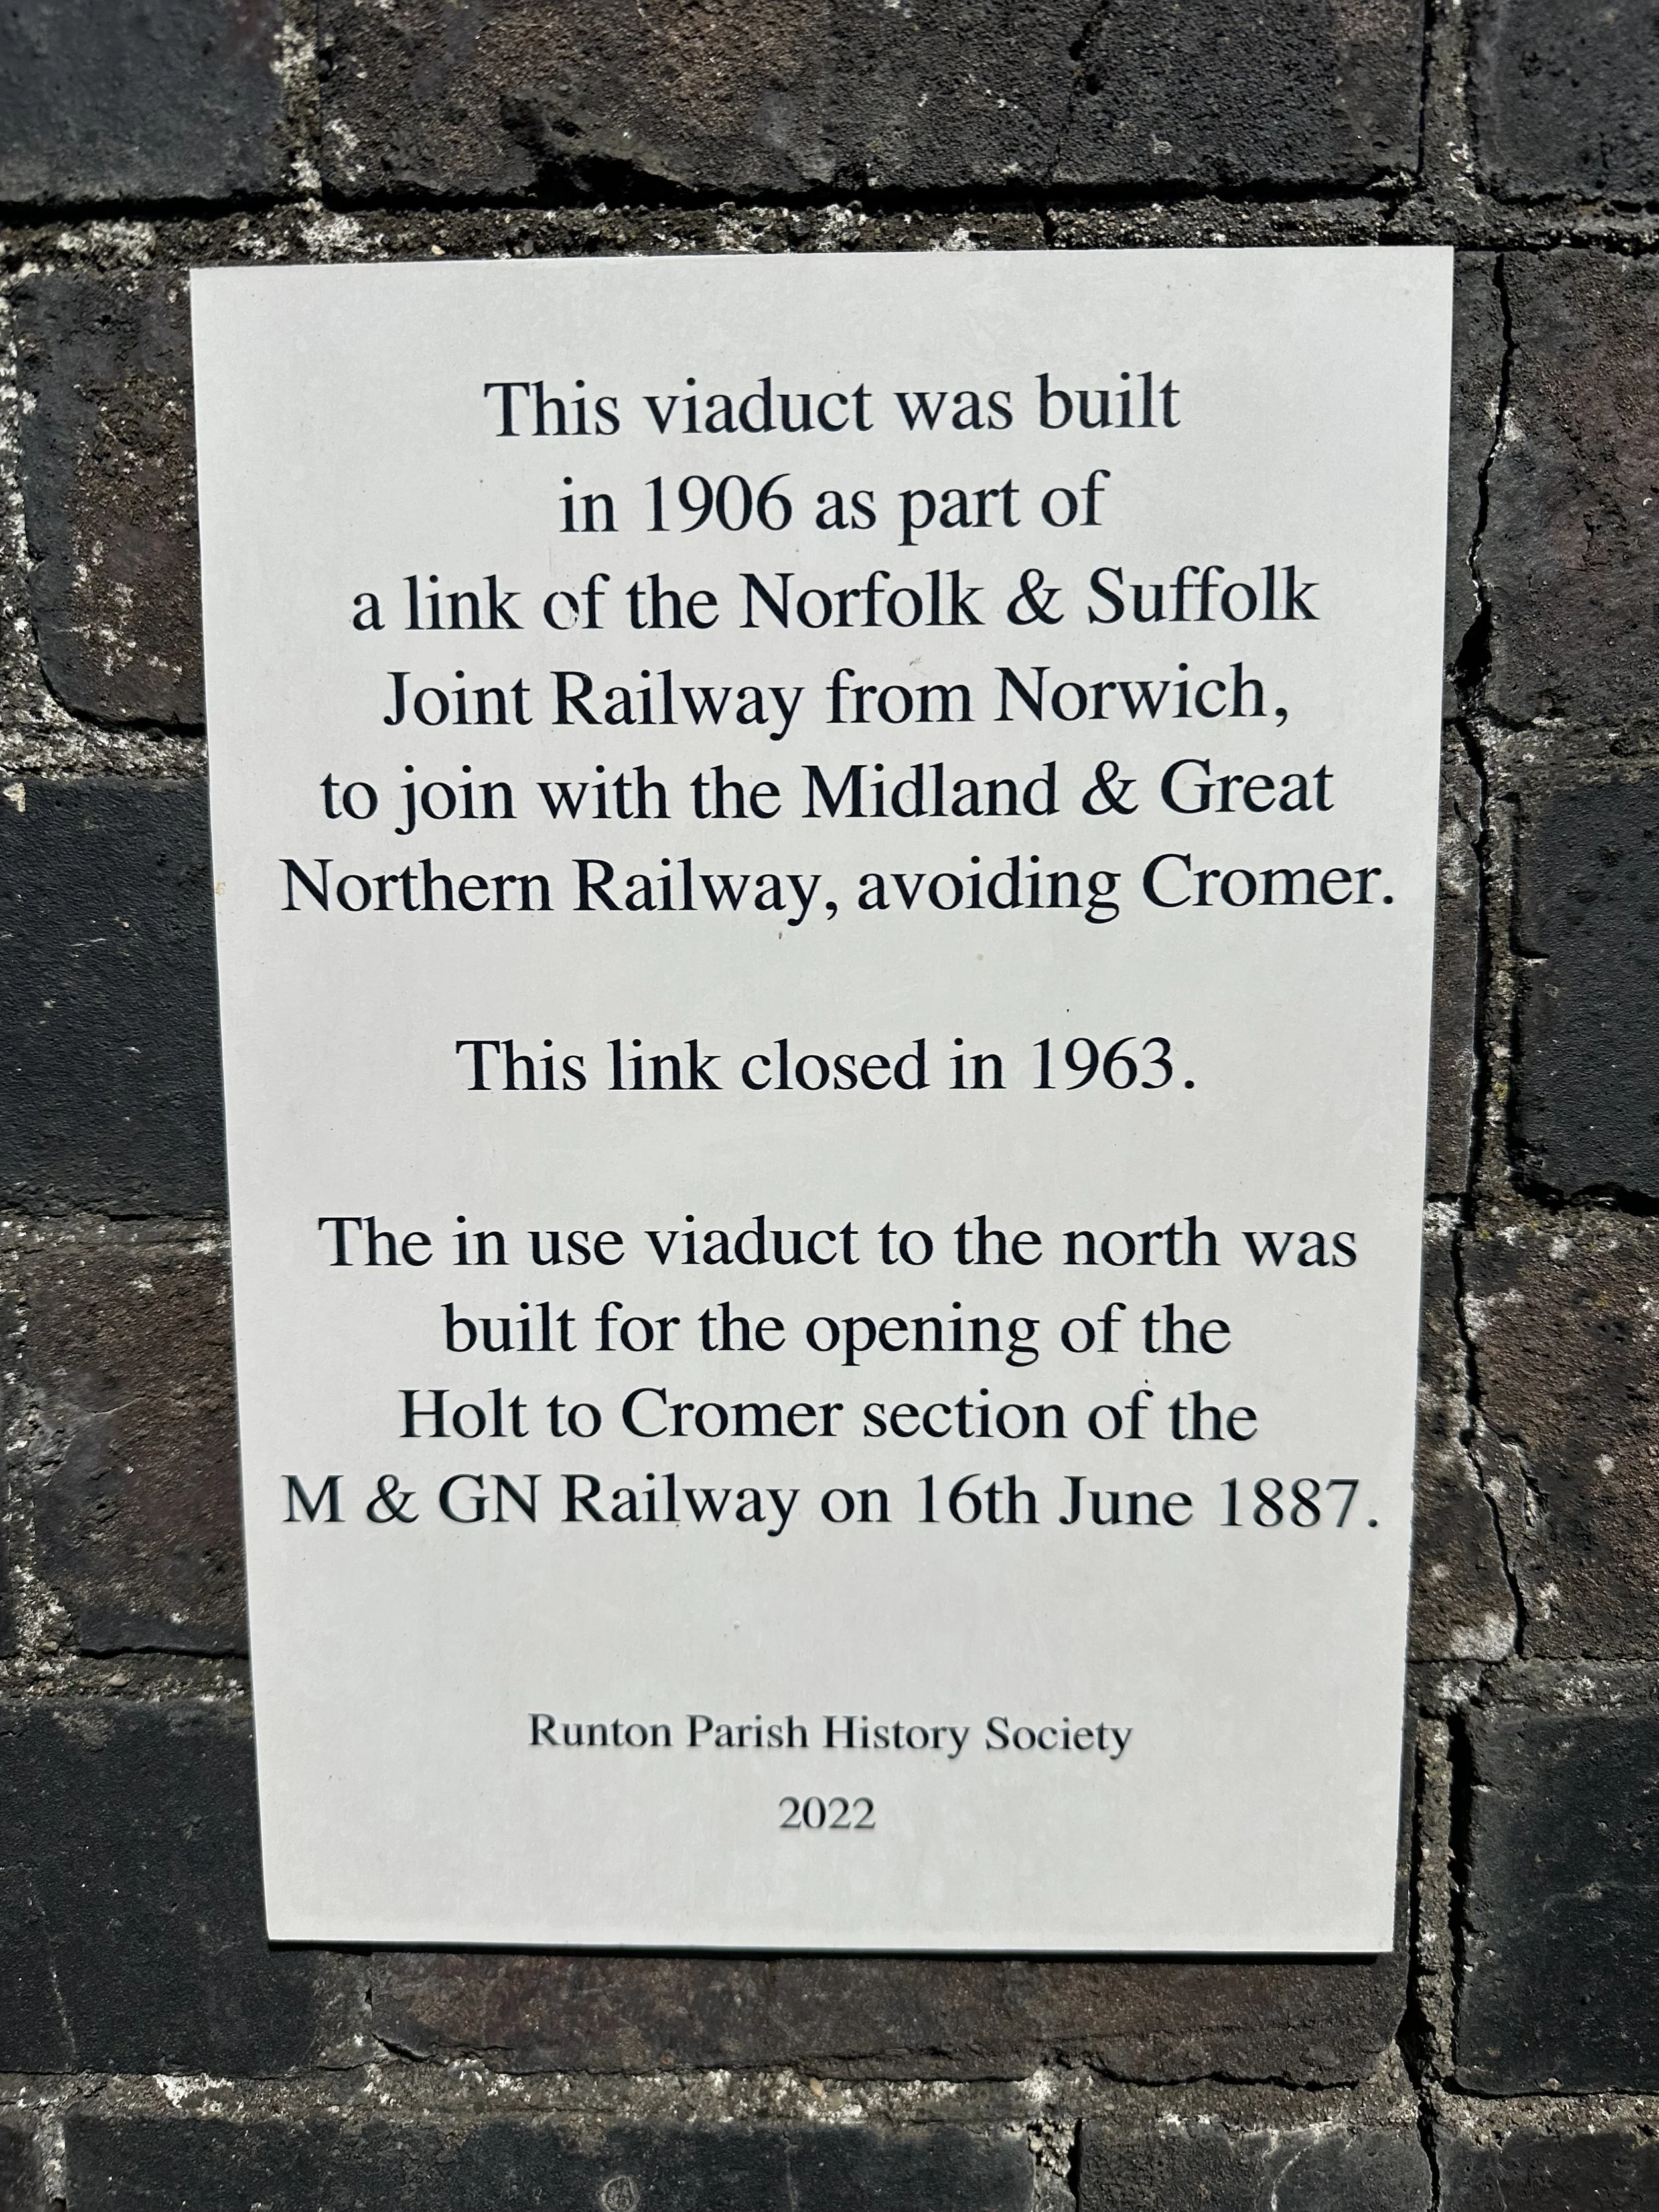
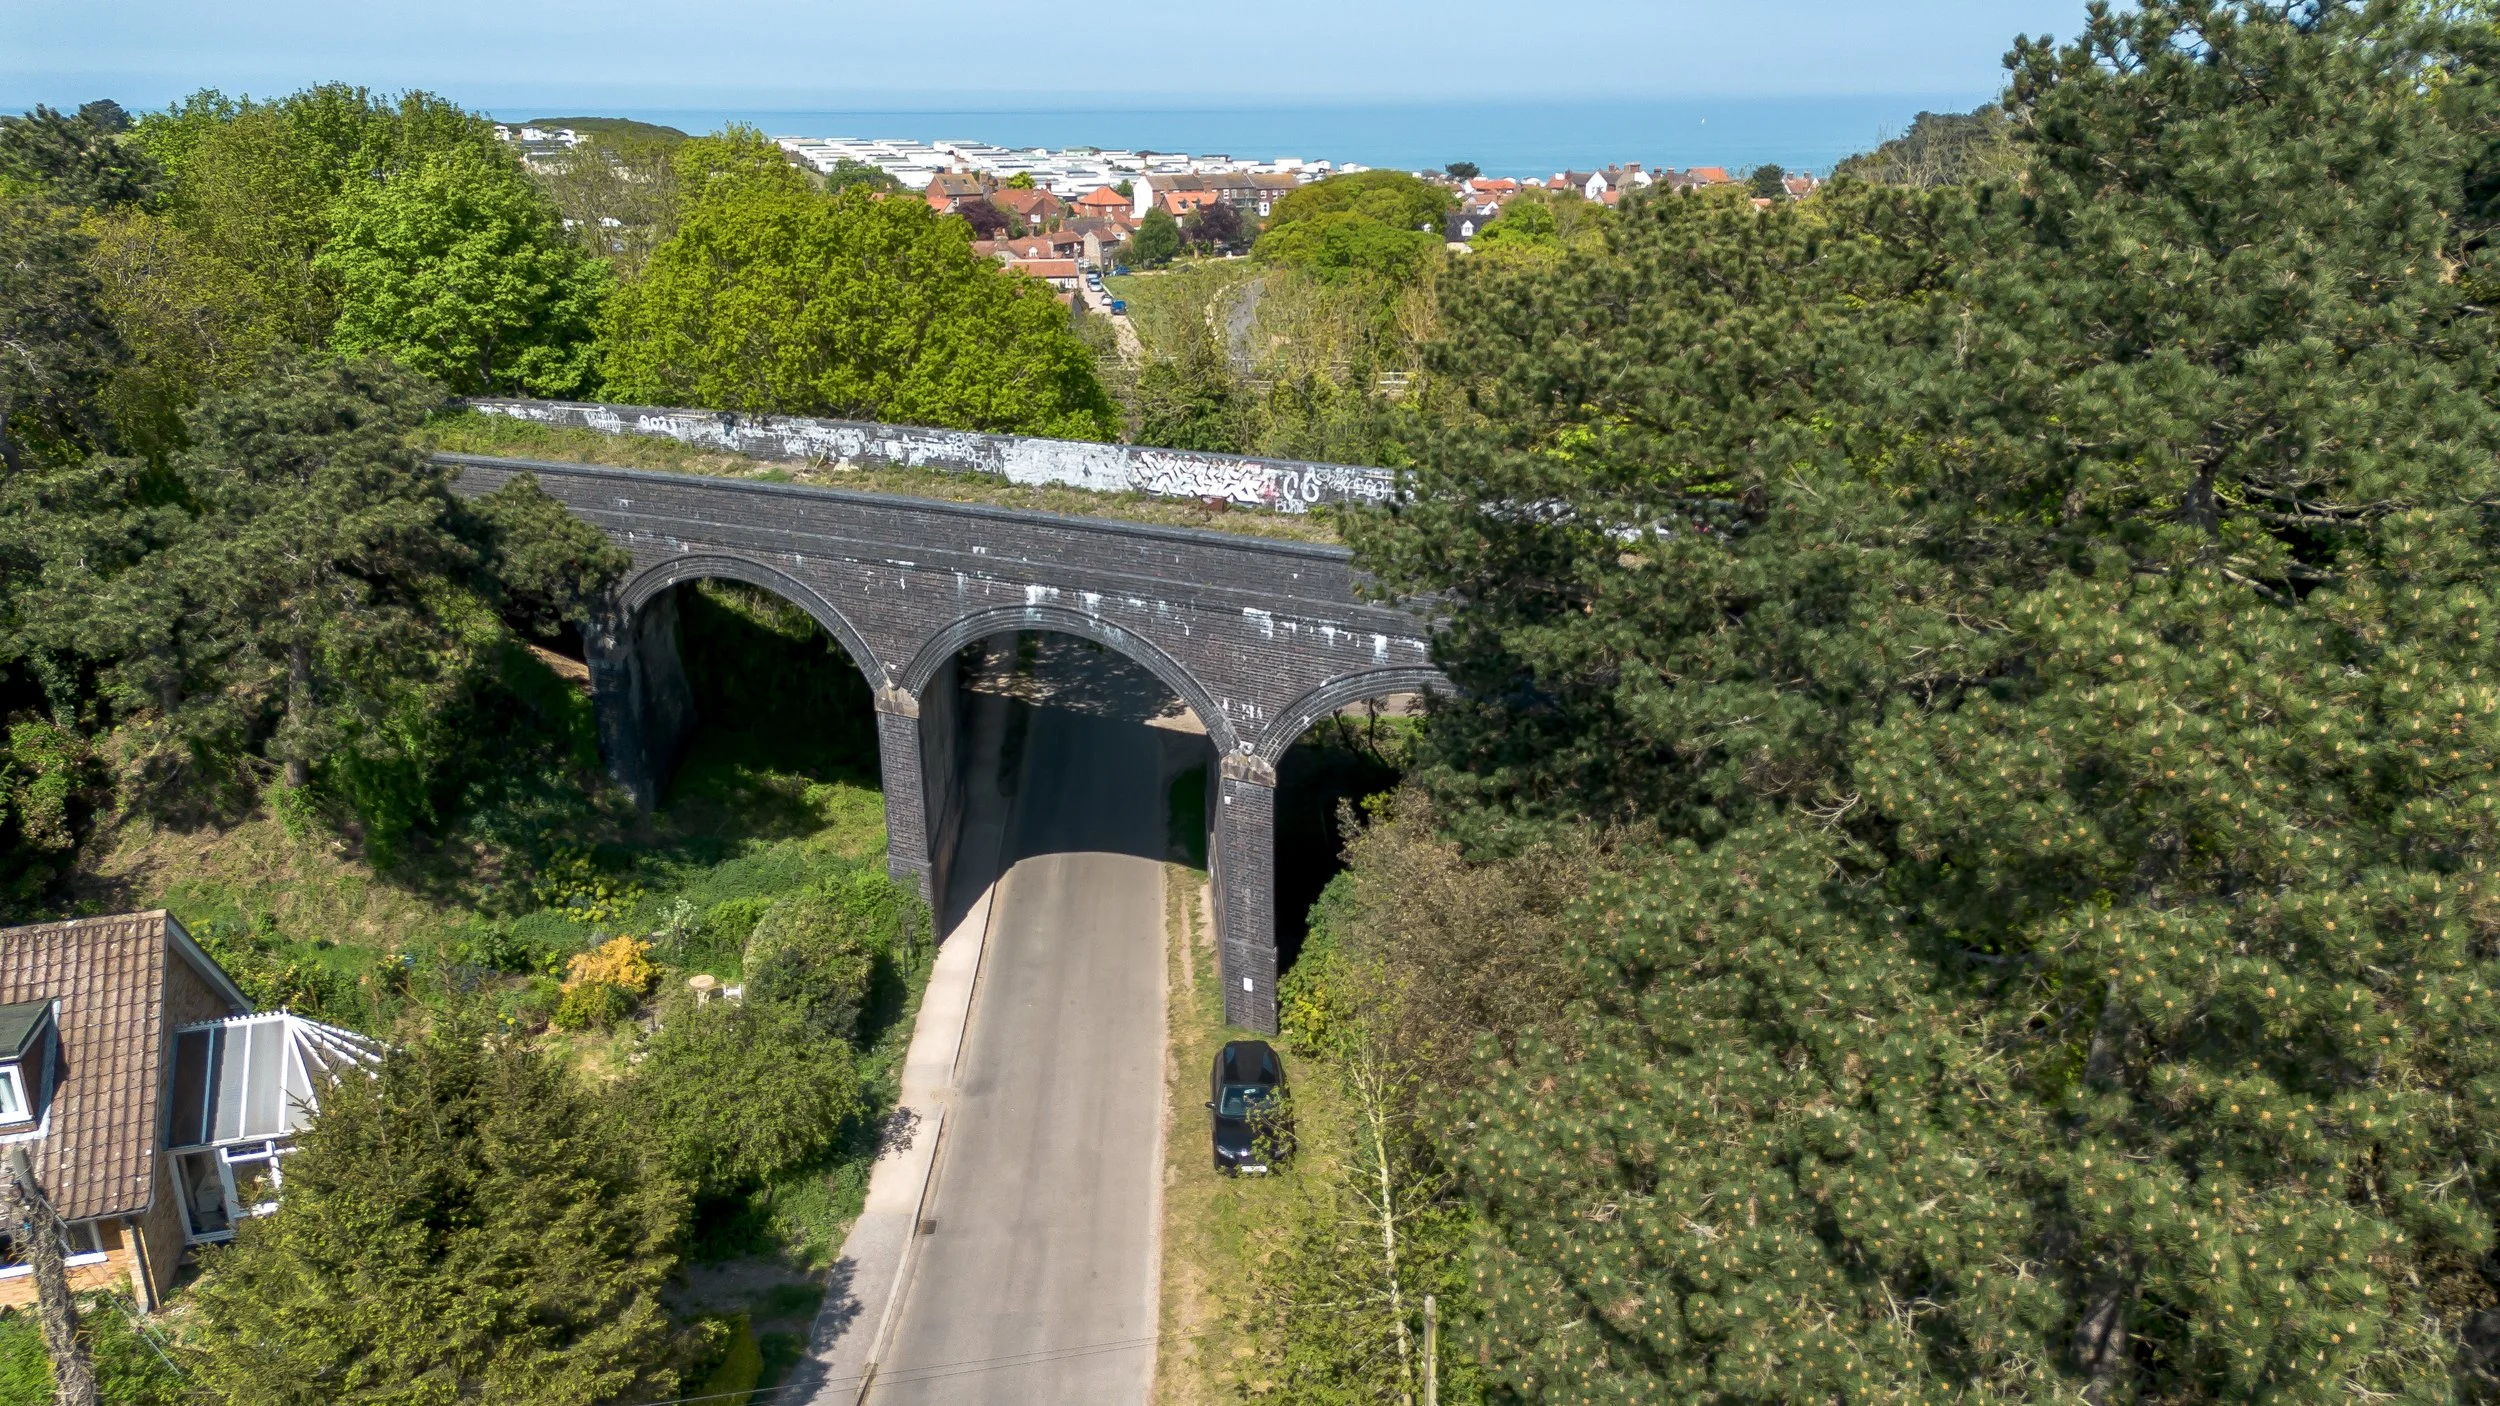
Both viaducts in East Runton were constructed in 1902, but one was closed in 1952. The closed viaduct was designed as a diversionary route to bypass Cromer and provide a more direct path to Sheringham. The second viaduct, which leads to Cromer station, is still in use today on the Bittern line from Norwich to Sheringham via Cromer.
The photographs on this site were taken during the summer of 2022 and spring 2026
The Disused Viaduct
1902-1952
Historic maps.
Thanks to the national library of Scotland.

The map shows the viaduct as a dismantled railway.

50/50 Modern and historic coverage.
Historic photos sourced from Social media platforms.
Please feel free to click on each individual photo for a link to Norfolk Orbitals Facebook page.


Bridge code RNW1 317
Newstead Lane Junction to Runton West Junction
I want to express my gratitude to railwaycodes.org.uk for providing the information.


2026, I revisited this site with a drone and also climbed to the top to photograph the old track bed.
Top of the viaduct
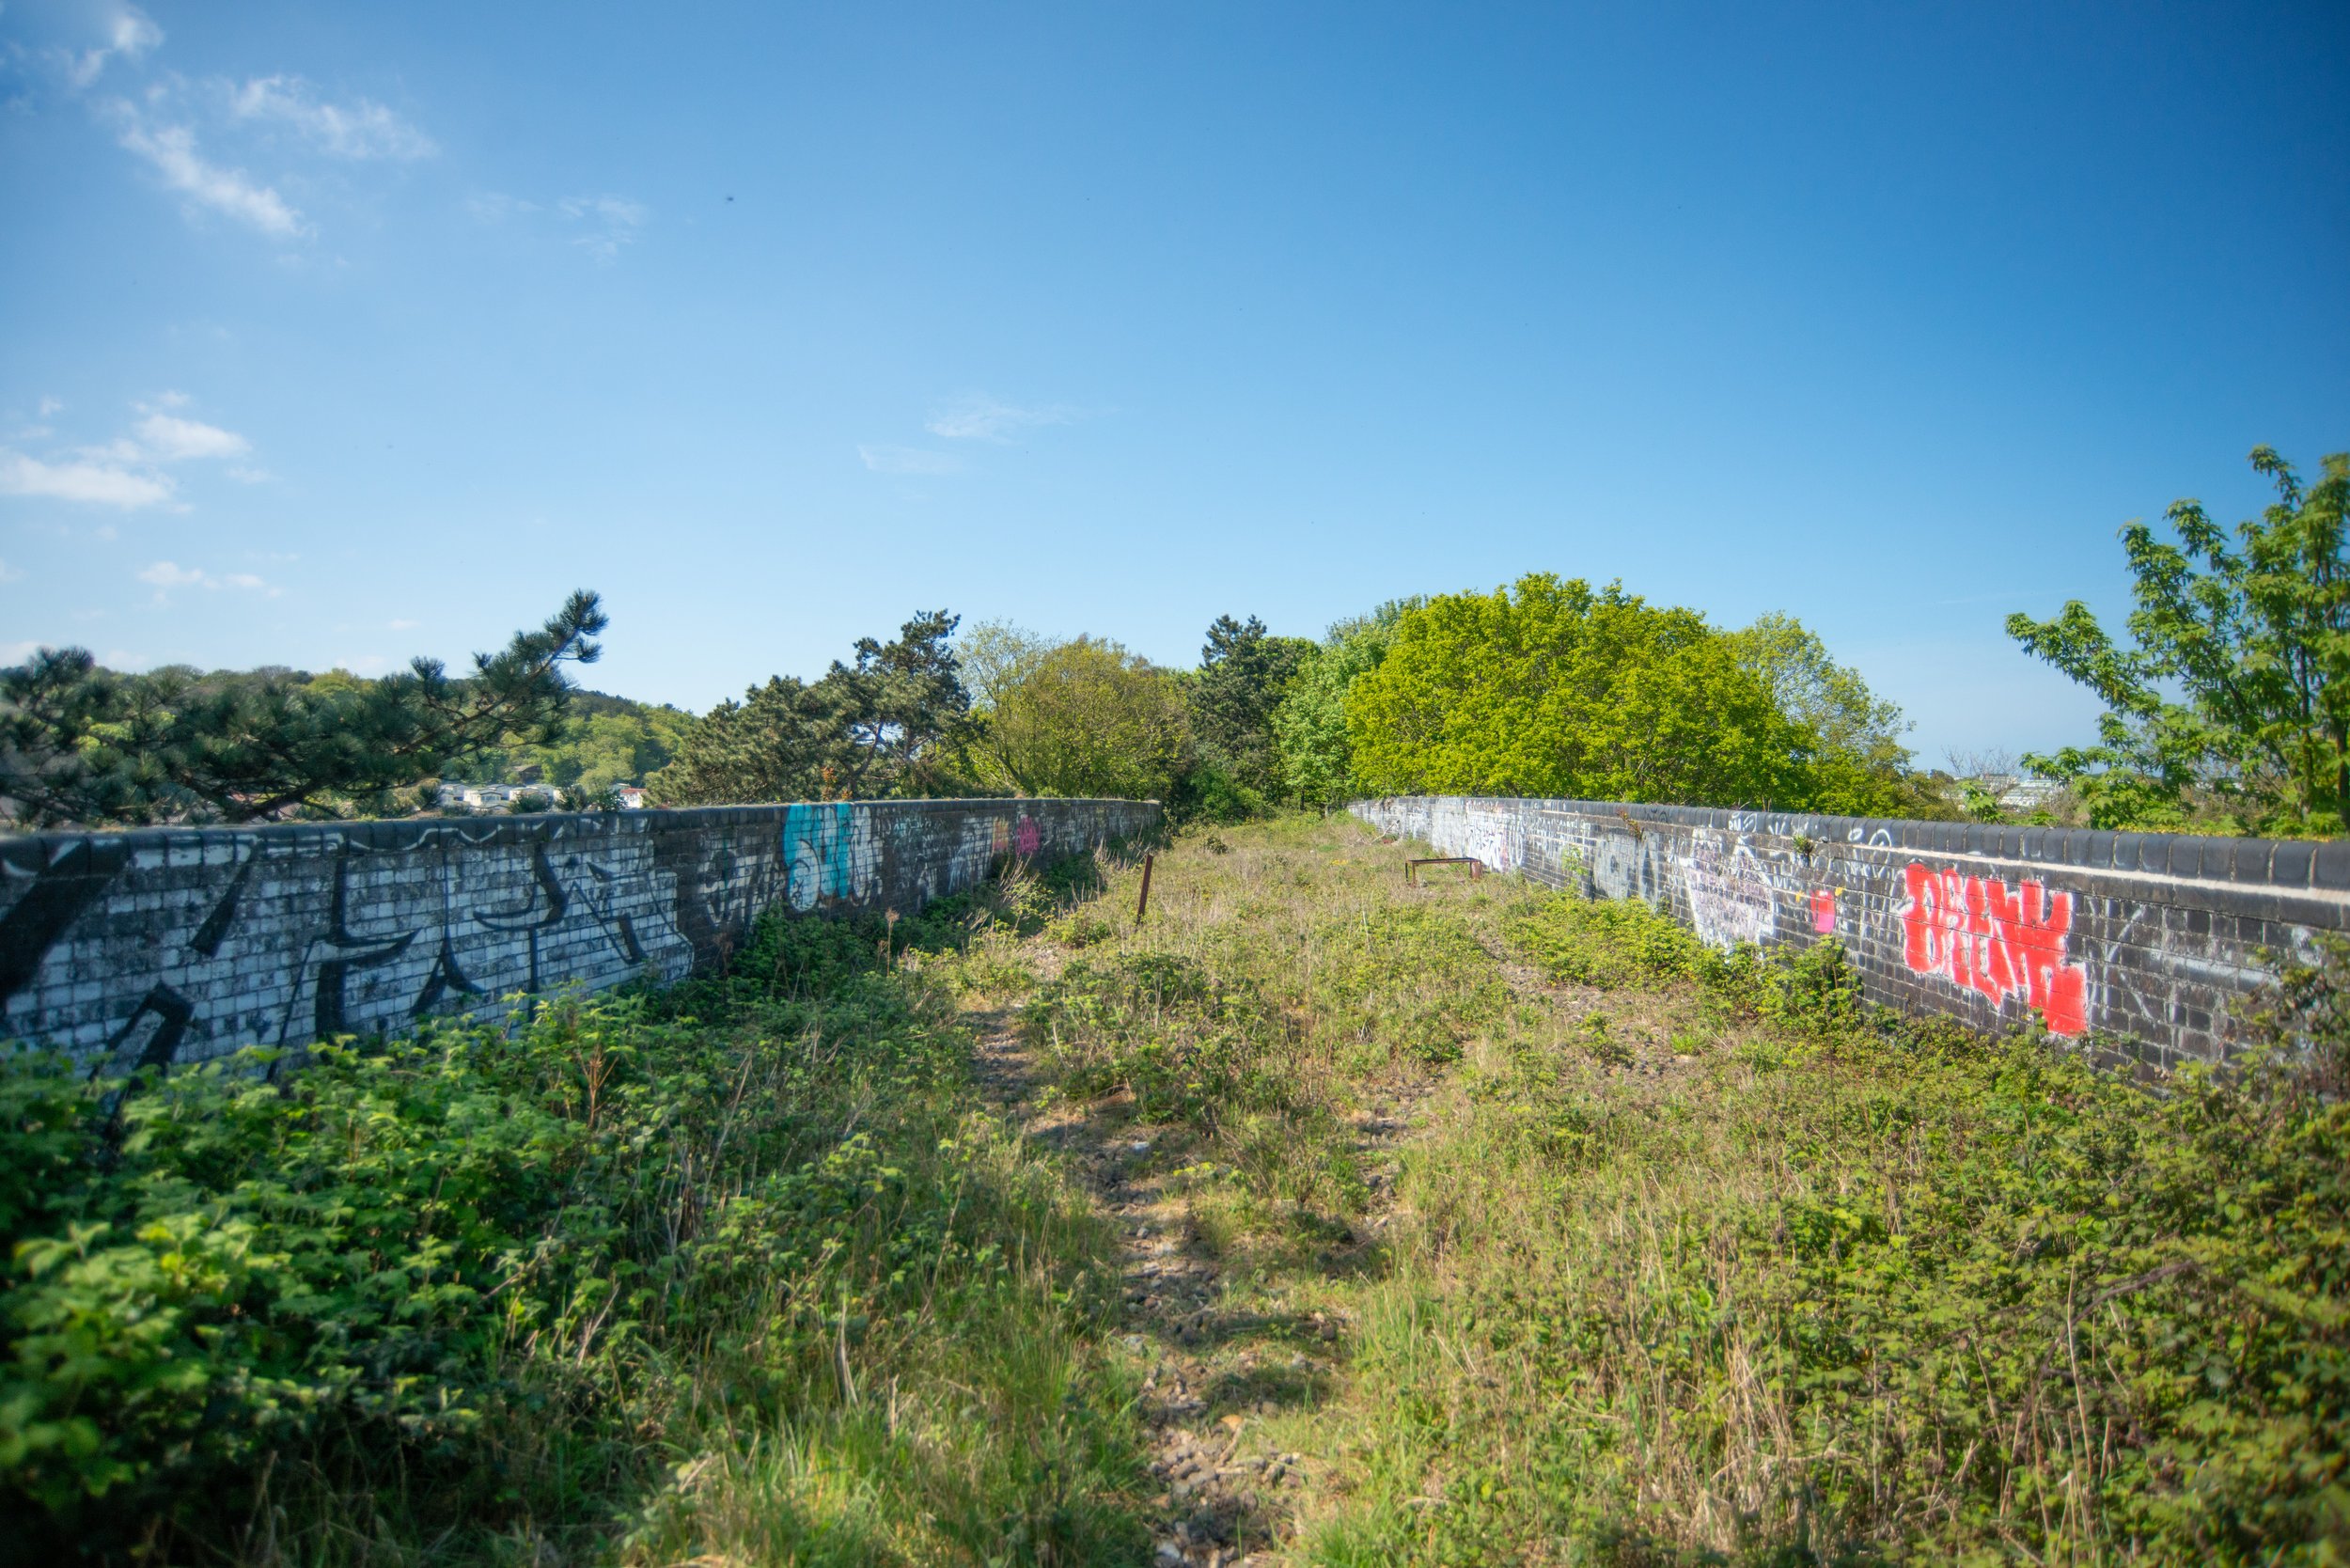
2026
2026 Drone shots.
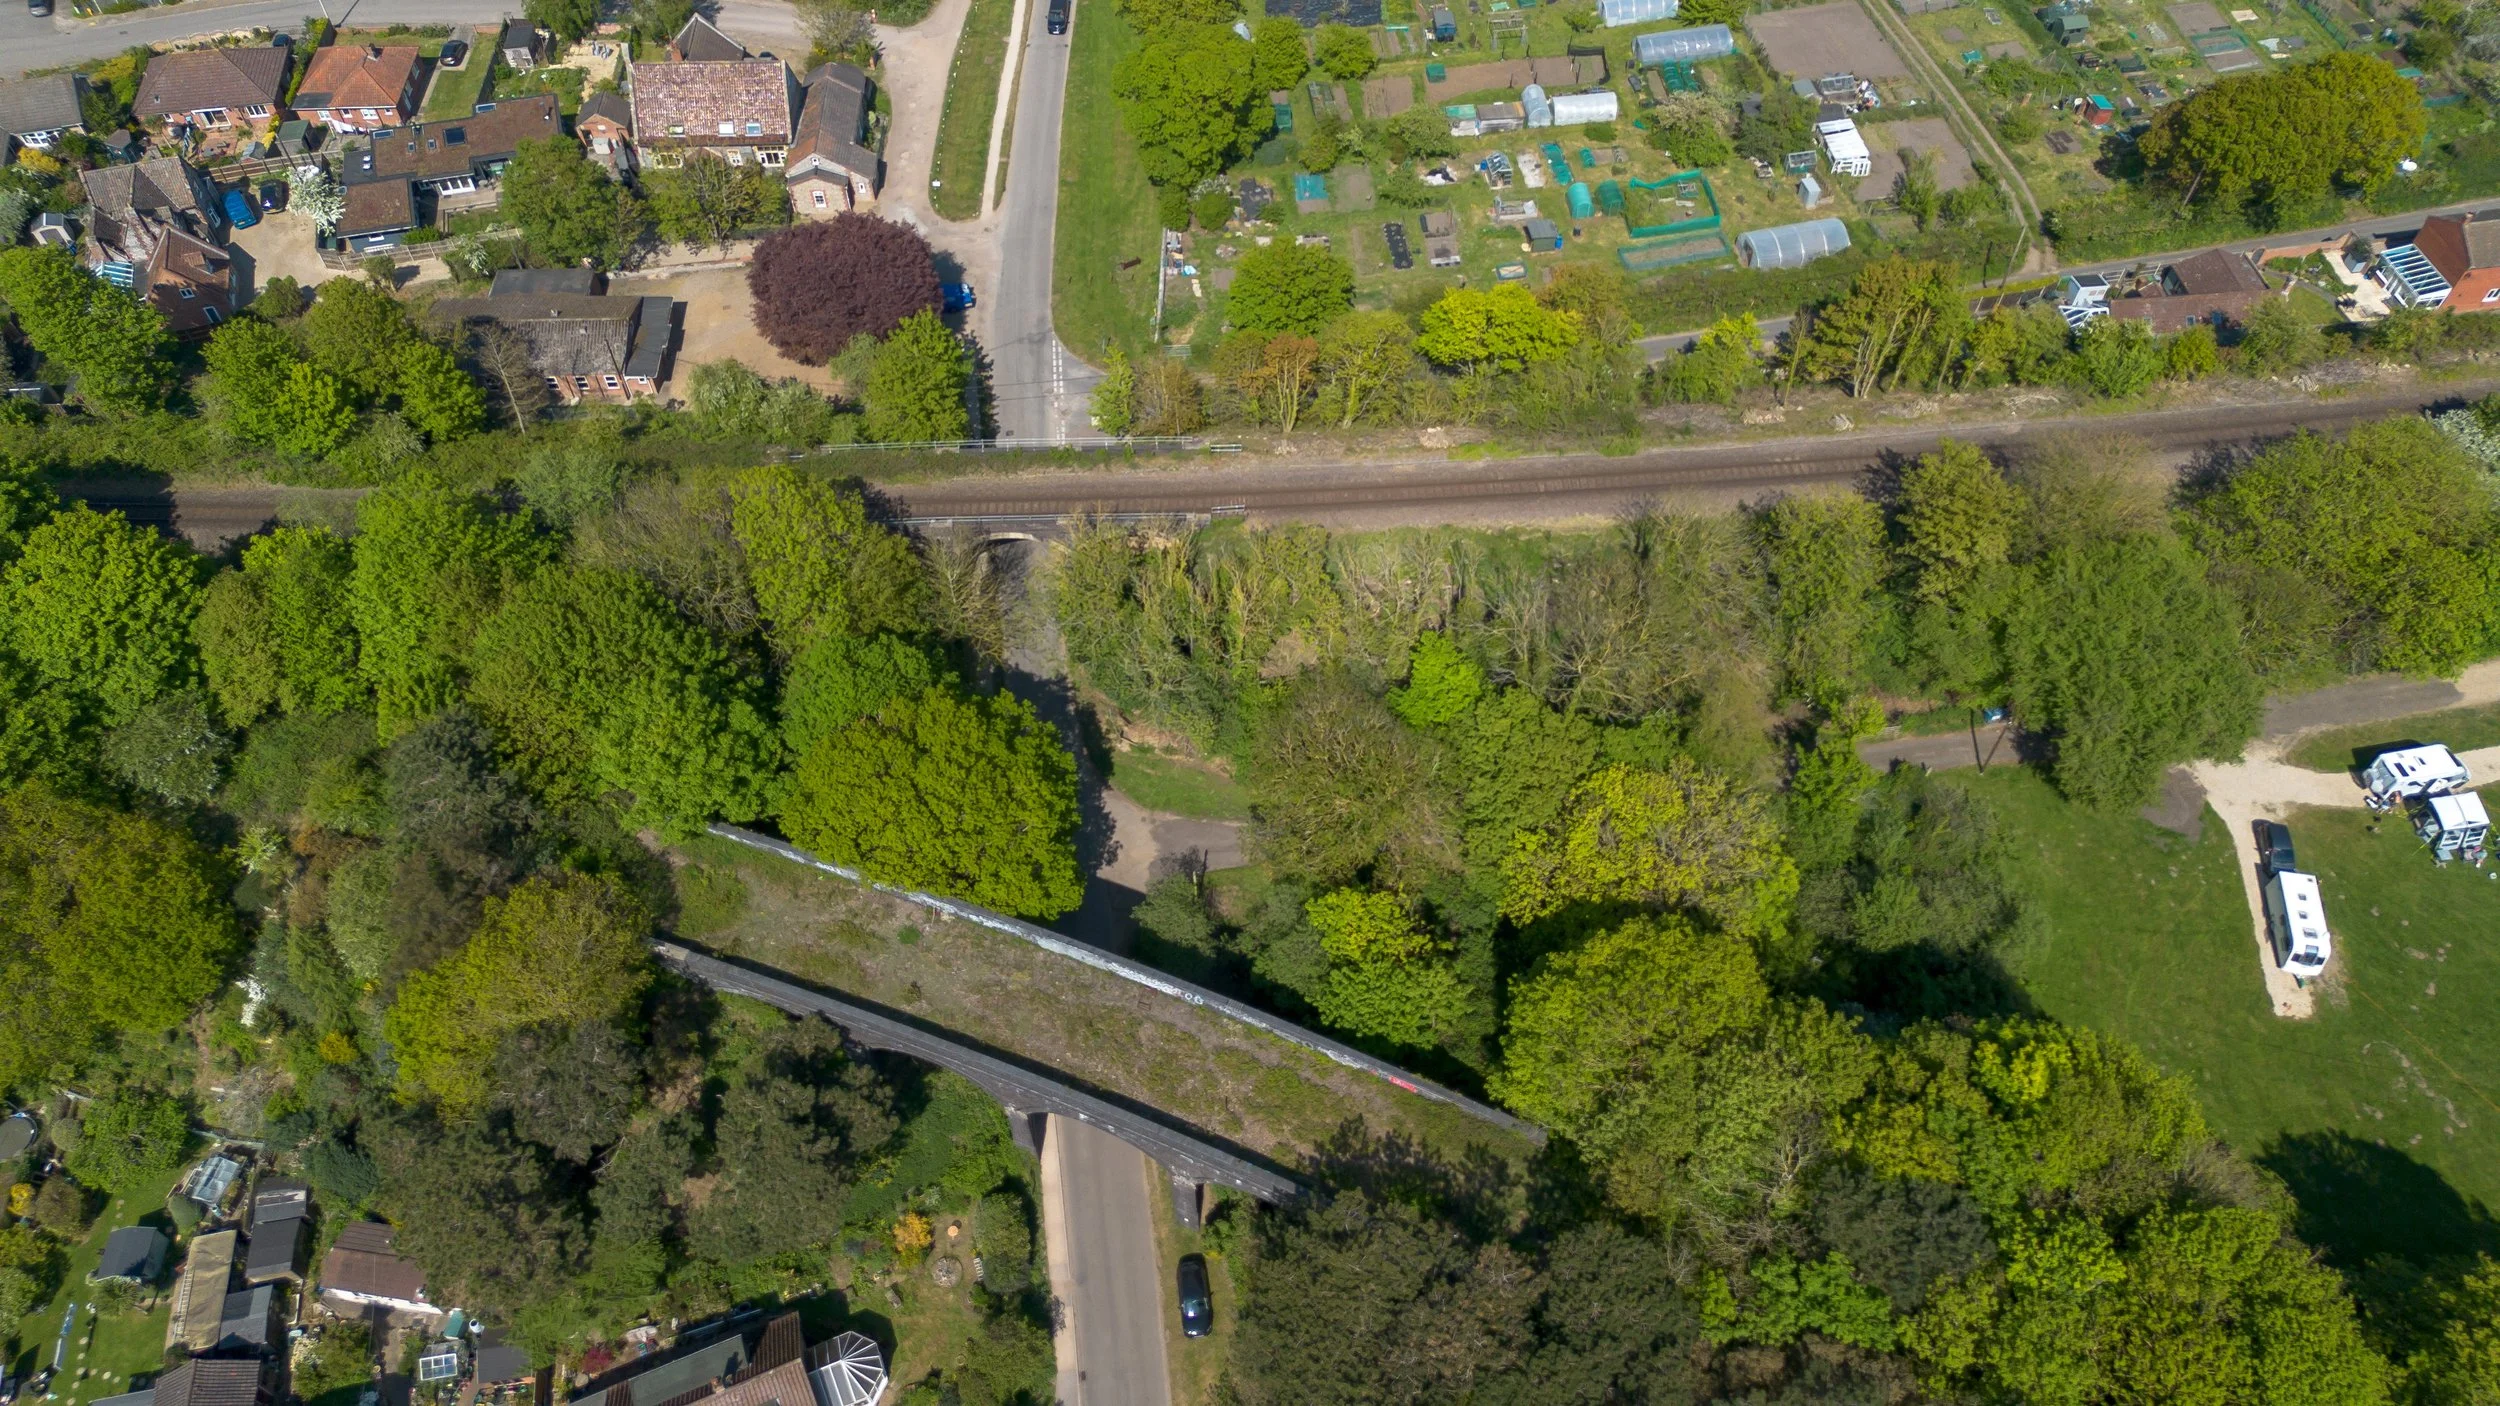
The second viaduct.
This viaduct is still in use, taking mainline services from Sheringham to Norwich along the Bittern line.


West Runton station.
Ok, it's not a tunnel or a viaduct, but I loved the sign here, so whilst close, why not go and visit this old sign?
The station that comes after the viaducts between Cromer and Sheringham is West Runton. It remains operational on the Bittern train line connecting Sheringham and Norwich via Cromer, and is the sole station on the Network railway system that showcases M&GN signage.
West Runton also has an original M&GN-style bridge.


MY GOOGE MAPS.