NARBOROUGH & PENTNEY TO SWAFFHAM

©W.A. Camwell
1846-1968
To navigate the route, please use the icons below, which correspond to each segment.
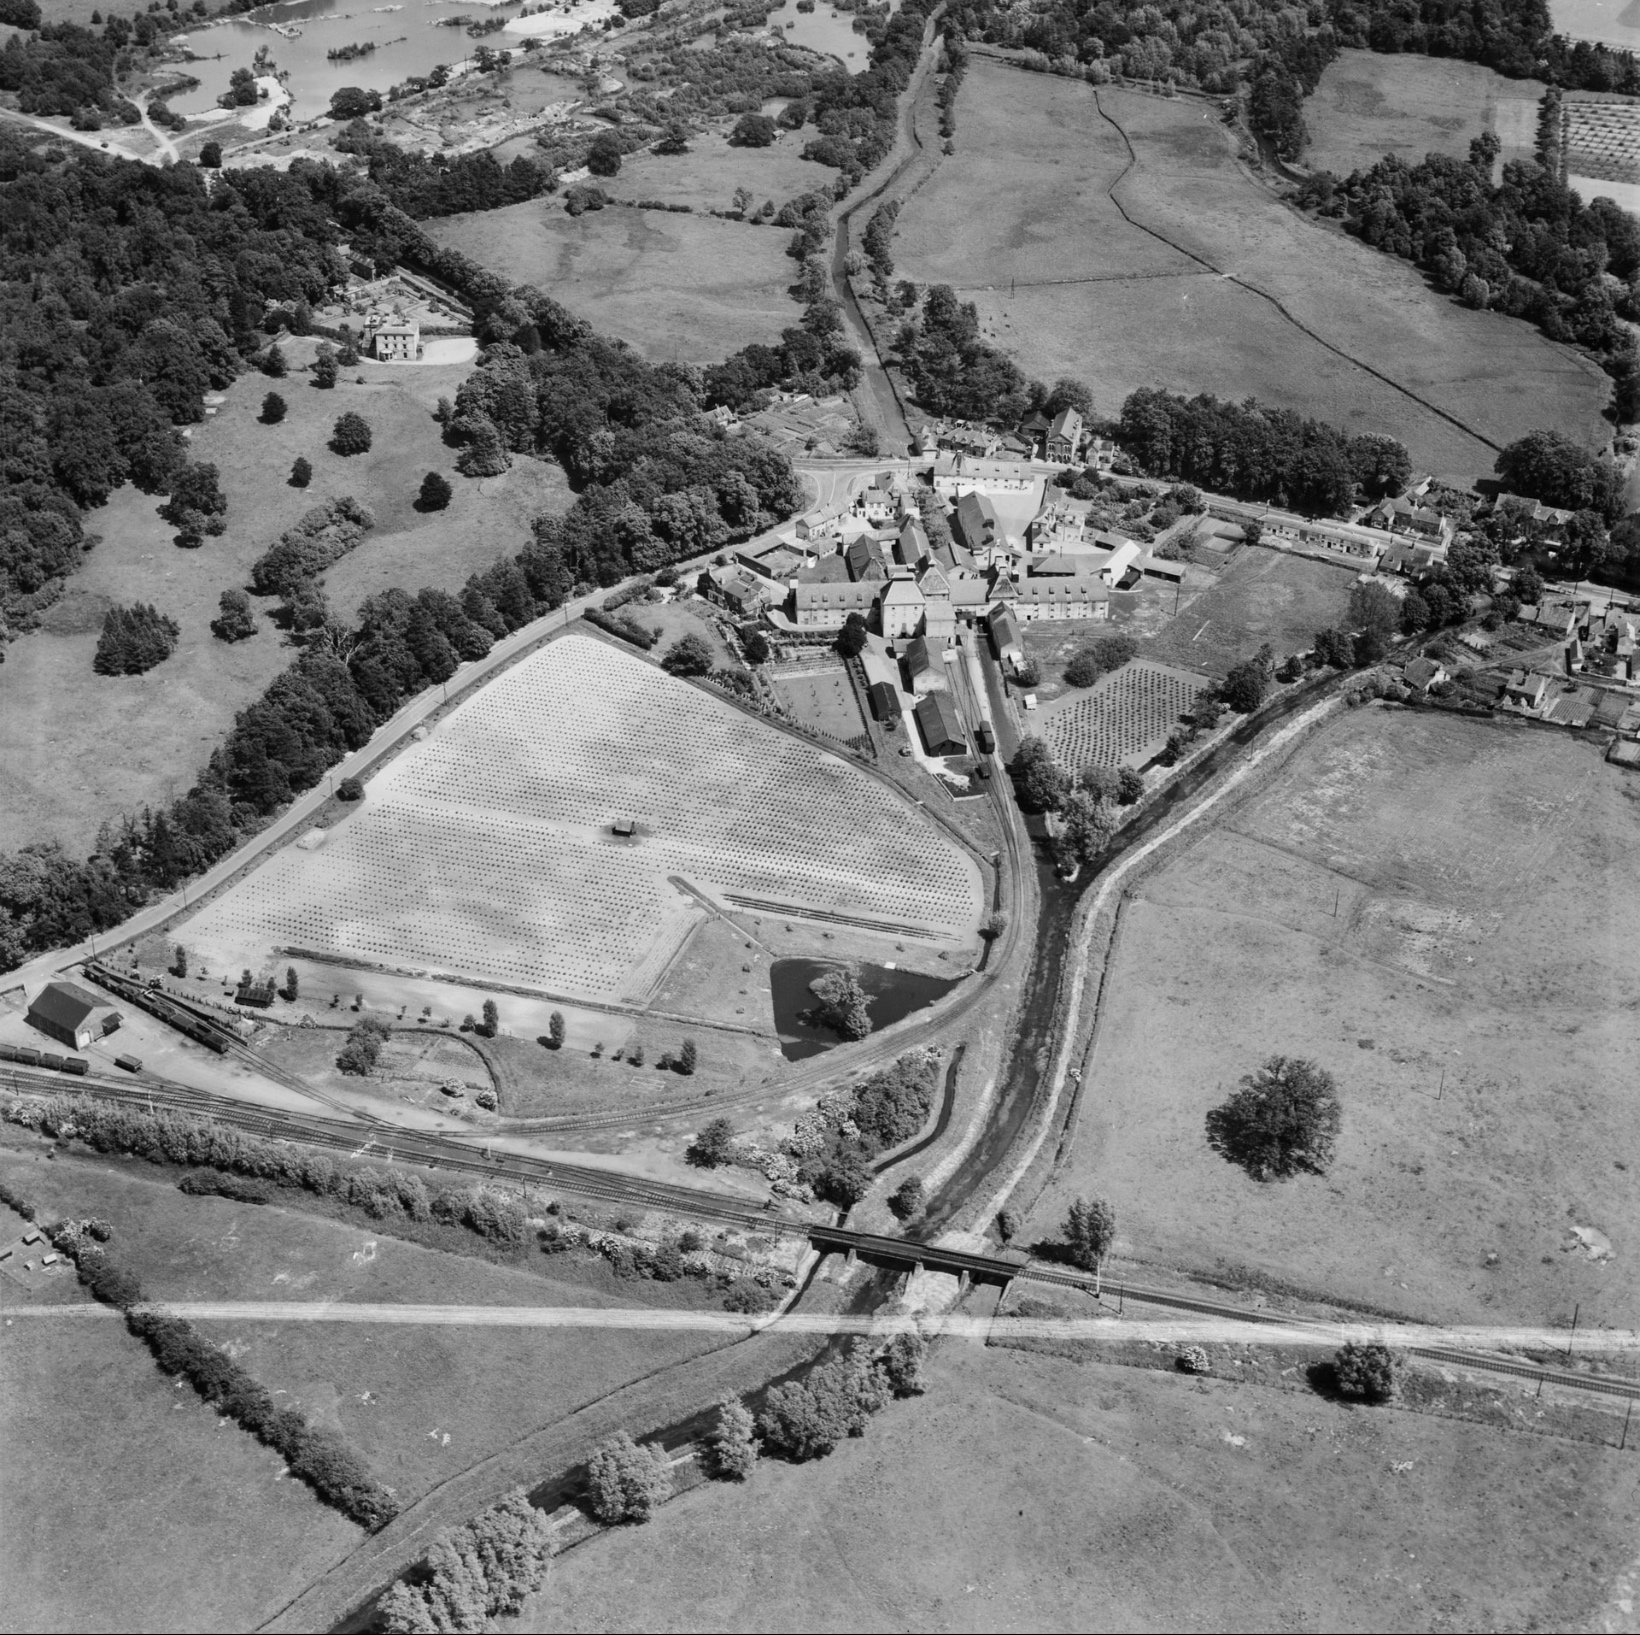
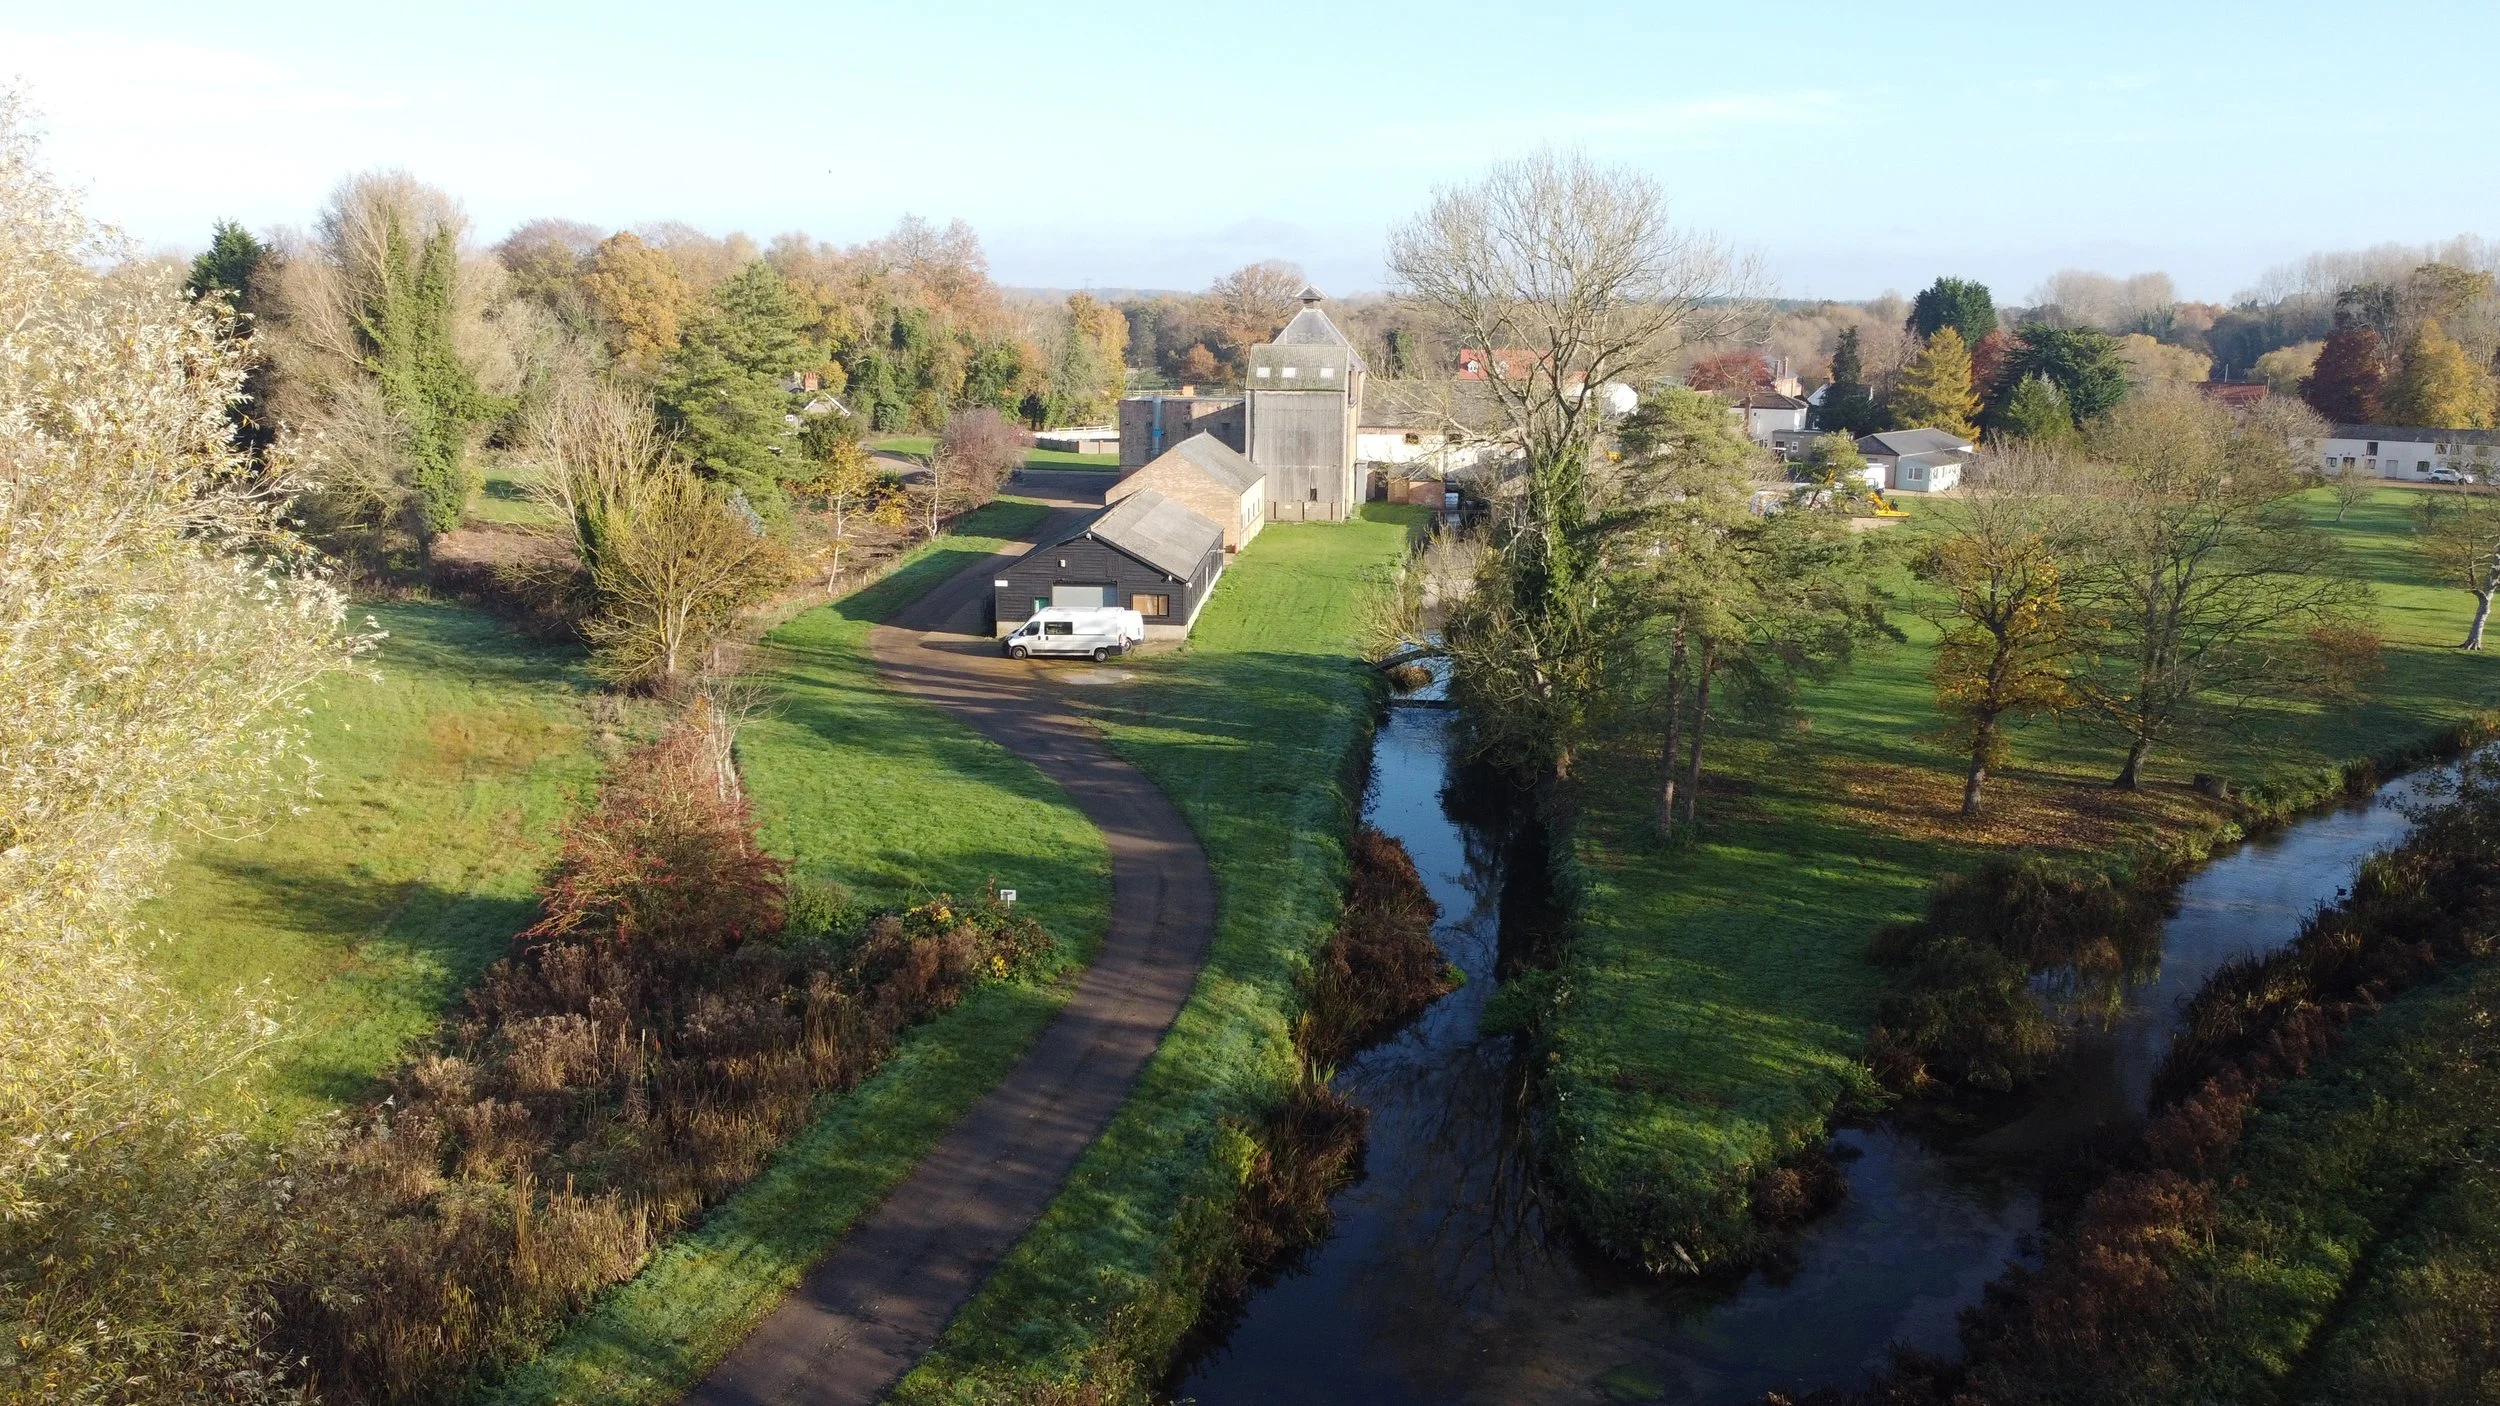
NARBOROUGH AND PENTNEY STATION
We have now arrived at Narborough & Pentney station, which is located 8 miles and 52 chains away from King's Lynn. This station features two platforms, a lengthy passing loop, and an extensive goods yard with a goods shed on the downside. Additionally, there are goods sidings serving the Vynne and Everett’s granary, Bonemill, just after Narborough.
The main station building is located on the upside of the station and is built in a typical Great Eastern L-shaped configuration. On the downside, a small brick-built shelter was seen on the platform. A signal box was also present on the down platform at Narborough. At the end of the platform on the Swaffham side, a minor road crossed over with hand-operated gates, effectively dividing Narborough & Pentney in half, with passenger facilities on one side and goods facilities on the other side.
In the early days of the railway, Narborough & Pentney served as the temporary Terminus for the line. This short stretch between King's Lynn and Narborough was the first to be opened on October 27, 1846, along with the Lynn & Ely line. A steam engine departed King's Lynn at 11:30 AM, heading towards Downham Market. After returning from lunch, the train, consisting of 3 first-class and 6 second-class carriages, departed for Narborough for its first service. At that time, the line was only completed up to one mile past Narborough, but it was soon extended to Swaffham and then to Dereham.
For many years, Narborough & Pentney has played a vital role in supporting the village and the agriculture sector. However, in its early days, the first service to Dereham did not start until after 9 AM.
Over time, the services improved, and Diesel Multiple Units replaced all passenger workings from the mid-1950s, providing 11 down services a day. Like many other stations, there was no service on Sundays.
On 15 August 1966, Narborough and Pentney became an unstaffed halt for the first time. The station's passing loop was removed, and only the former up platform remained in use. In 1968, closure notices were served on the line, including Narborough and Pentney.
The station was closed to passengers on 9 September 1968.
The last trains ran on Saturday, 7 September.
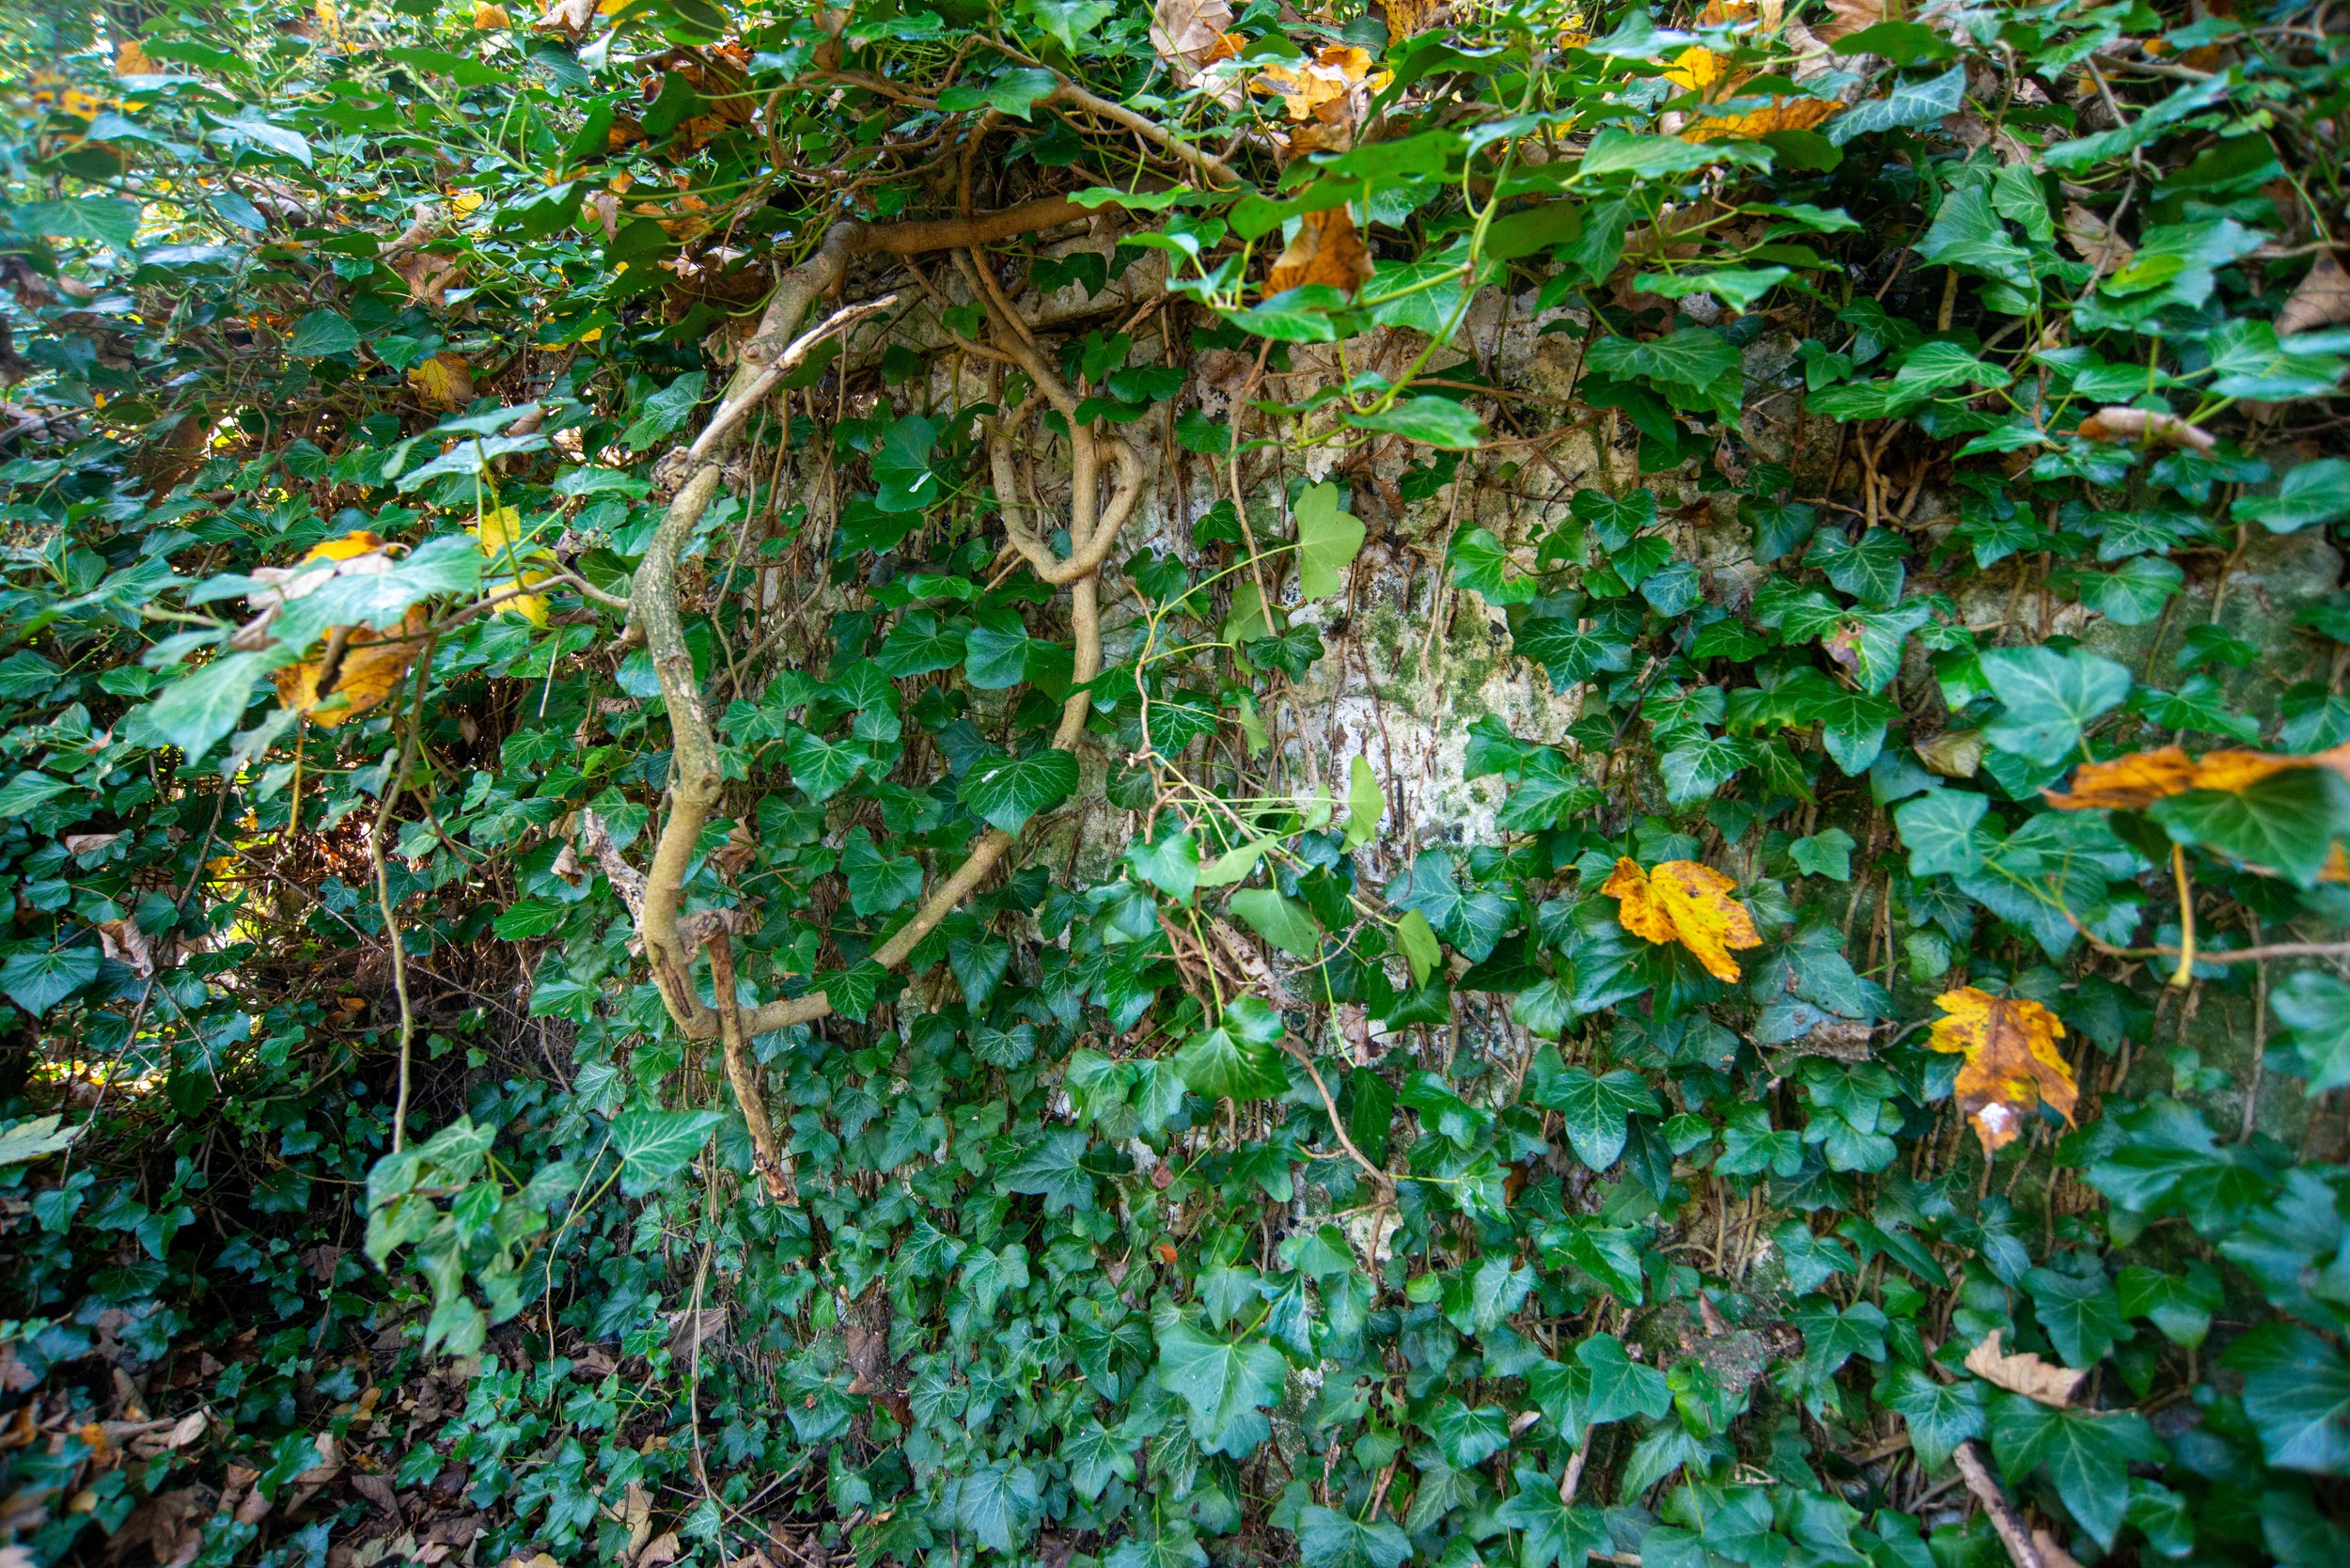
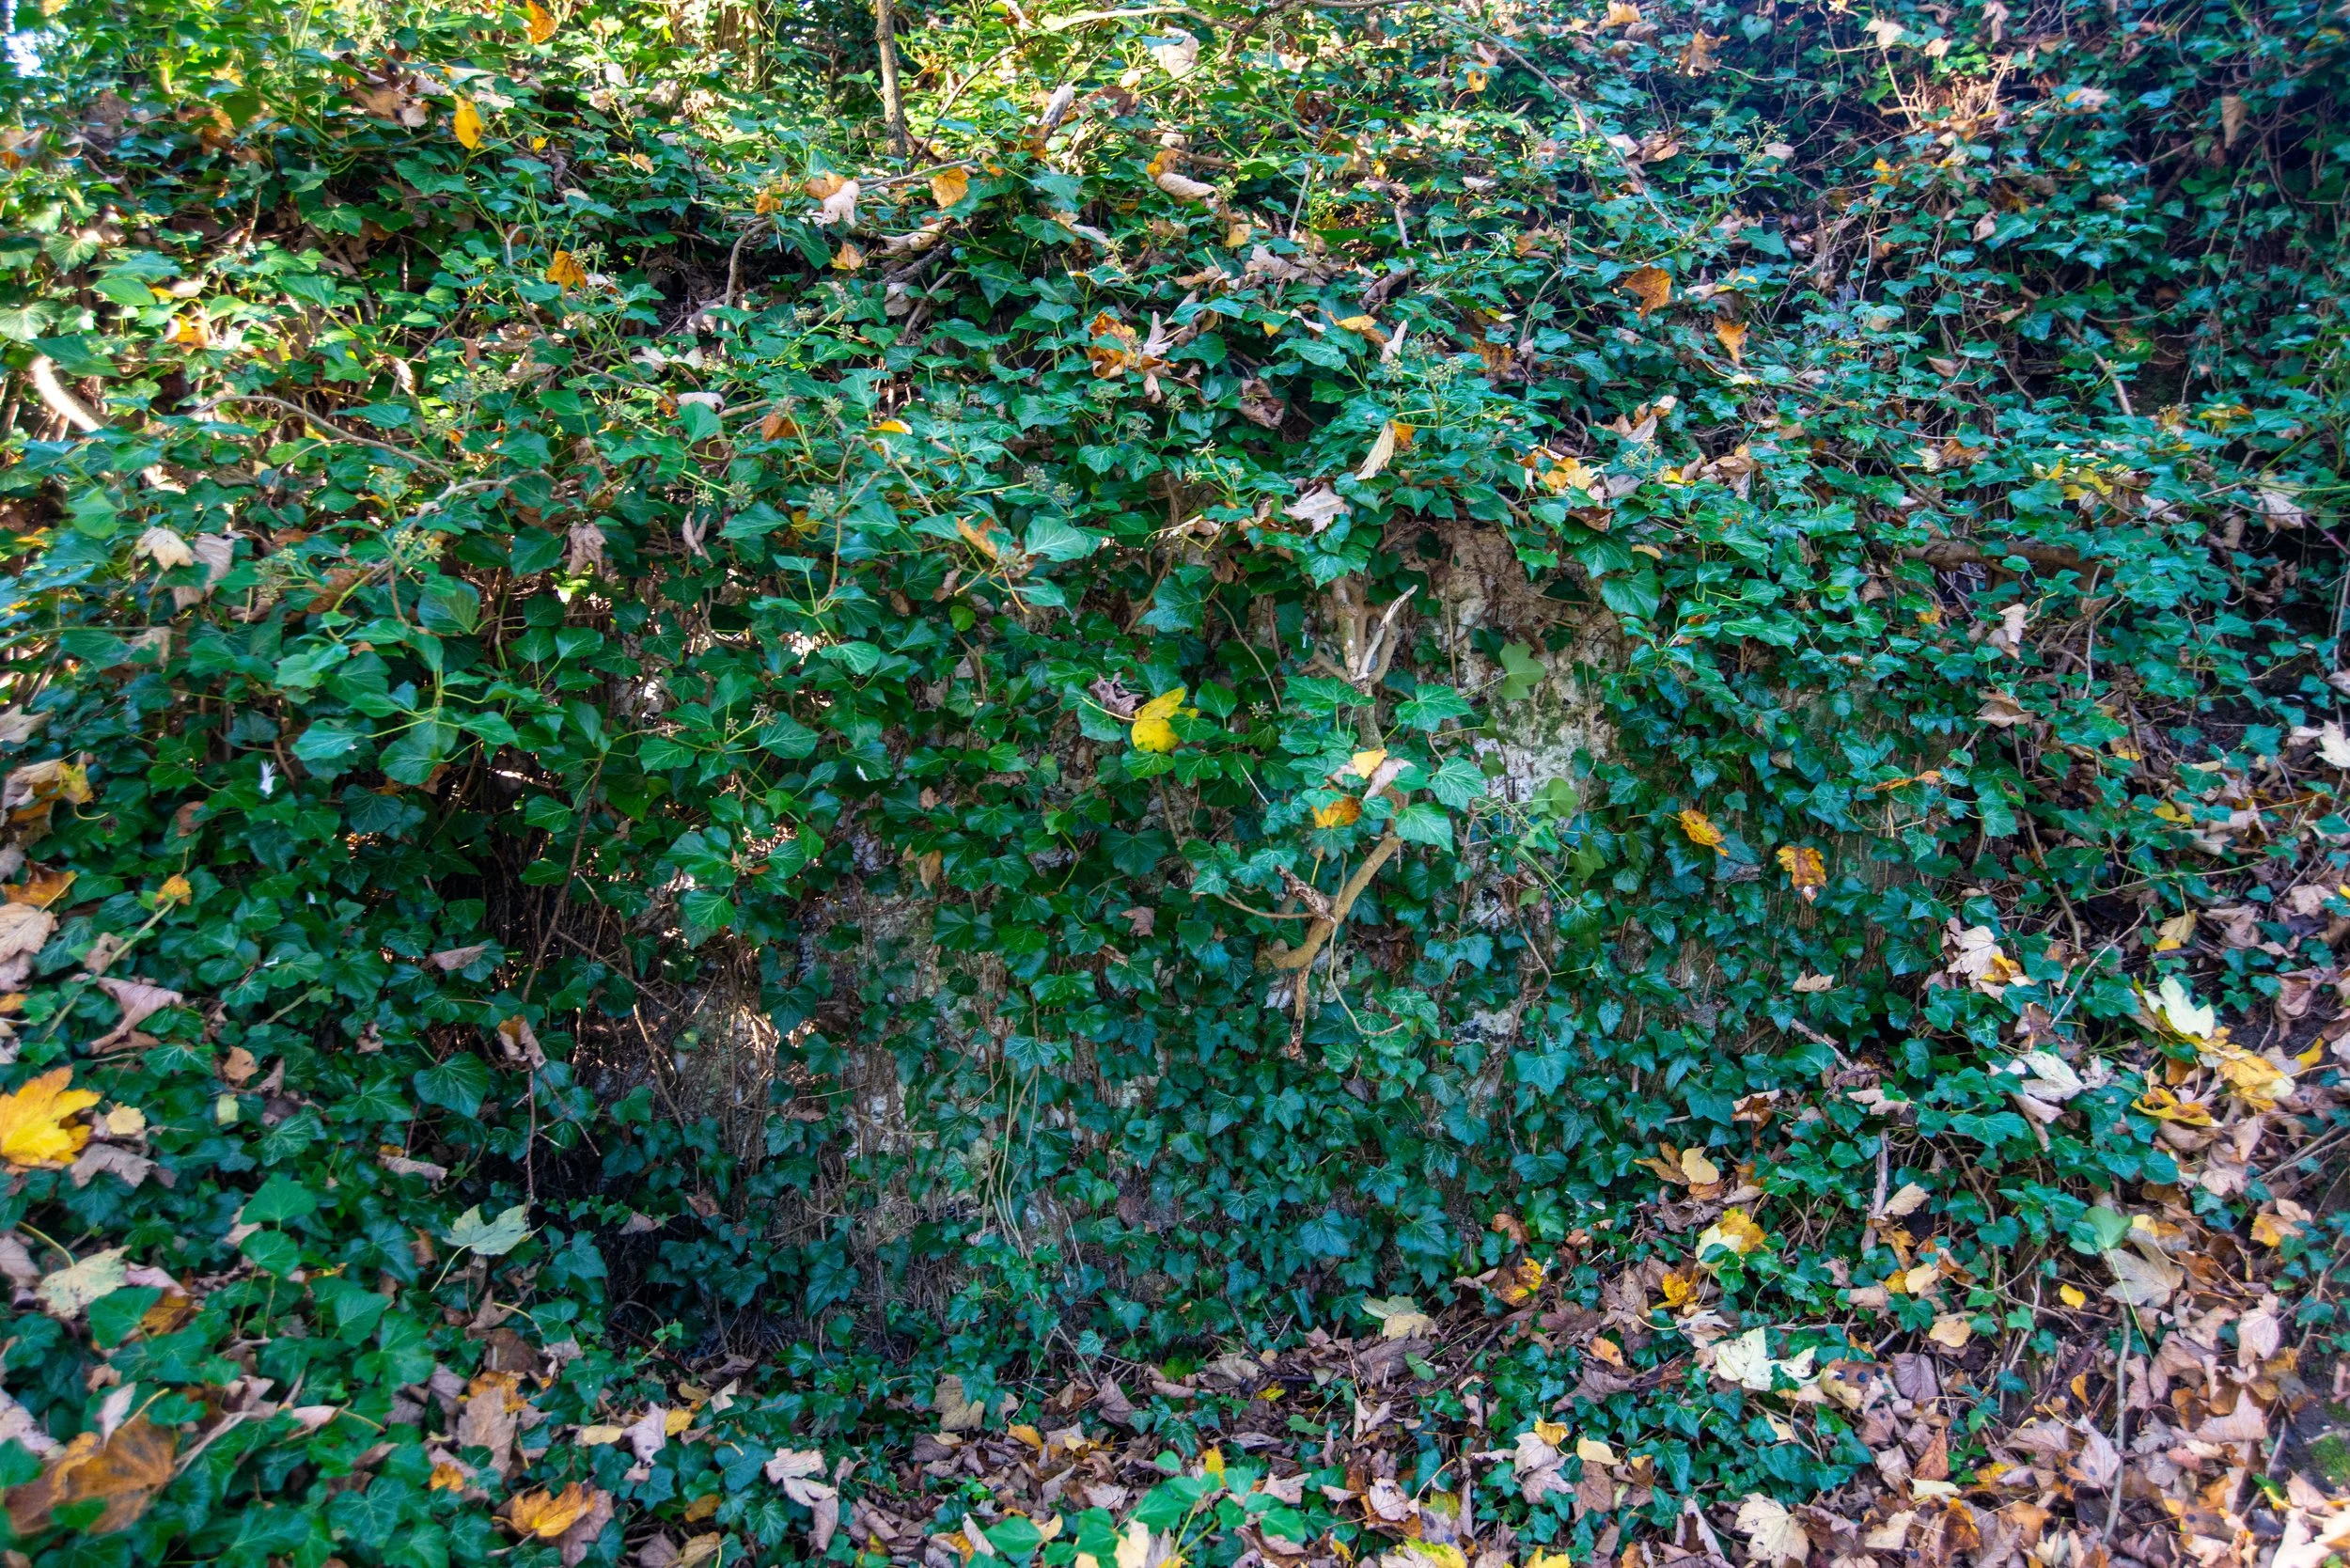
The station and its platforms still exist today, and the track bed has been transformed into a lovely garden. The station master's house has been converted into a residential property, and there is a sign on the platform that may be original, though I cannot confirm.
Unfortunately, the signal box is no longer present, but a new crossing gate has been added to the property. Across the road, the goods shed remains and is now utilised as office space for a self-storage container site located in the old goods yard. The Granary is also still standing, and the area is being used for various commercial services.
Narborough & Pentney Station Layout
Dated 1892-1914

©National Library of Scotland
Narborough & Pentney past.

Wikimedia-Public Domain
©W.A. Camwell
Narborough & Pentney Station in 2020

Narborough Goods shed.

©The National Library of Scotland.
Narborough goods shed photographed in 2020
The building known as the goods shed had a railway track running through its centre, with railway sidings located on both sides. Adjacent to these sidings, there was a sharply curved rail that went to the granary railway sidings.

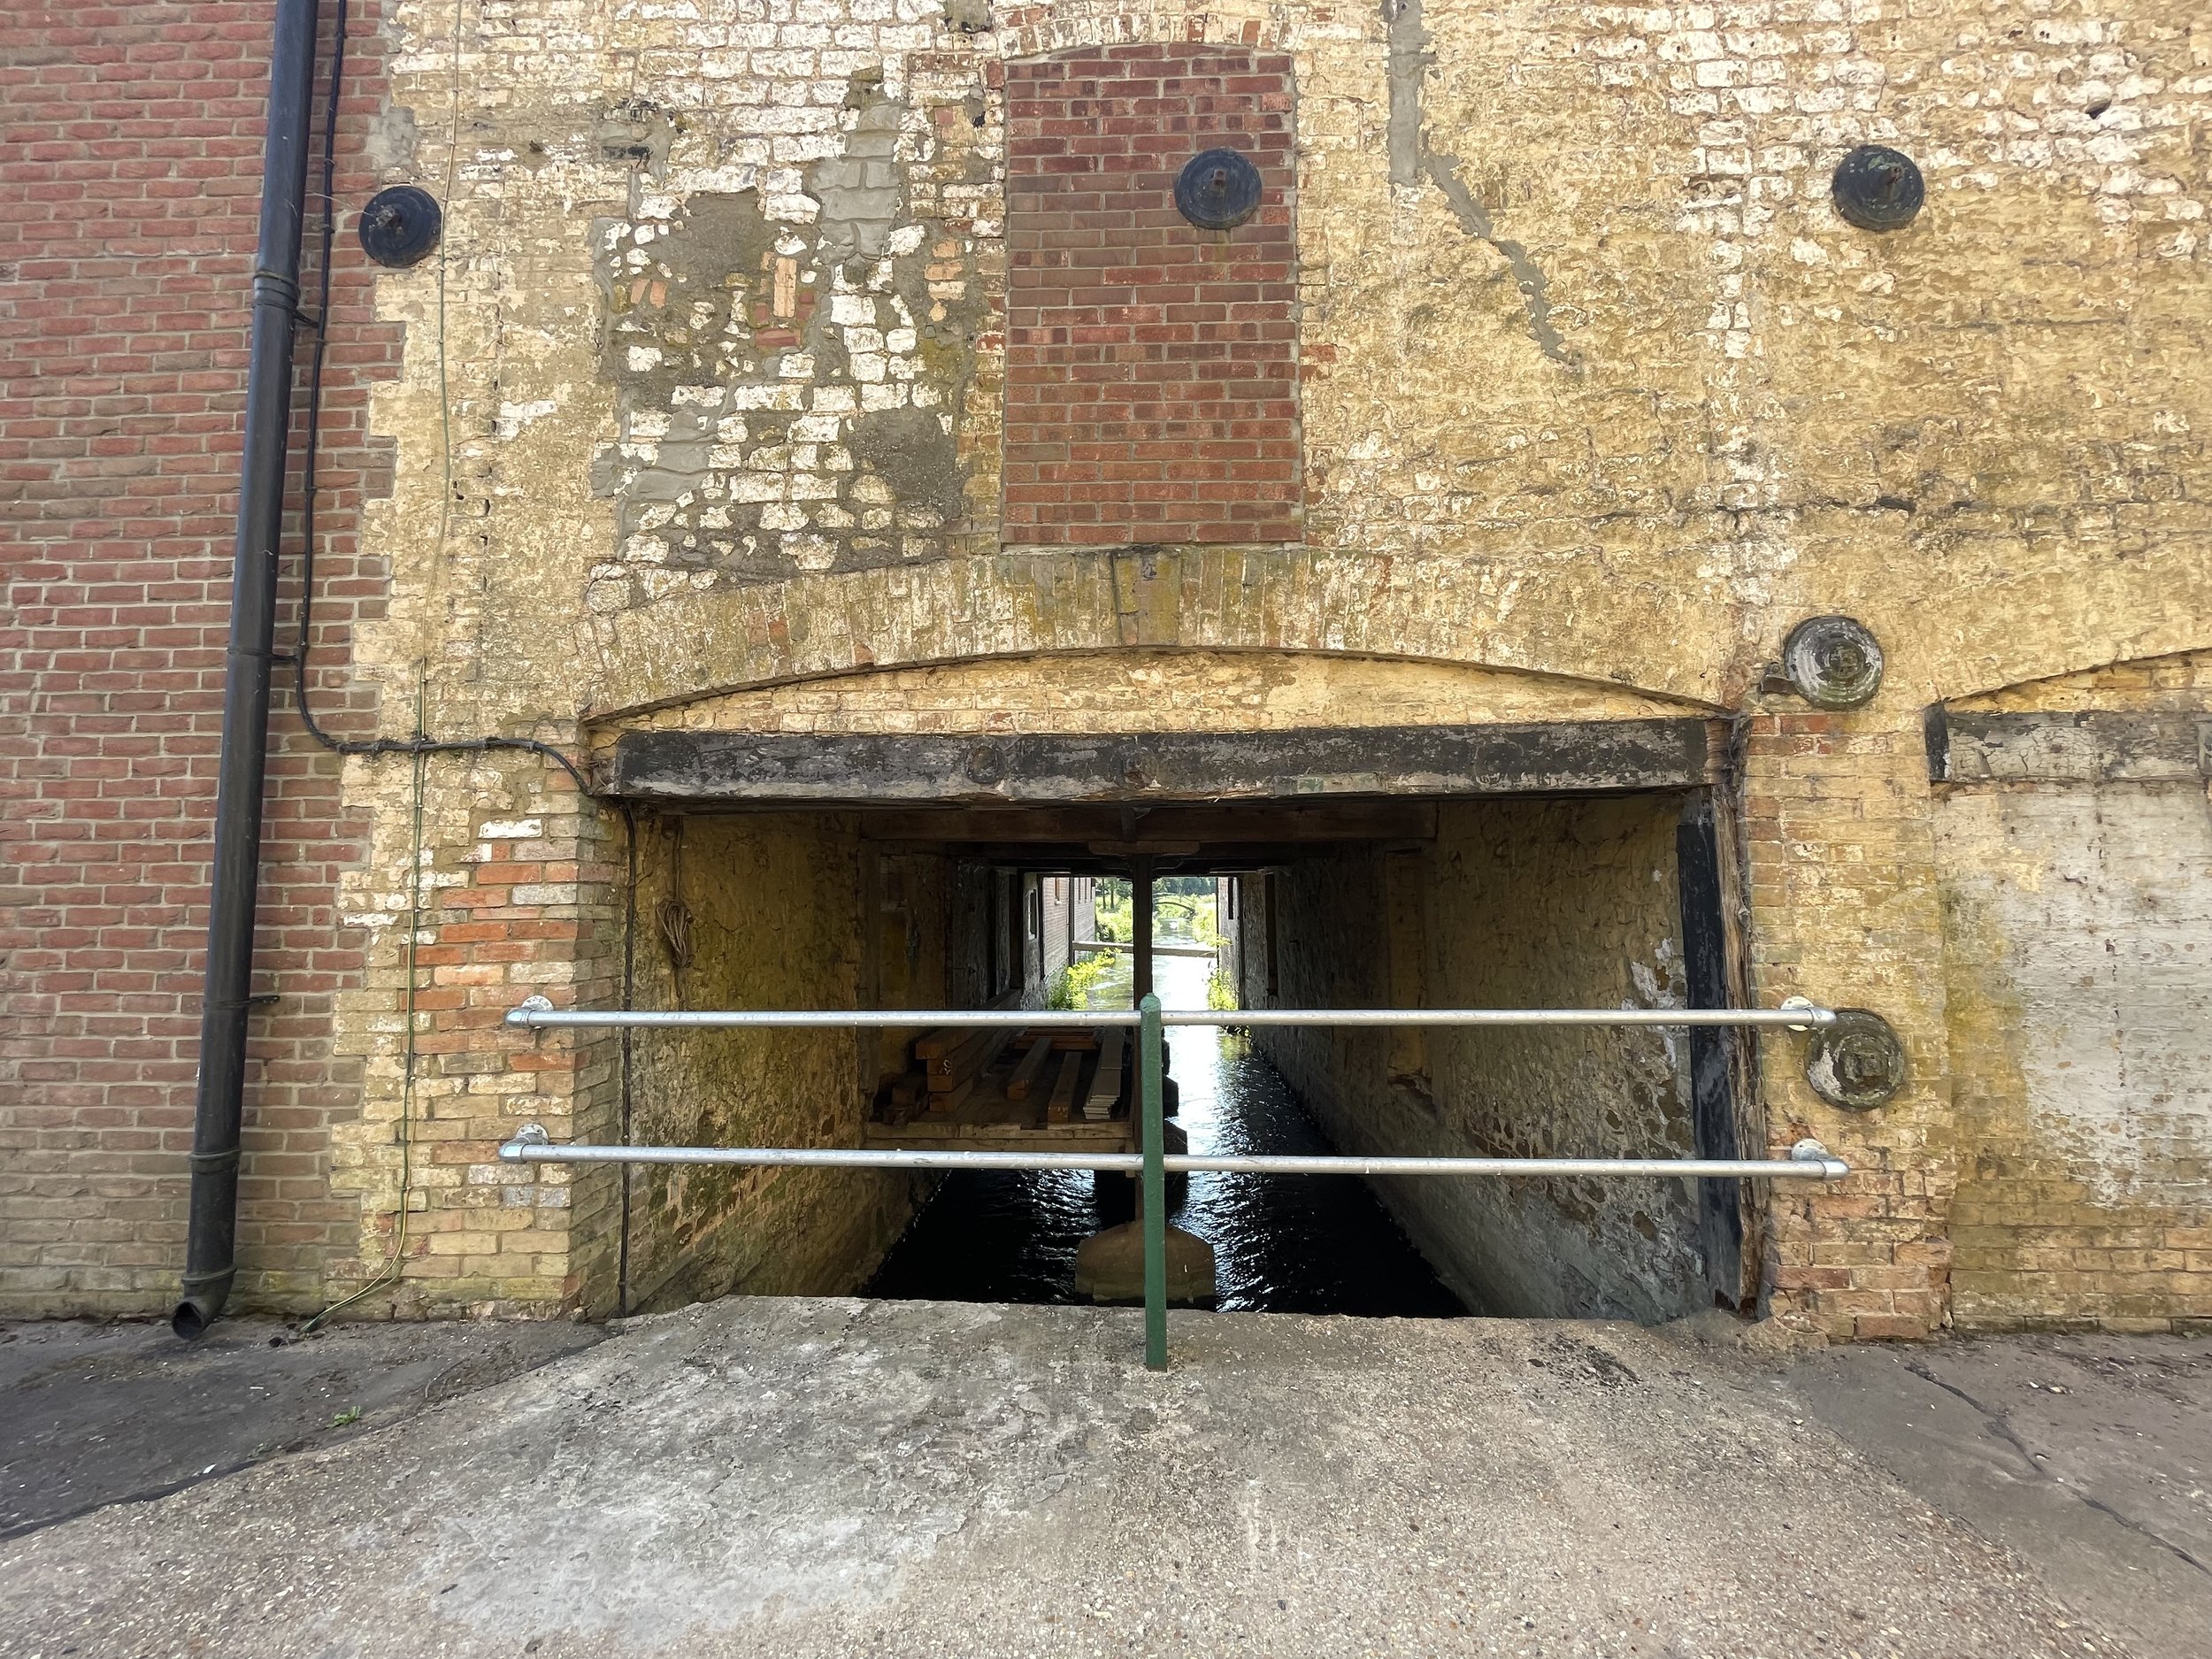
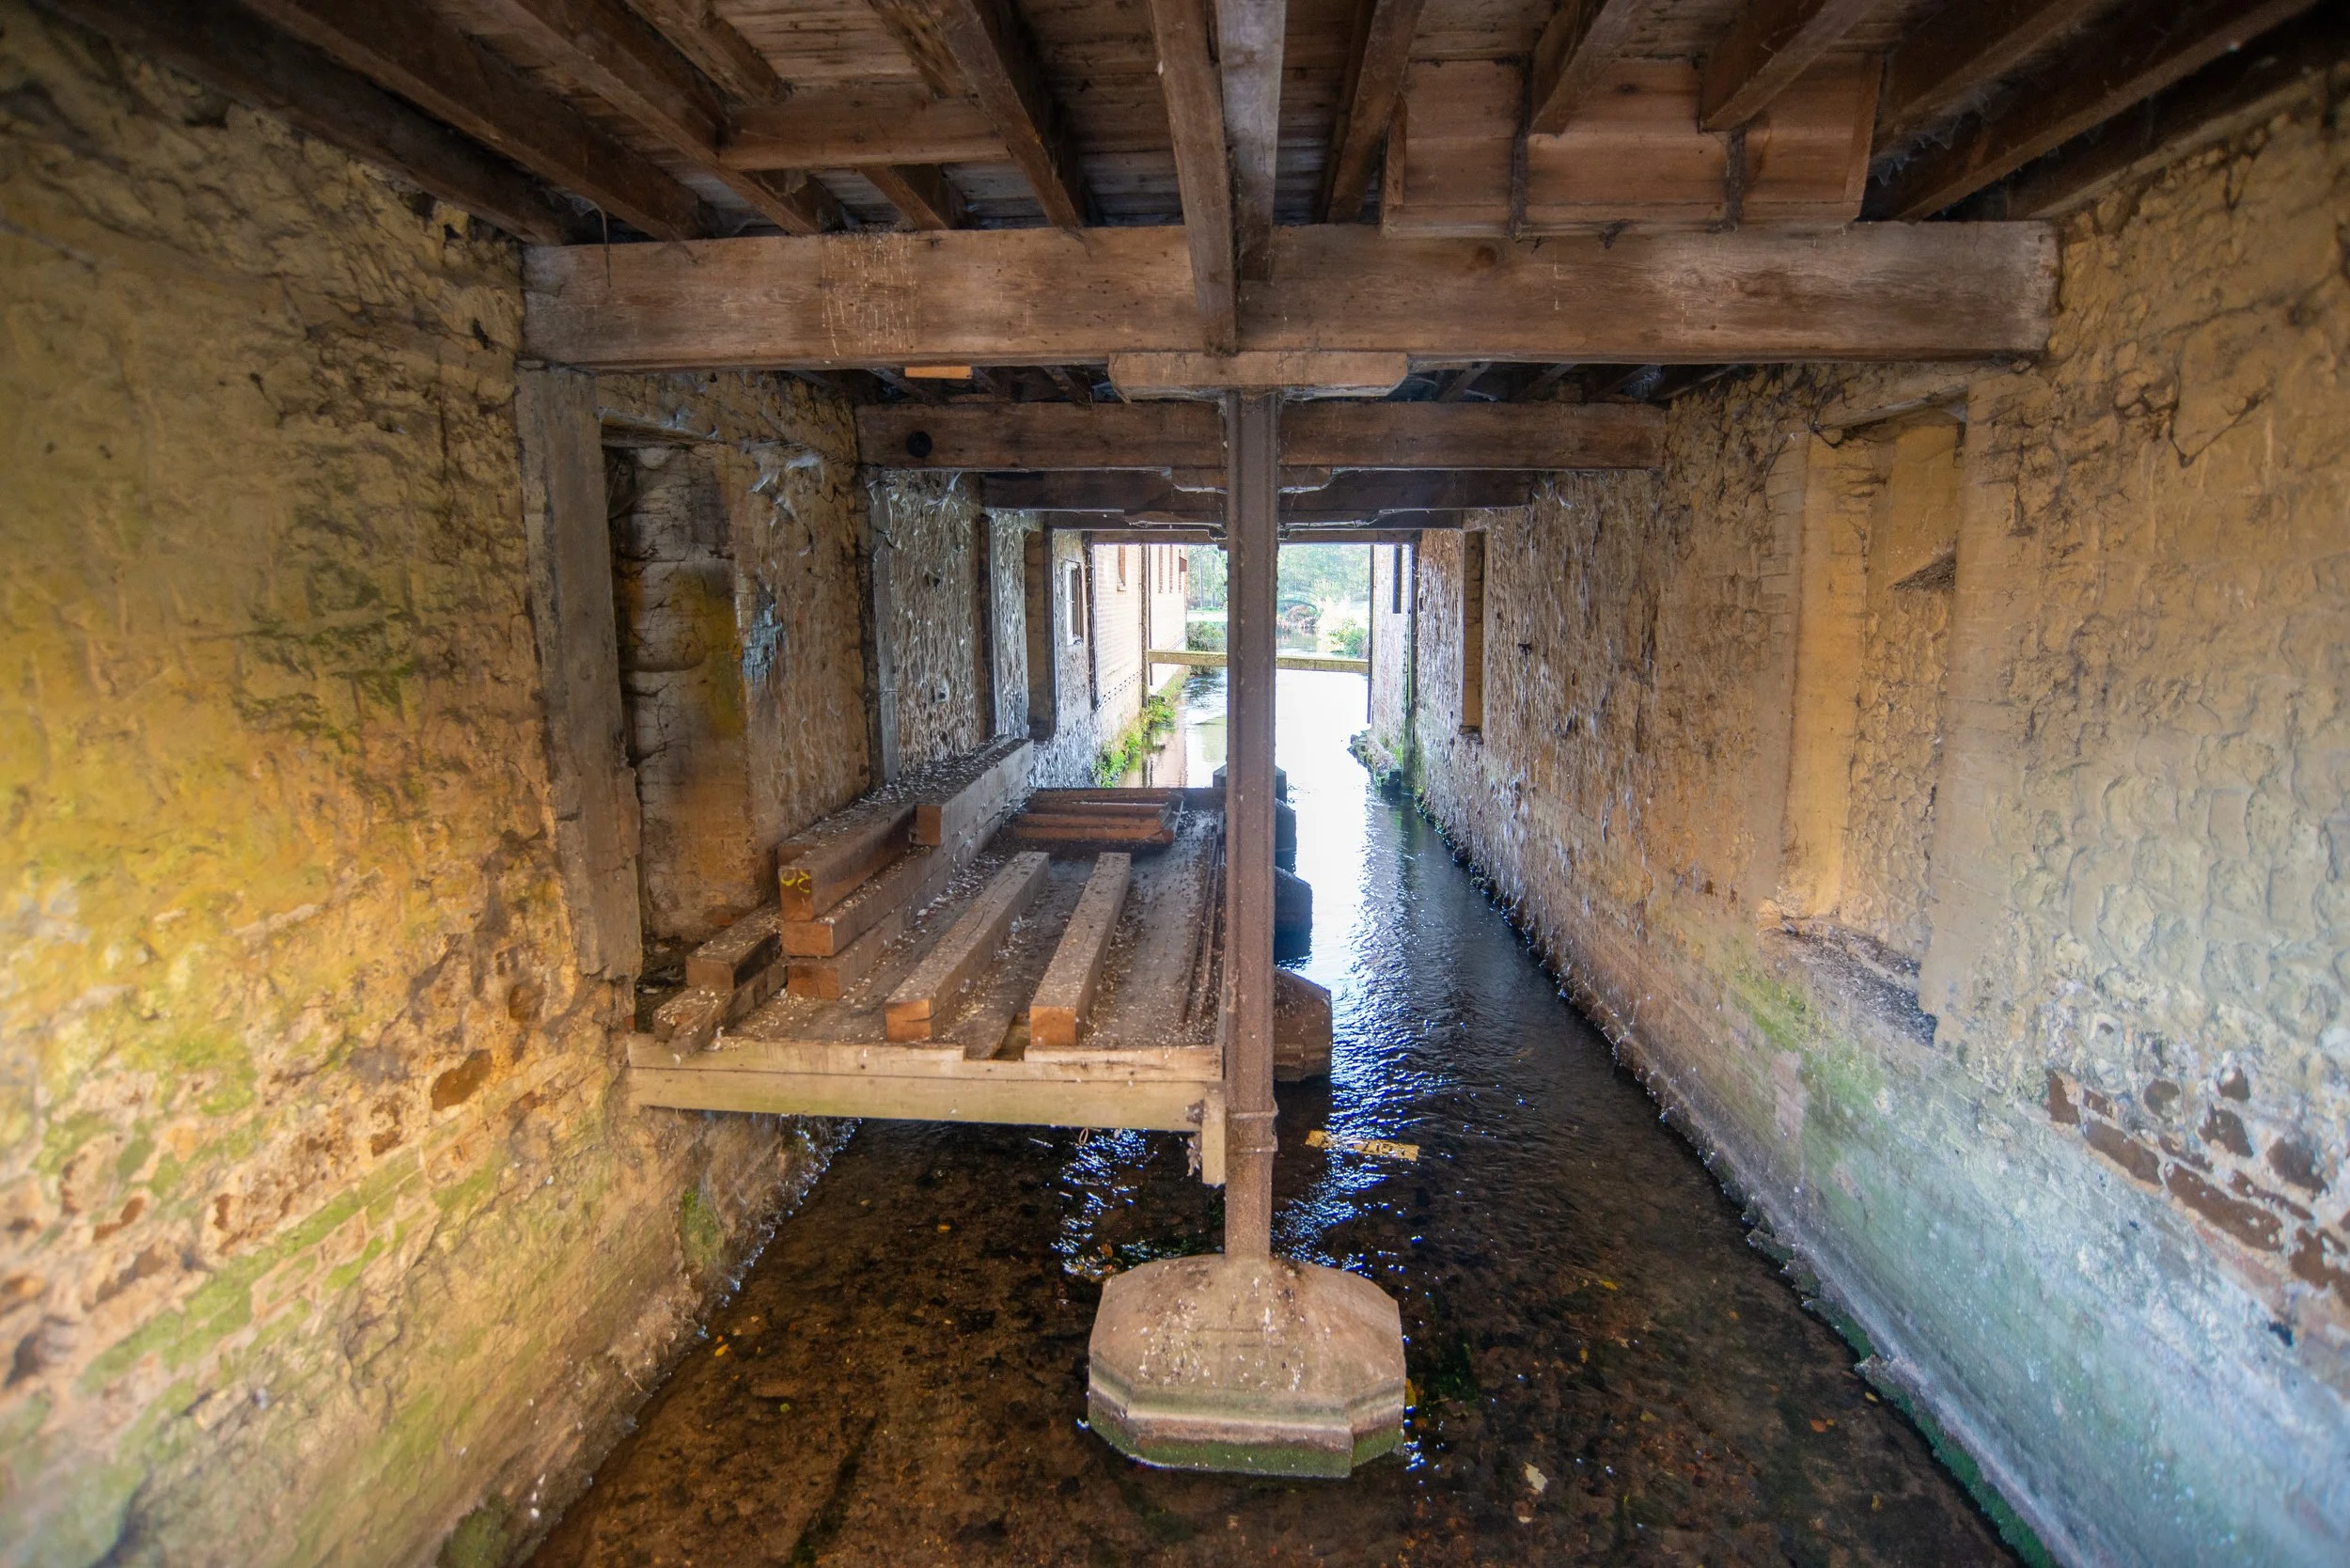
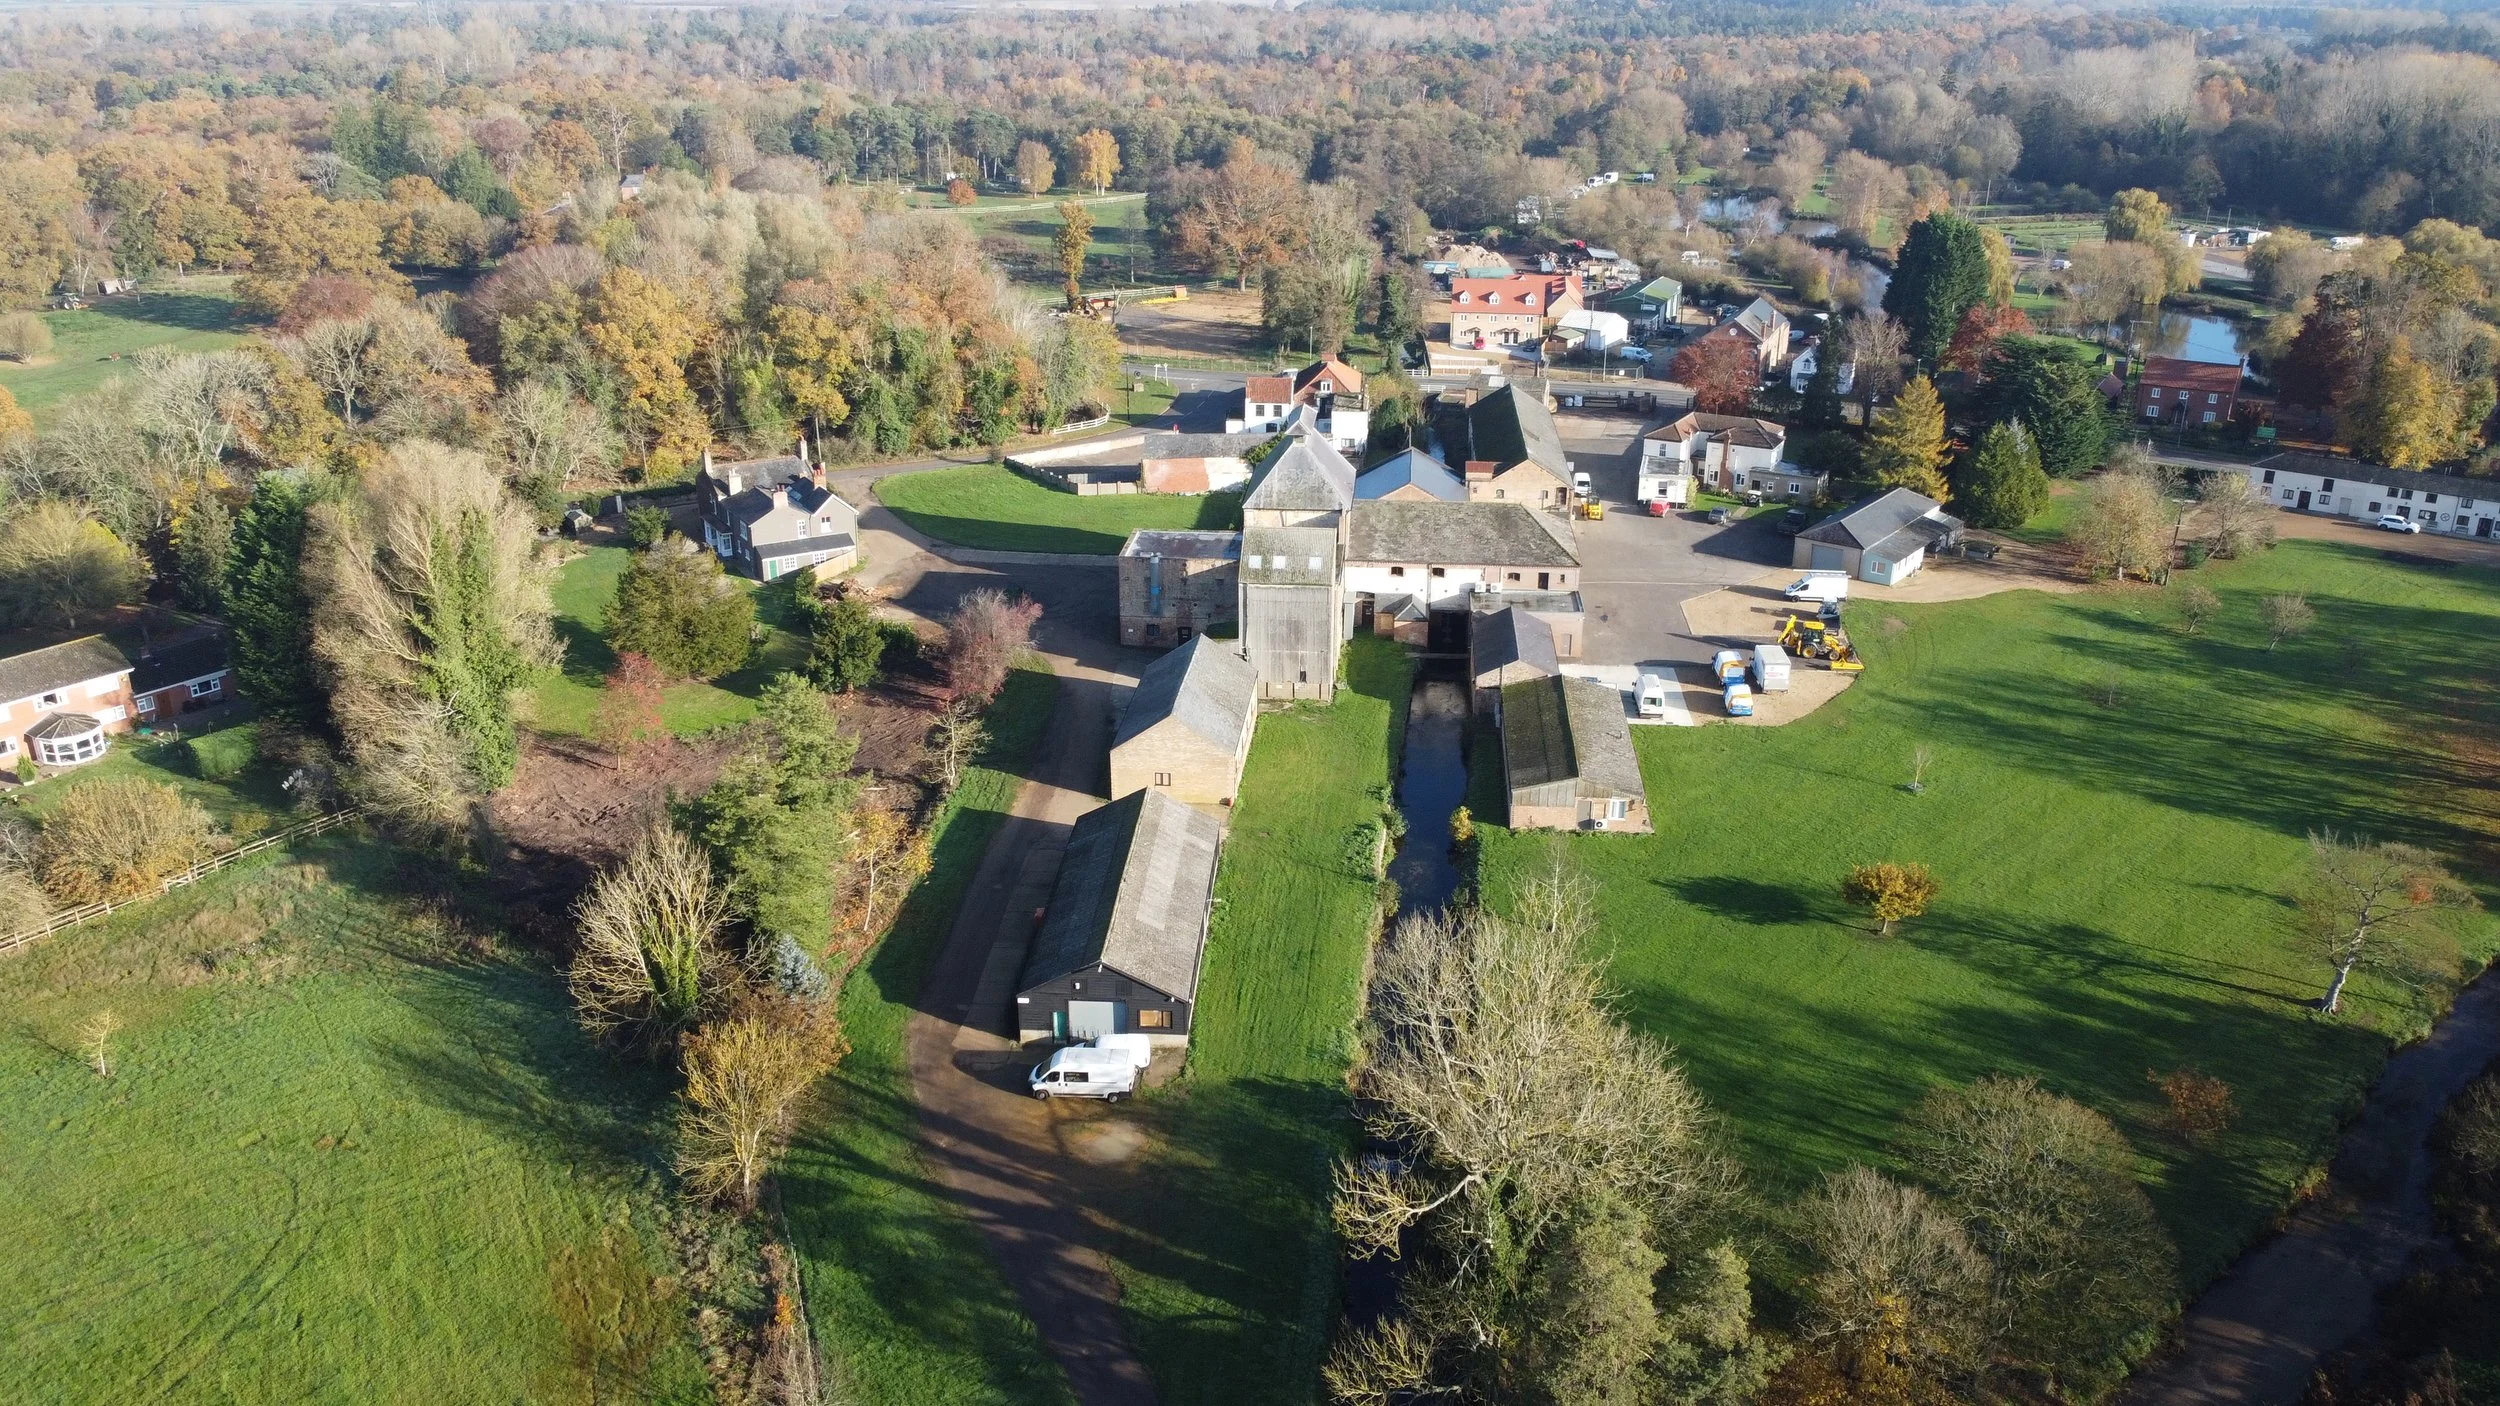
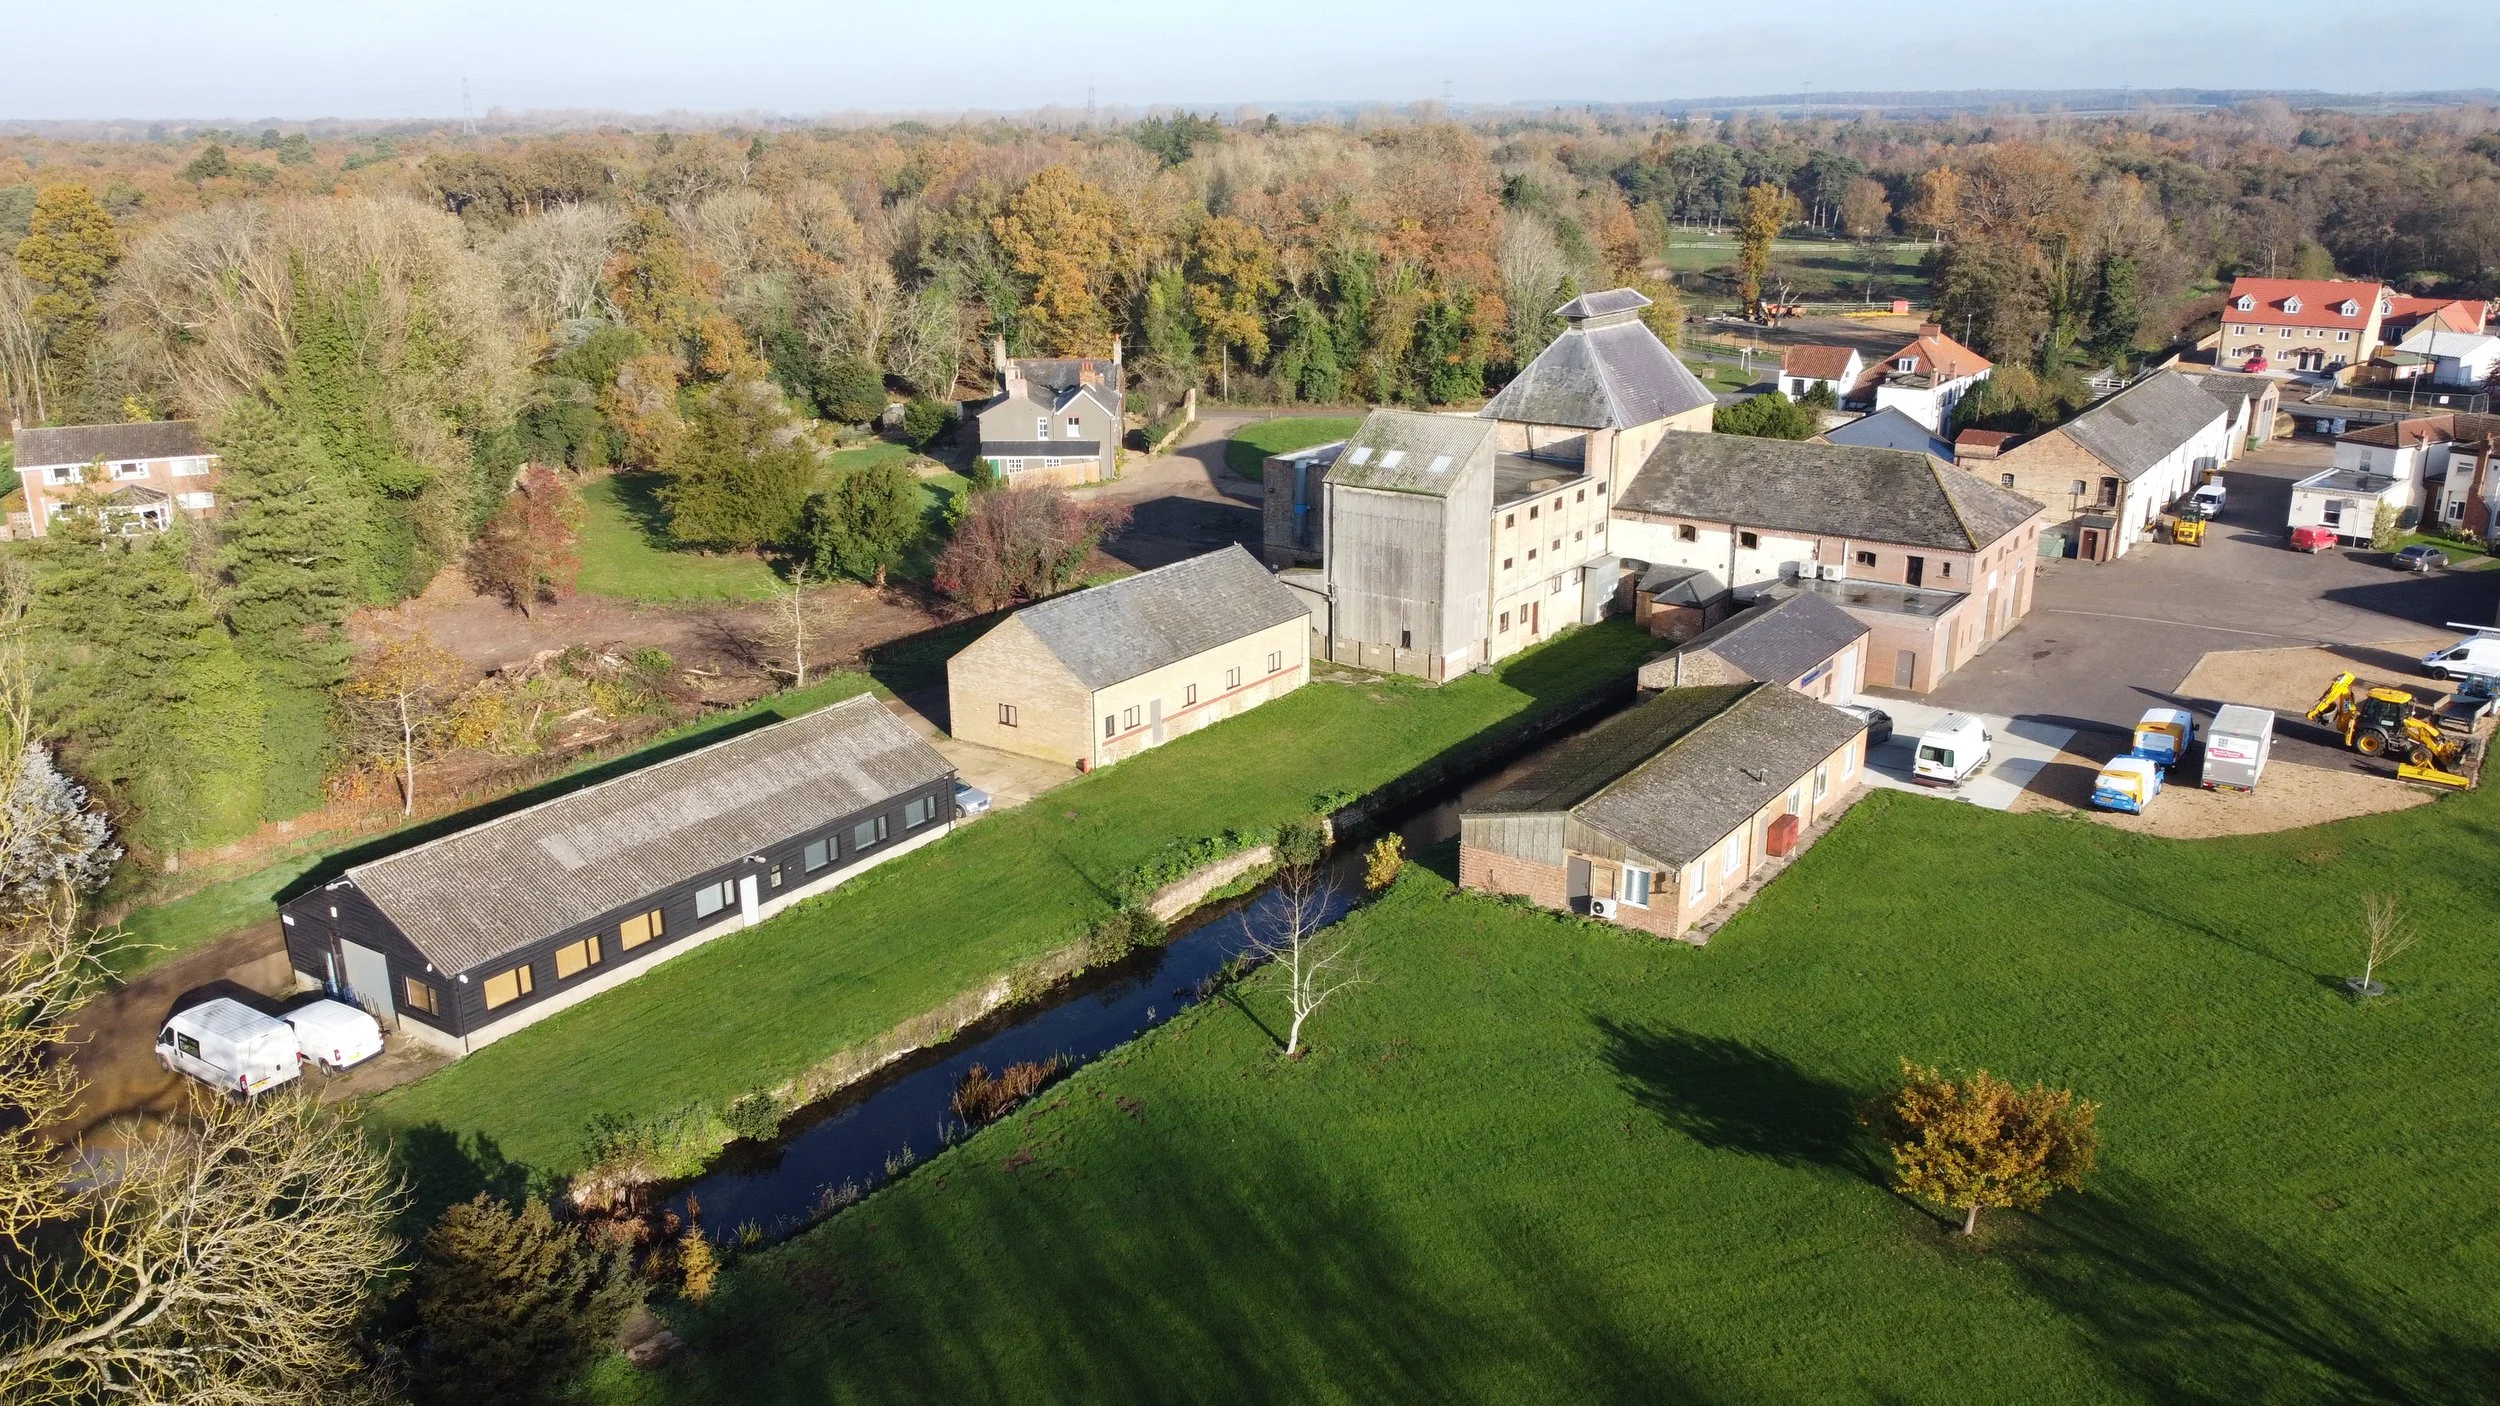
Narborough Granary-Bonemill
The Narborough Granary-Bonemill also had its own sidings branching off the Lynn to Dereham line, located near to where the goods shed is situated.
The mill still stands today and is now utilised for commercial units.

©National Library of Scotland
Historic Aerial Photography.
Thanks to Historic England for the photos used below.
Please click on each image for more information from Historic England.


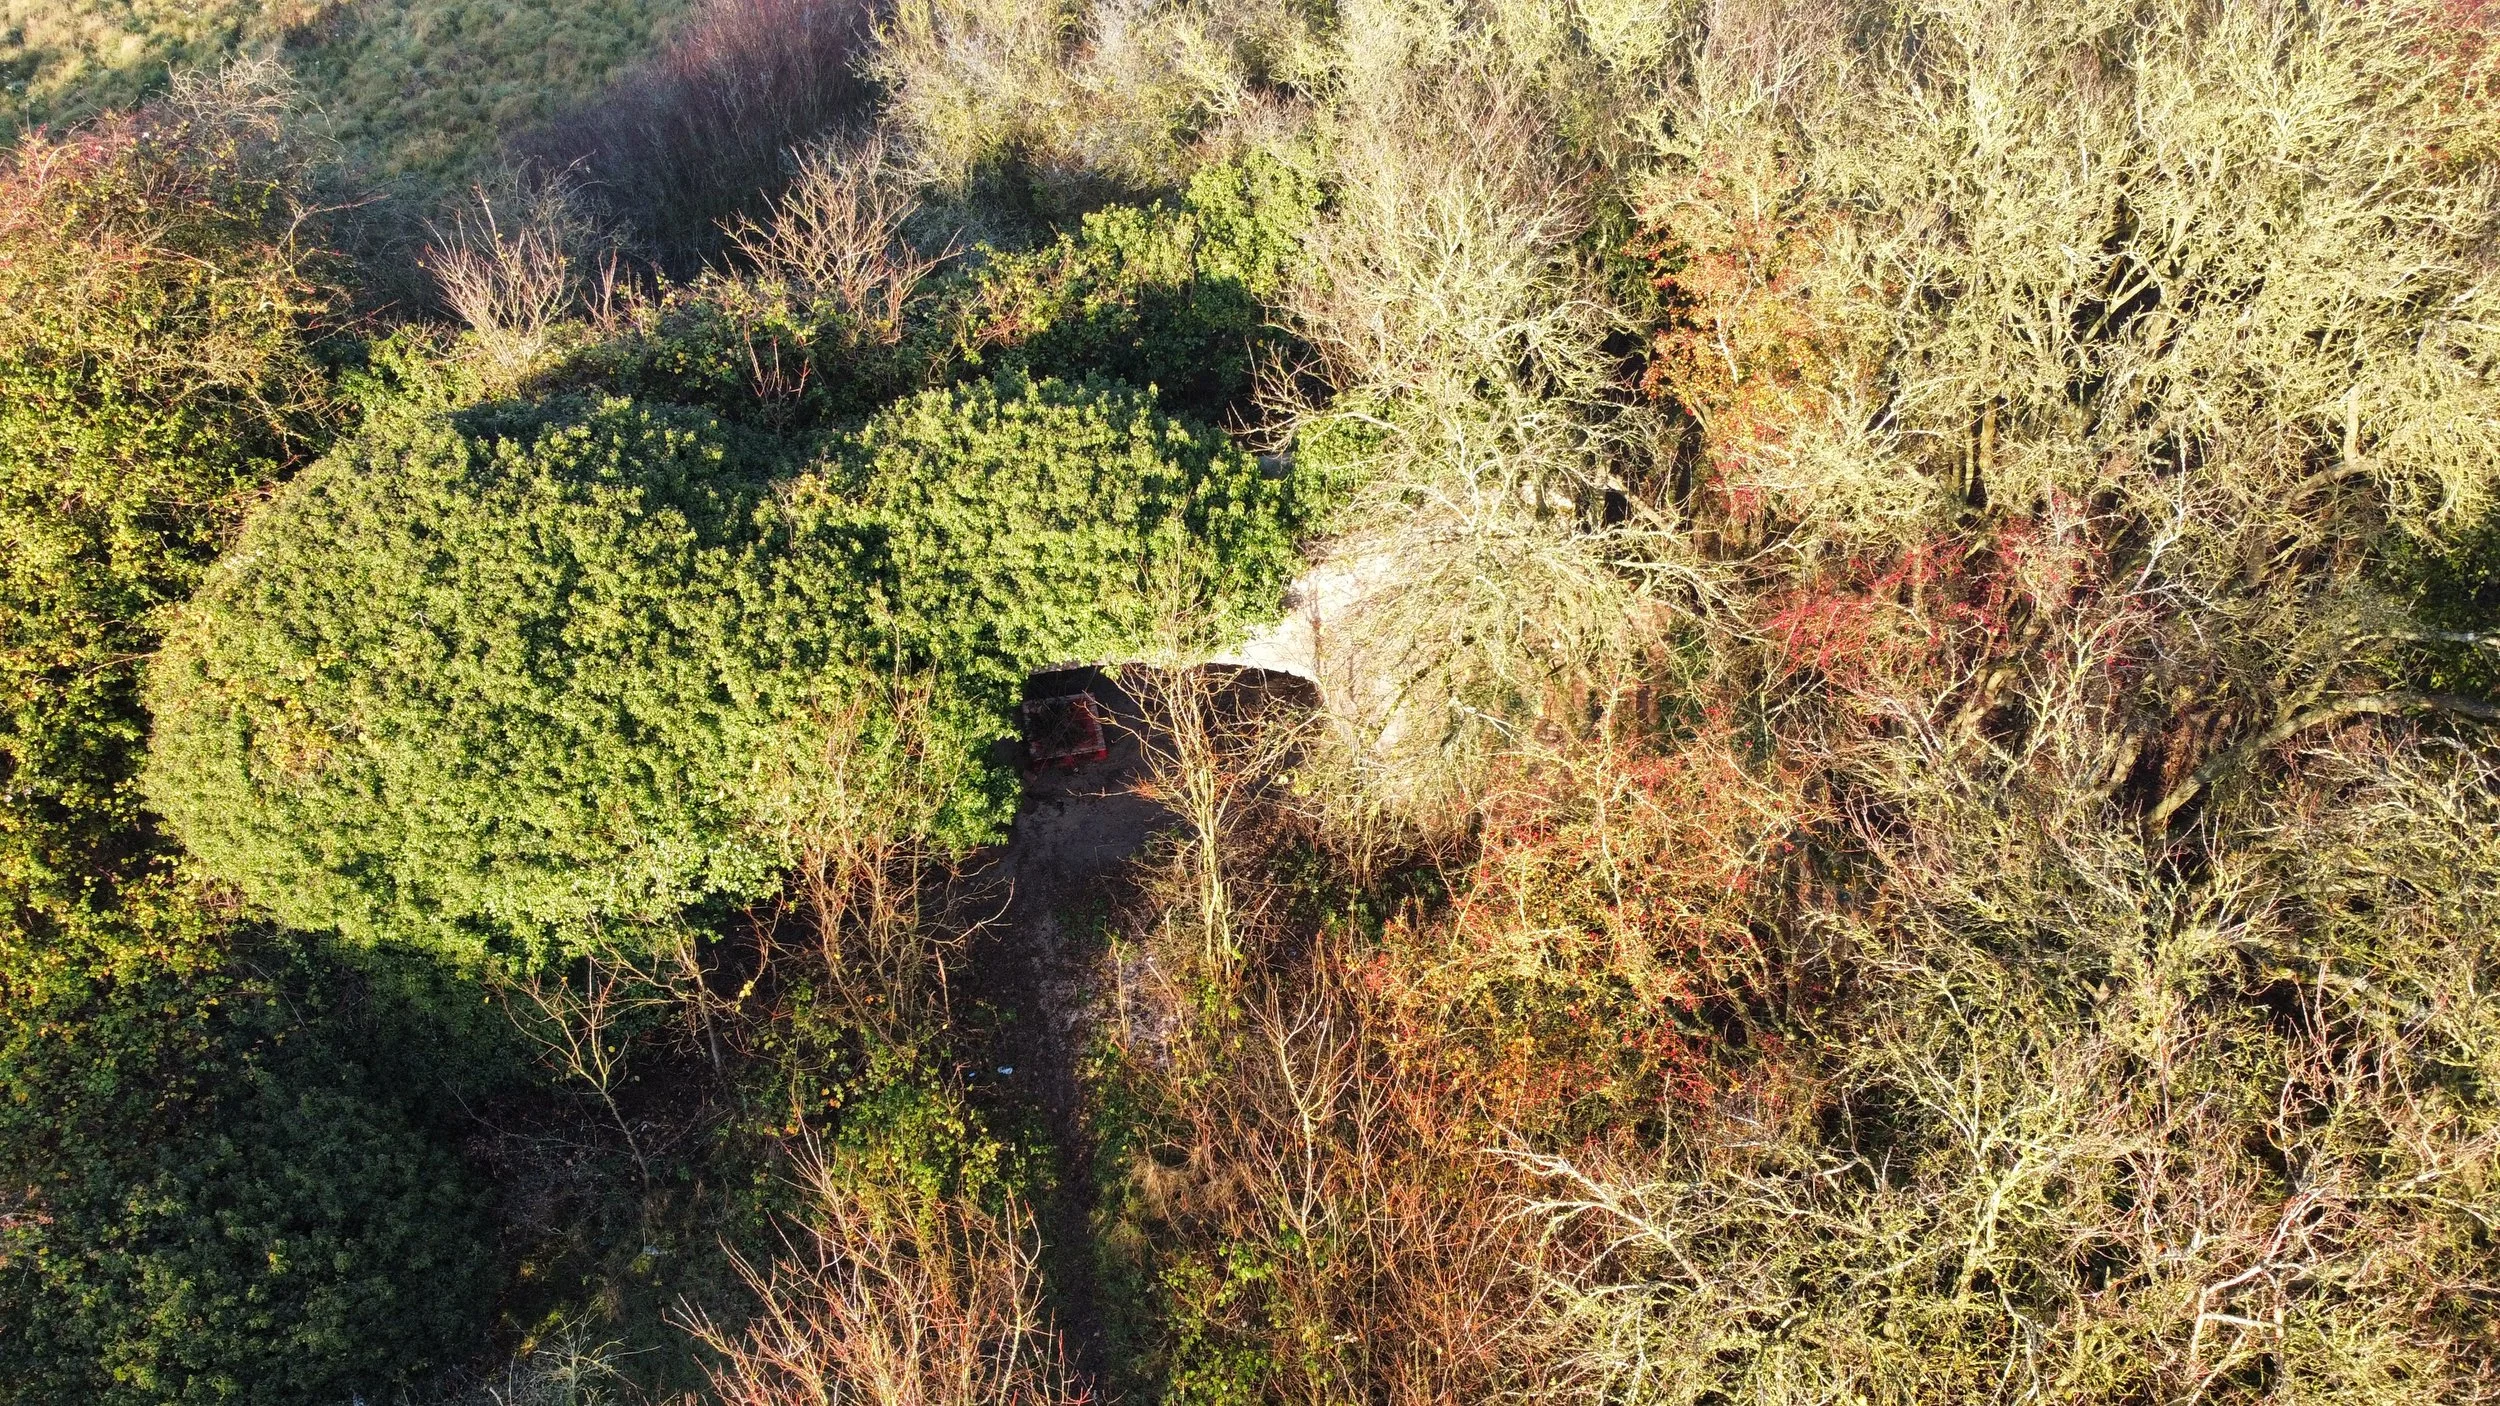
Narborough Granary-Bonemill in 2023


The photo below shows where the railway siding was once located.
Photographed in 2023.

Aerial shots of where the old siding at the granary once sat.
Photographed 2025
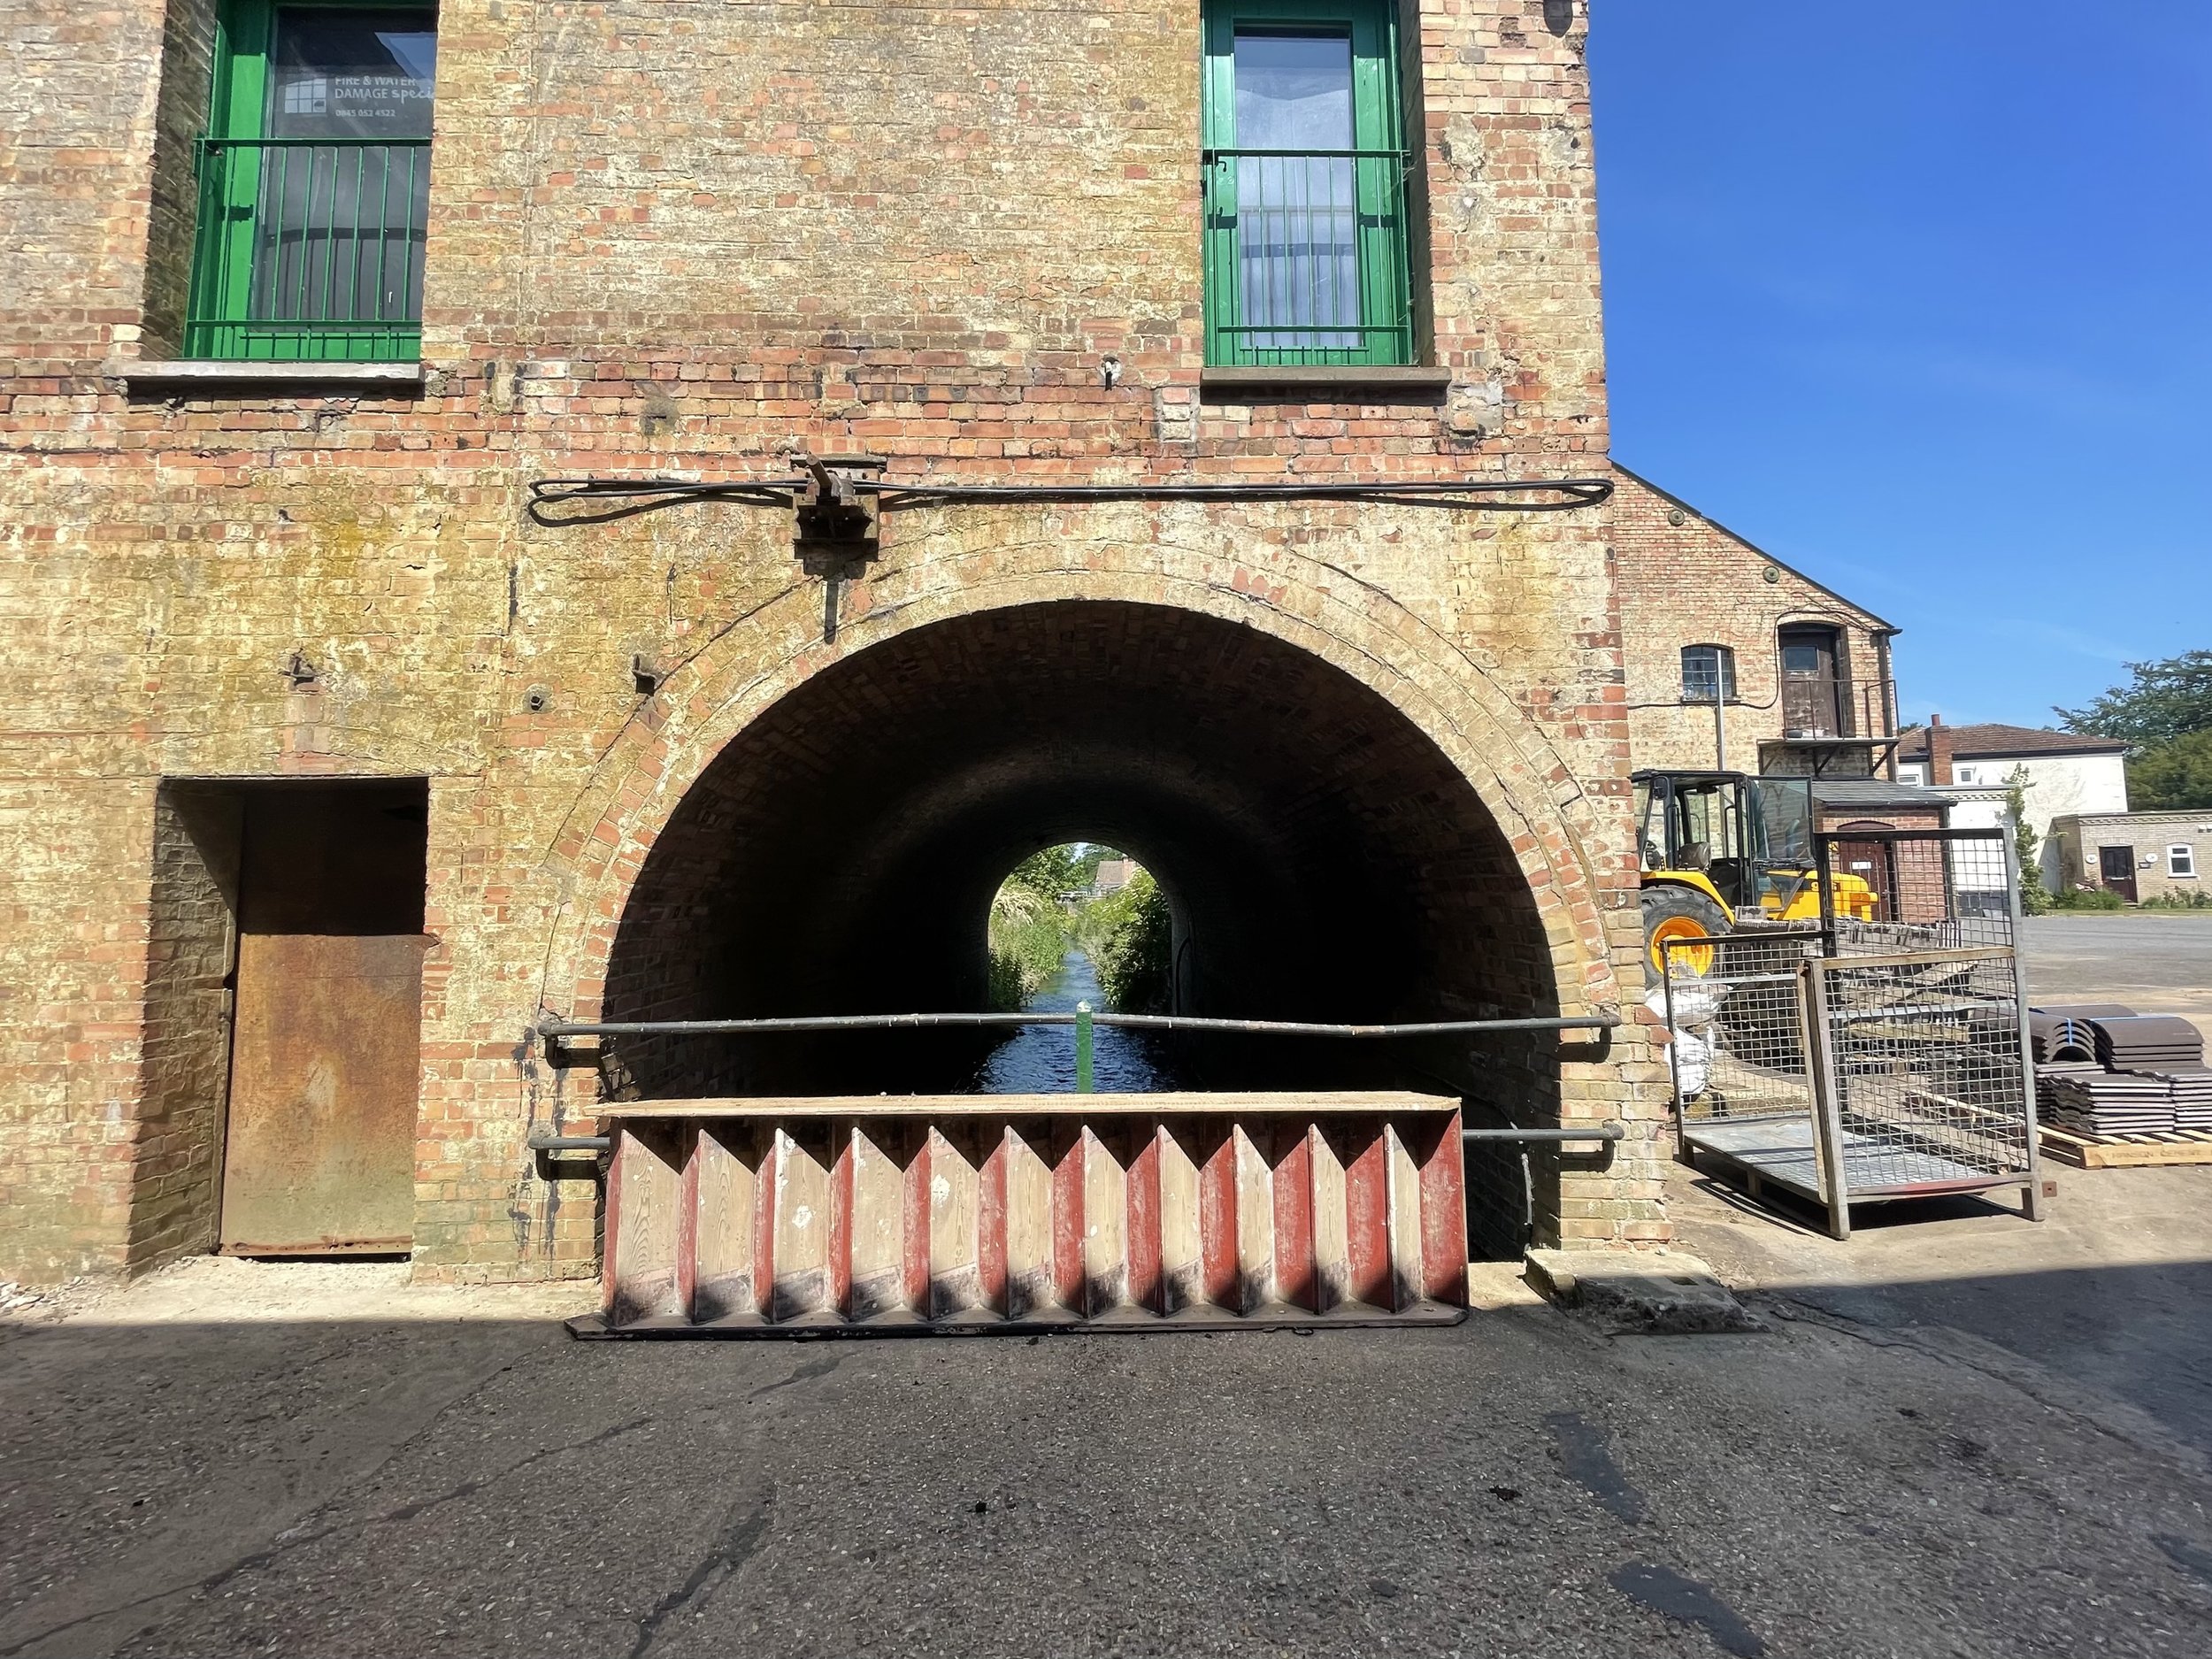
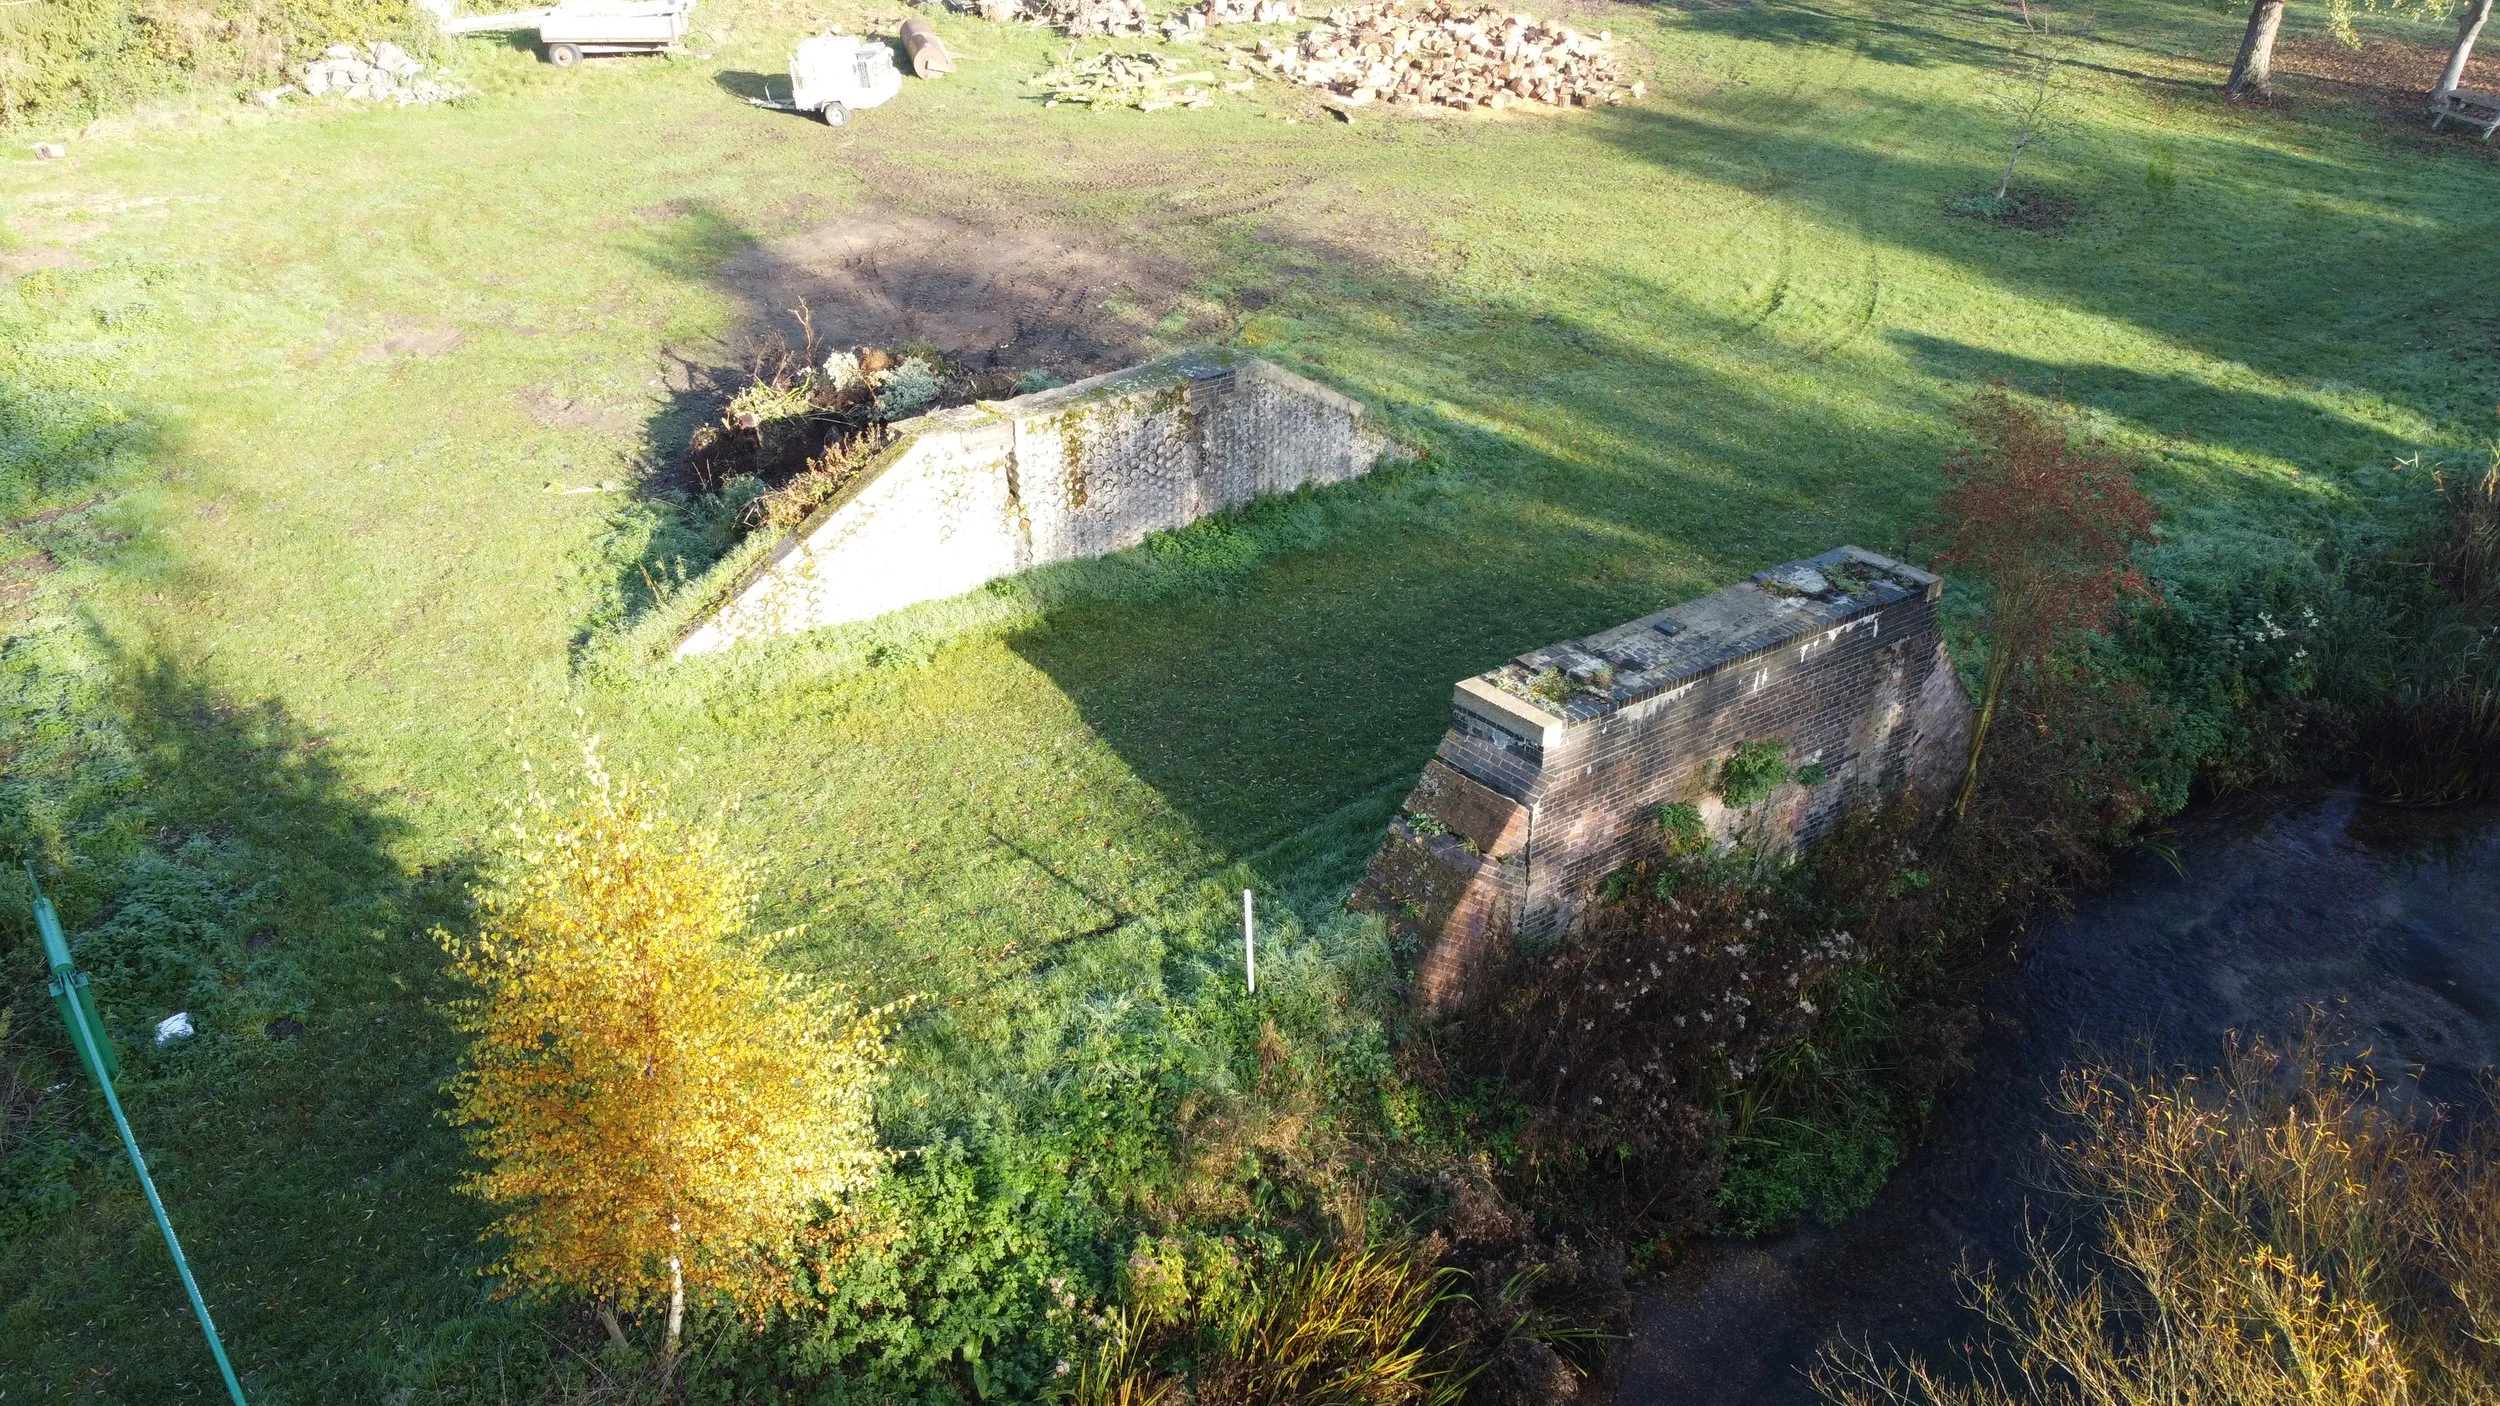
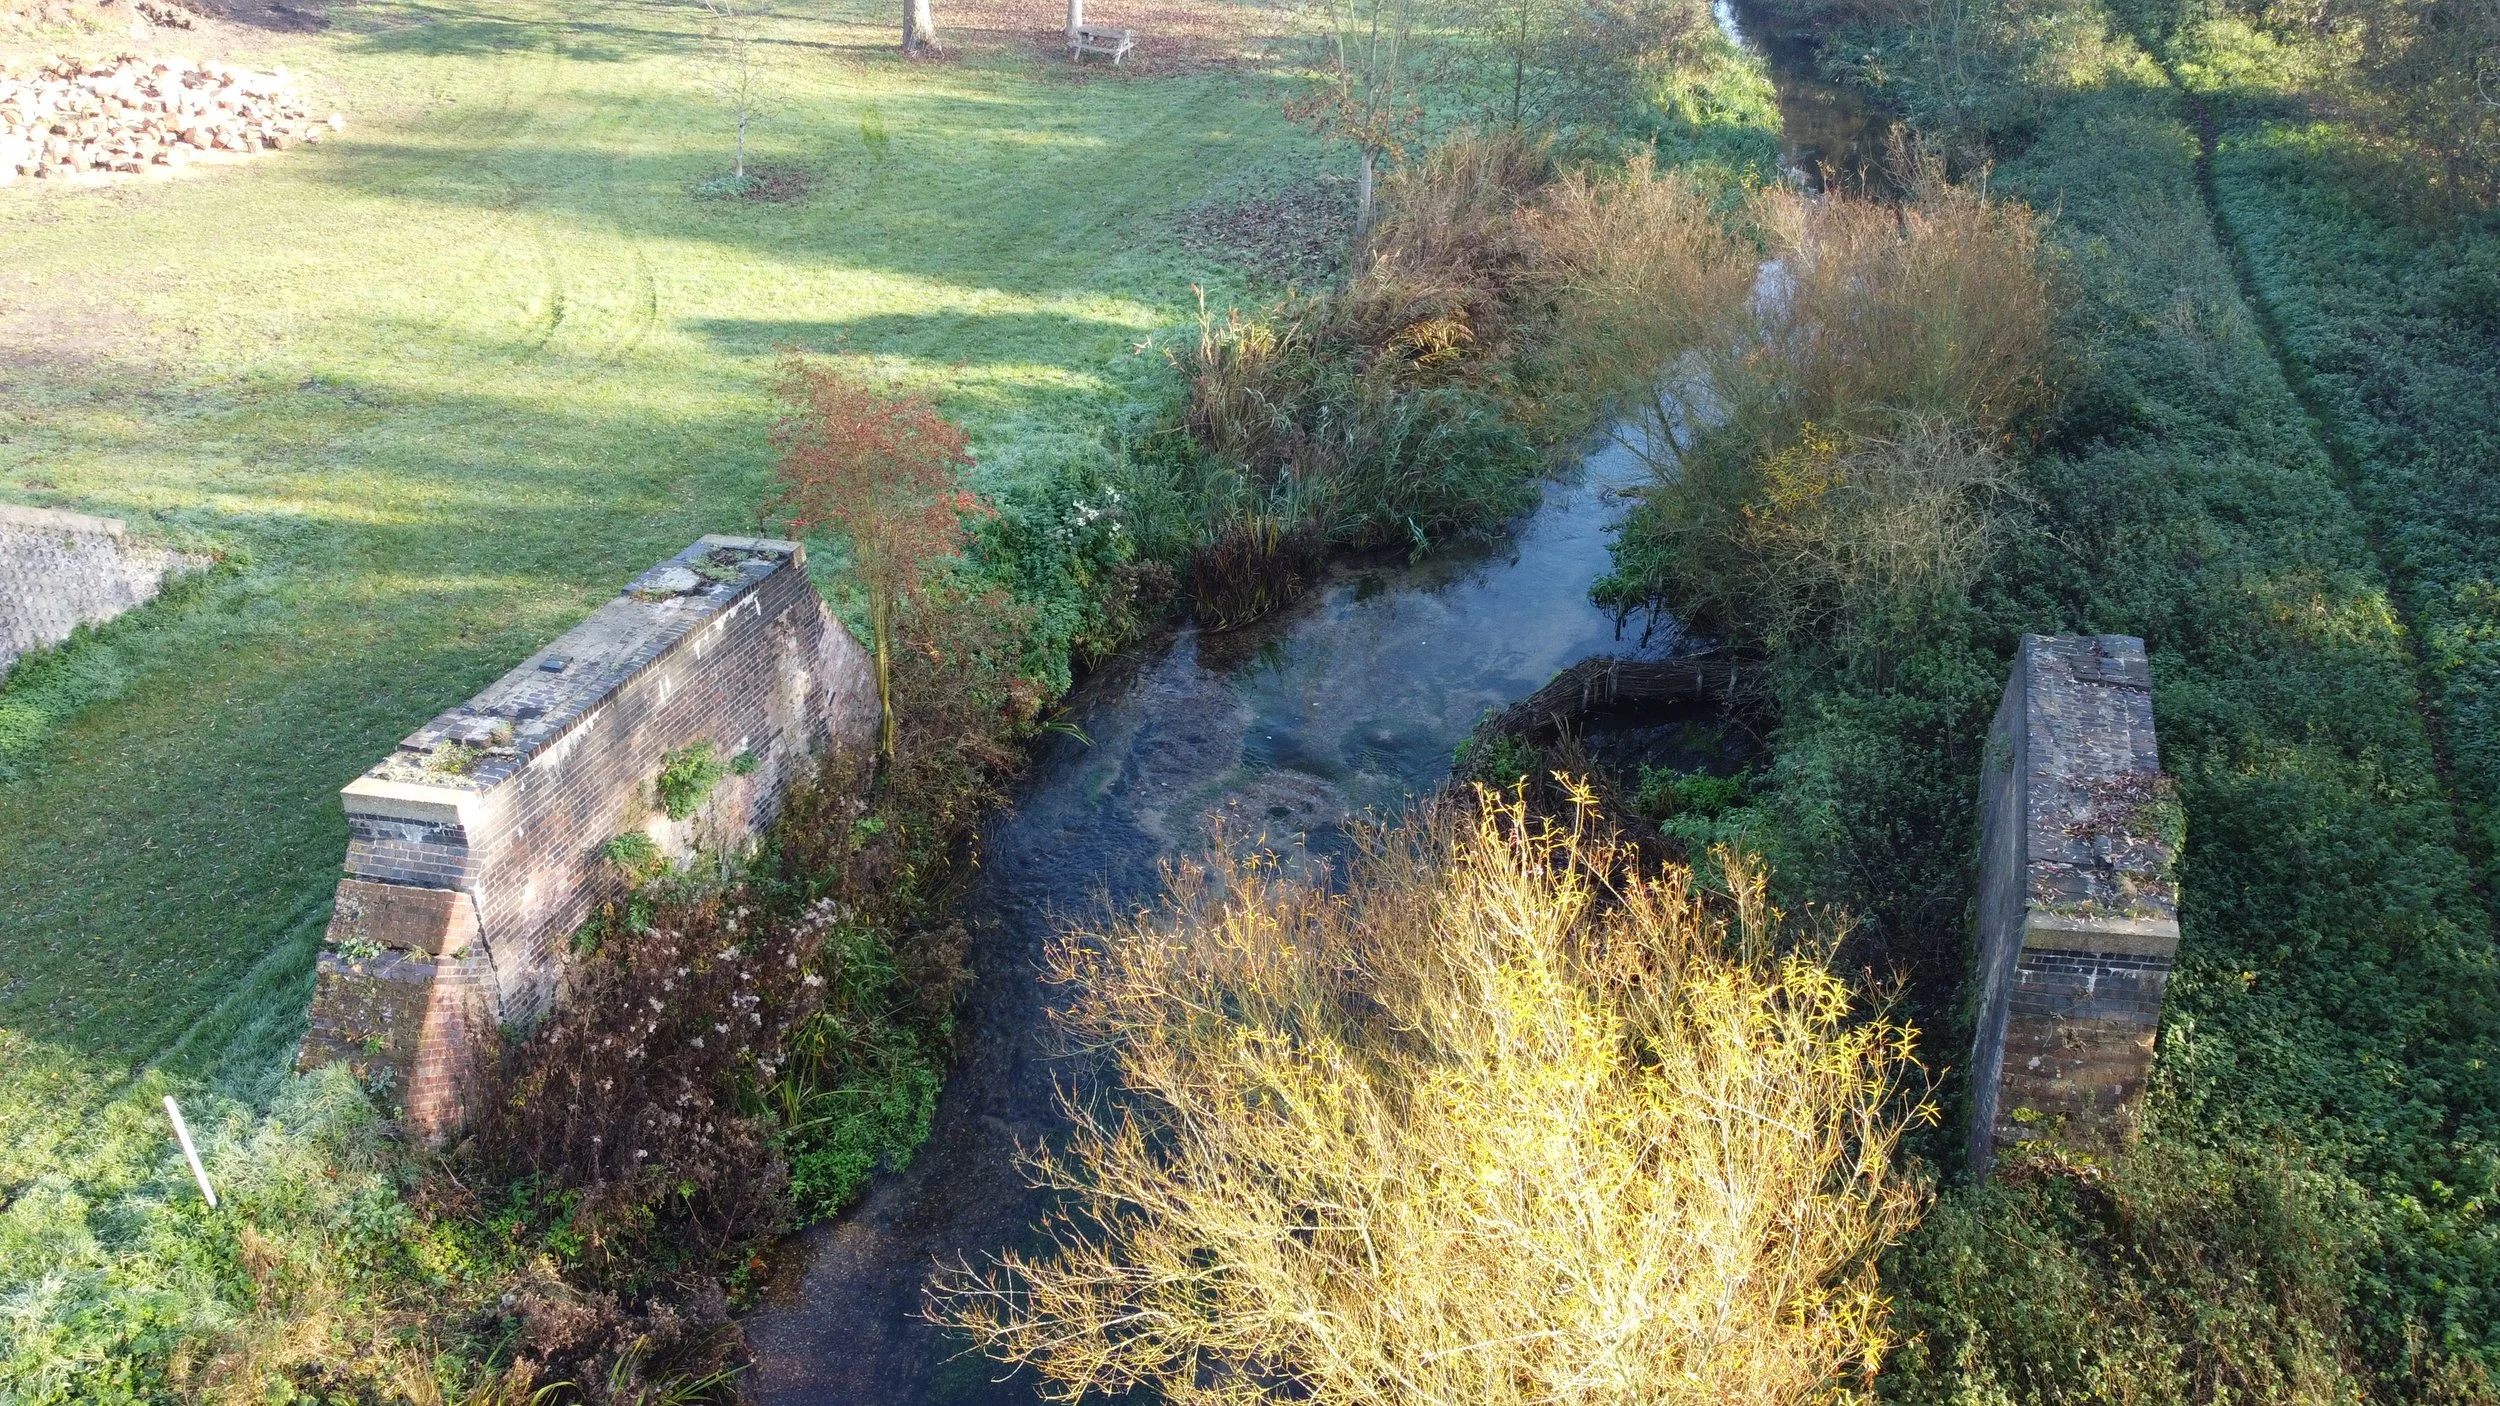
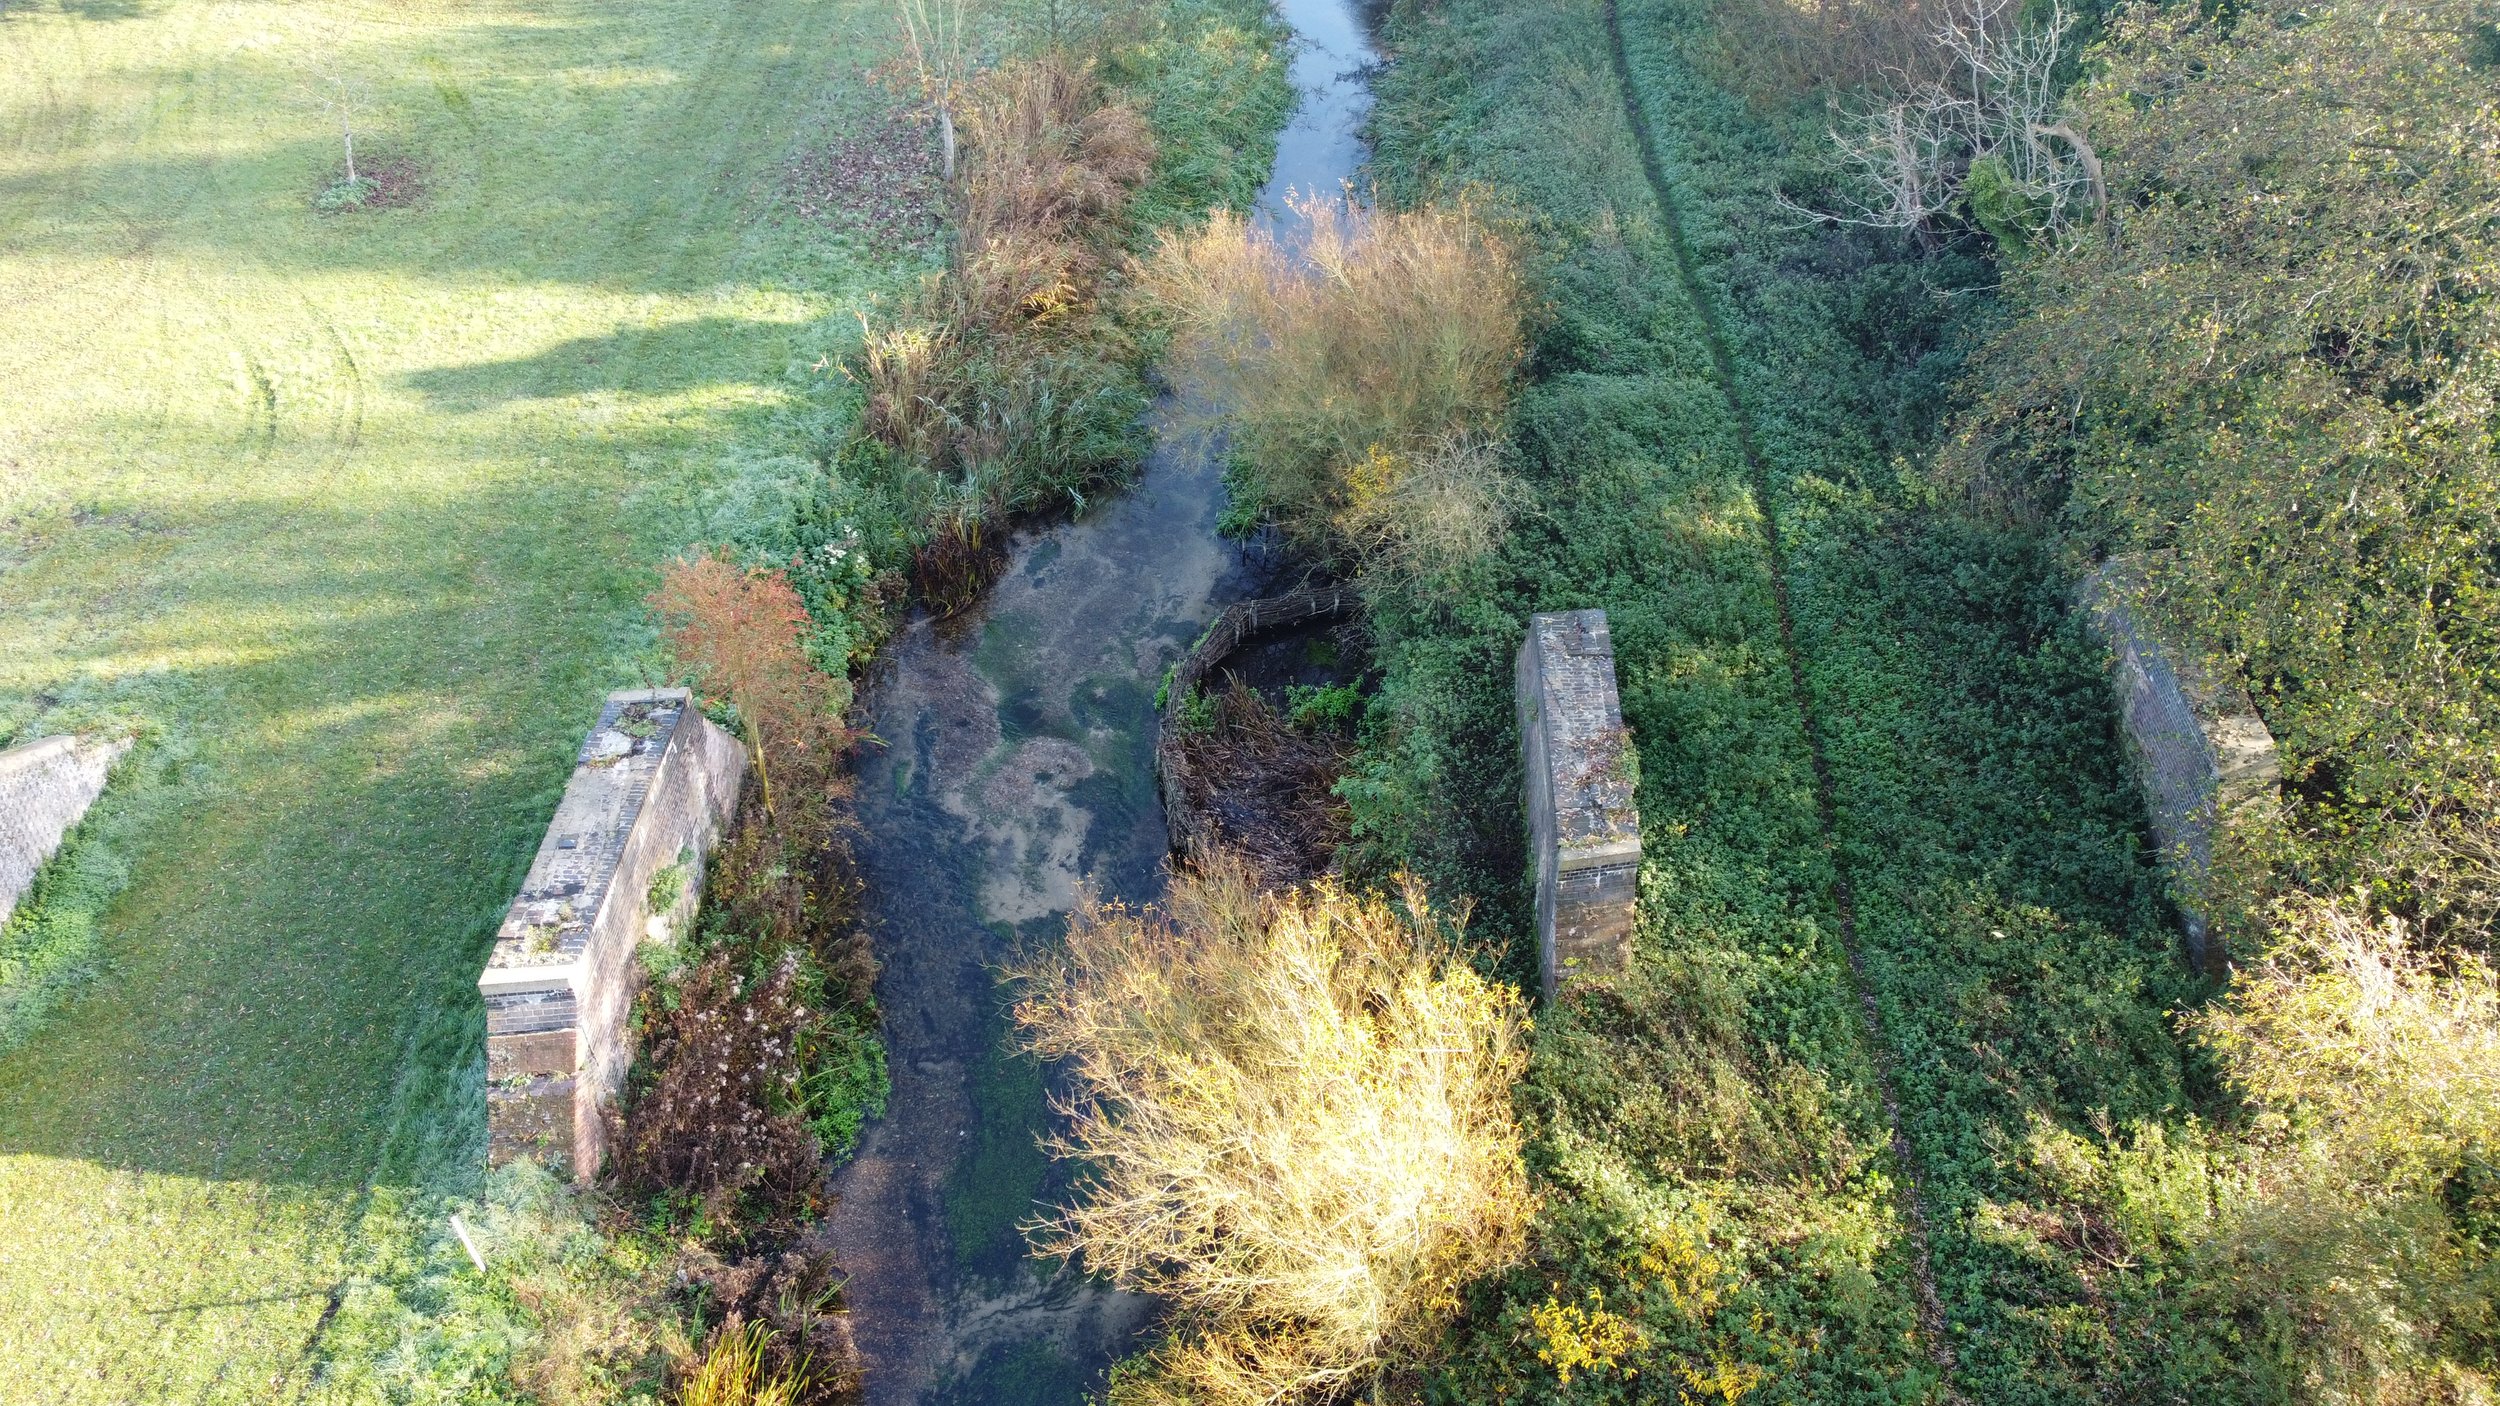
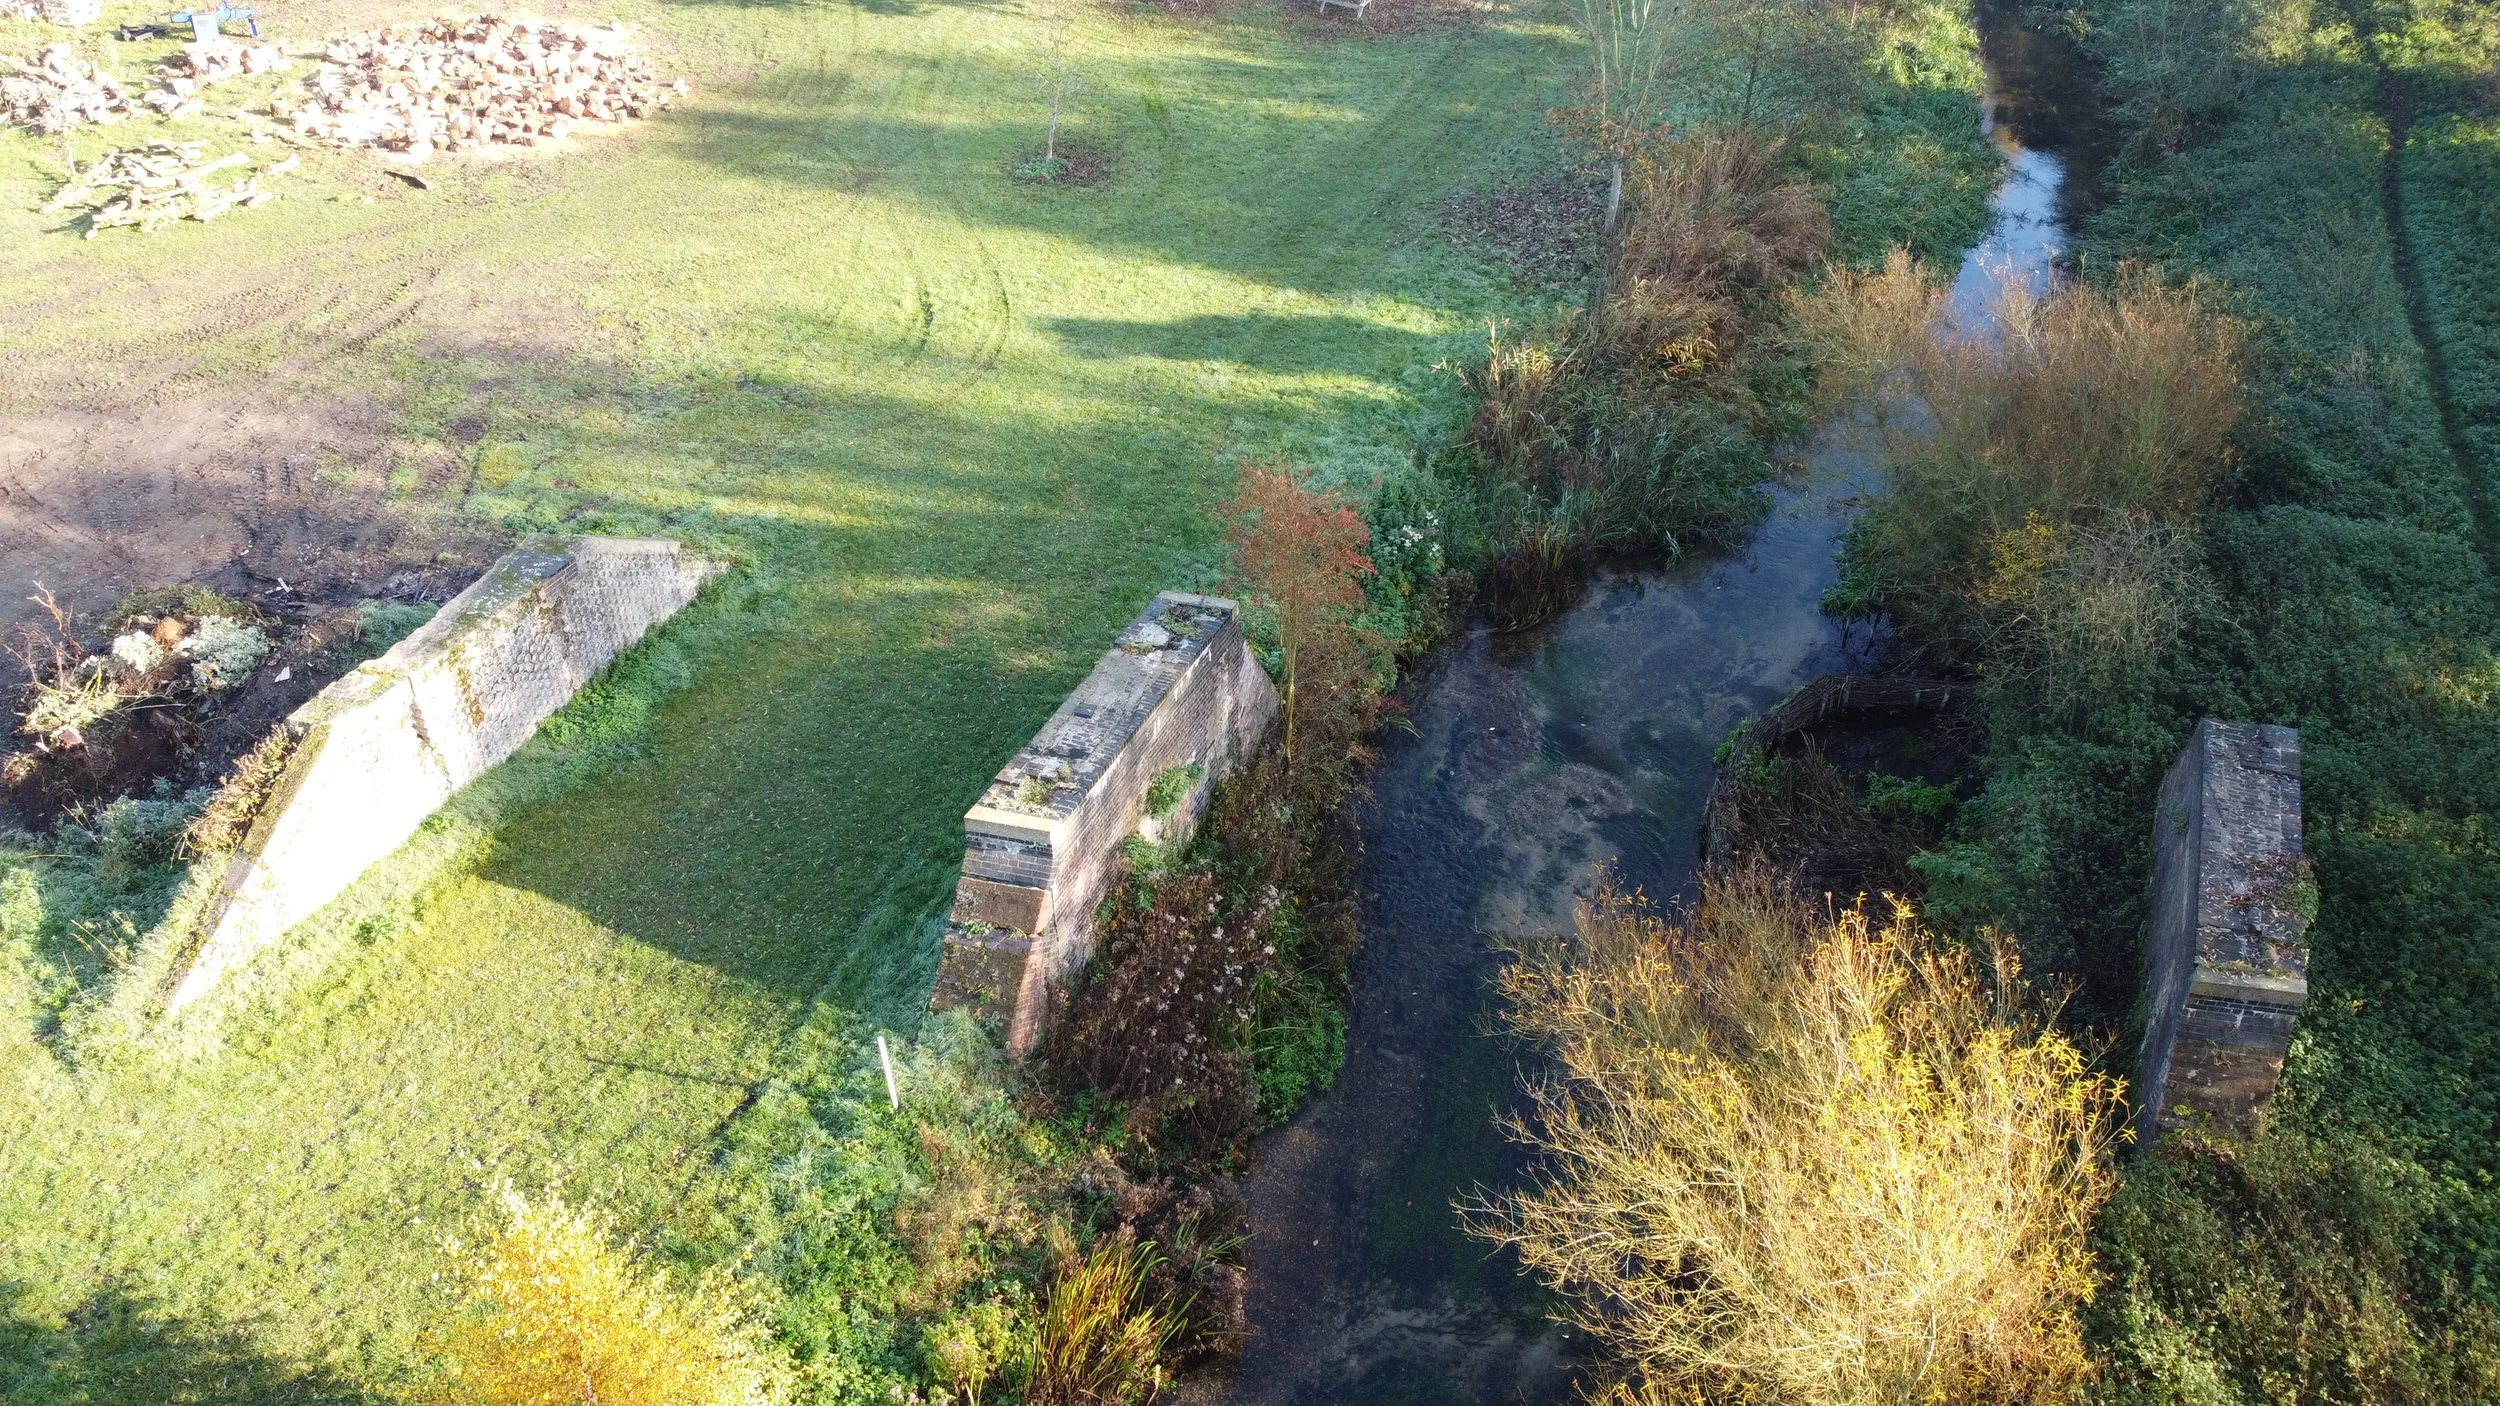
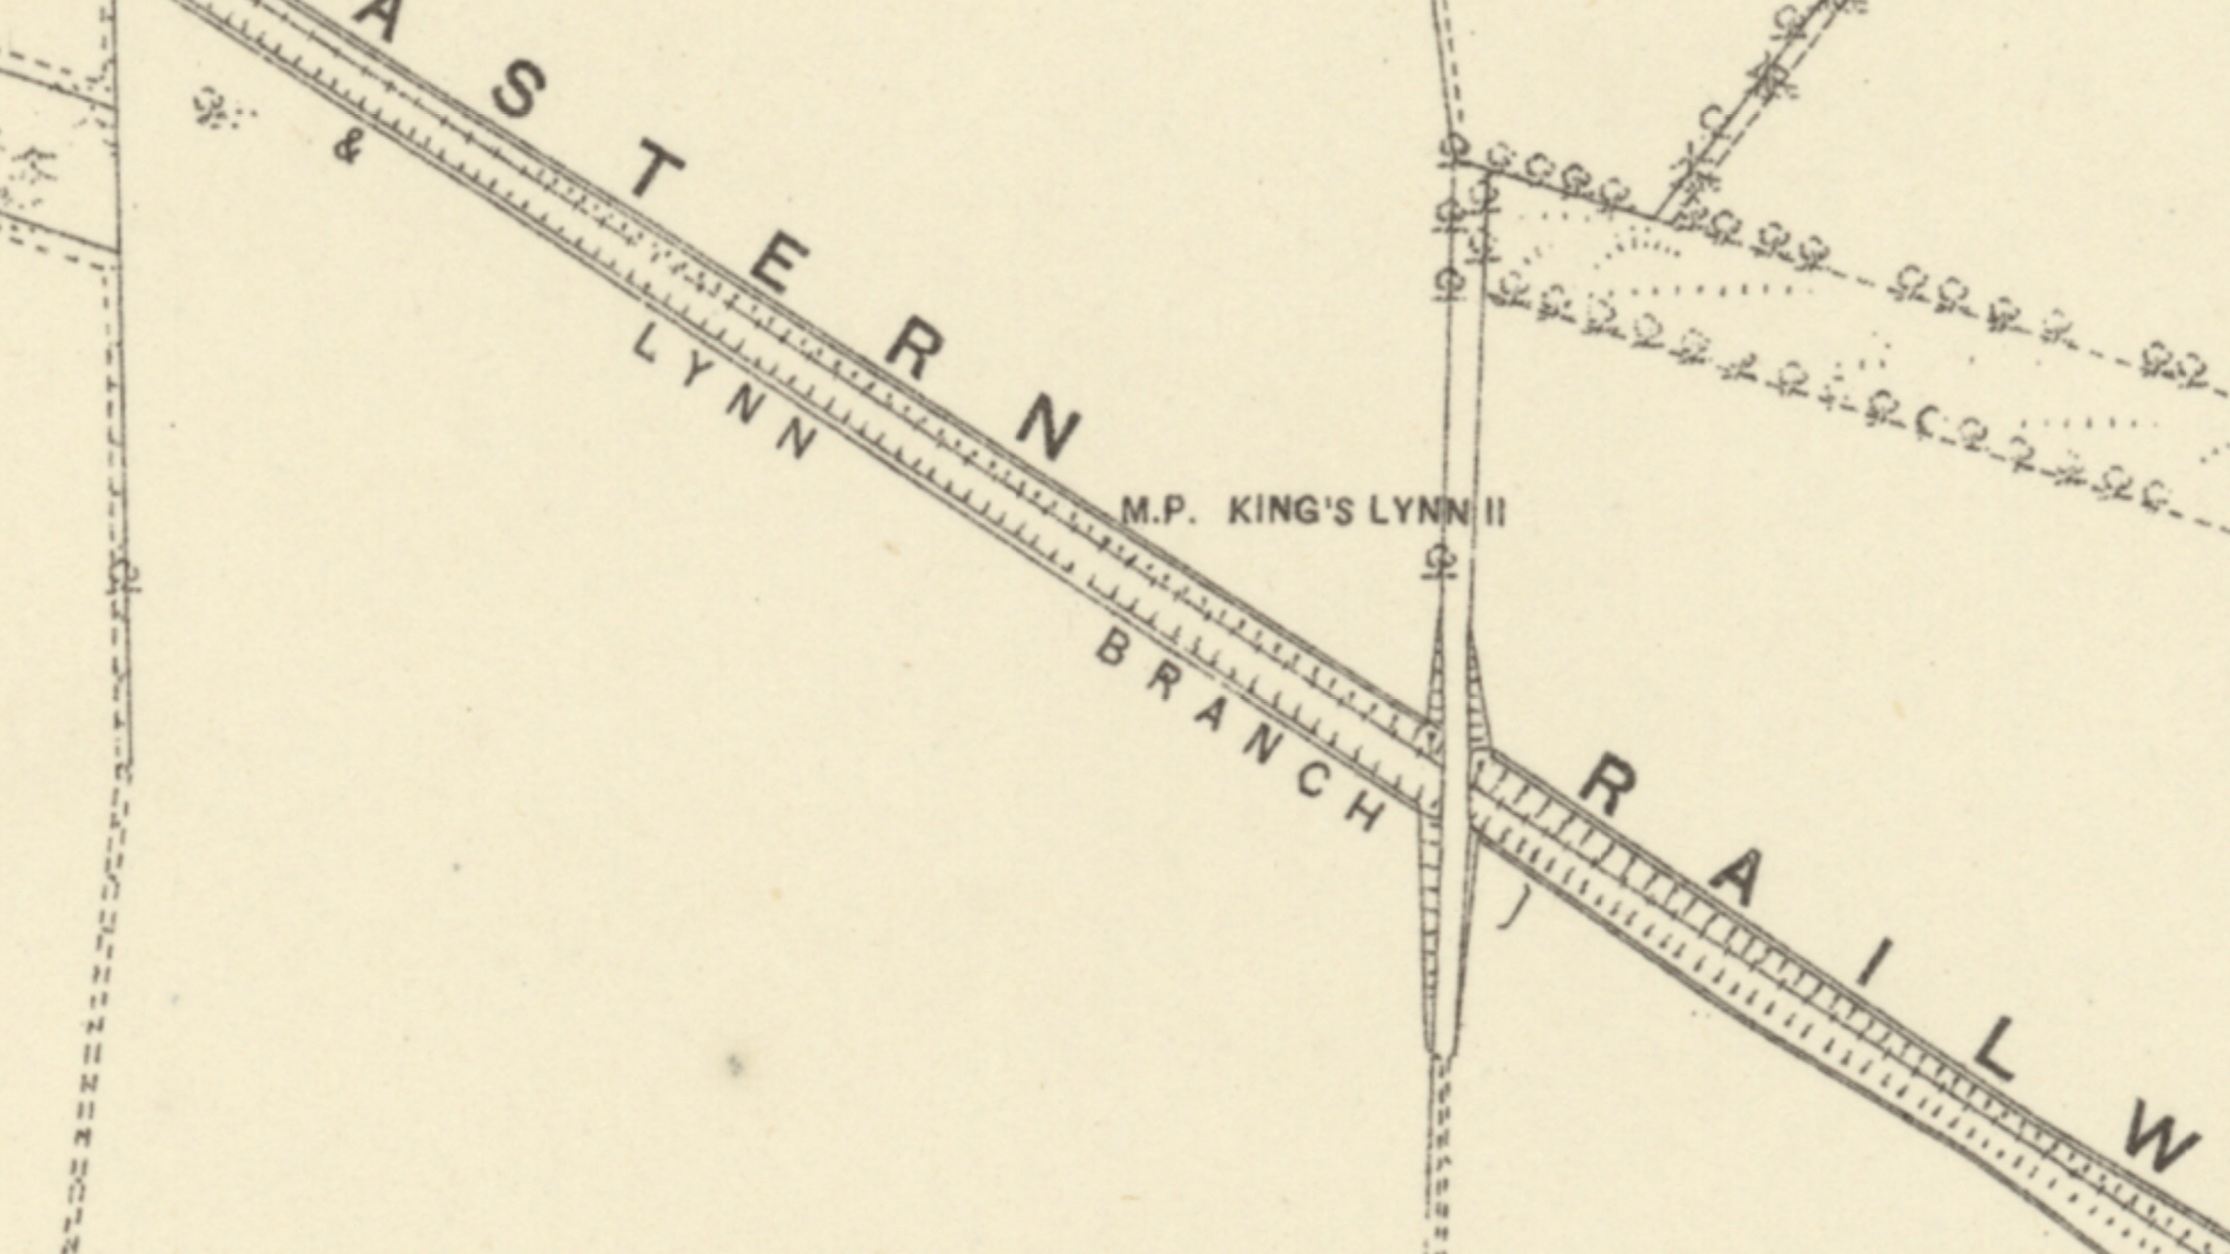
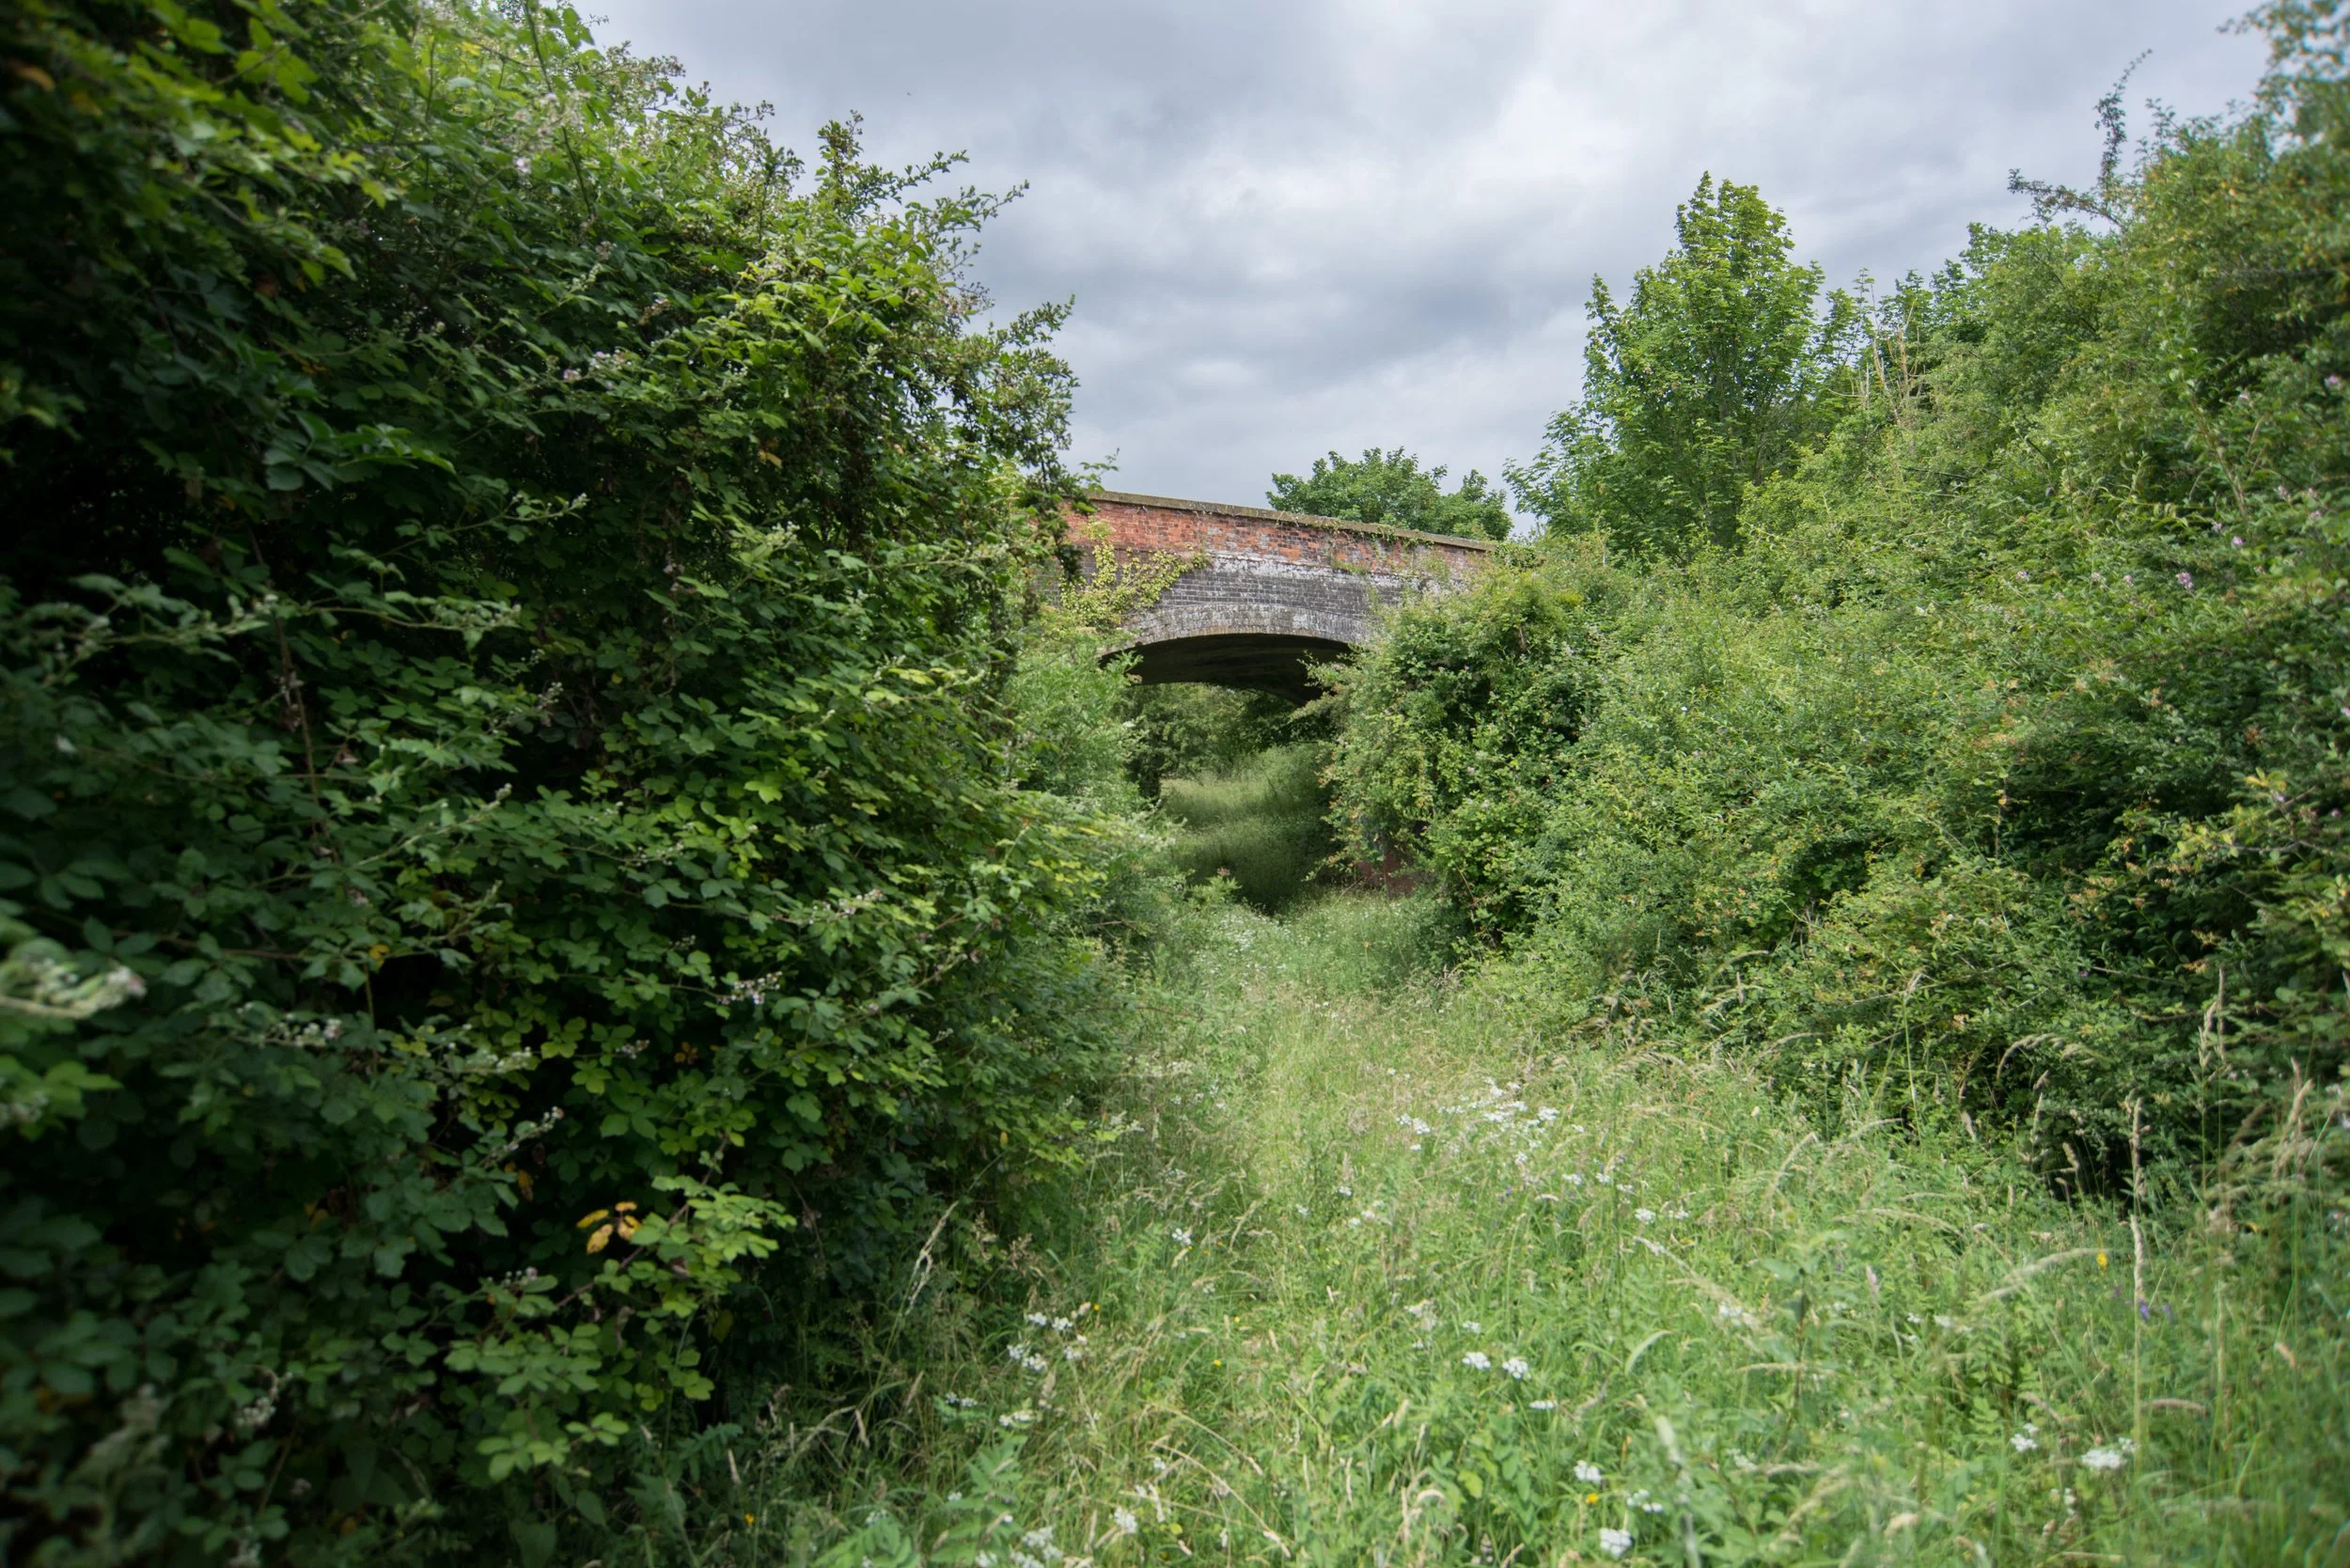
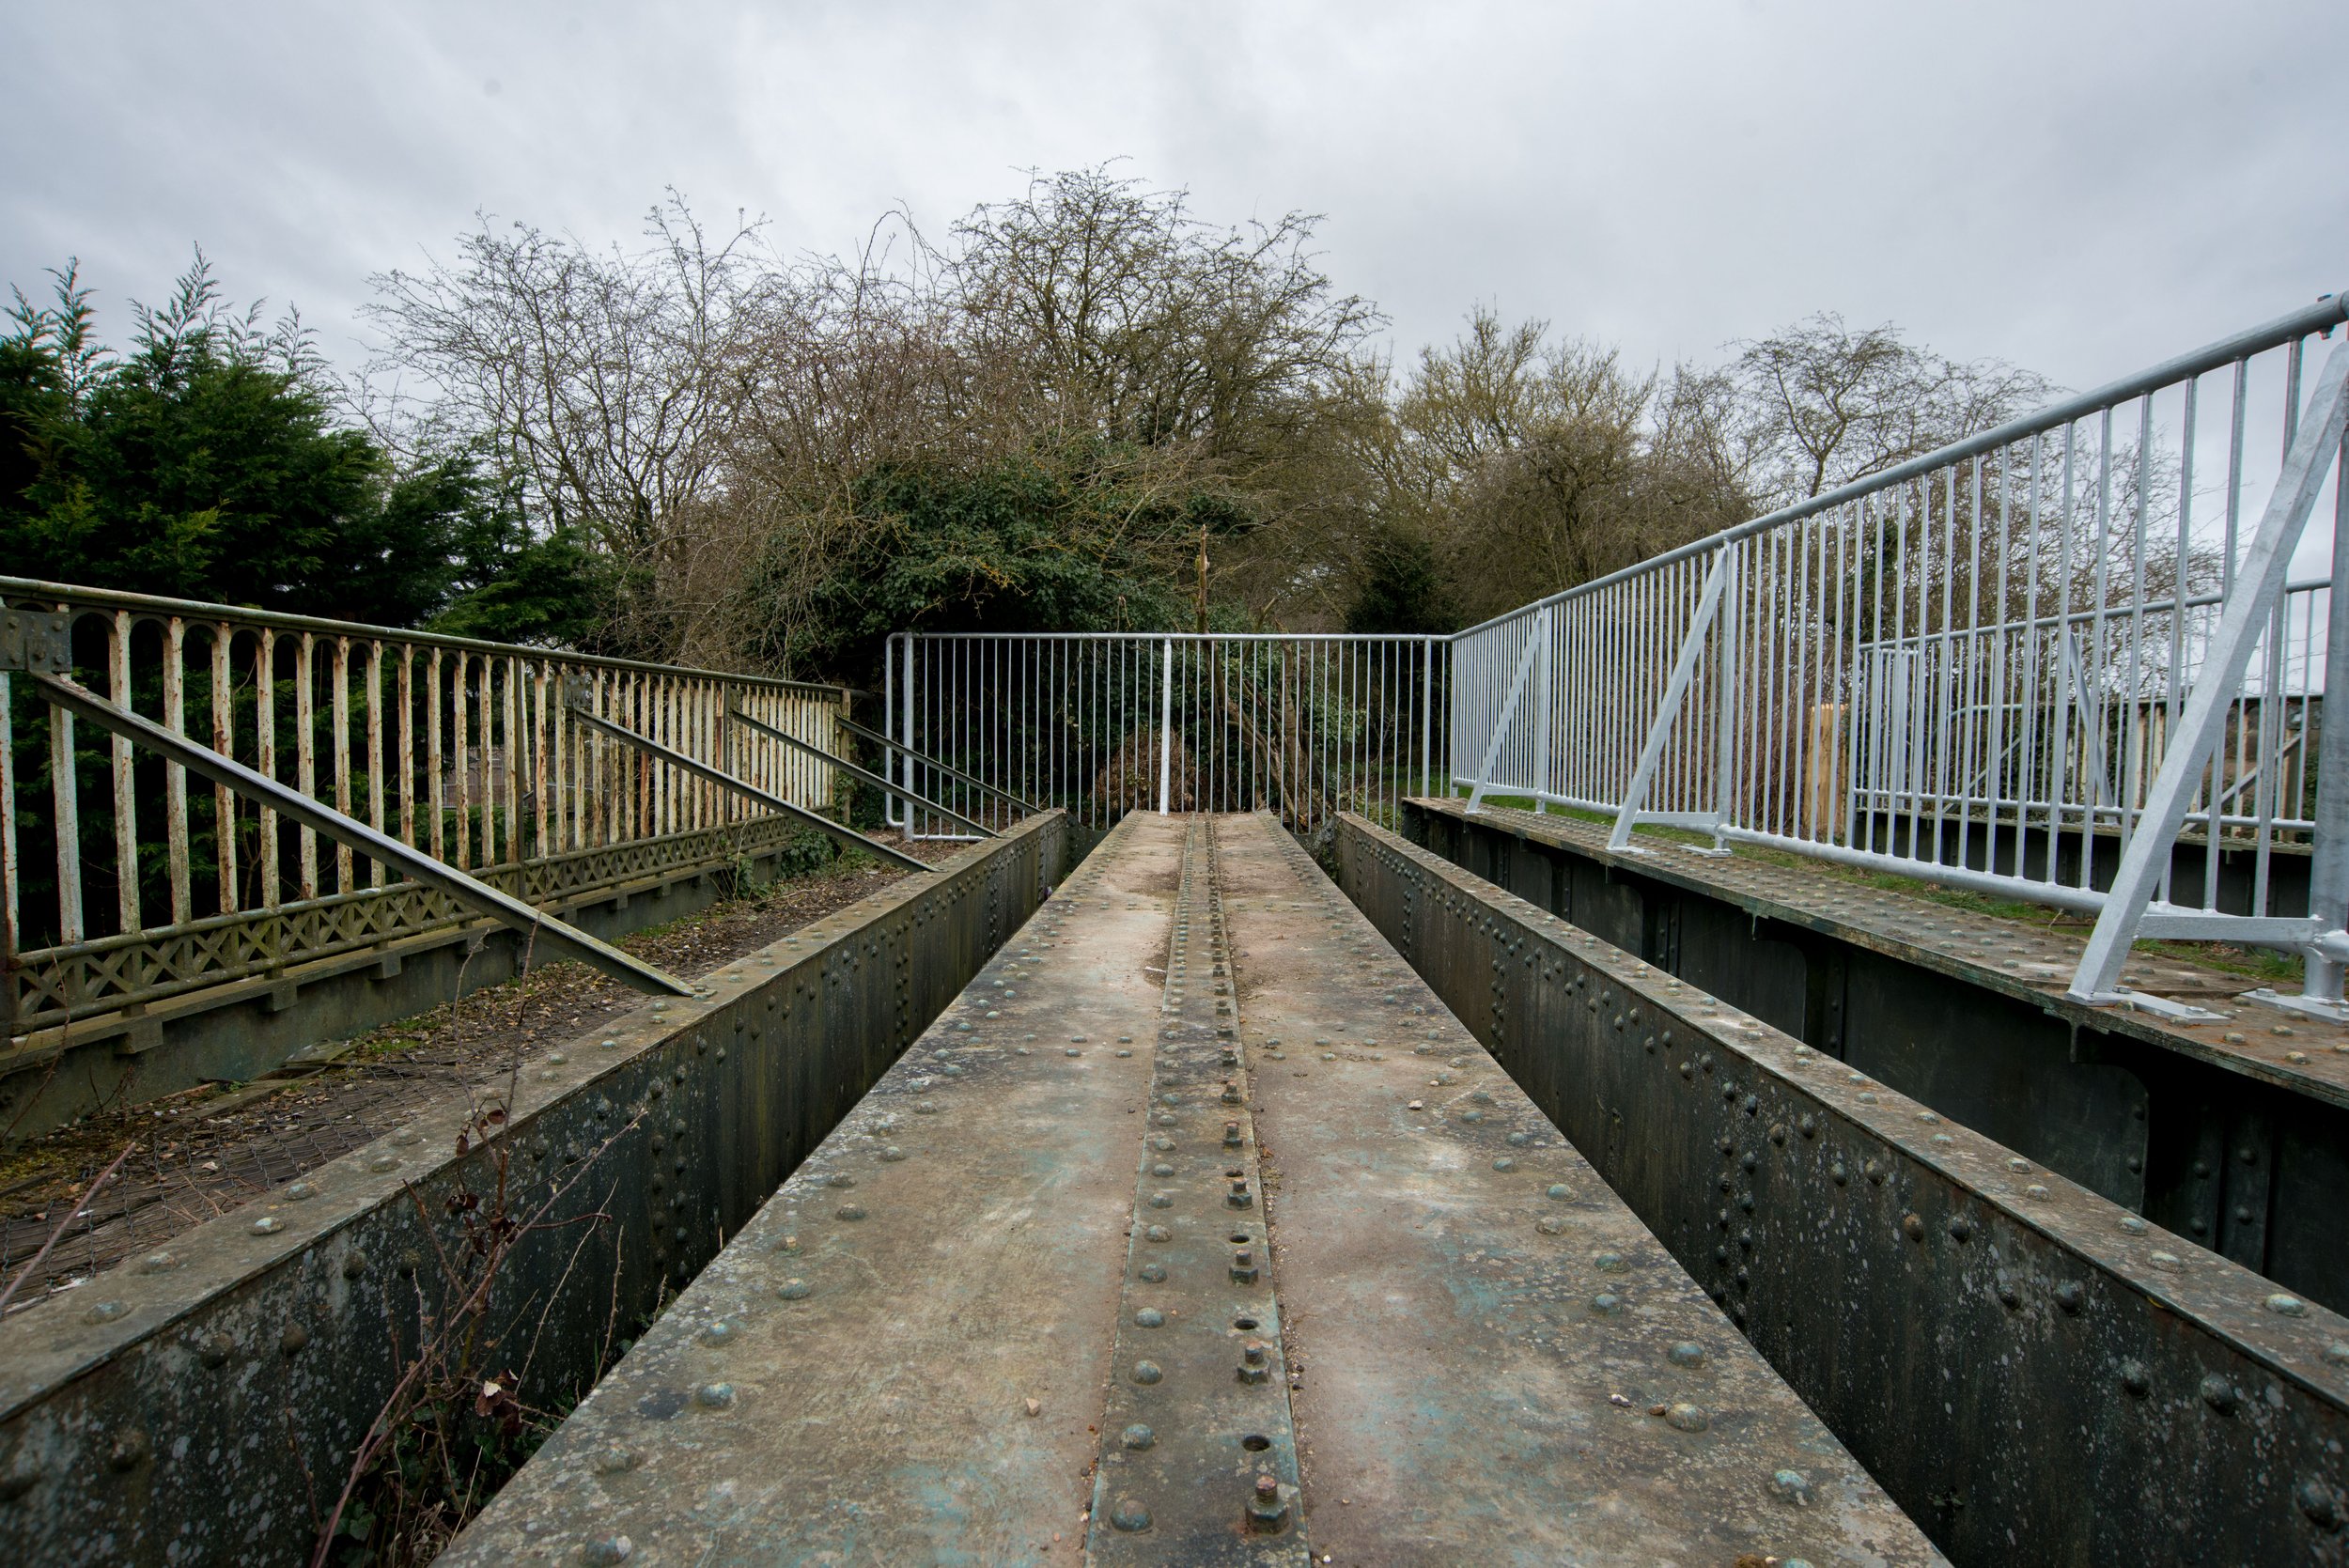
The River Nar Railway Crossing
Leaving the maltings, Narborough, and Pentney station behind, the railway crossed the river Nar over this bridge.
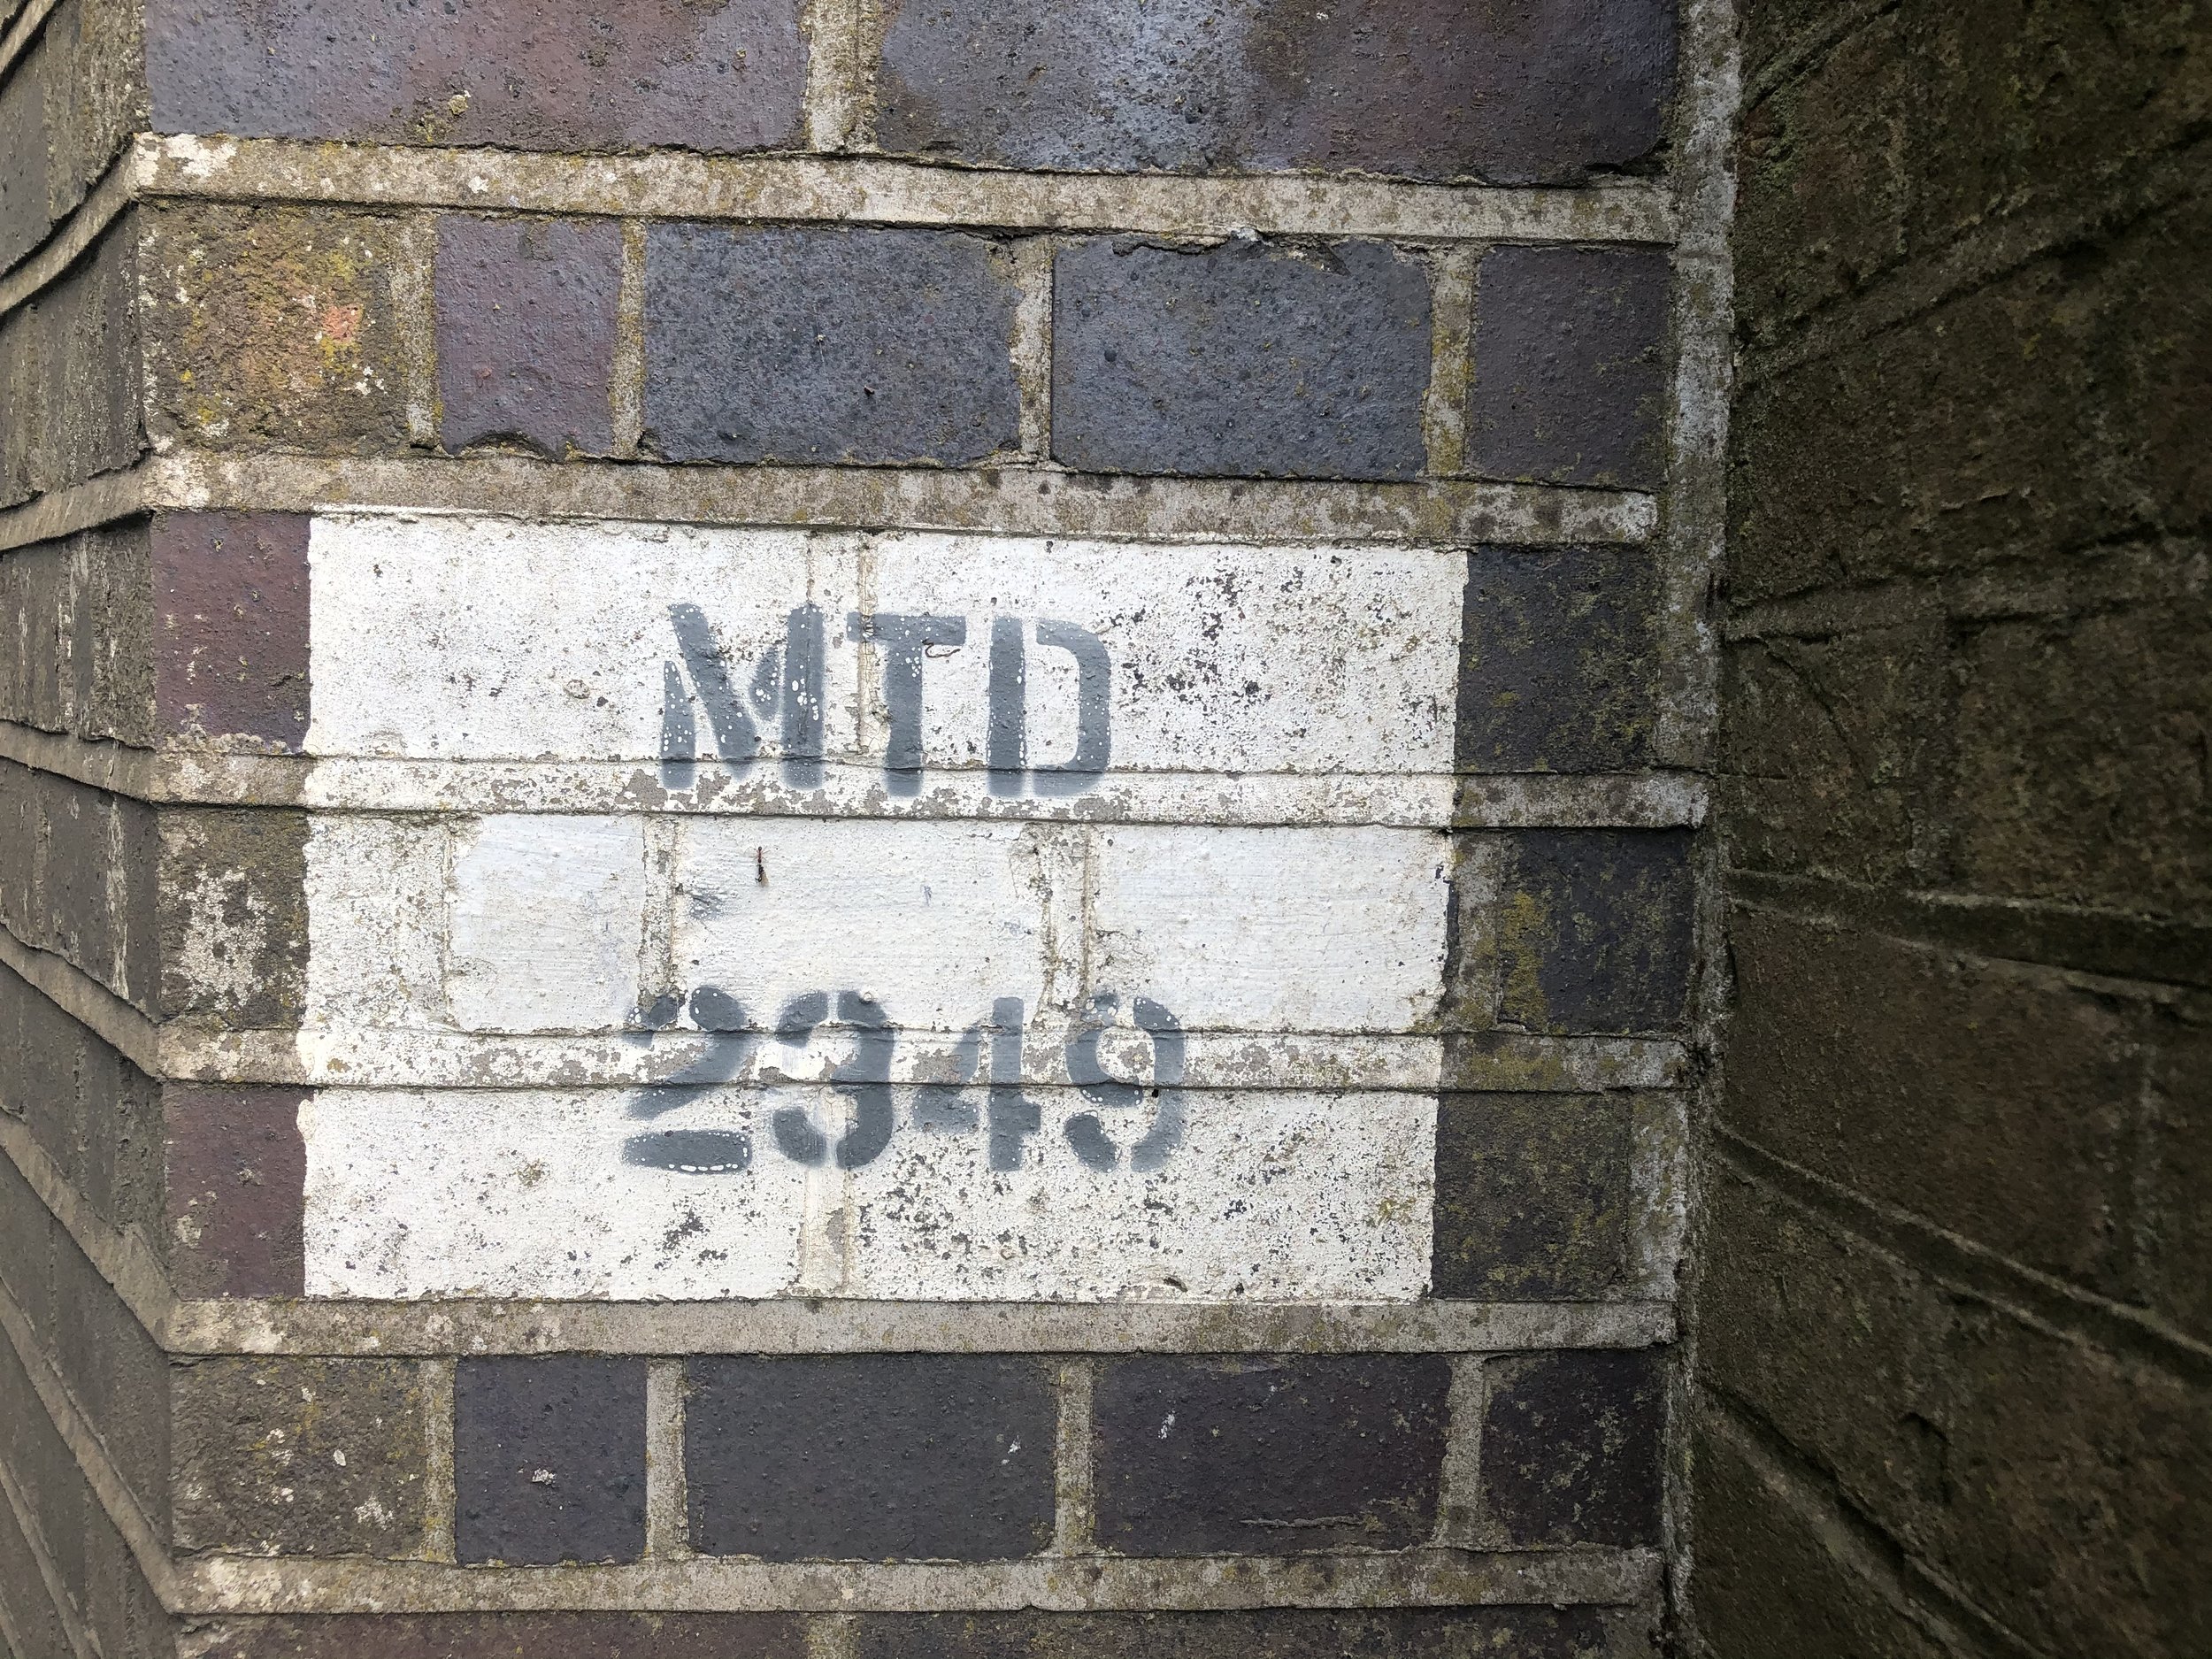
MTD2348
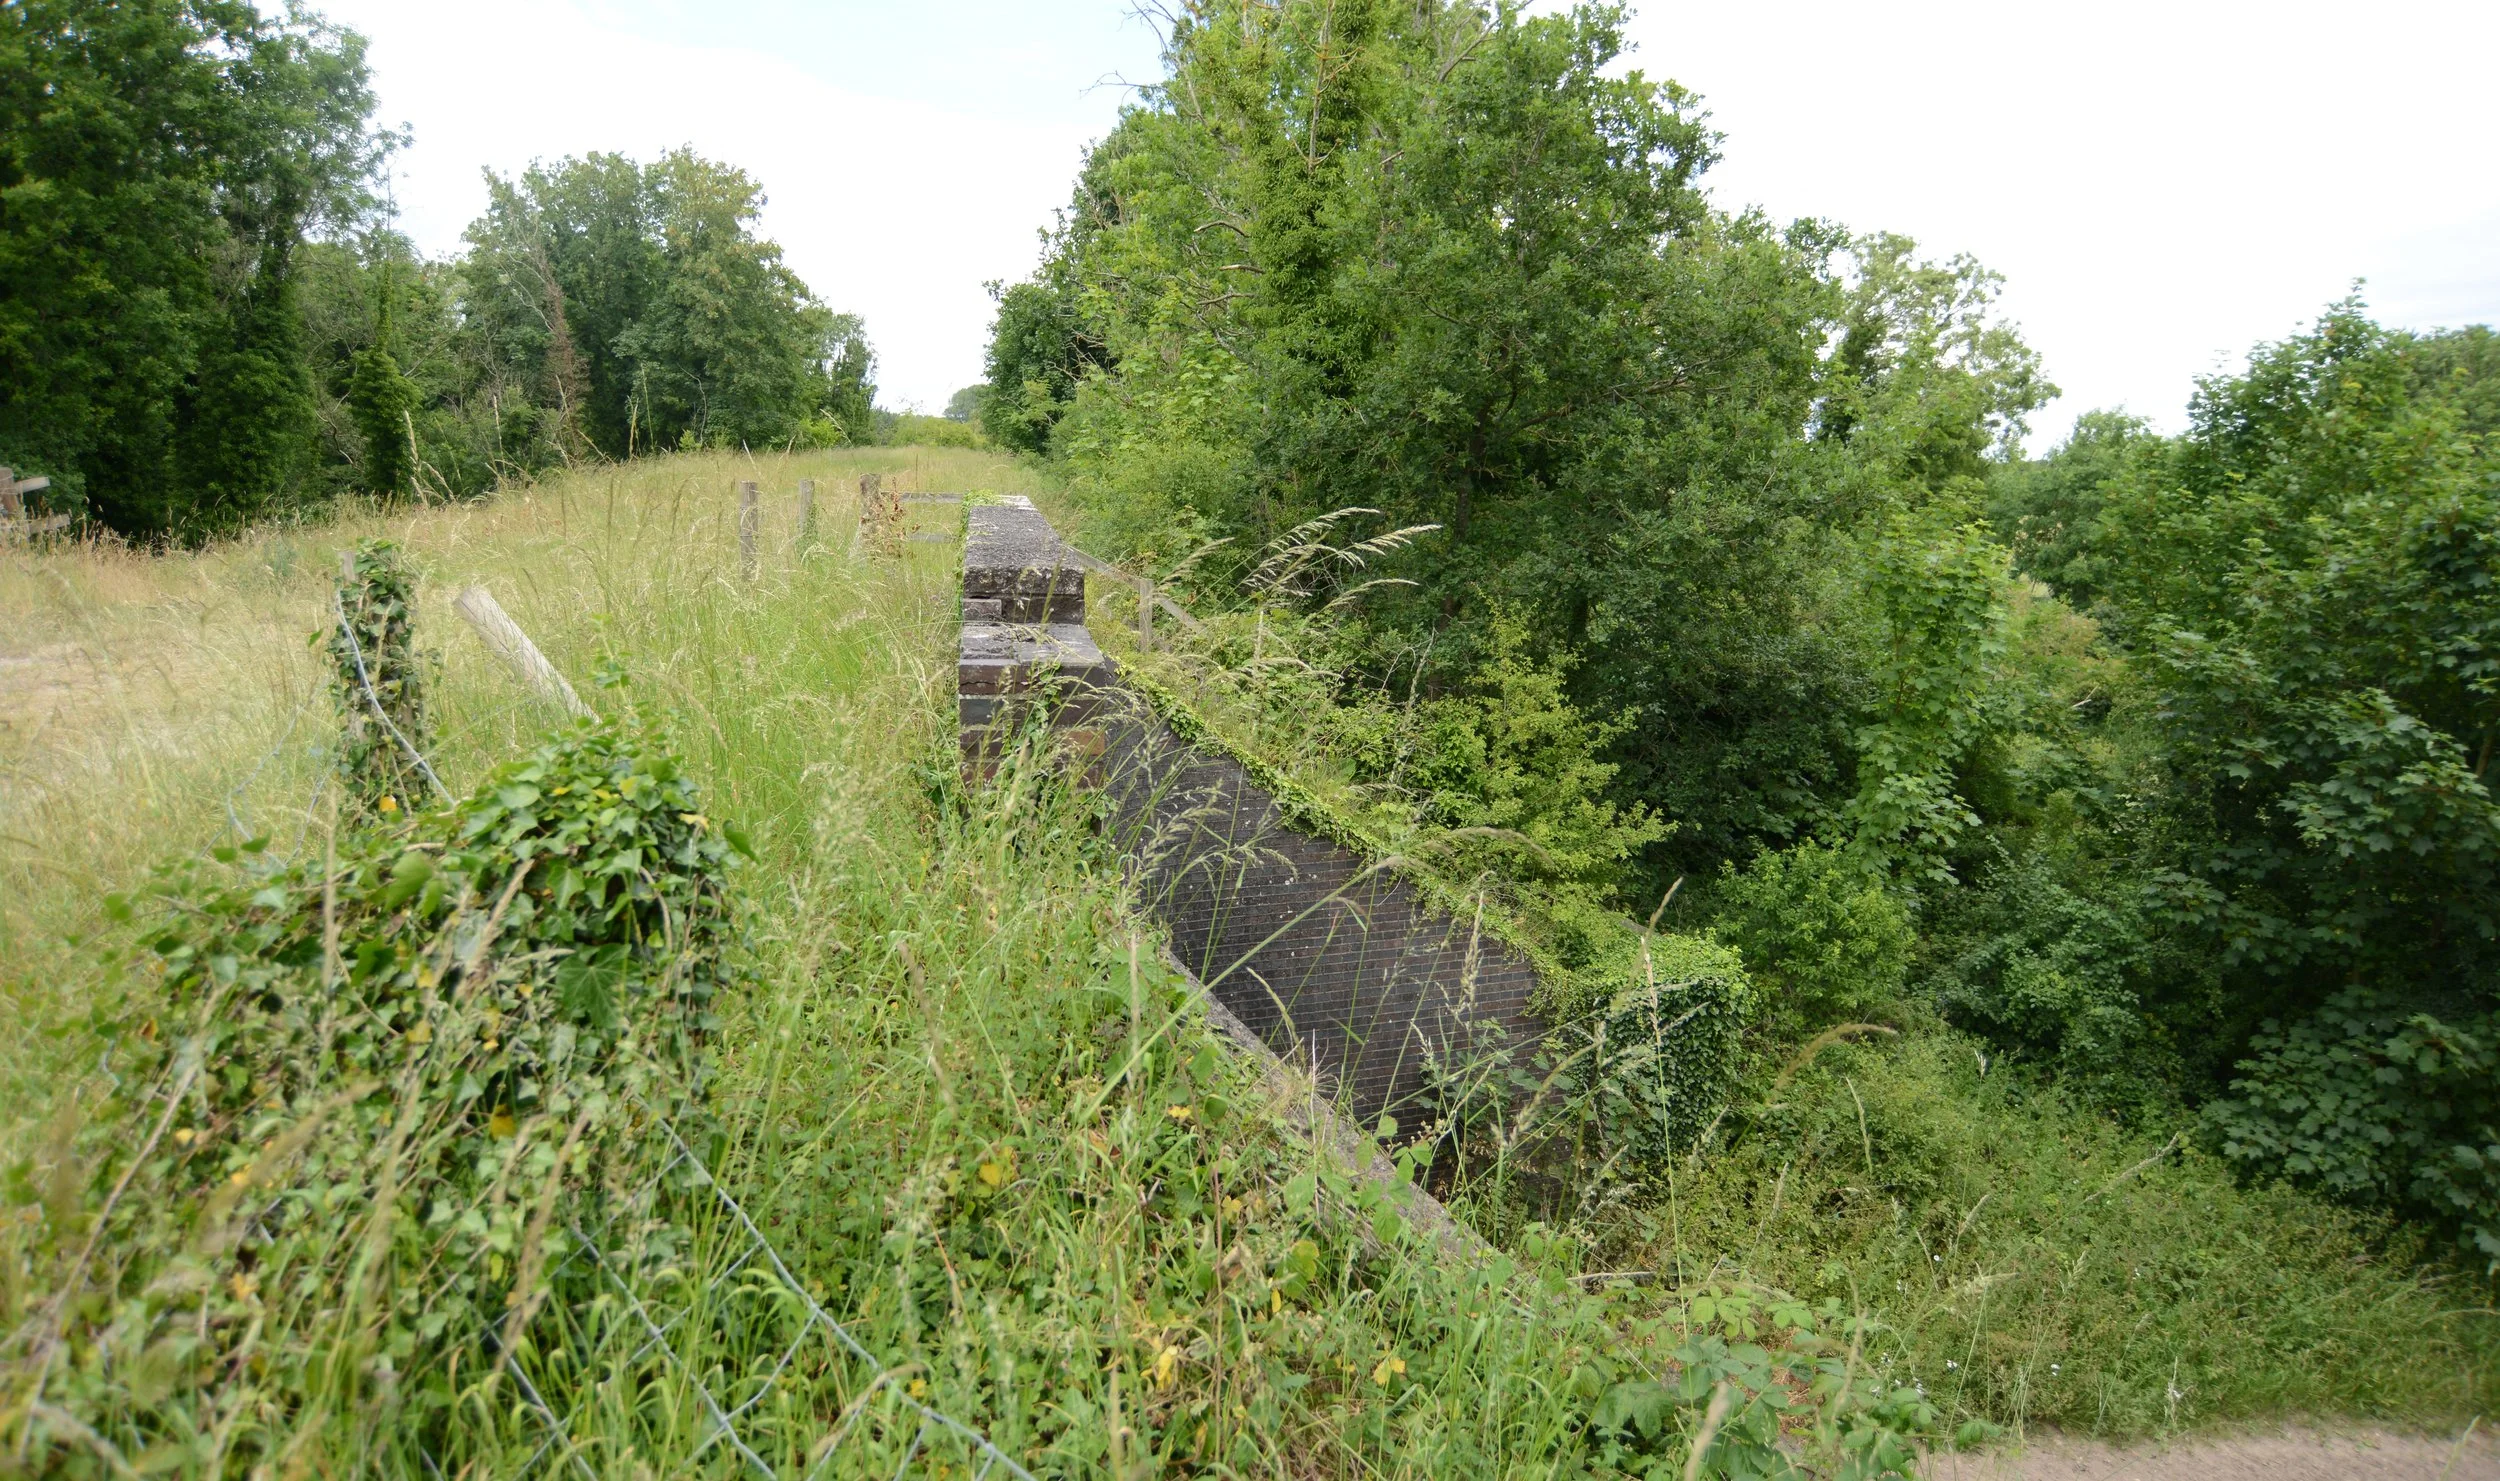
I never realised that this bridge was still here. I knew there was a river crossing, but I was unaware that the buttresses still existed and that they were so easily accessible via a public walkway called the Nar Valley Walk.
This is what I love about the Lynn to Dereham railway—more and more bridges keep appearing. I thought I had discovered most of the remains left behind, but I was mistaken.
On Good Friday 2023, I set off once again in search of these bridge remains.
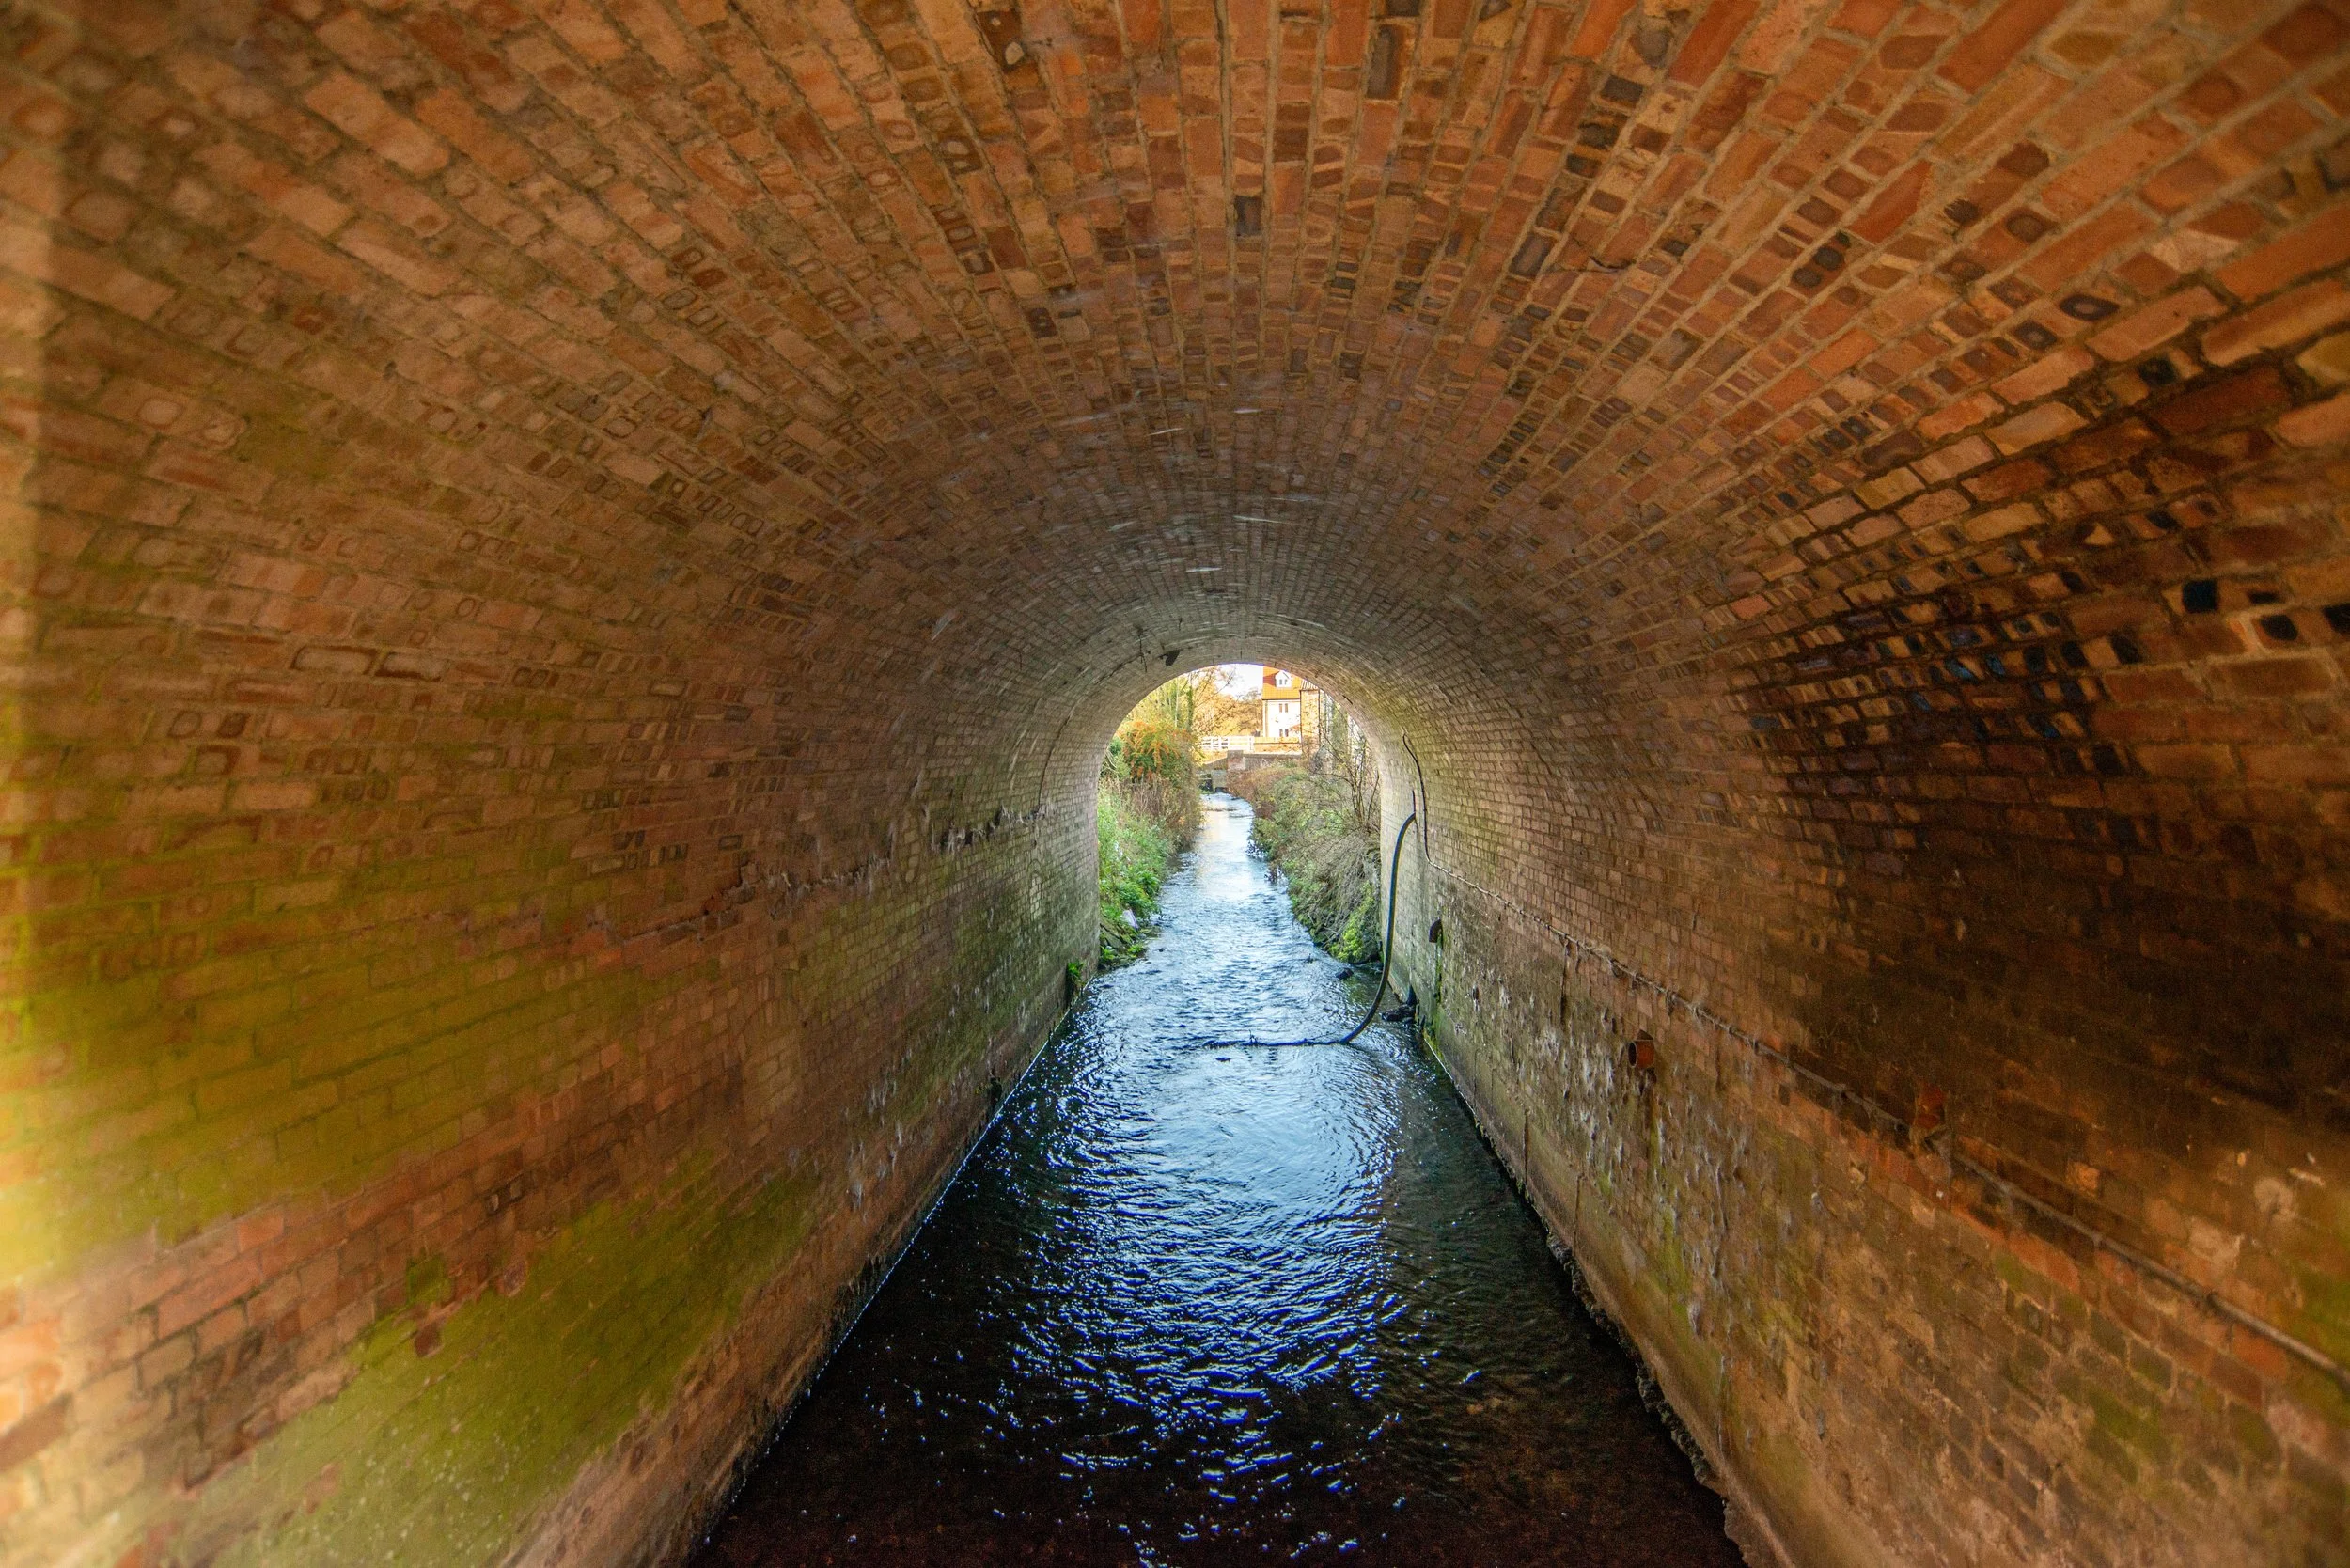
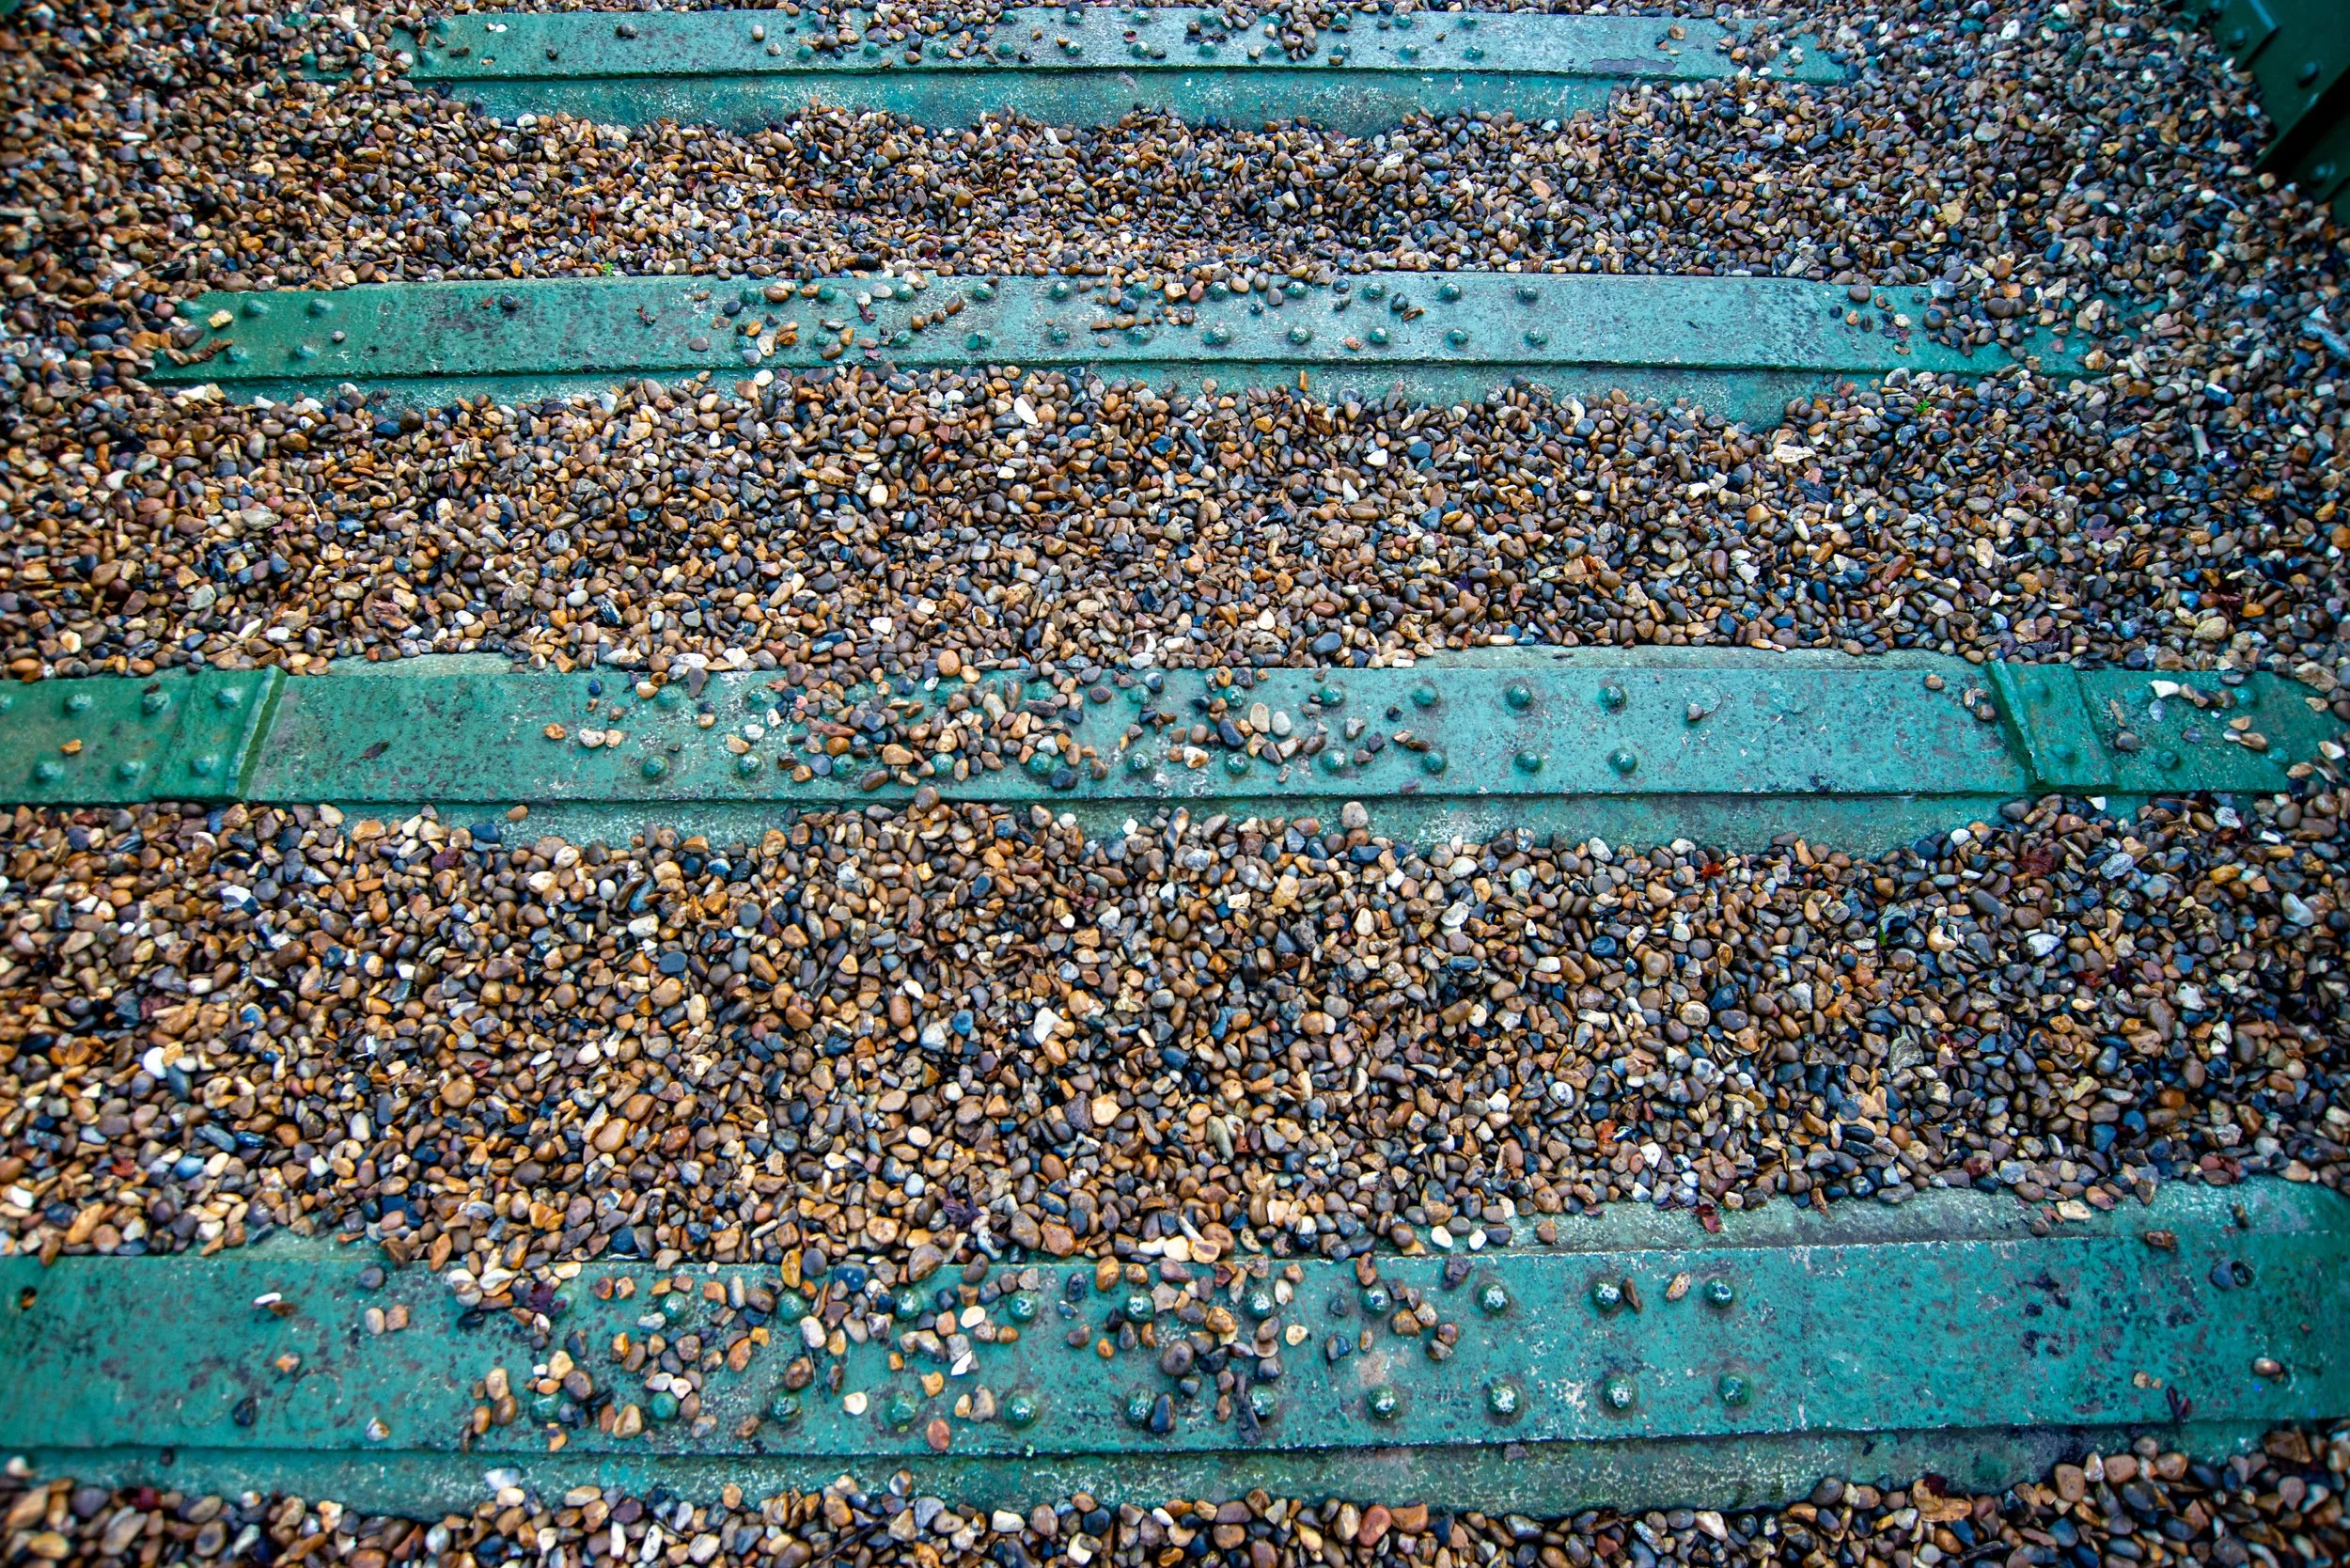
Bridge MTD 2348
MTD stood for Middleton Towers, Dereham


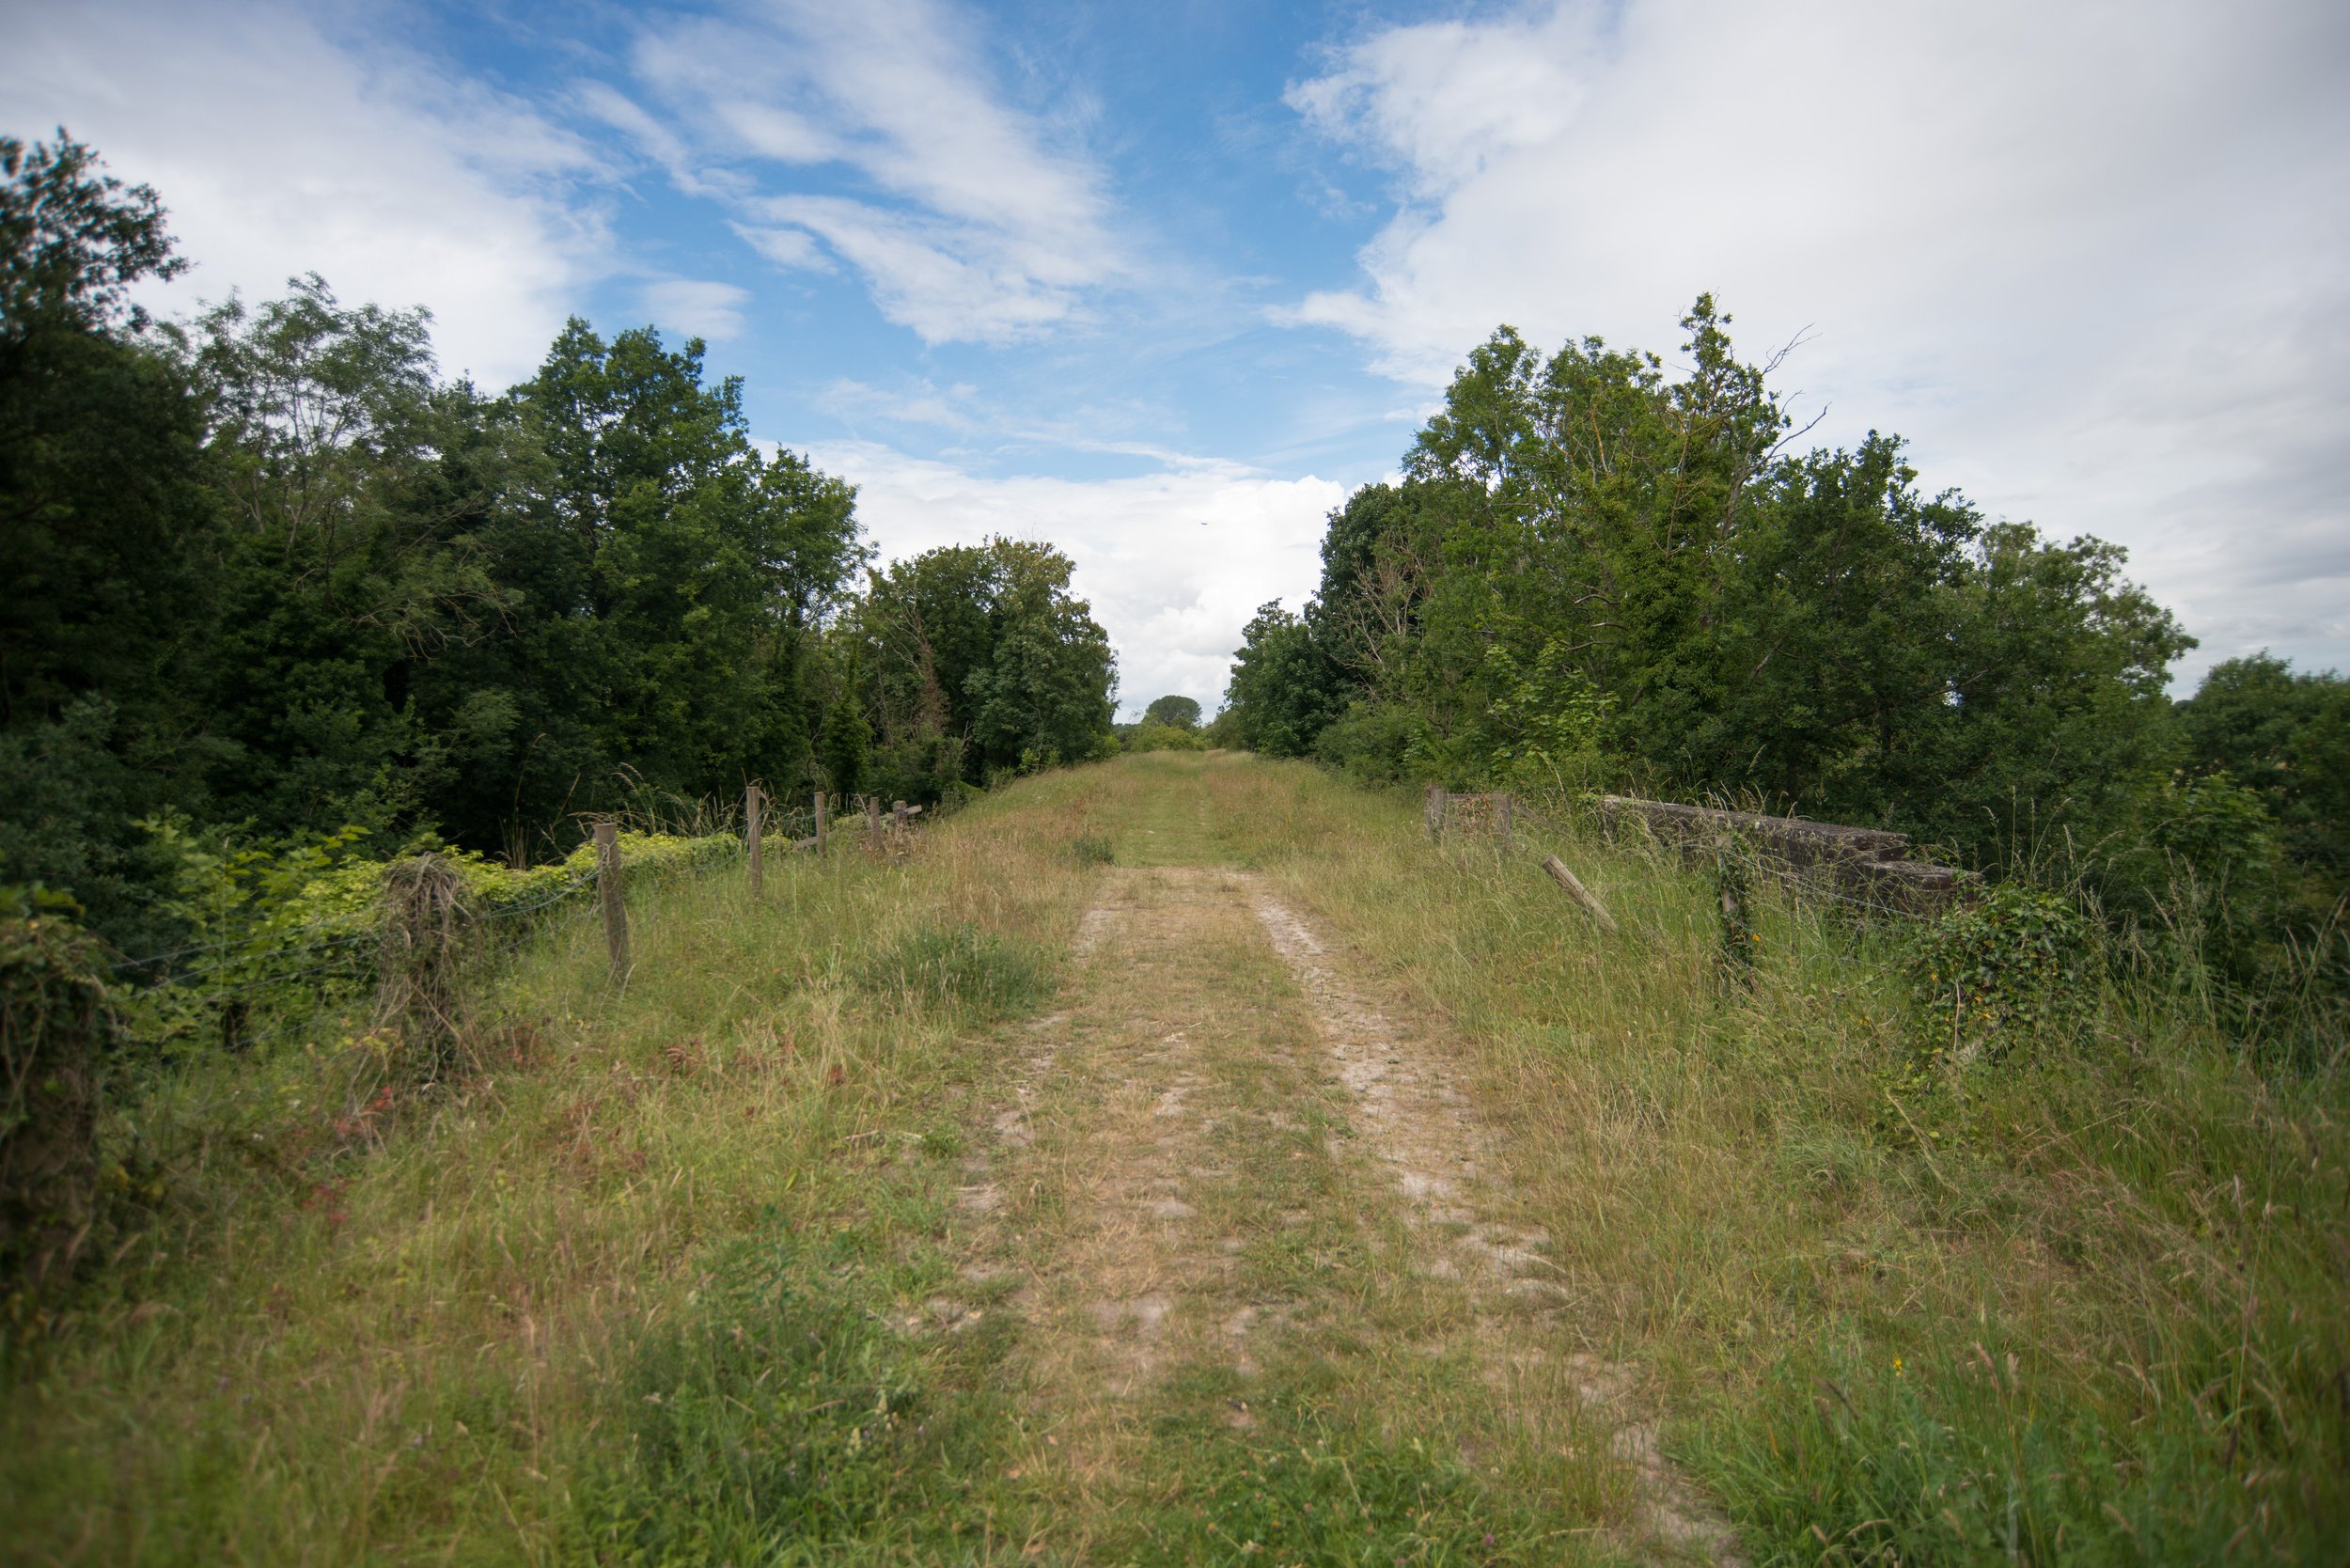
I took this photo while standing on the track bed, capturing a view of the other buttresses, looking towards the maltings and the Narborough and Pentney station.

Standing on the raised track bed looking towards Swaffham.

Drone shots.
Upon leaving Narborough & Pentney station and crossing the River Nar, the railway would first pass over a level crossing at Meadow Road, Narborough.
The crossing cottage still stands today, although no other parts of the railway exist.
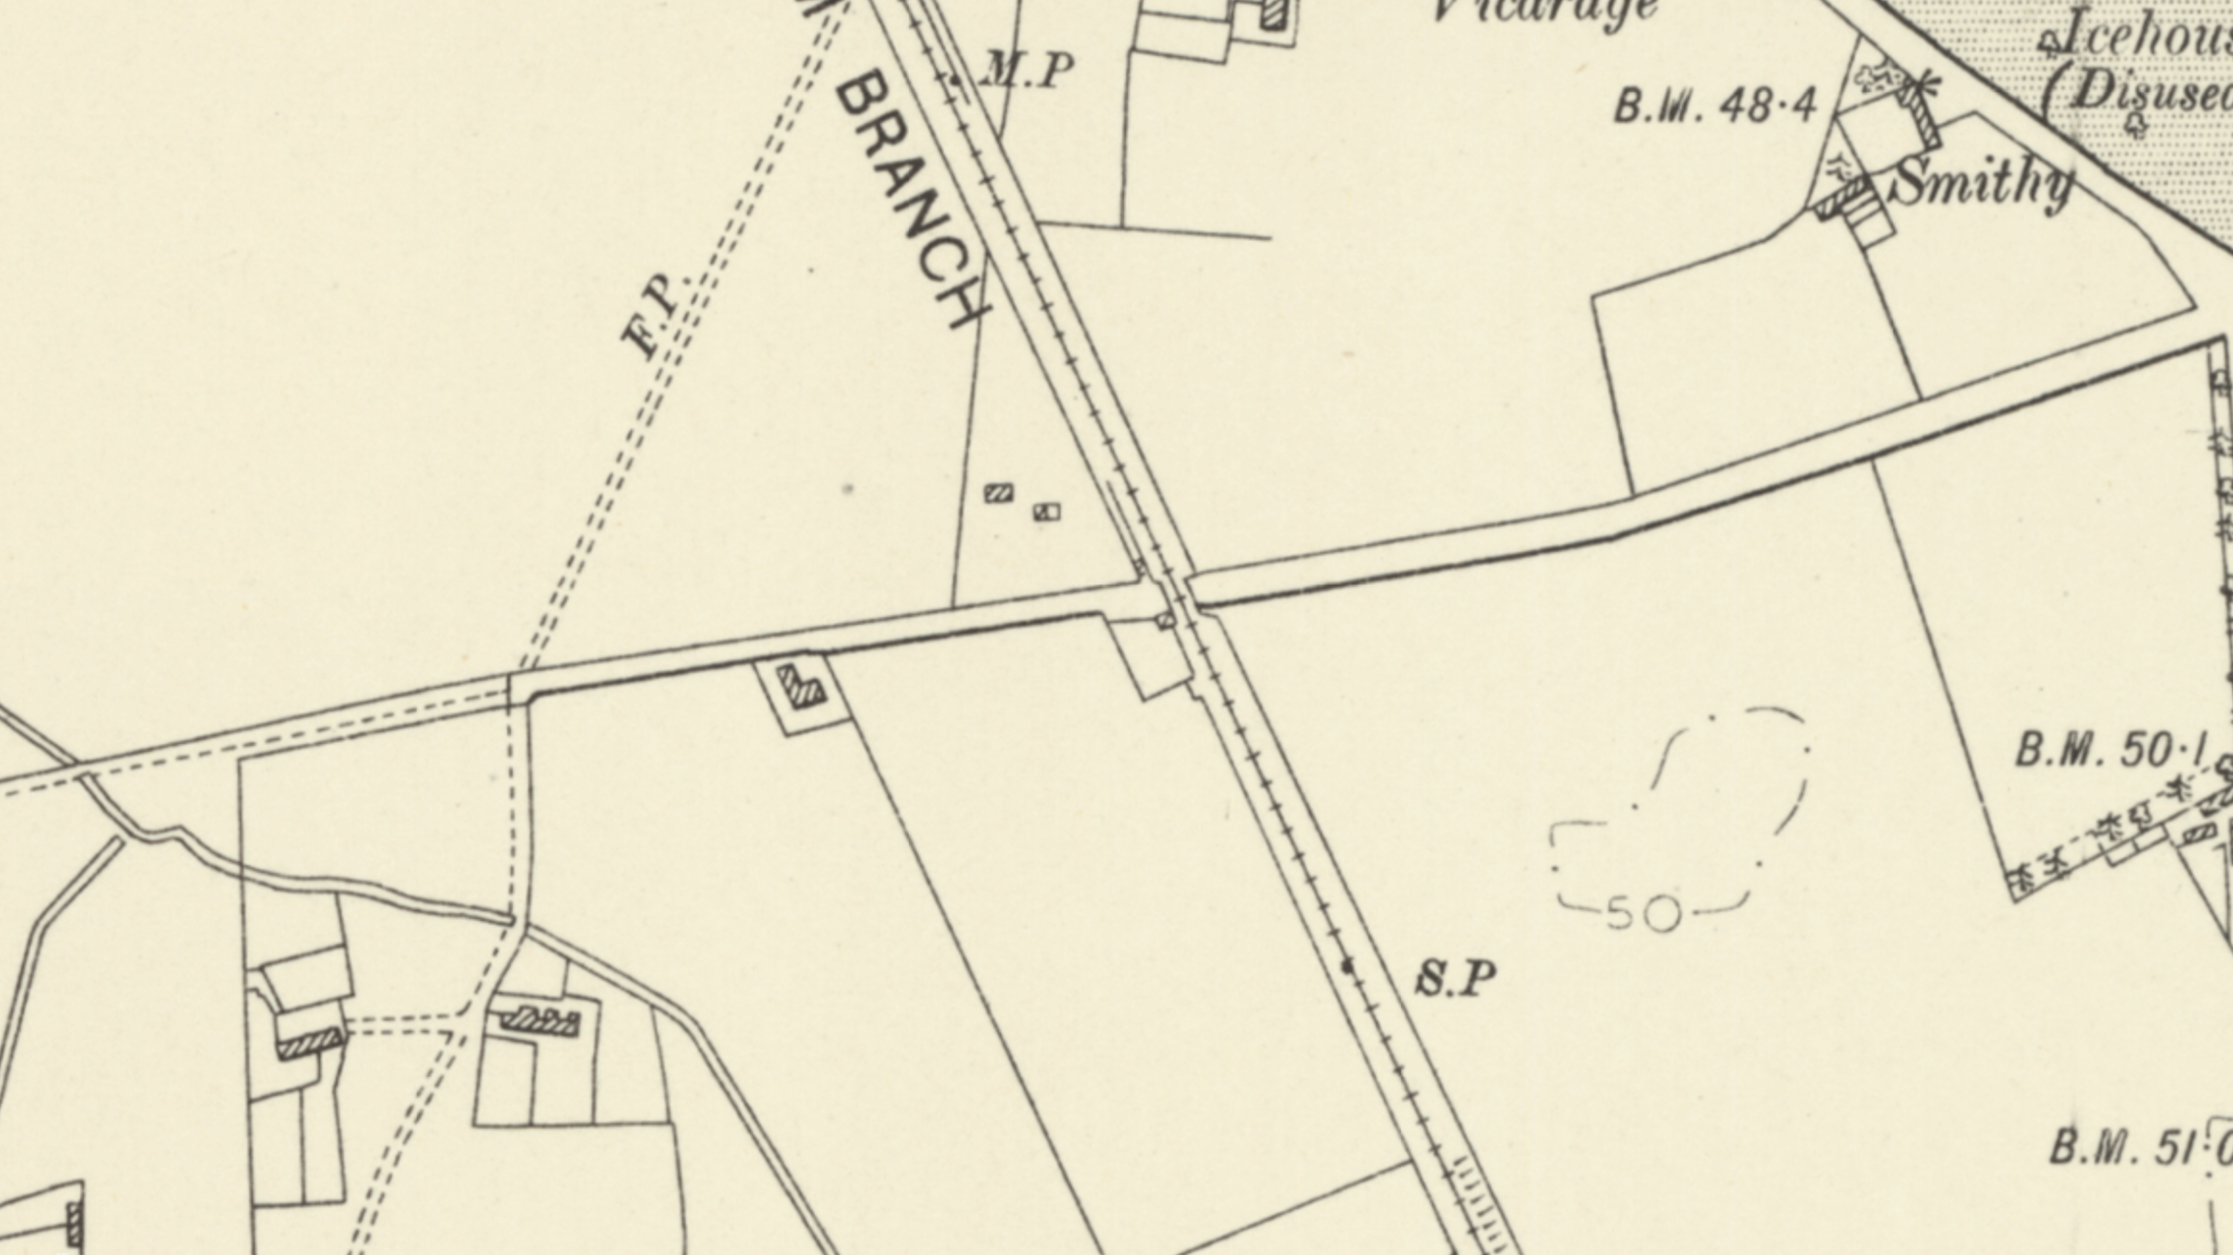
©National Library of Scotland

Leaving Meadow Road level crossing, the railway entered onto a raised track bed and headed towards Swaffham to cross over Chalk Lane via Bridge MTD239, close to RAF Marham.
RAF Marham was constructed in 1916.

The track bed remains in parts but is very overgrown. I found access relatively easy, but walking far from the bridge abutment was difficult as this part was so dense.
Here we see the old track bed facing towards Narborough.


Bridge MTD-2349

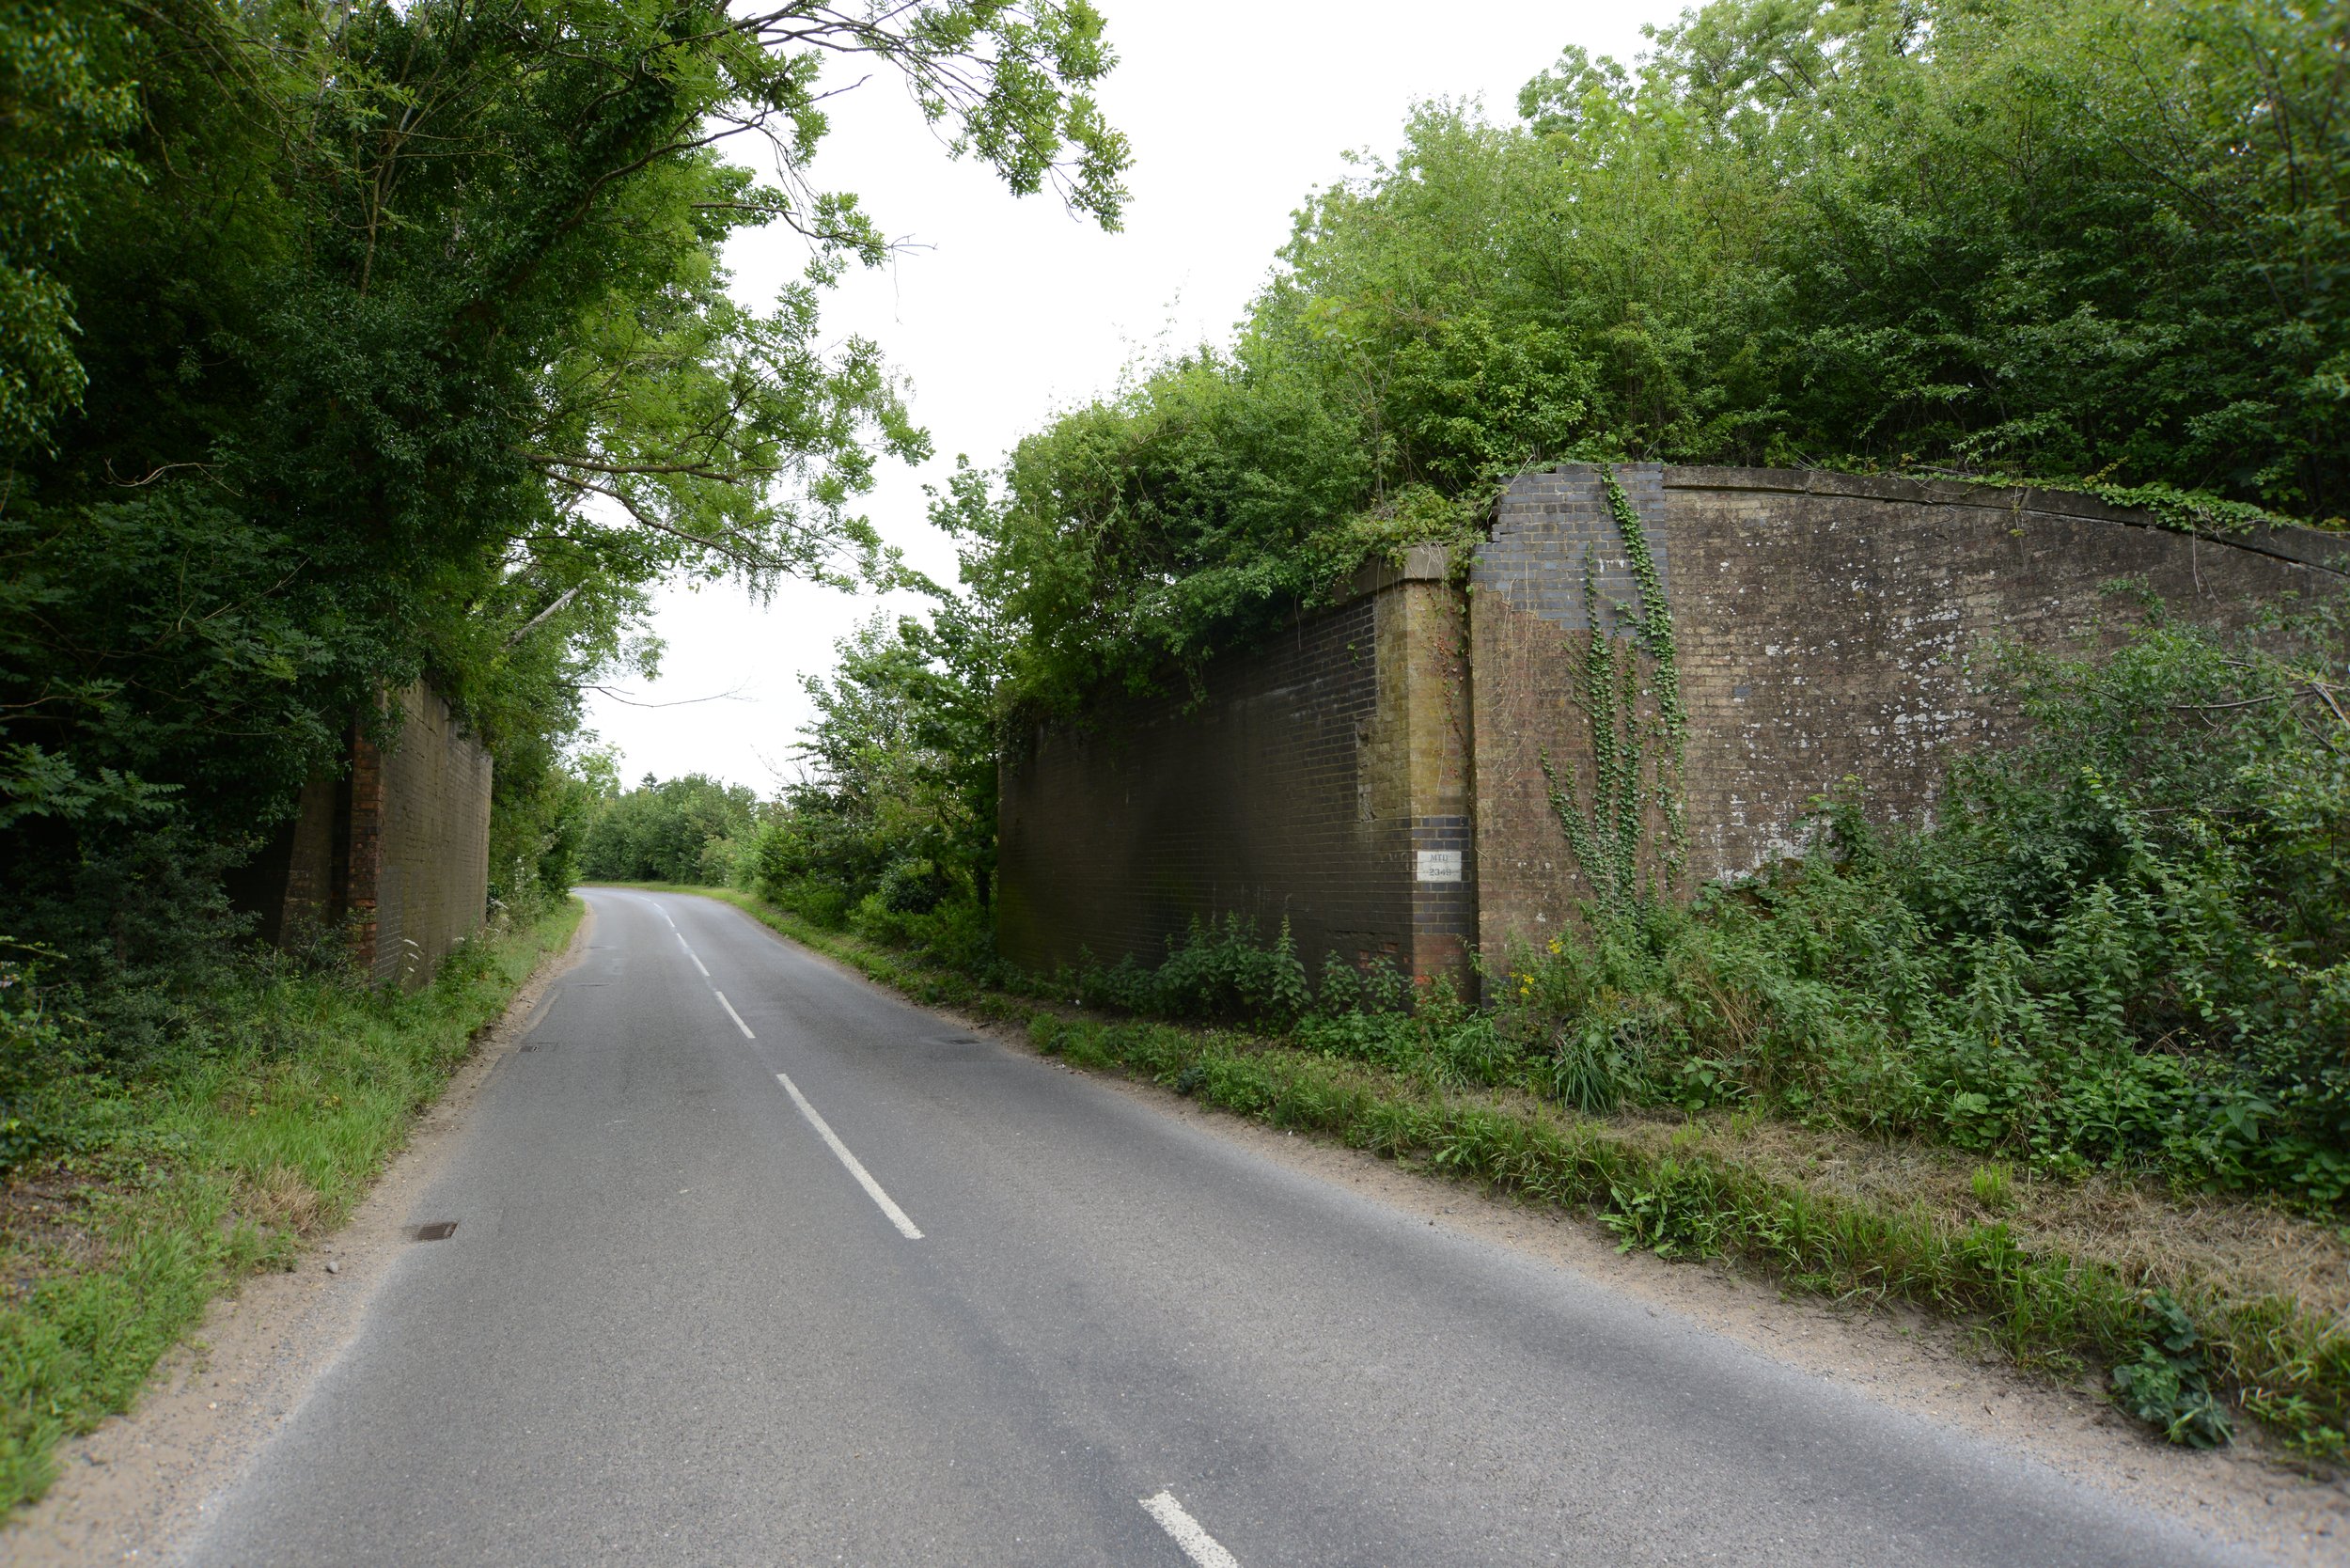
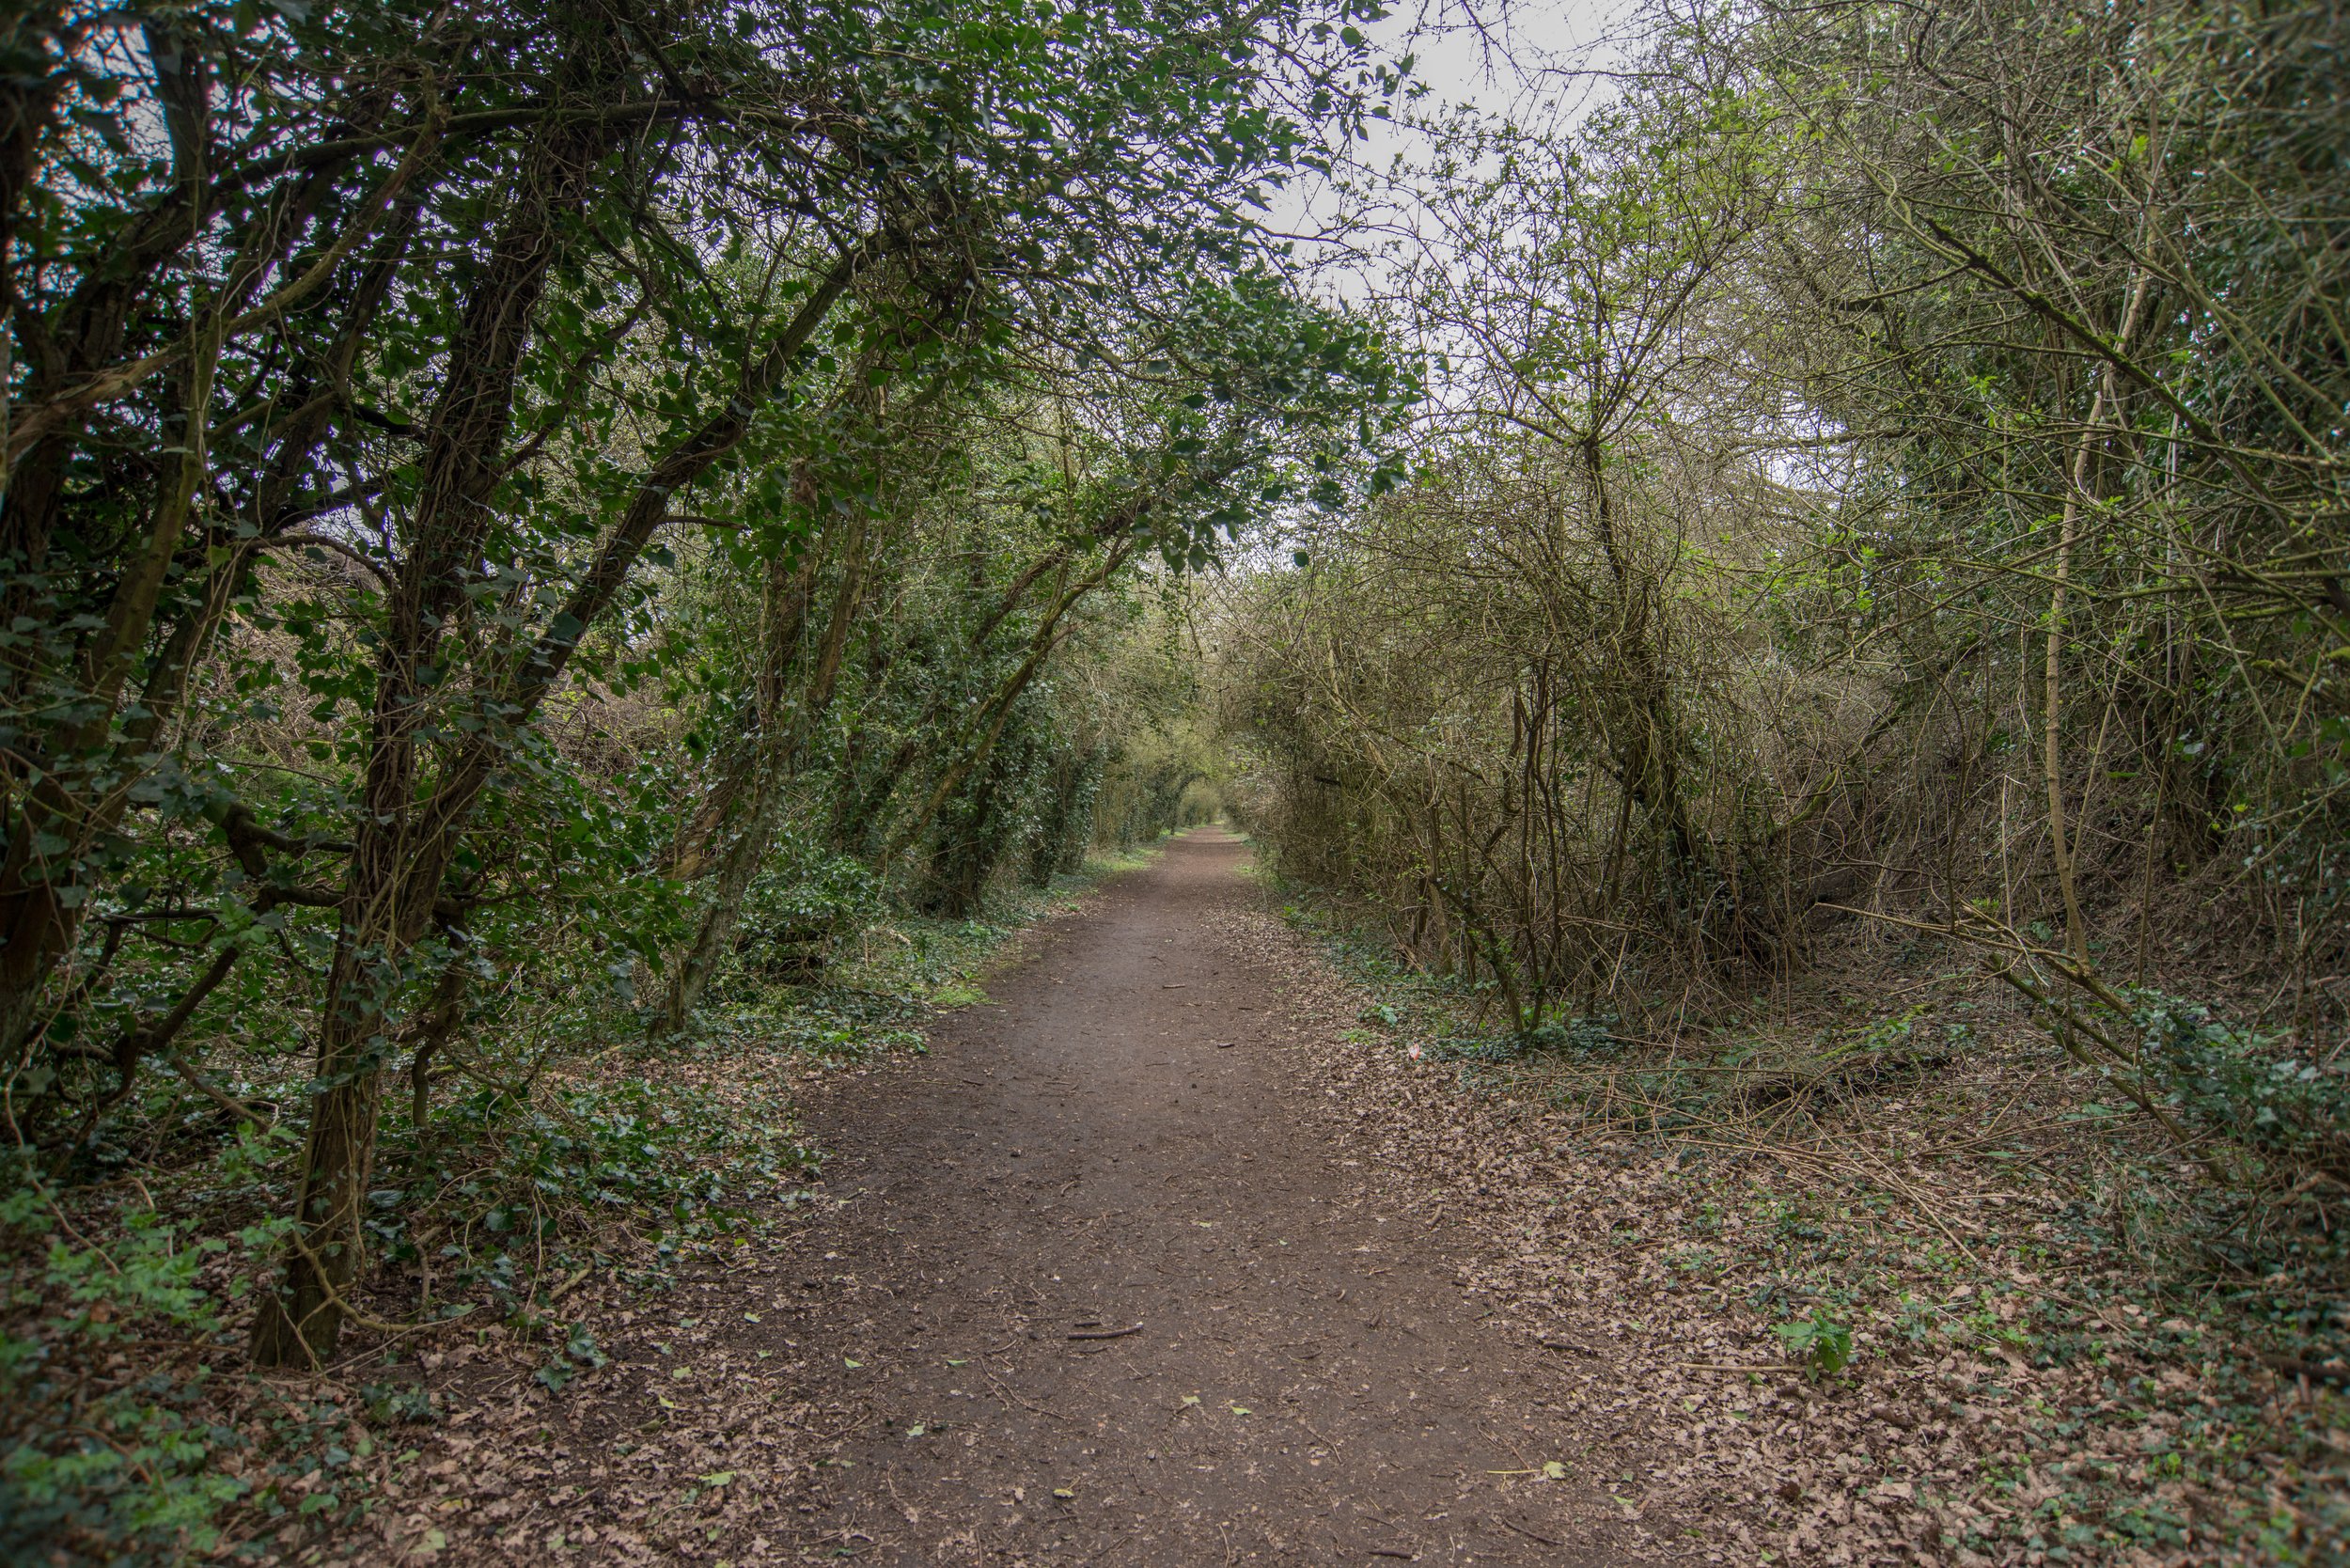
Leaving MTD 2349 behind, I headed off from the car park down the Narborough railway walk.
Narborough Railway Walk.
Unfortunately, I overlooked this section during my earlier visits. It was only on another walk that I found two more bridges and a mile marker.
During my first visit, I only captured photos of the remaining bridge structure and the initial stretch of the path. I didn't realise there were more fascinating features further along the track bed.
I would have loved to send the drone up here to photograph the raised track bed, but being so close to RAF Marham makes it a definite no-fly zone.
Remains of the track bed close to the car park.


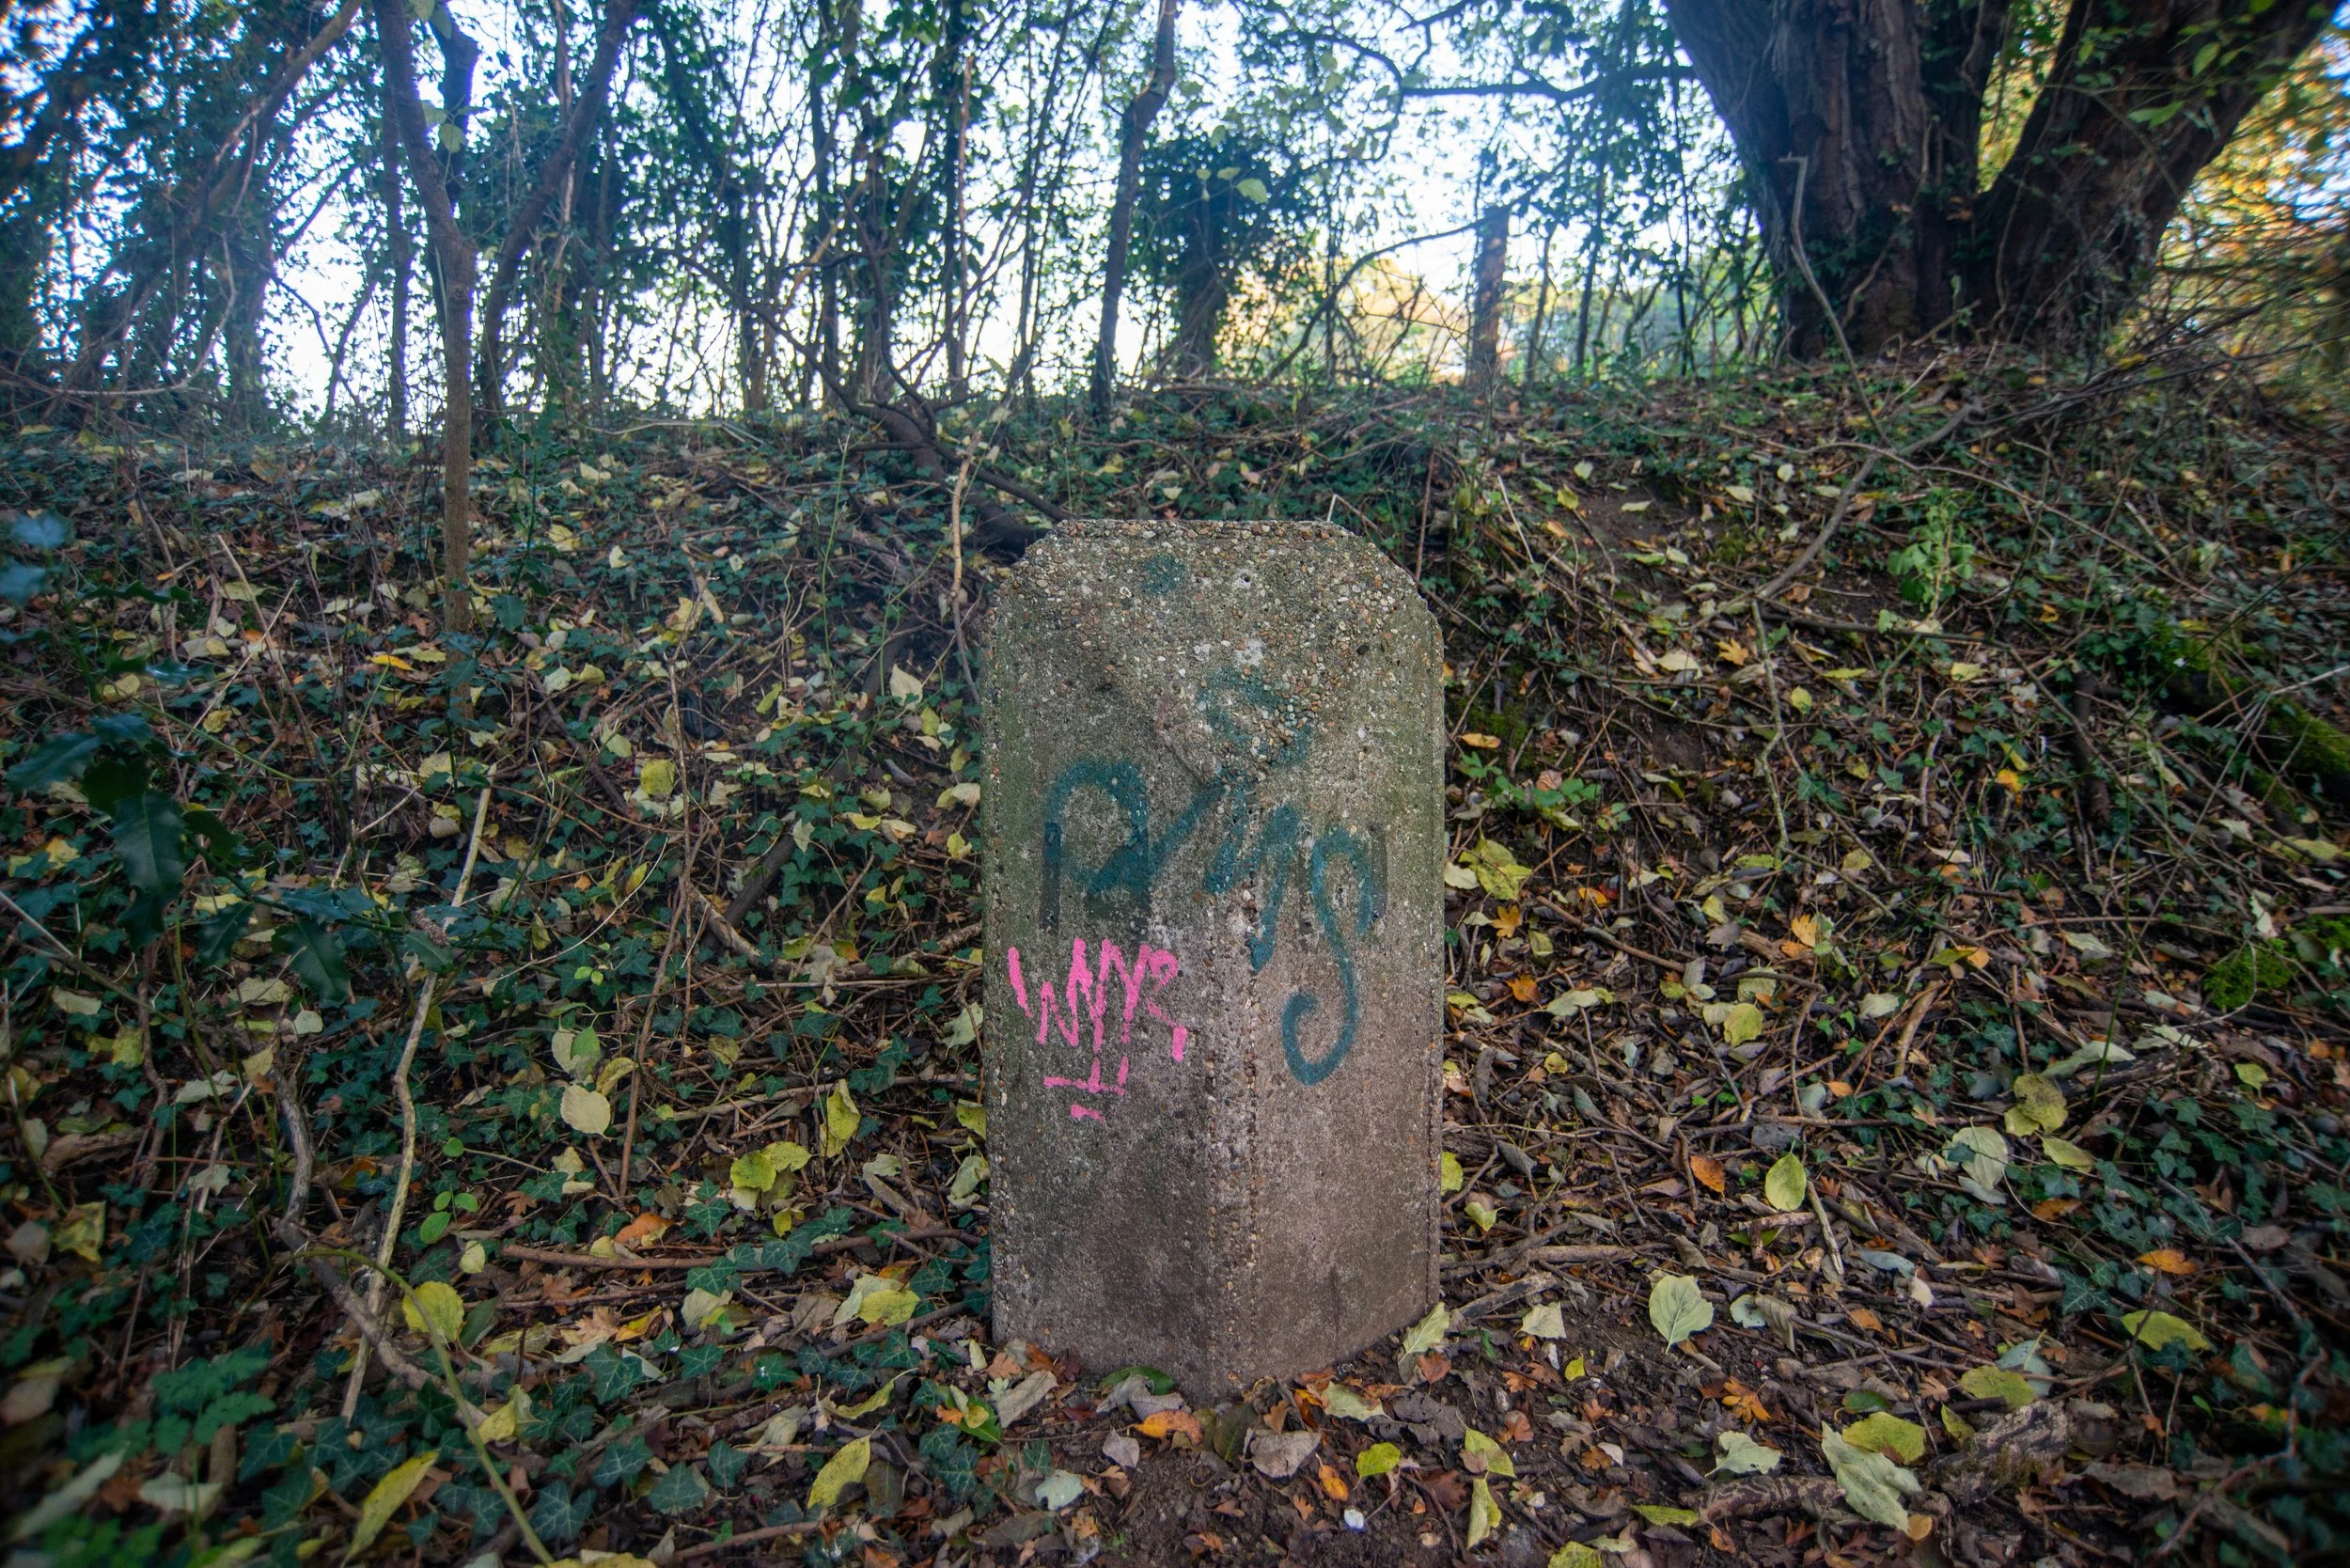
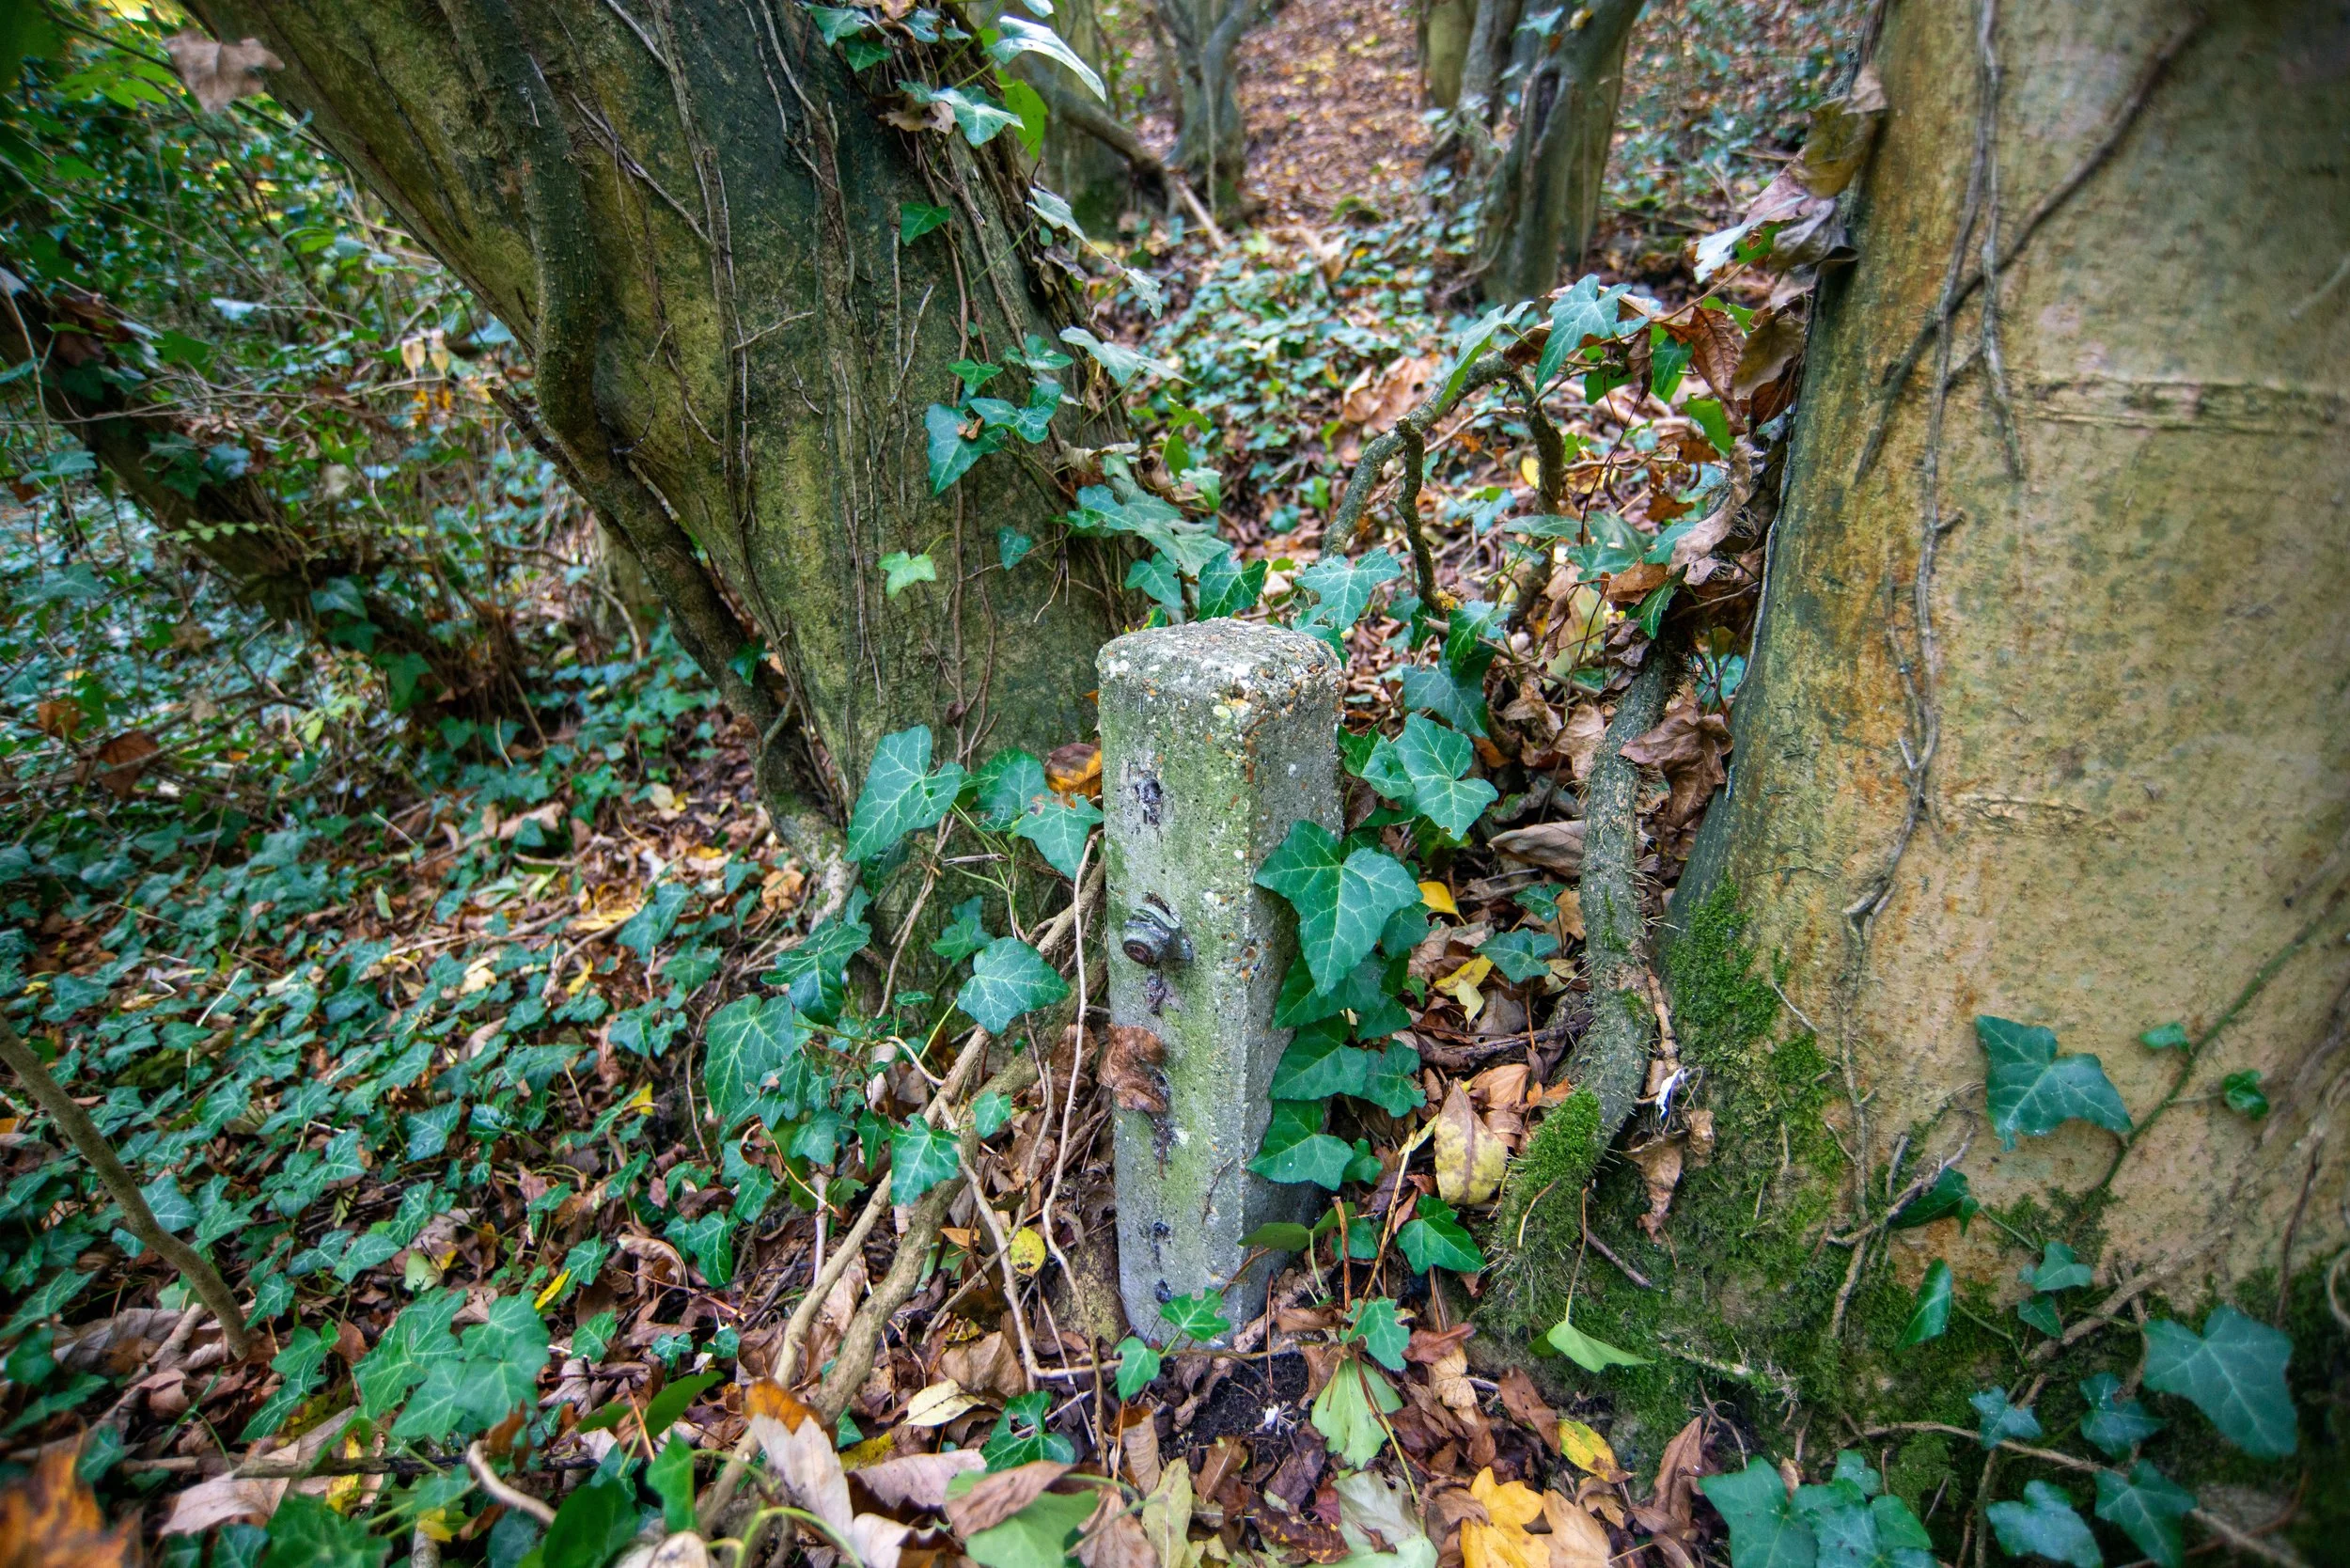
Mile marker 11
In the first part of the old railway walk to the left, I found a mile marker, not far from the car park and very close to the first railway bridge.
©National Library of Scotland


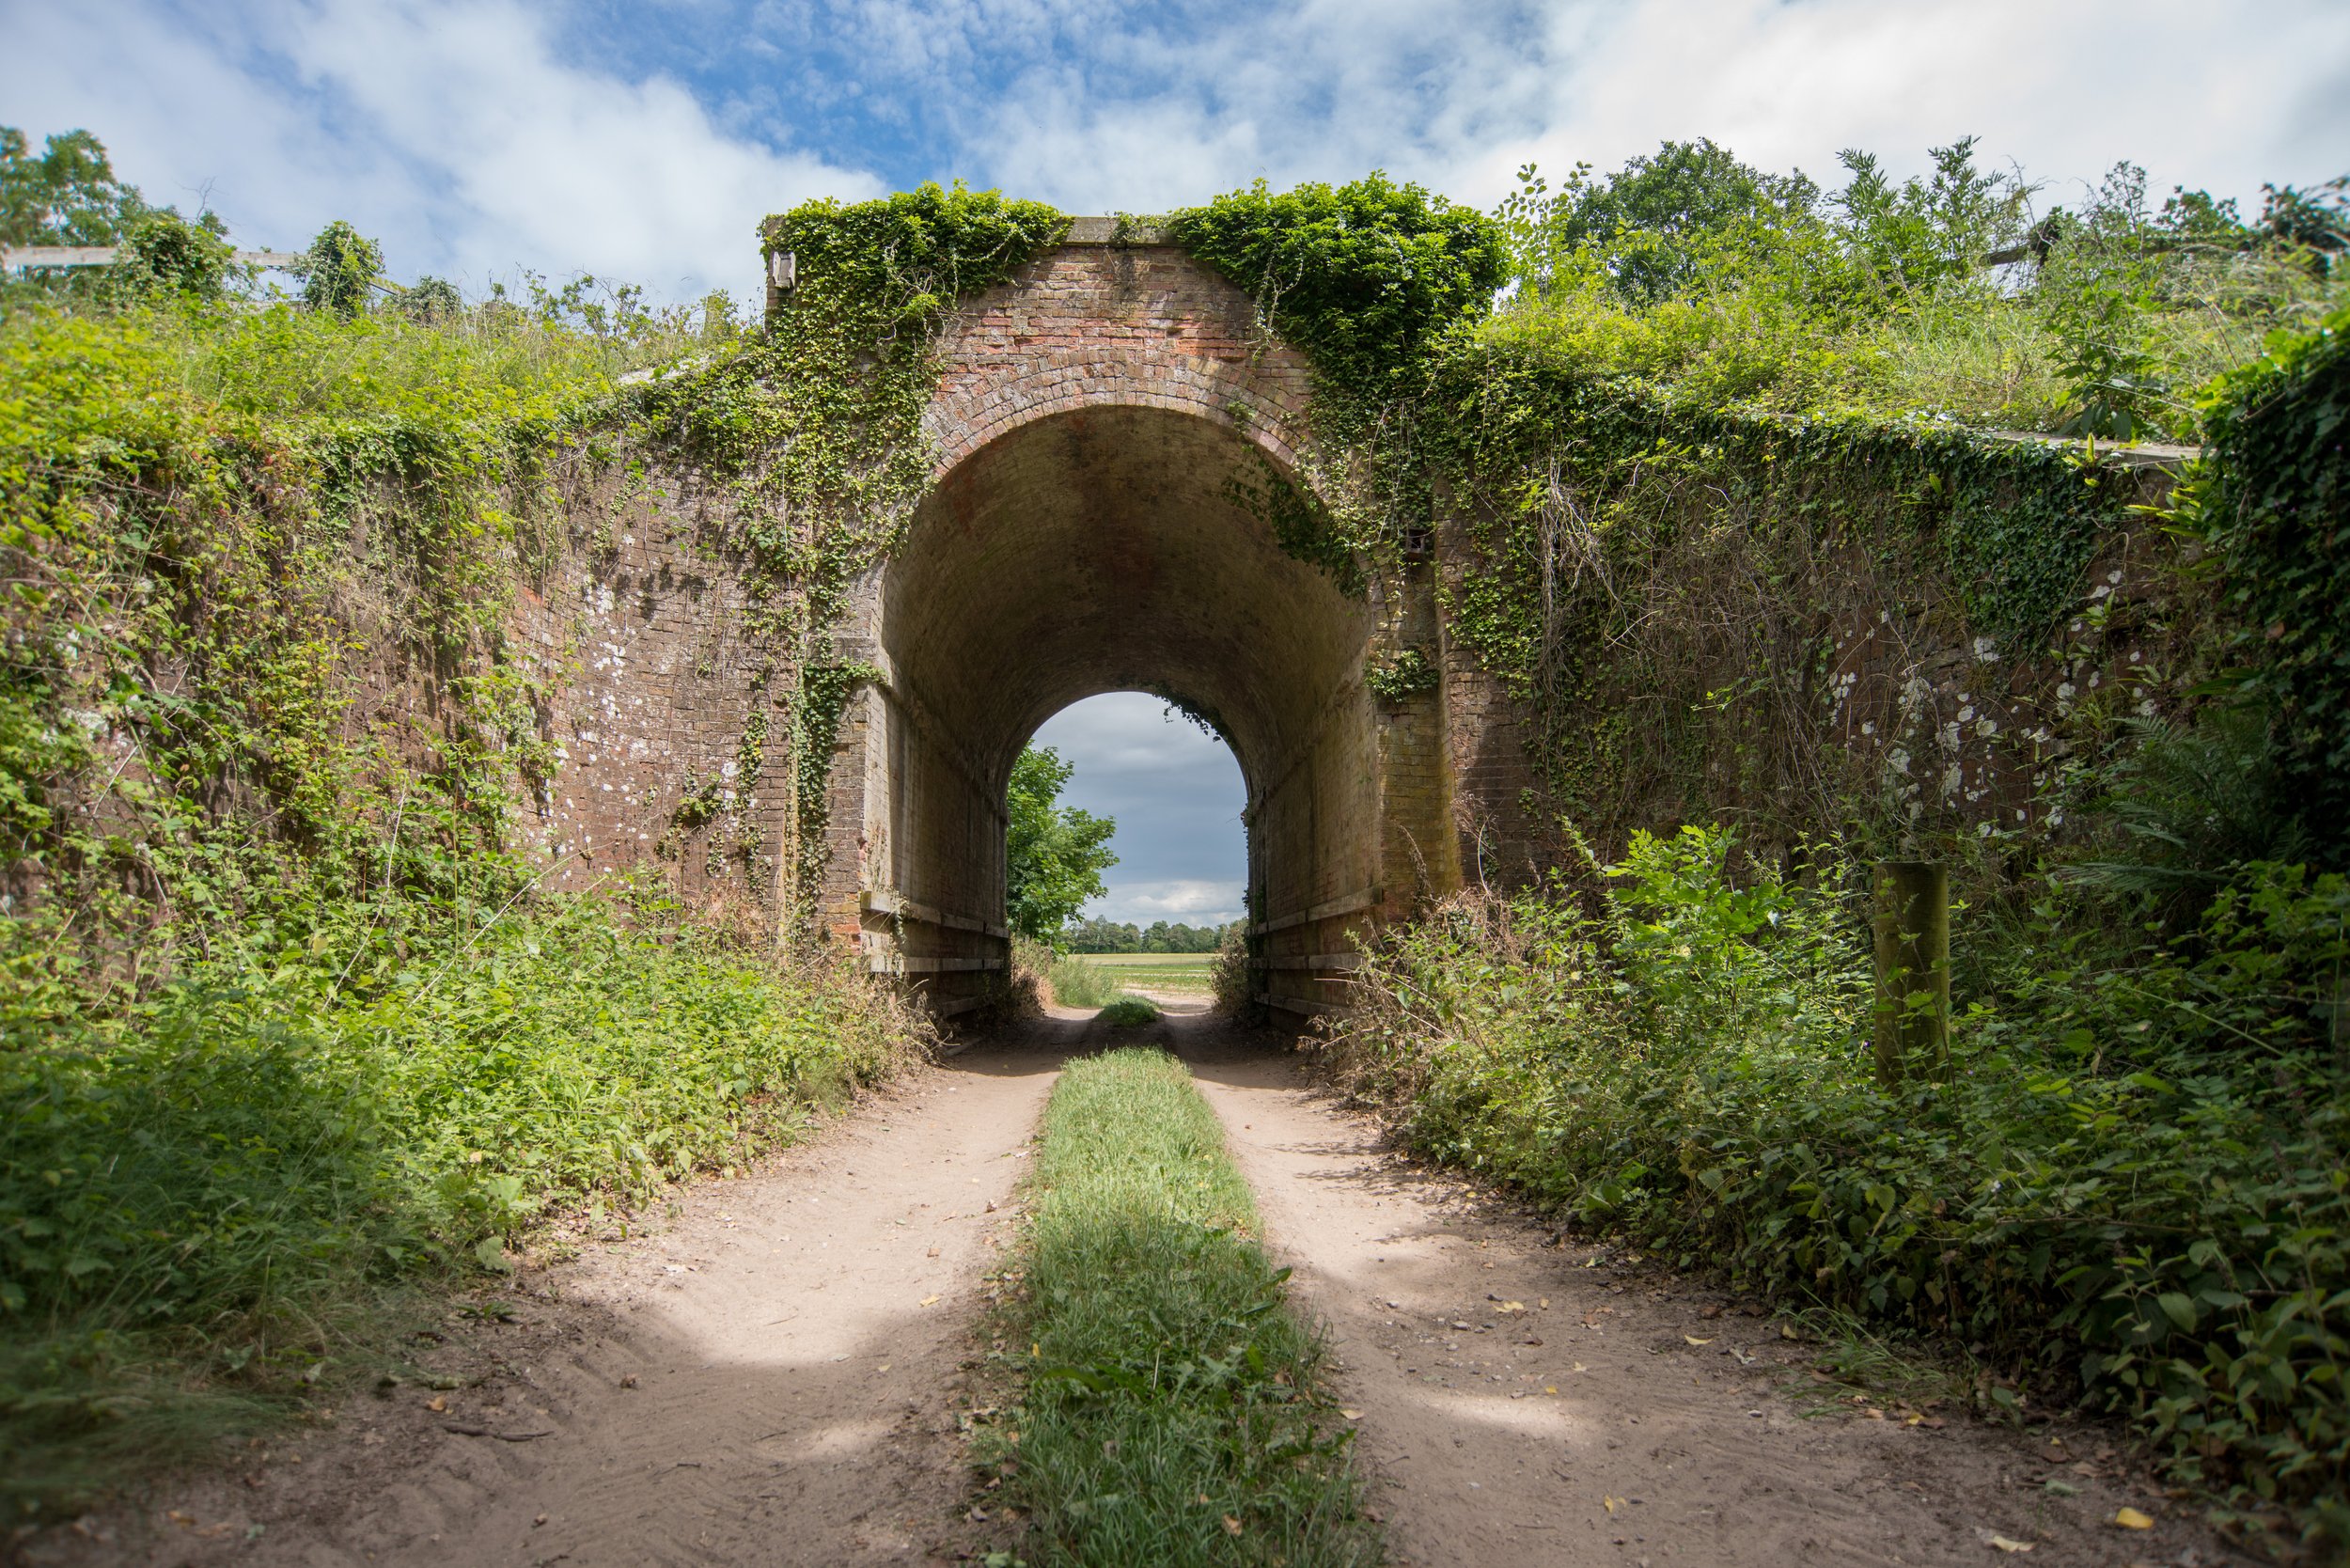
Narborough Railway Walk Bridge
MTD2350
Initially, along the walk, I found what seemed to be an old mile marker. Just afterwards, I came across what I consider one of the best-looking bridges in my opinion along the route. Old maps revealed that this bridge was originally built for farm use, not for public road use, and I couldn't find an MTD code for it. It’s possibly MTD 2350.
Thanks to an email from Ivan Staines, who shared insights about the bridges along the Narborough railway walk and others up to Swaffham Raceway, I learned that the structure known locally as the "Cattle Arch" was used by farmers to redirect cattle back to the farm.


Once you cross the first bridge and pass the mile marker, the old track bed continues towards the next station, Swaffham. It veers left before reaching a gate, then passes through a wooded area.


Continuing on, I came to a gate that led into a wooded area where the old trackbed once ran.


Upon leaving the wooded area, the path becomes overgrown and difficult to follow. It's advisable to proceed with caution as the track bed becomes very dense and eventually leads to a farm track where no further trace of the path can be seen.
Continuing along the farm track for a short distance, I came across a bridge. According to old maps, there may have been three bridges in total, with one possibly further up. However, crossing a farmer's crop to reach it would not be appropriate.
The third bridge, located near the speedway track, has either been filled in or demolished as part of the A47 development.
The map below shows the position of the three possible bridges.

©National Library of Scotland
Upon leaving the wooded area, the path becomes overgrown and difficult to navigate. It's advisable to proceed with caution as the track bed becomes exceedingly dense and eventually leads to a farm track where no further trace of the path can be found.
Continuing down the farm track for a short distance, I came across a bridge. According to old maps, there may have been three bridges in total, with one possibly located further up. However, crossing a farmer's crop to reach it would not be appropriate.
The third bridge, situated near the speedway track, has either been filled in or demolished as part of the A47 construction.
The first and second bridges can be seen in early-1900s historic maps, thanks to the National Library of Scotland. I'm curious about the current existence of the second bridge, though it may require trespassing on a farmer's land.
Narborough railway Walk Bridge.
I believe the bridge right after the Narbrough walk could be the first of the three bridges. If you have any information, please feel free to get in contact.
Thank you in advance.
I couldn't locate any ID code for this old bridge.
But I’m guessing it was MTD 2351


After this bridge, I decided to turn around, even though the railway track bed could be followed for a short distance. According to Google Maps, the old track bed had turned into farmland, and I was not prepared to walk across it to see if another bridge was farther down the line.
The photo below shows the old track bed just before the old line turned into farmers' fields, so at this point, I turned around.

Line update
Thanks once again to Ivan Staines for some information via email about the next bridge. Ivan said in 2015 that the bridge was still in situ and again provided for farm traffic to pass over the line.
Also, thanks to Ivan, a RAF Wellington bomber based at RAF Marham, sadly crashed onto the railway line in this area during World War 2.
The line was out of action for only a few days!
Thank you, Ivan.
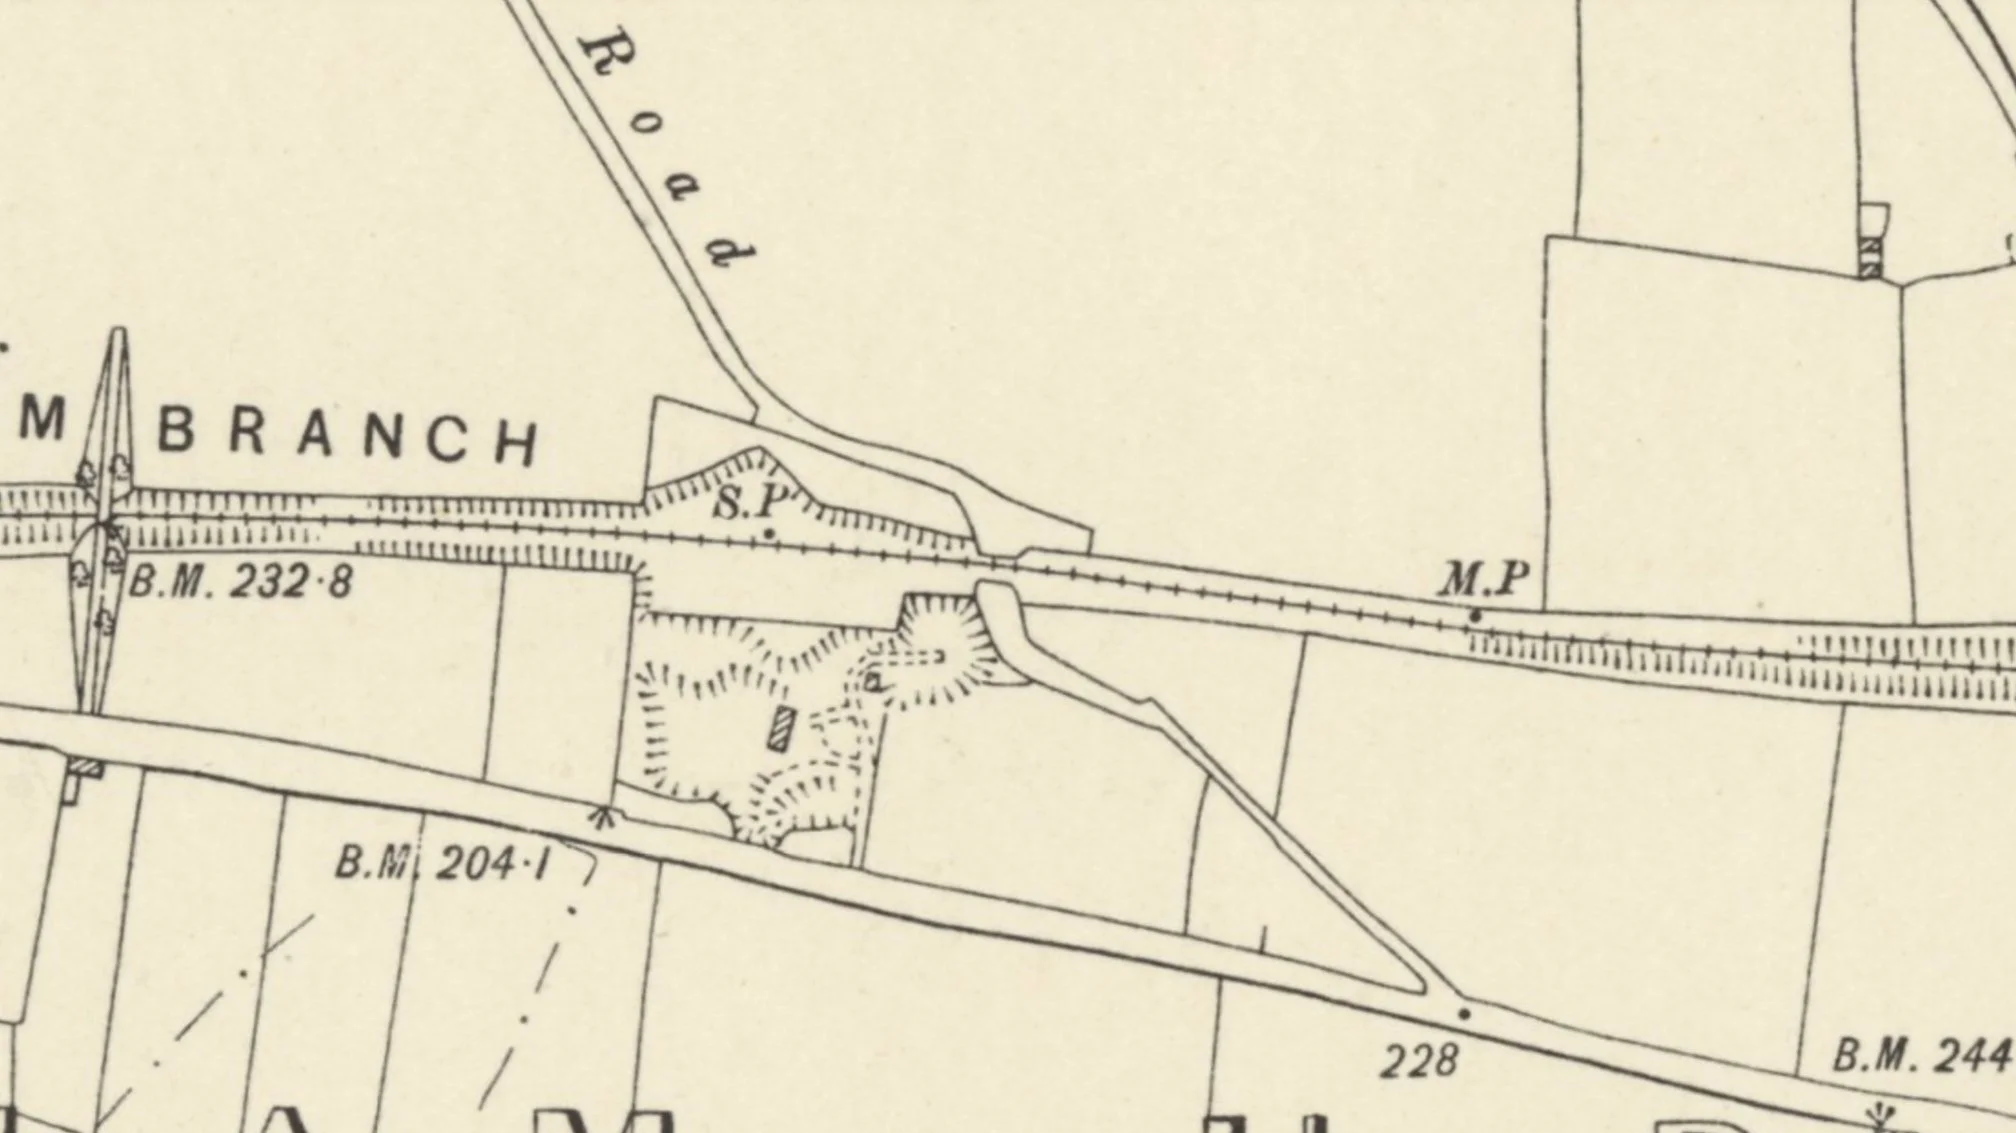
The railway line continued towards Swaffham. If the railway were still operational, it would have crossed what’s now the A1122 near Swaffham, passed through where the Swaffham raceway now stands, crossed the A47 Bypass, and reached Swaffham station.
There appears to have been another bridge in this area,
Once again, Thanks to Ivan Staines for some more fantastic Recent information saying that the bridge here was sadly demolished in 1971
Historic maps showing the bridge that was demolished in 1971 and the route of the A1122 now.
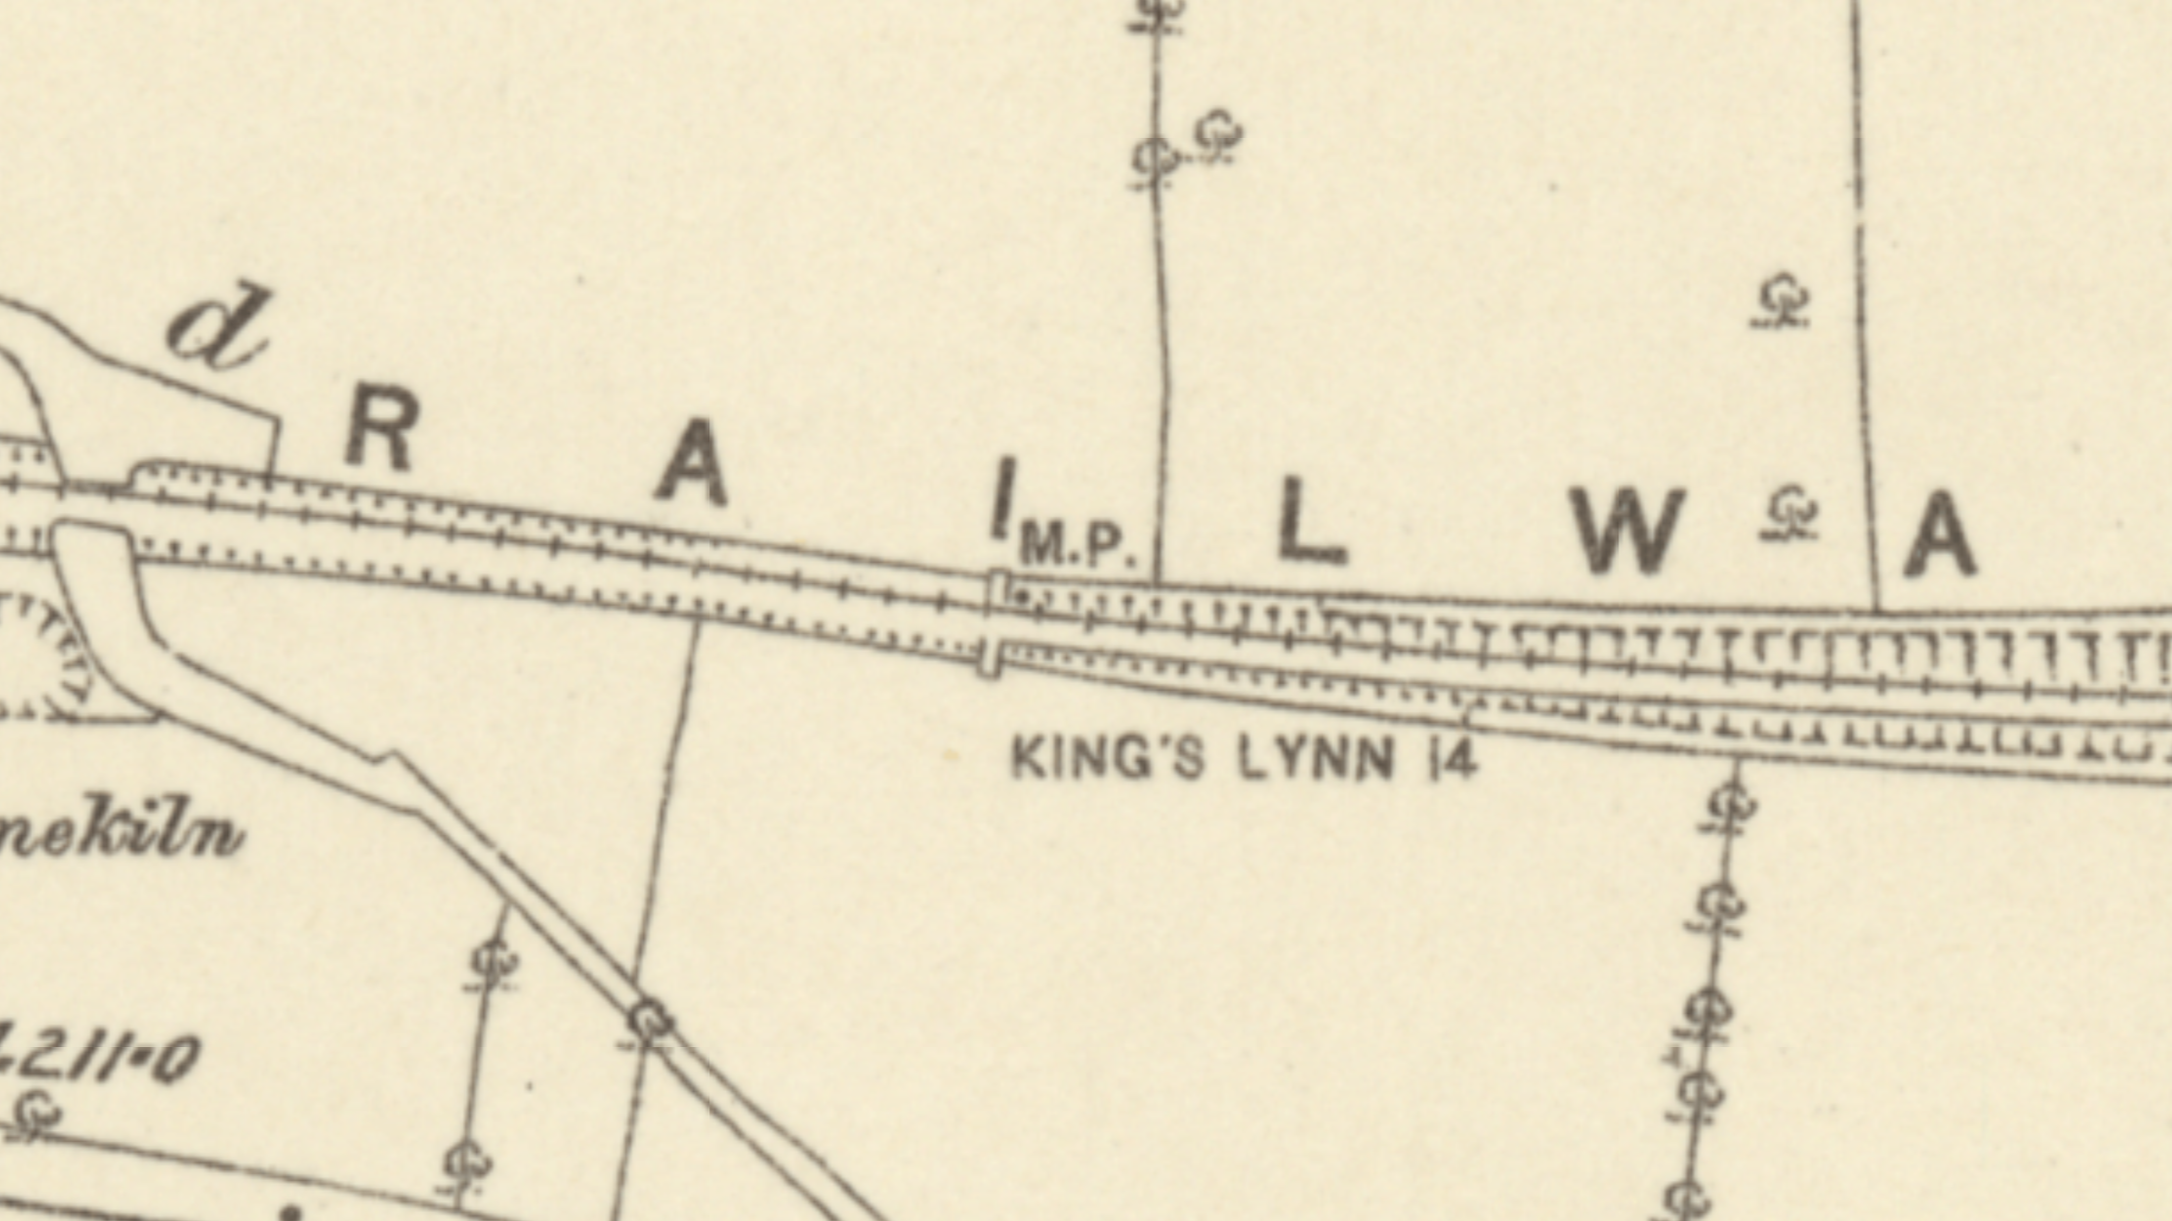
The bridge was positioned at milepost 12
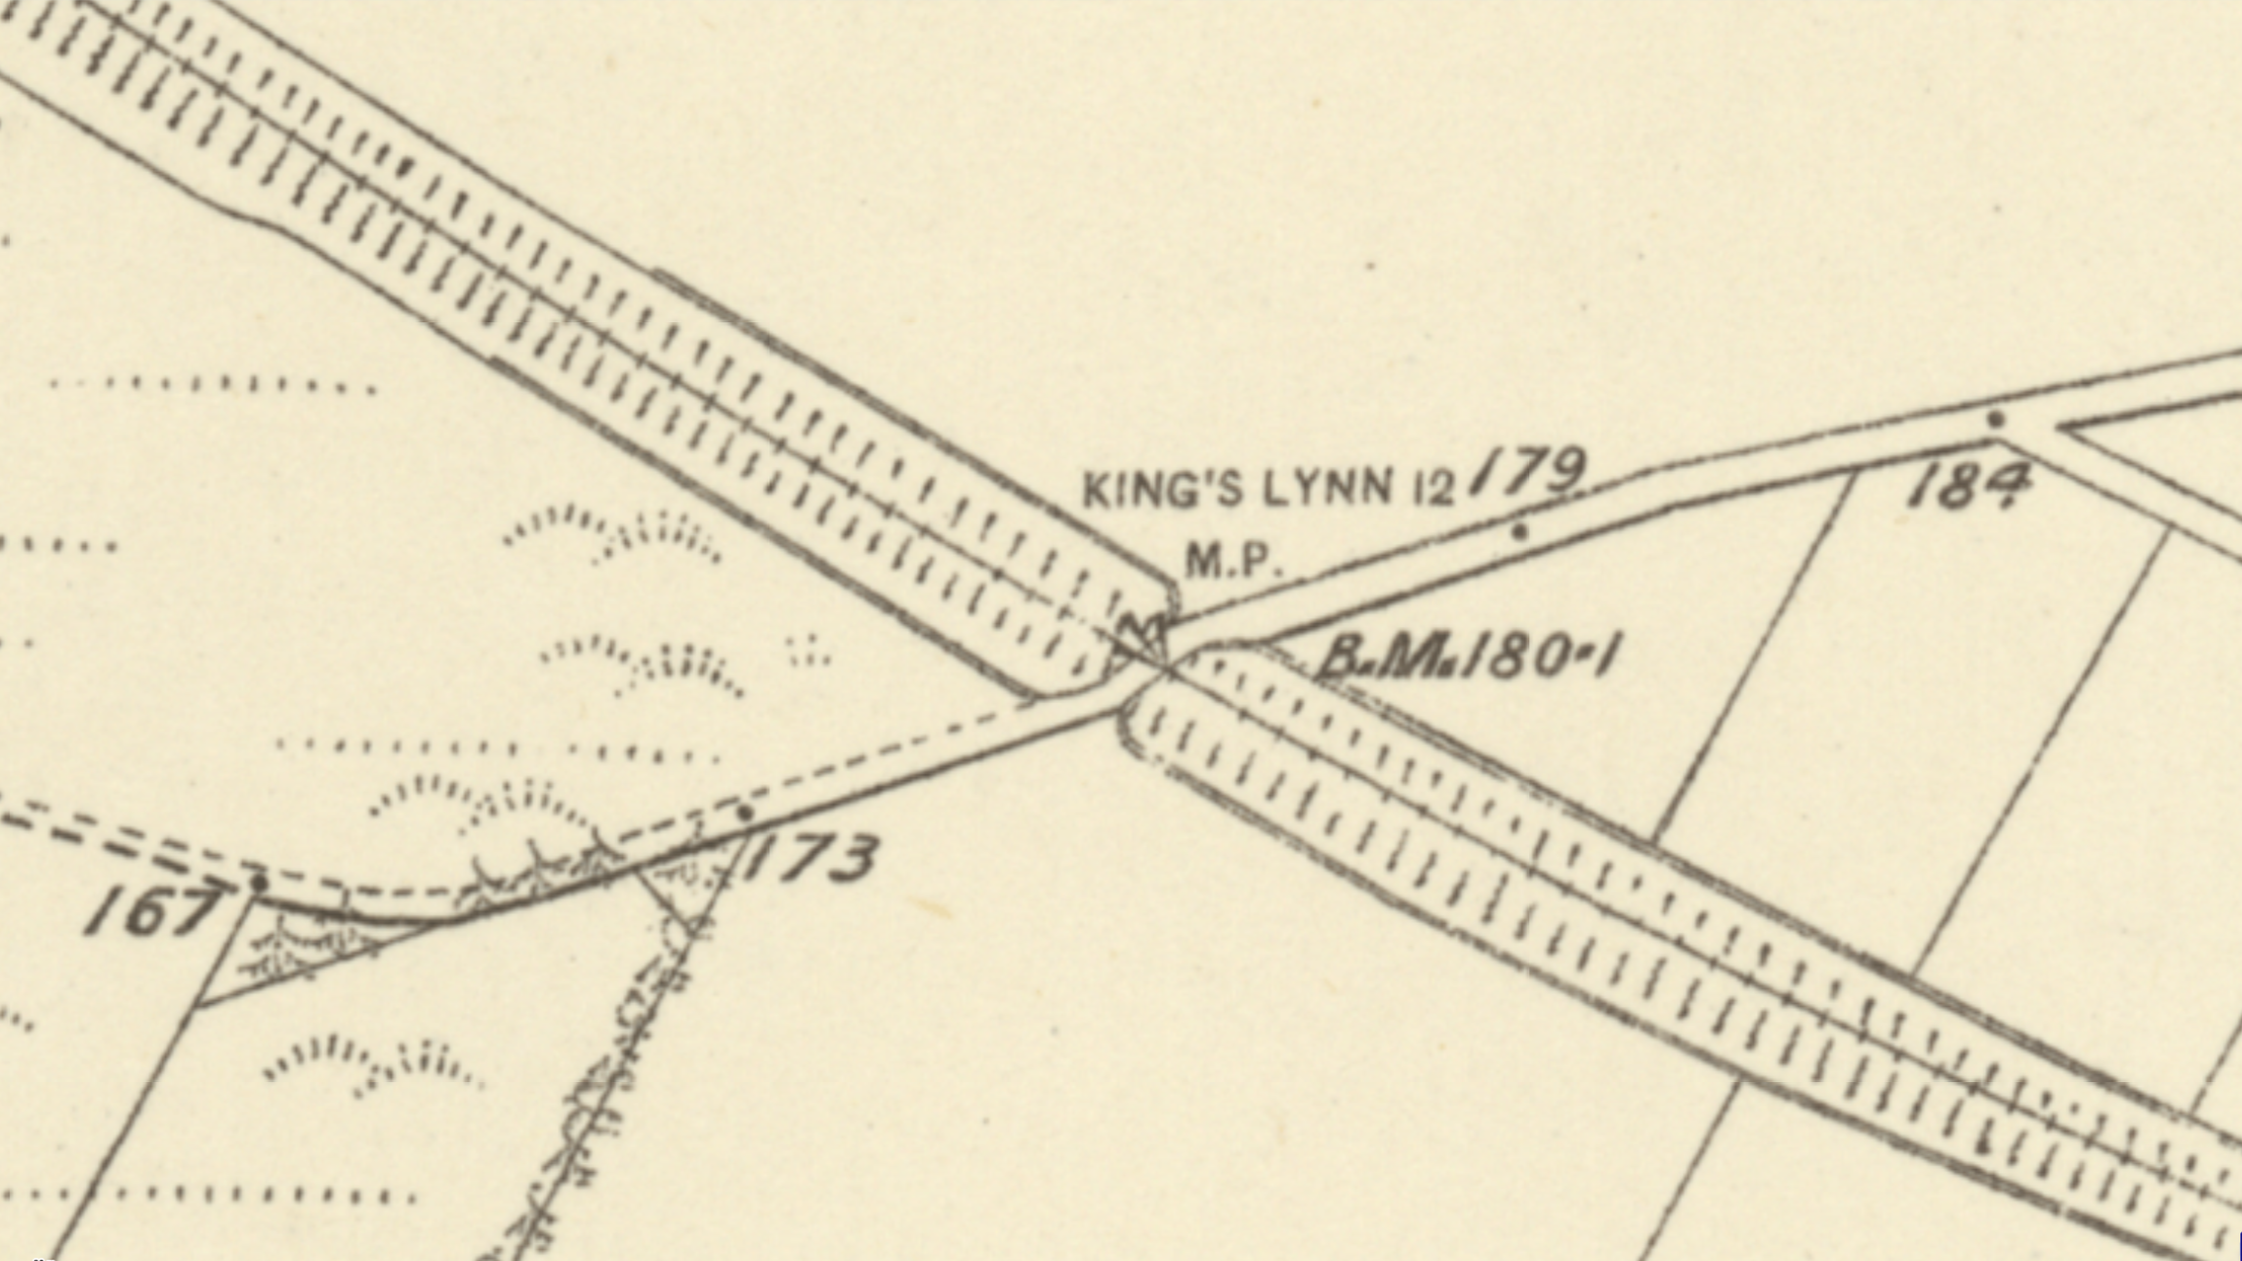
50/50 map coverage shows where the railway once ran, where the Swaffham raceway now sits.

©National Library of Scotland
Below is a view of the Swaffham raceway, where the railway would have previously passed through before reaching Swaffham station.
I was standing where the railway would have been laid before 1968.

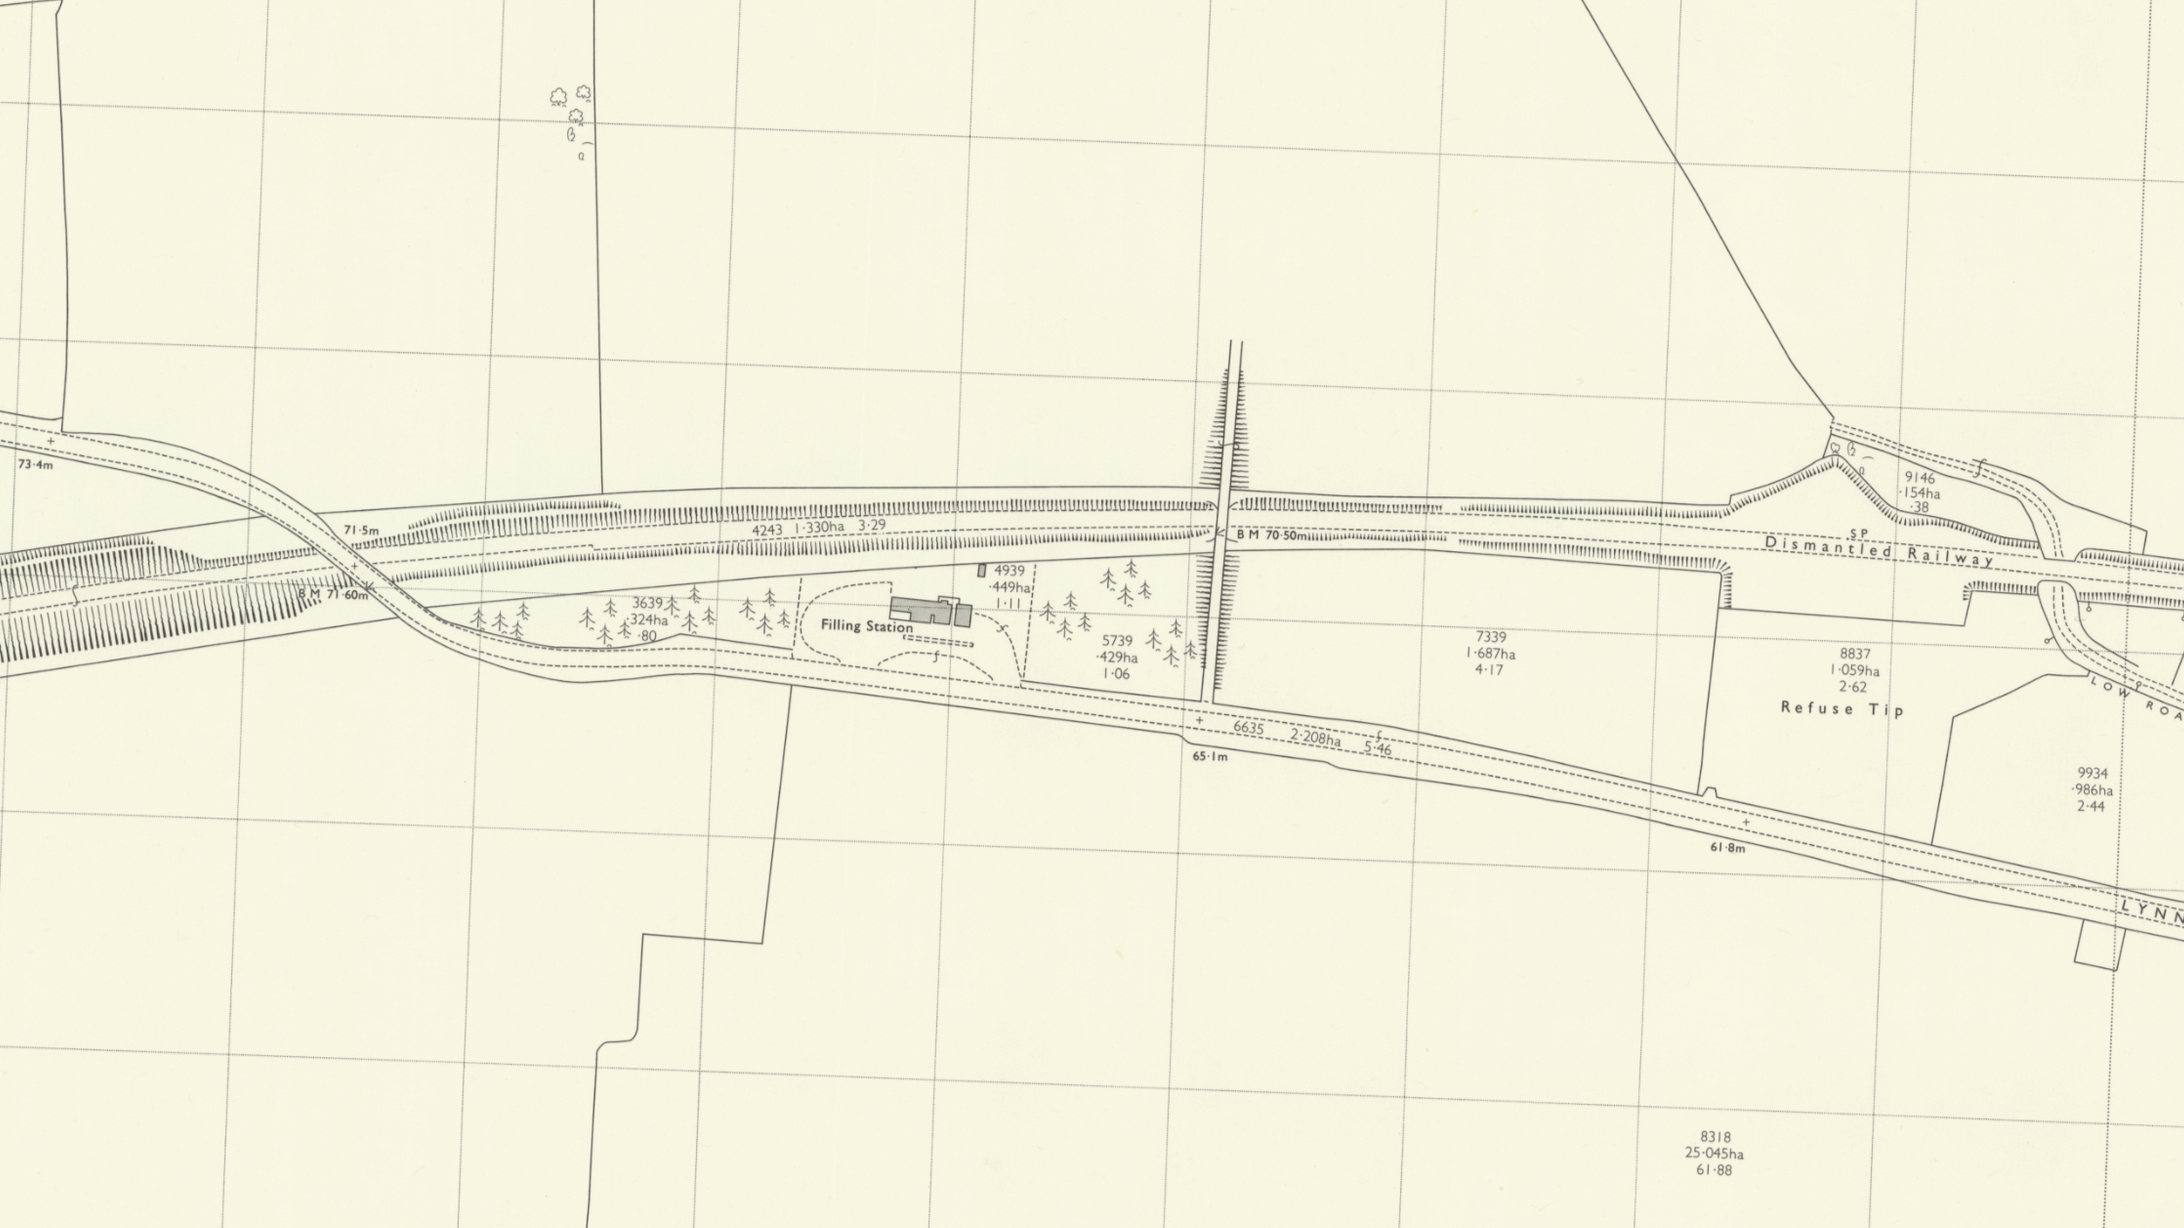
Town Farm bridge by the Now A47
Once again, thanks to Ivan Staines for the information used below.
After where the A1122 now sits, the railway headed off towards Swaffham and passed another farm access bridge, as seen in the maps below.
I received an email stating that there is another bridge at Town Farm. The railway passed beneath this access road, and the bridge still exists, though it is buried. The railway line would have curved and gone under where the A47 now stands. The old cutting is still visible if you look left while leaving Swaffham on the slip lane before joining the A47 King’s Lynn-bound.
This bridge is said to have been half-buried during the construction of the A47 and is so overgrown that reaching it is dangerous; please do not attempt to do so.
Thanks to the National Library of Scotland for the maps showing the position of the old bridge, shown below.


©National Library of Scotland
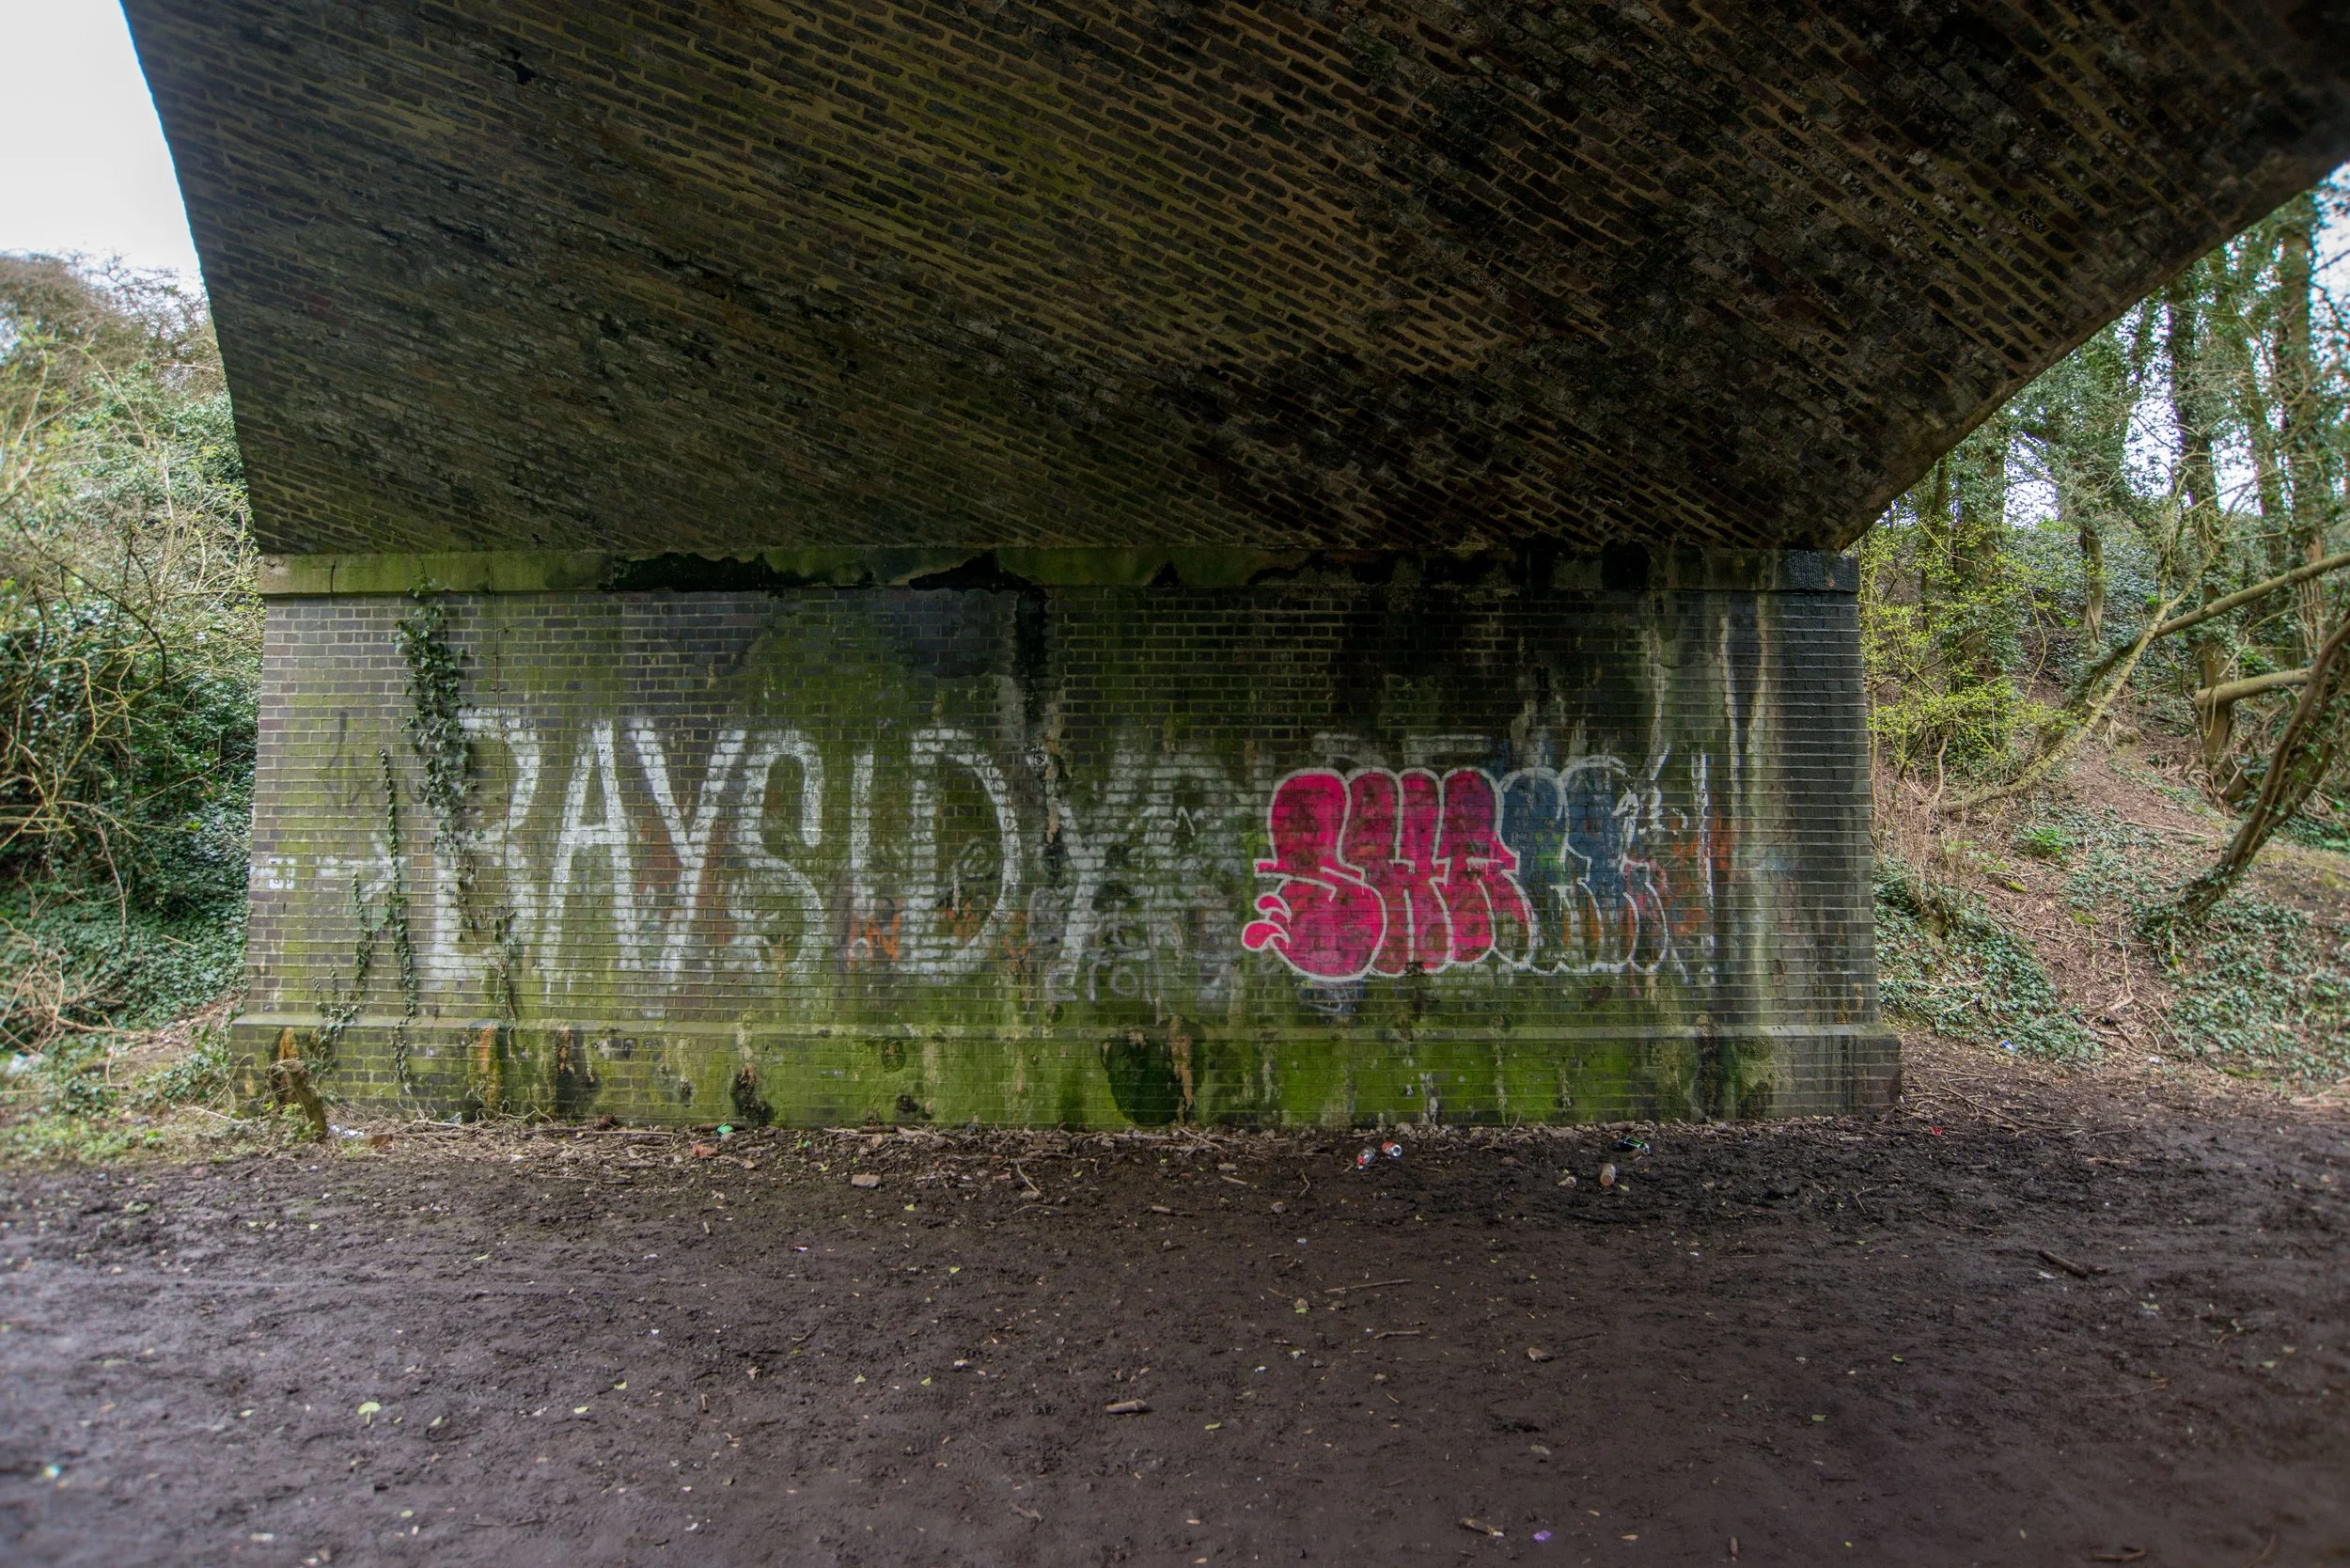
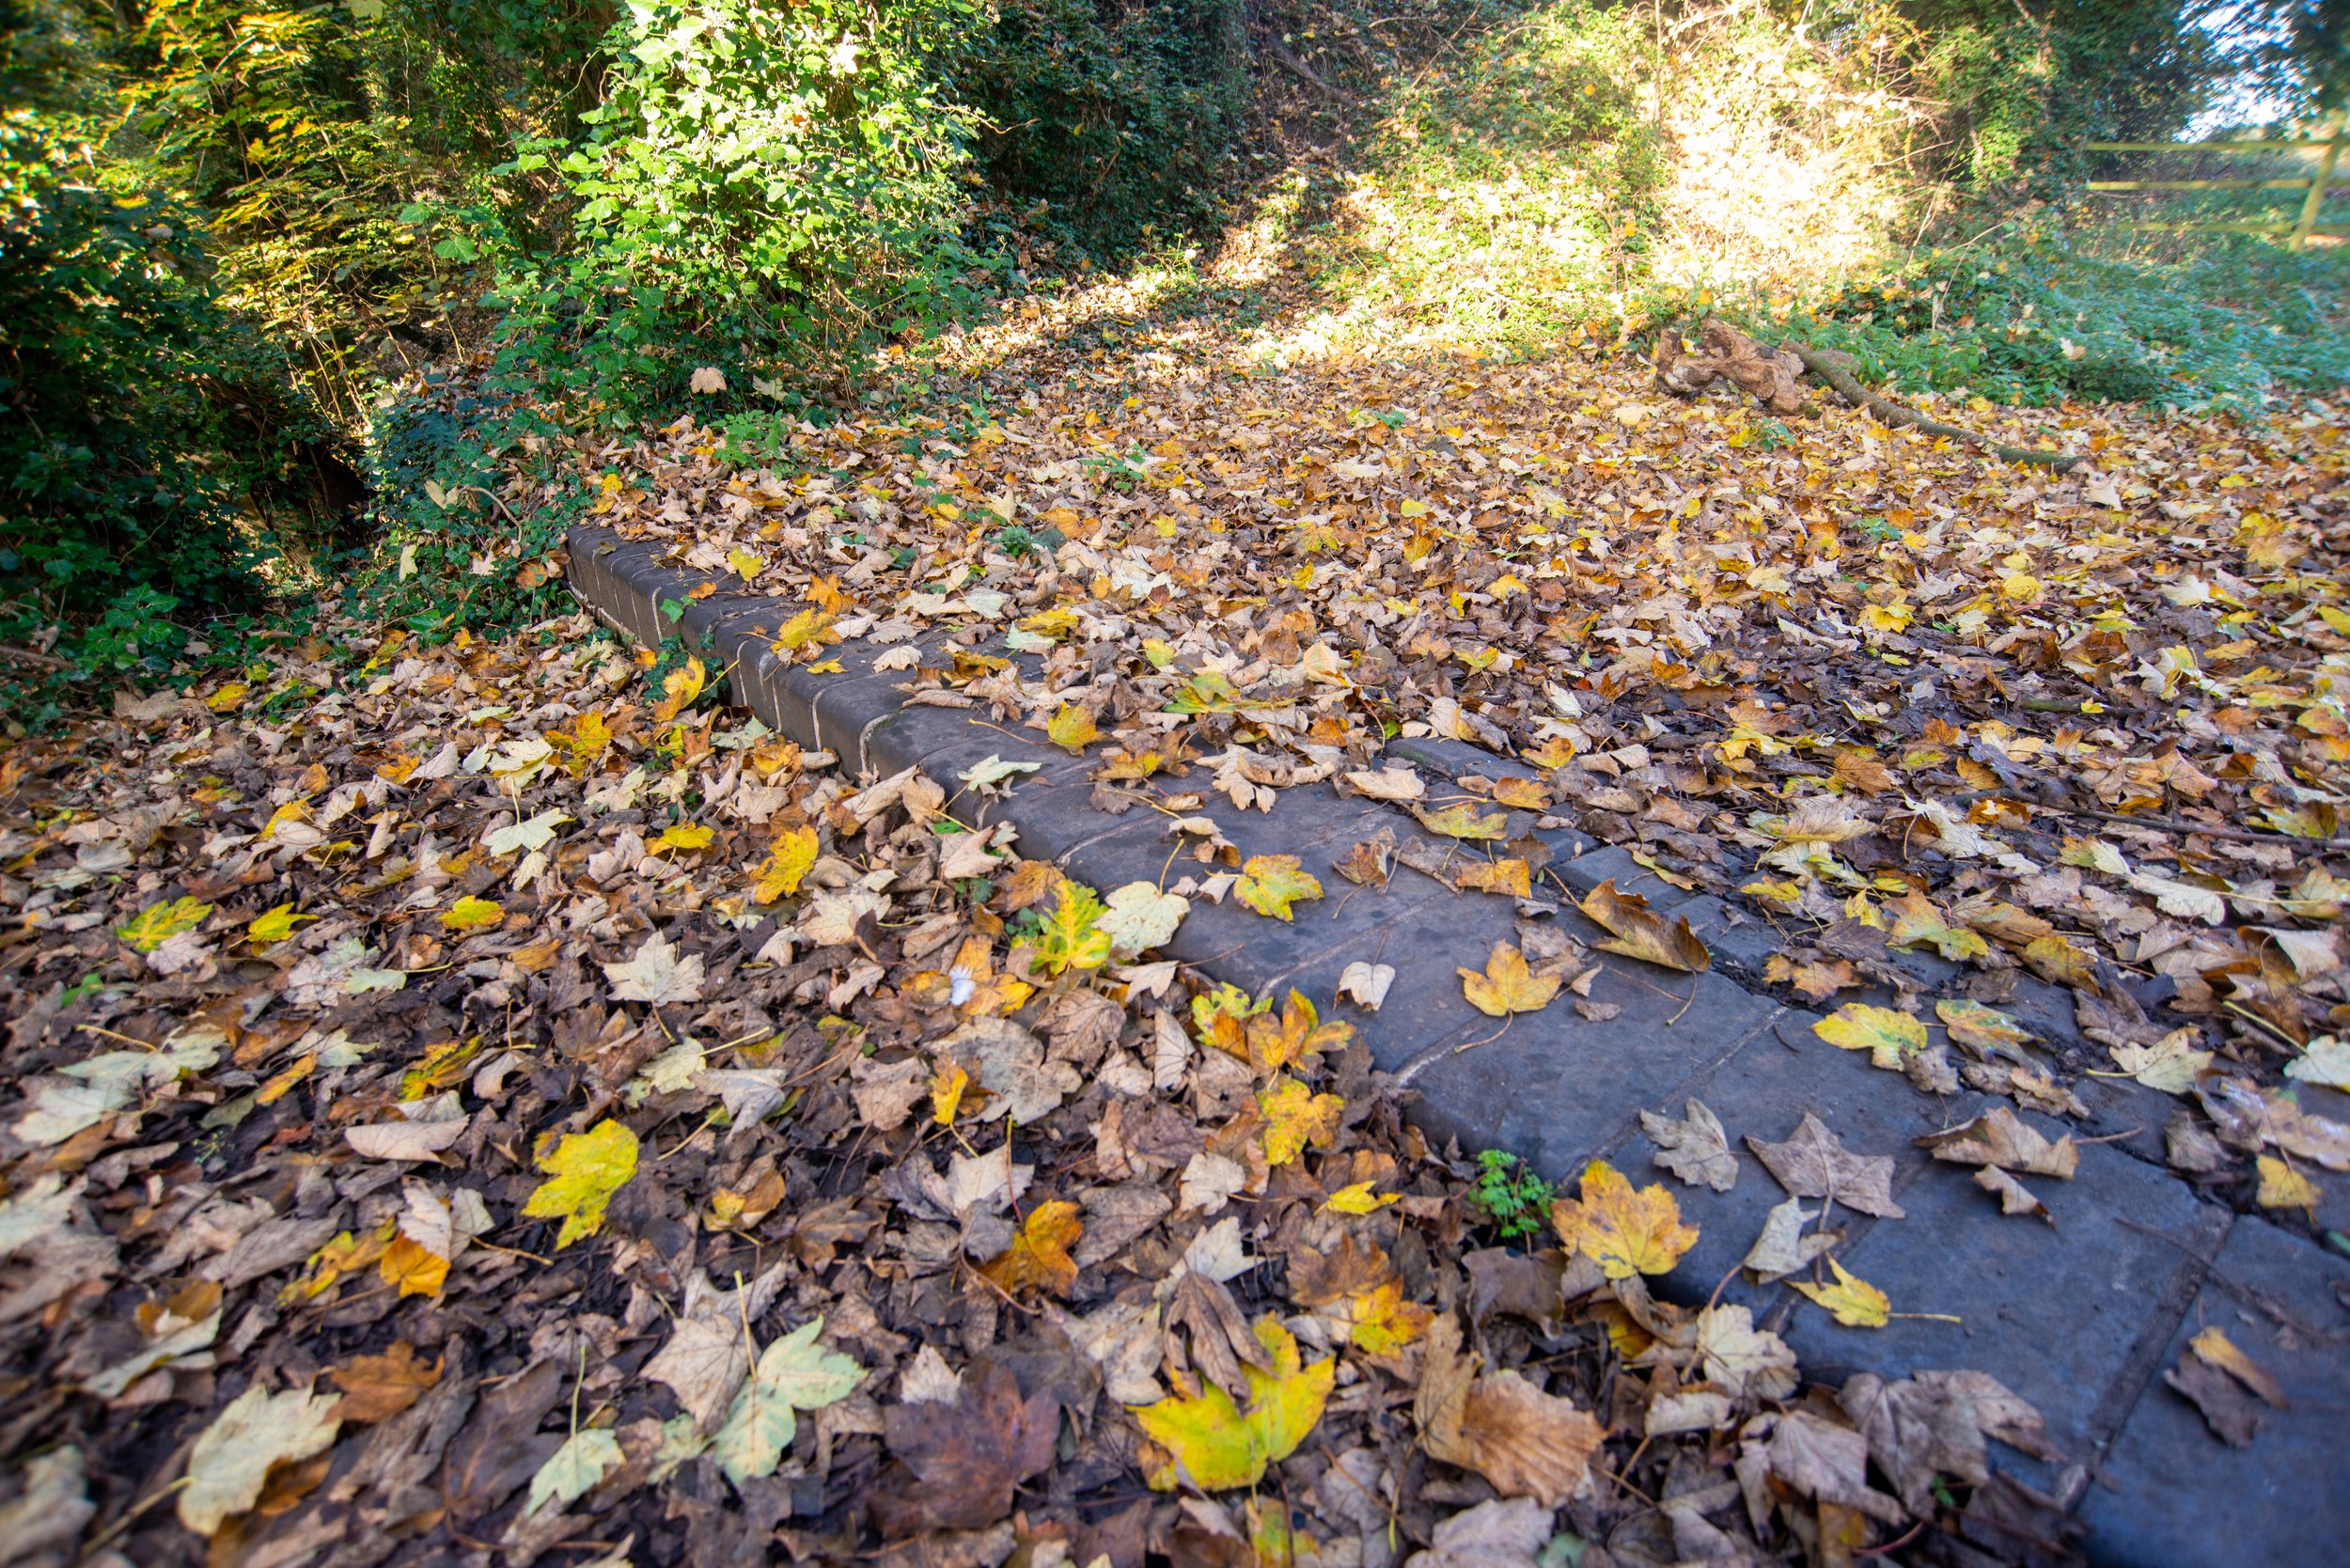
Swaffham Railway Walk & Bridges.
Starting at Bears Lane to the West of Swaffham station, you can enter along a public walk that you can walk nearly as far as the A47, with three bridges, some old sign remnants, part of the old cattle loading bay, and a mile marker, along with signal wire carriers, which were all easily visible.
The Google map link below shows the start of the walk at Swaffham.
Swaffham Railway Walk Bridge
Number One
The railway was getting close to the market town of Swaffham, passing under this bridge at first.
I'm guessing that this bridge was once used again as a farm crossing.
No bridge ID was found at this old crossing, but further down the line, there was a bridge with the code MTD 2360, so this bridge is possibly MTD2358

©National Library of Scotland
MTD 2358


In November 2025, I revisited this site and found the bridge heavily overgrown.
The walk along the old track bed now runs through a small open area and a small wooded section before reaching the second bridge along this public walk.

The short wooded area of the old track bed where the railway walk now runs through.

Swaffham Railway Walk
Bridge Number Two
Heading off once again towards Swaffham, you will come across this second bridge along the walk.
I’m guessing this bridge is MTD2359, where the railway crossed over what was once low road.
The historic map below shows the railway as dismantled and the road marked “Low Road”

The Second railway bridge photographed close to Swaffham in March 2021 & November 2025
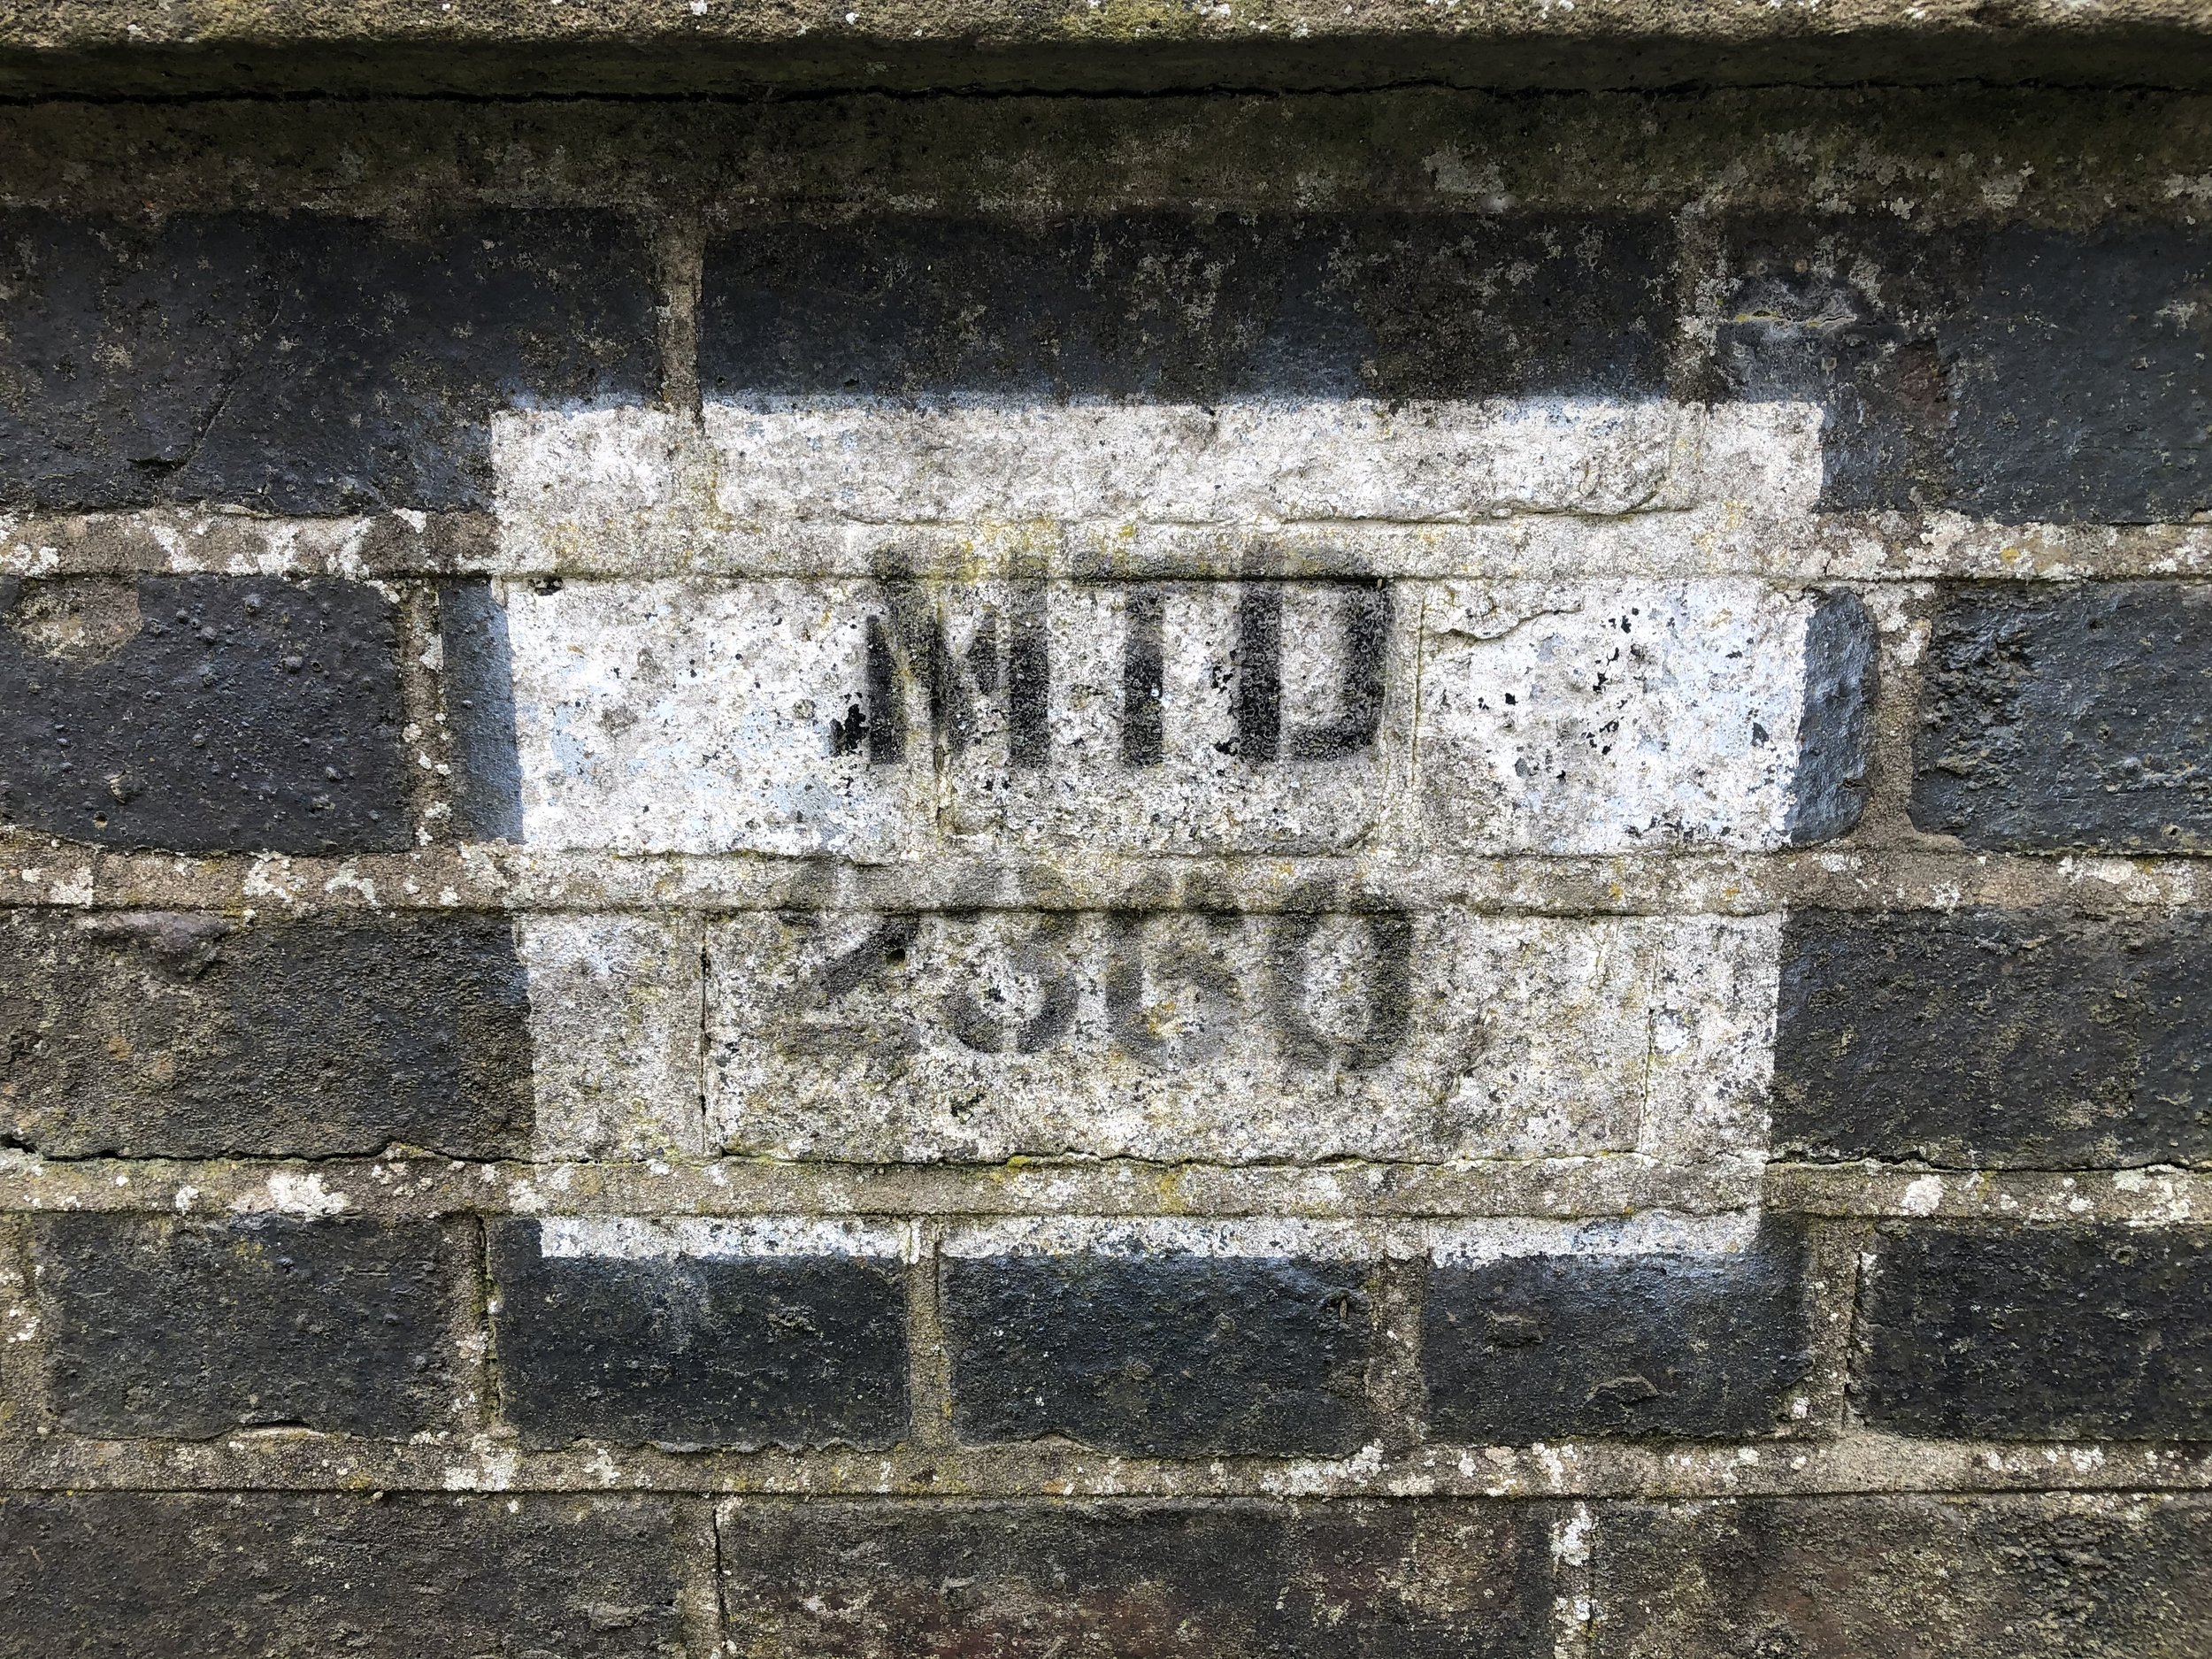
MTD2359


November 2025
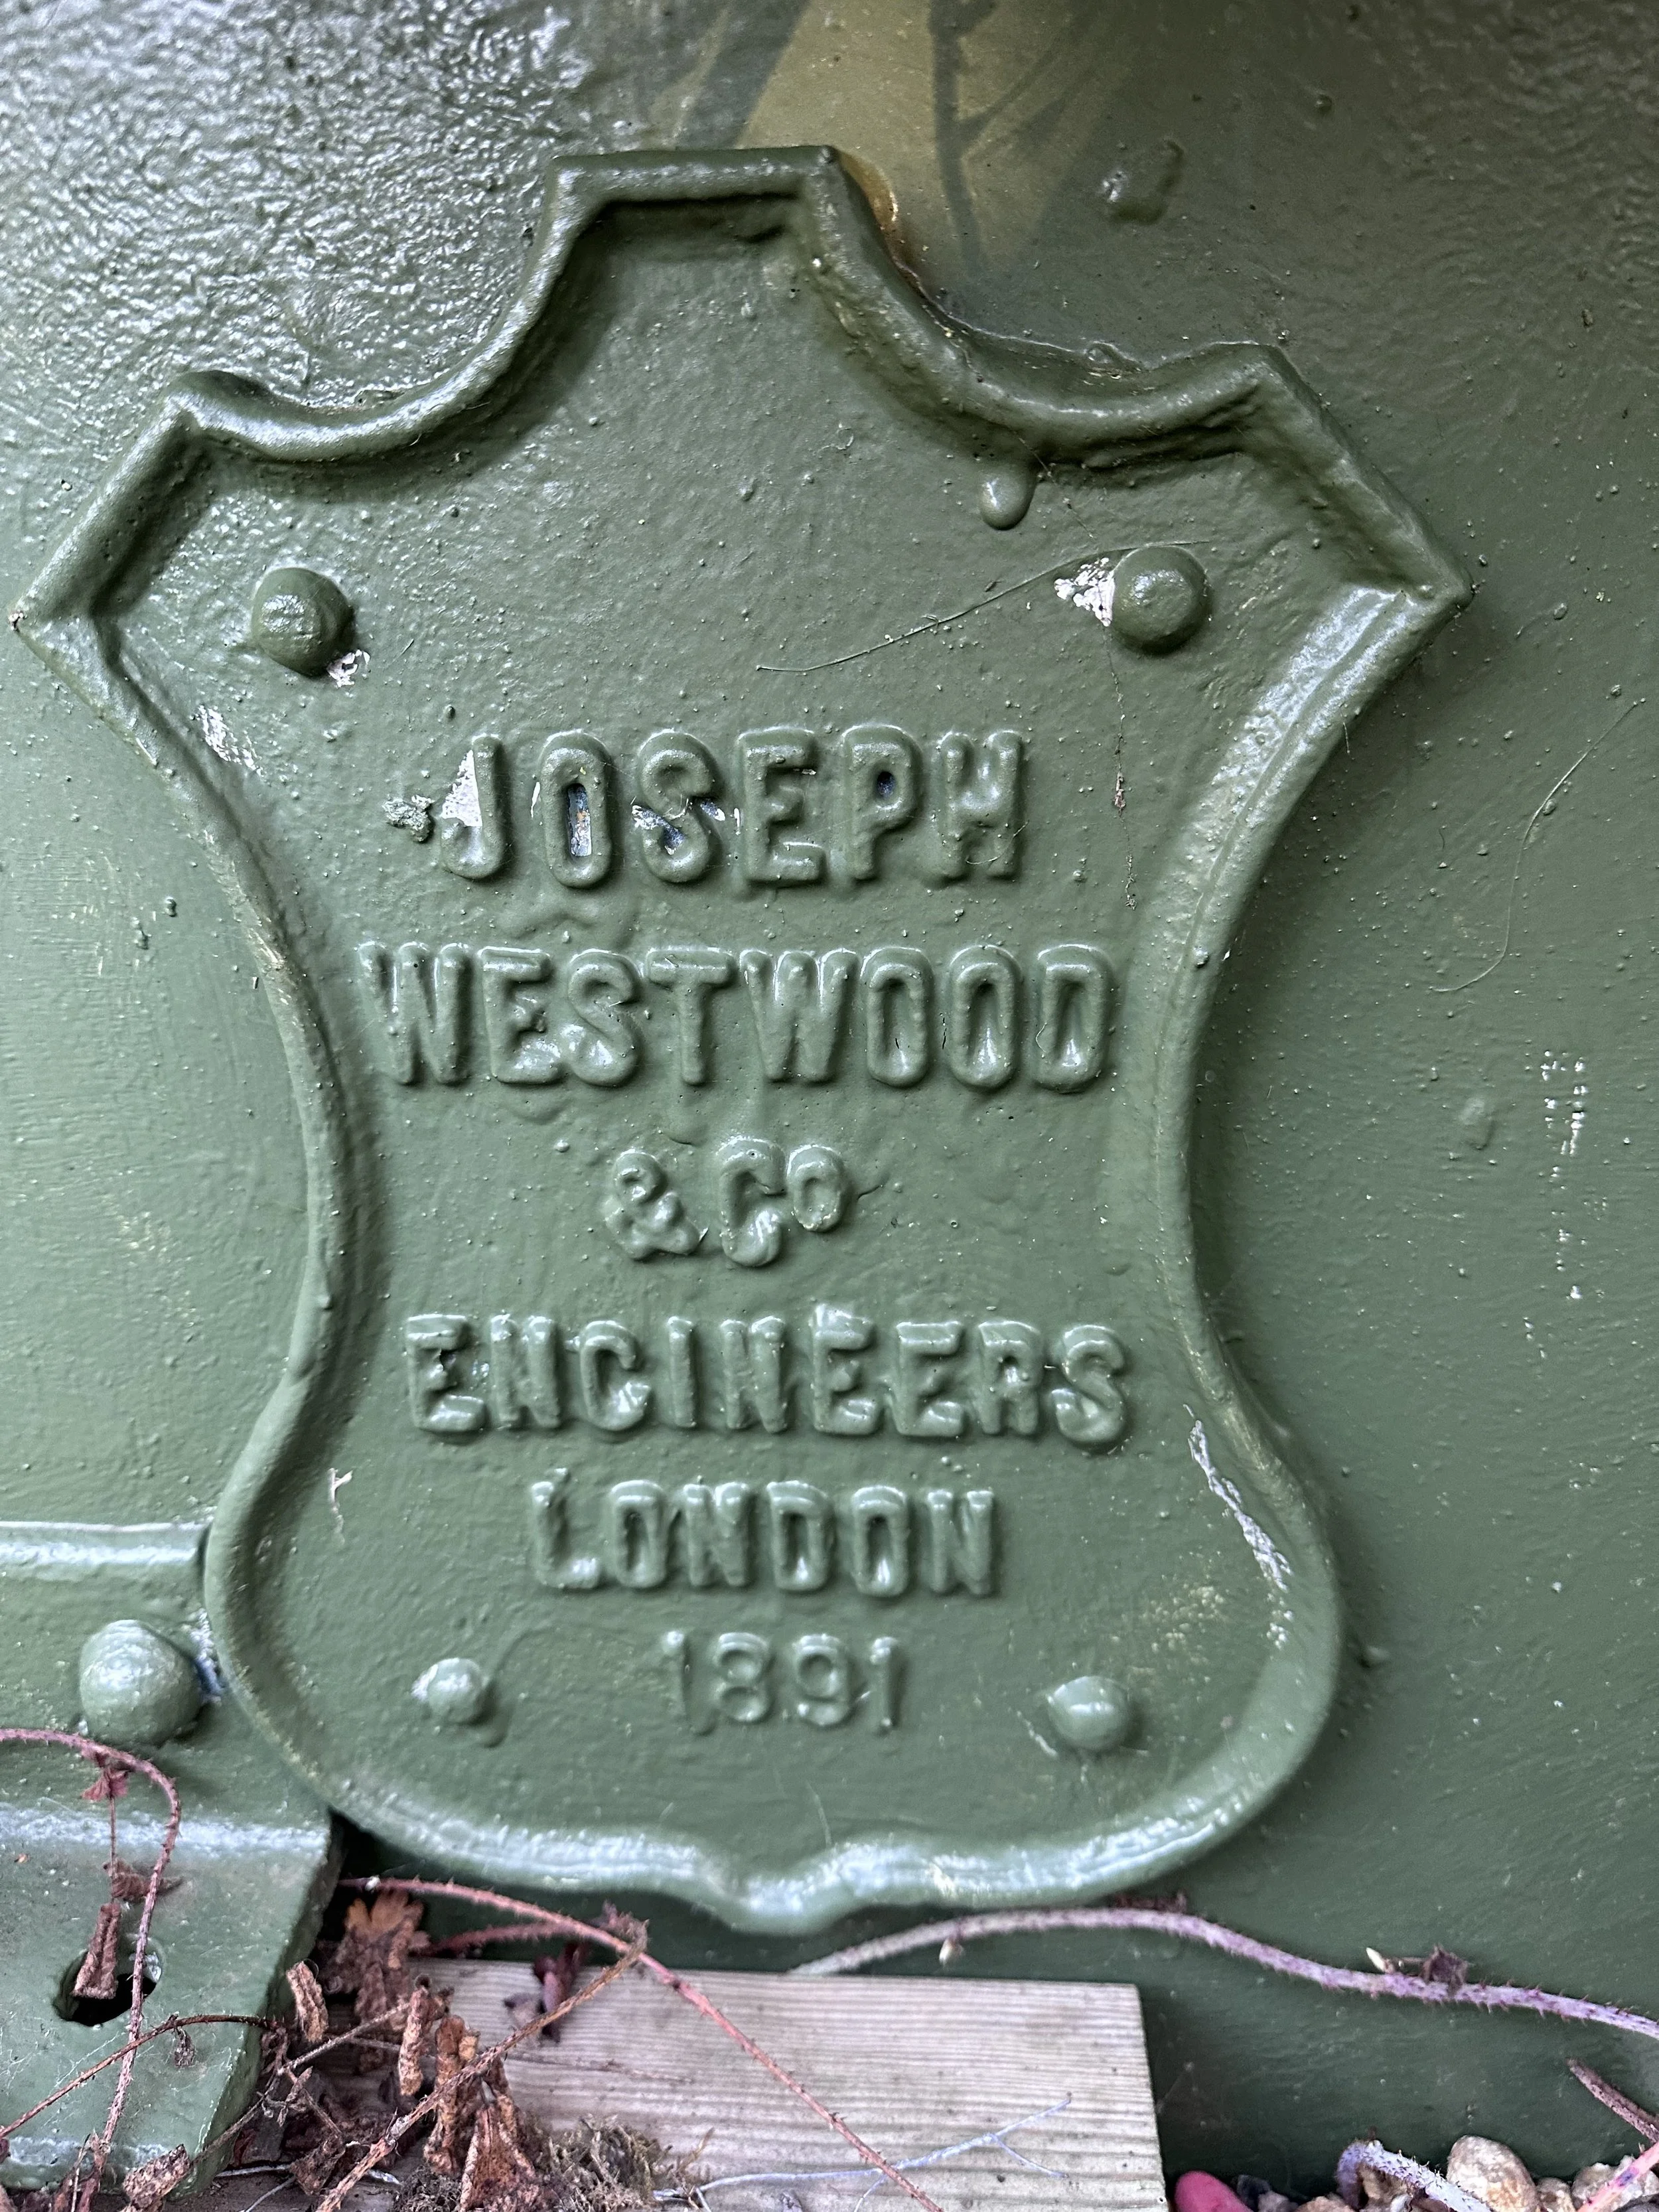
Plaque quoting the engineering company Joseph Westwood & Co., Engineers, London.
1891
As we continue on this path, the next bridge lies just before reaching Swaffham station. This area shows the current path and where the railway line once led into the station. The path is now a public walkway, and I highly recommend it to enthusiasts of abandoned railways. It's a beautiful walkway worth experiencing.


Mile post 14
Swaffham Railway Walk.
Bridge Number Three.
As we continue along the route, we encounter one last bridge before arriving at Swaffham station.
The code is MTD2360, which passes over the railway tracks and carries the West Acre road.
©National Library of Scotland


Viewed facing away from Swaffham station.


The top of the railway bridge viewed from West Acre Road.

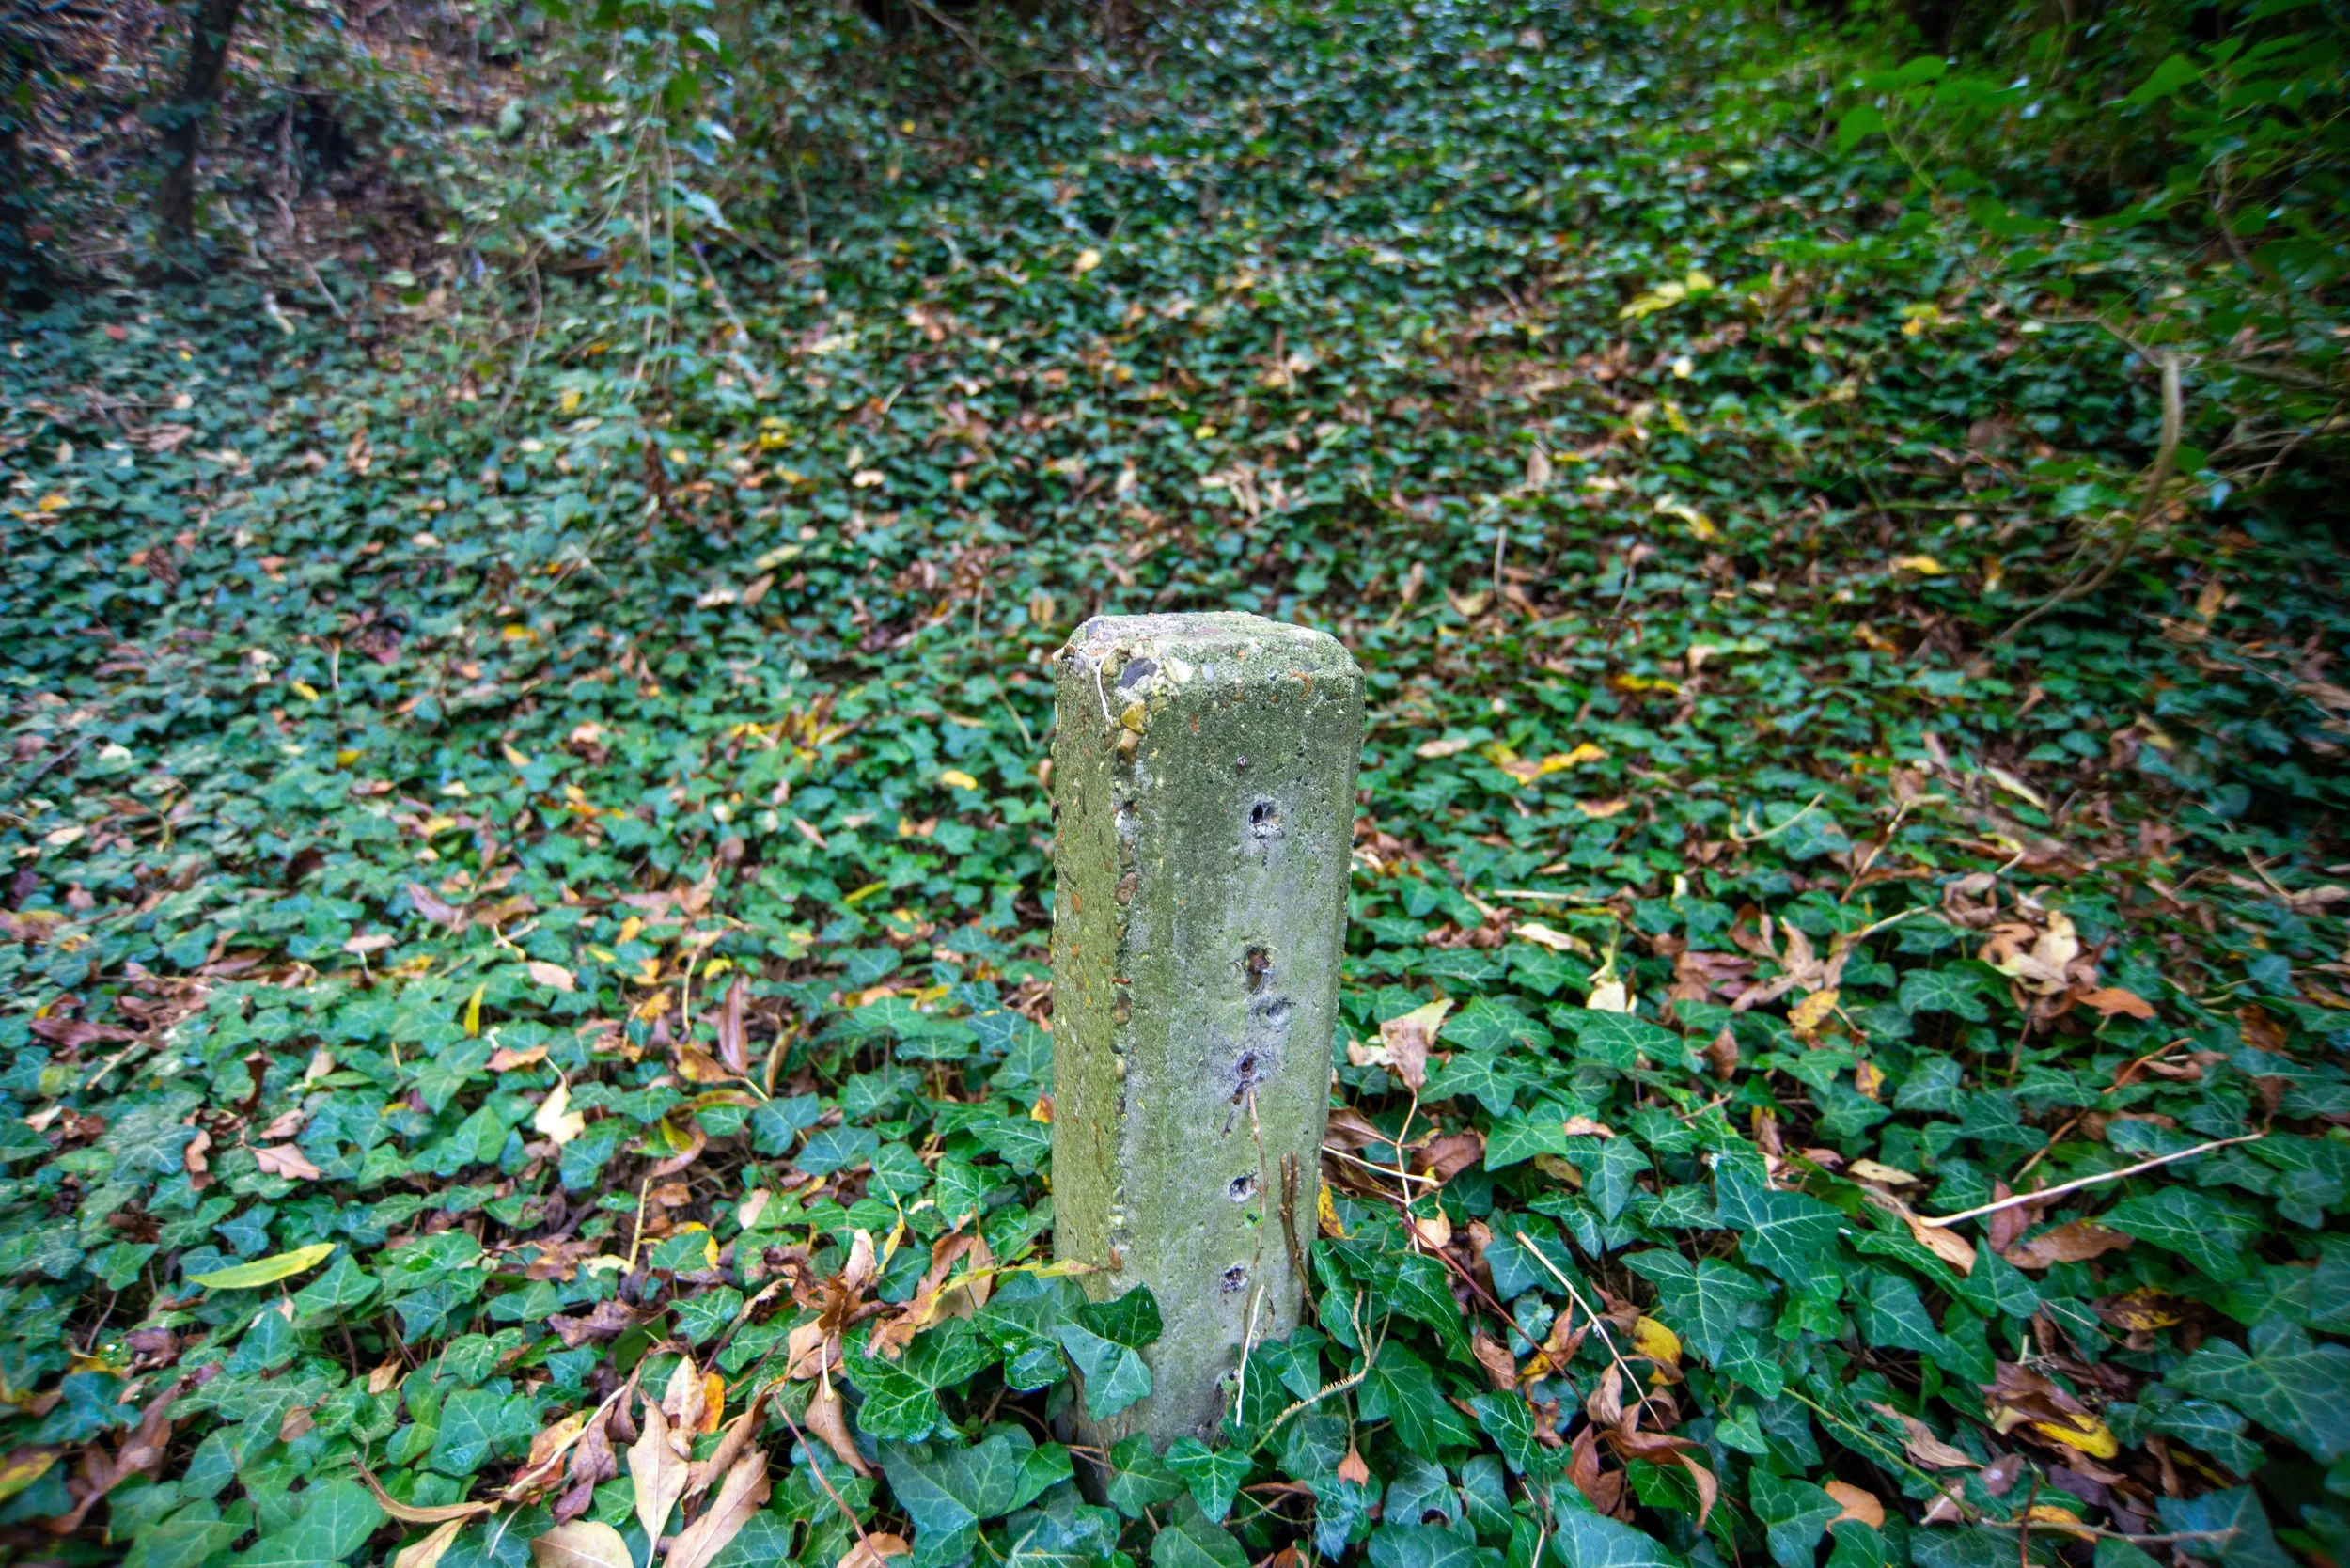
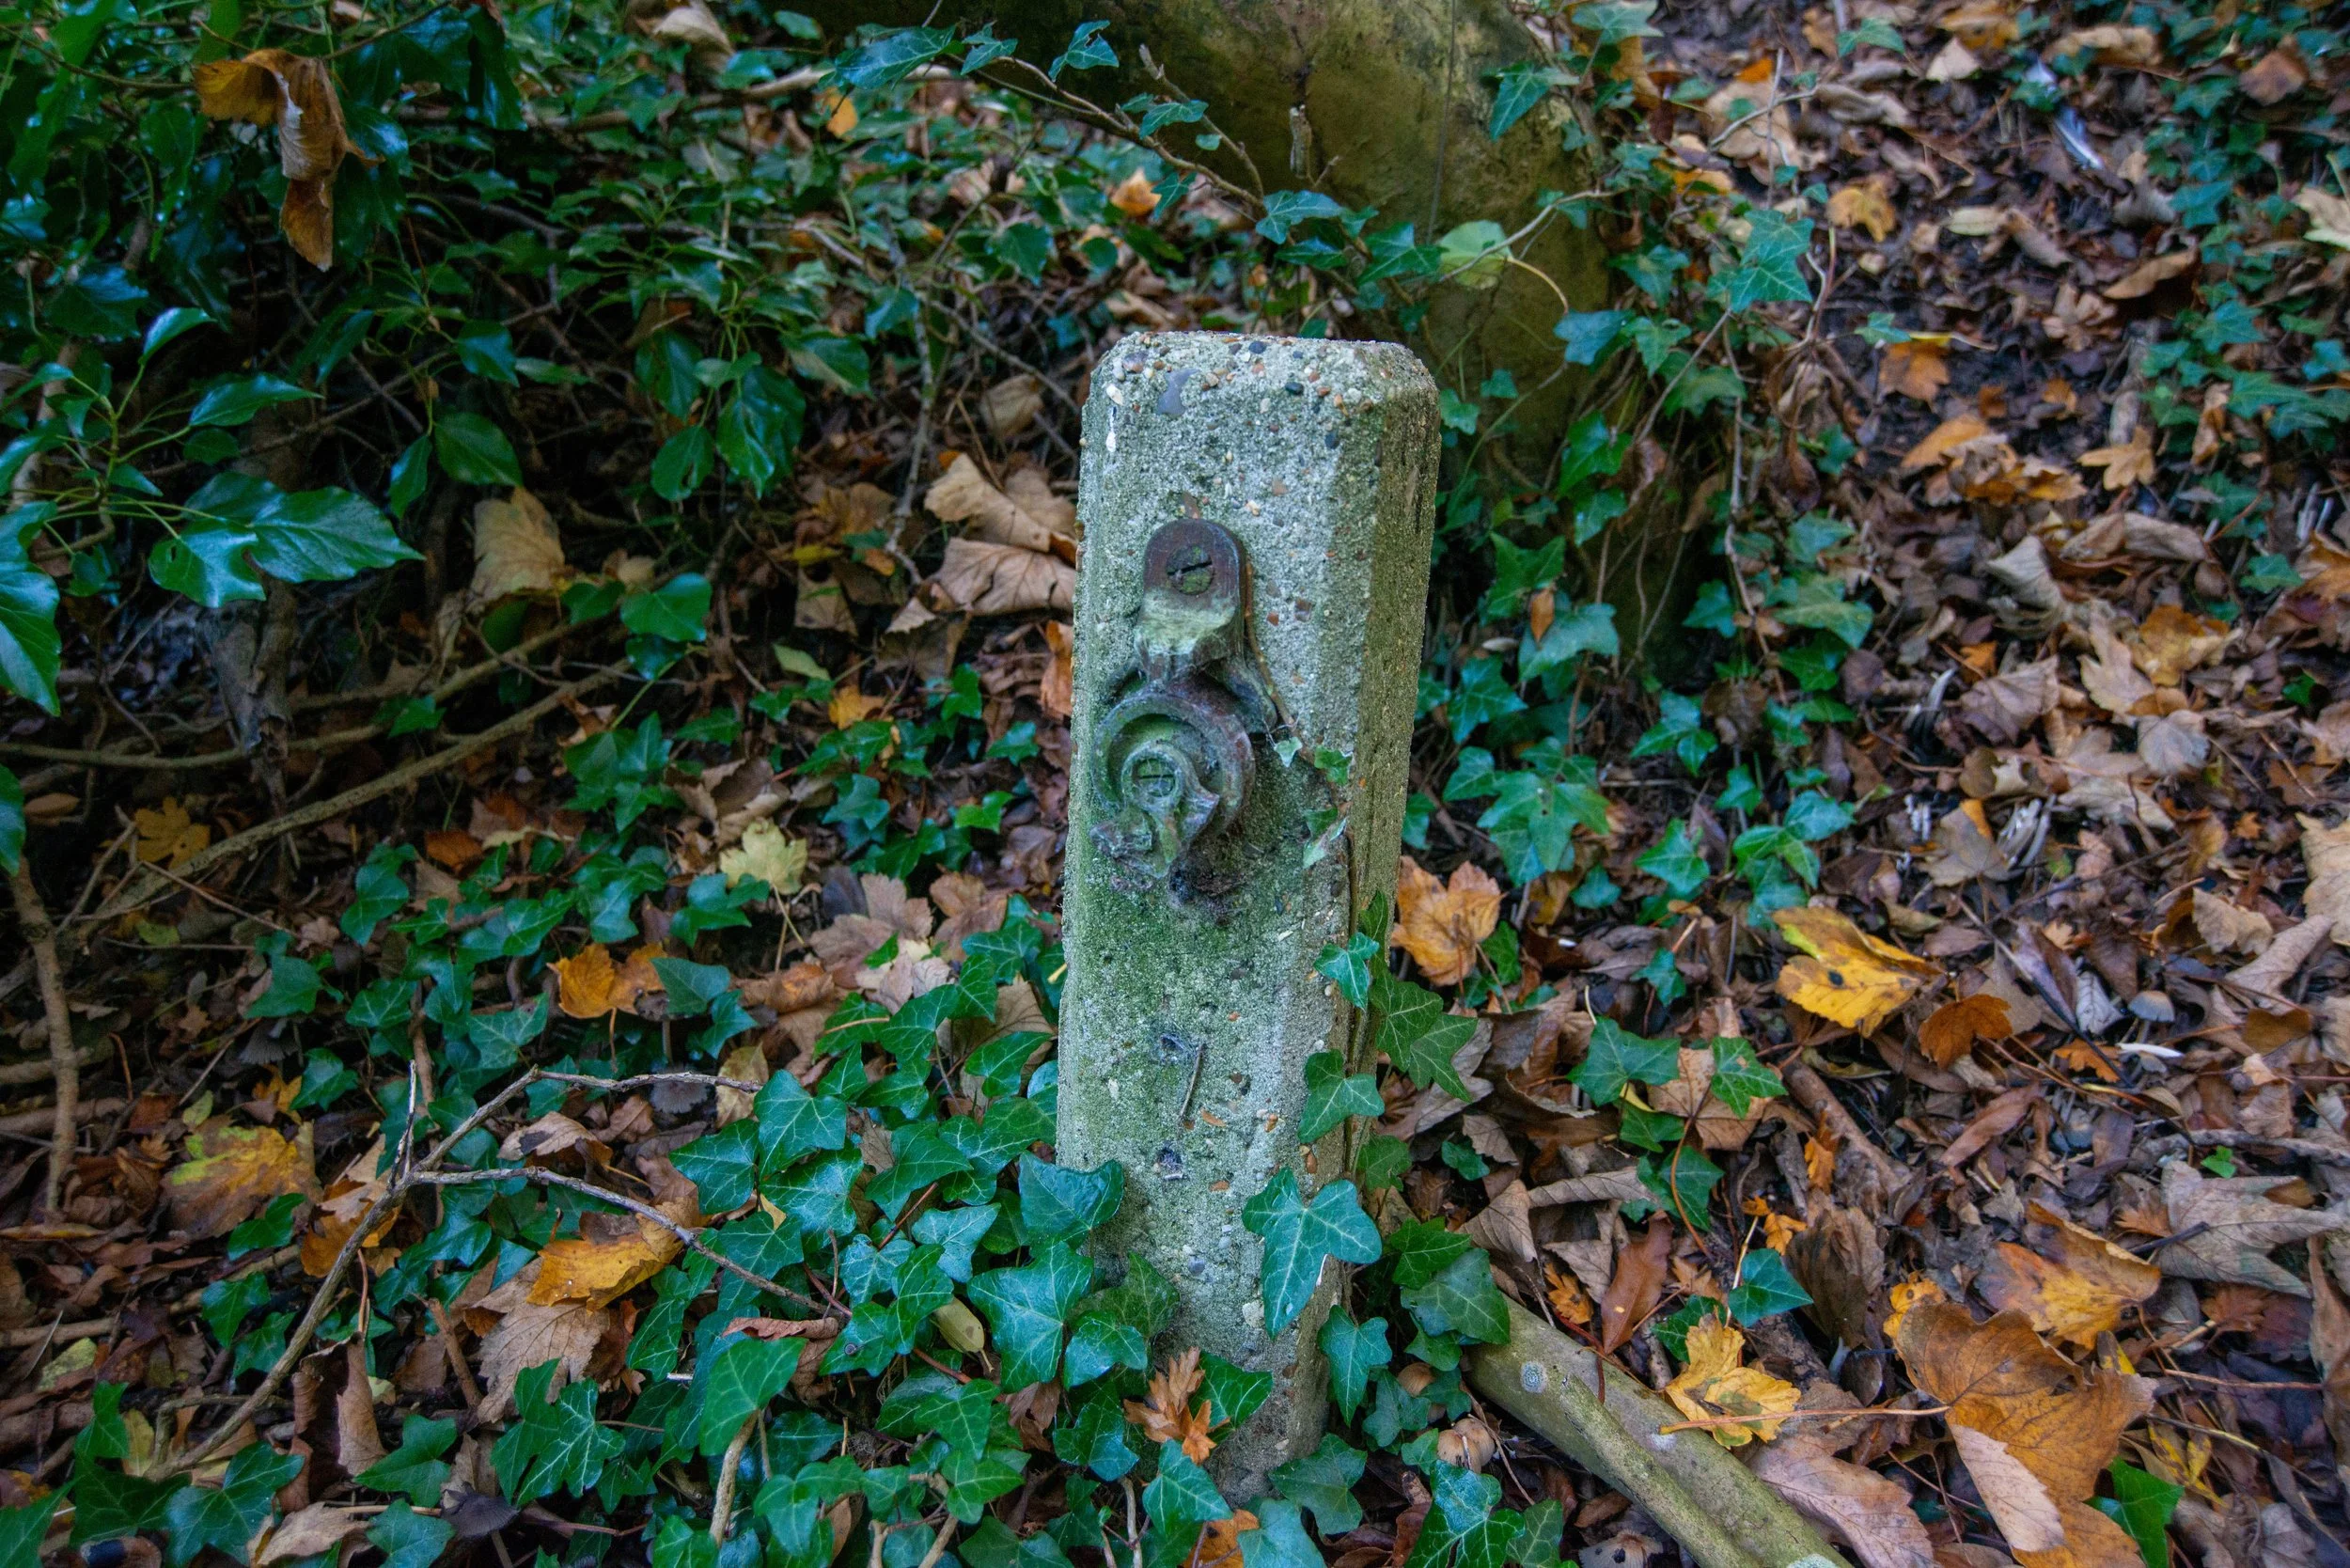
Signal wire carriers.
Between bridge number MTD2360 and Swaffham, I found these signal wire carriers, which would have been used for the approach signals to the station and sidings.
Shown on the historic maps below as SP.
©National Library of Scotland
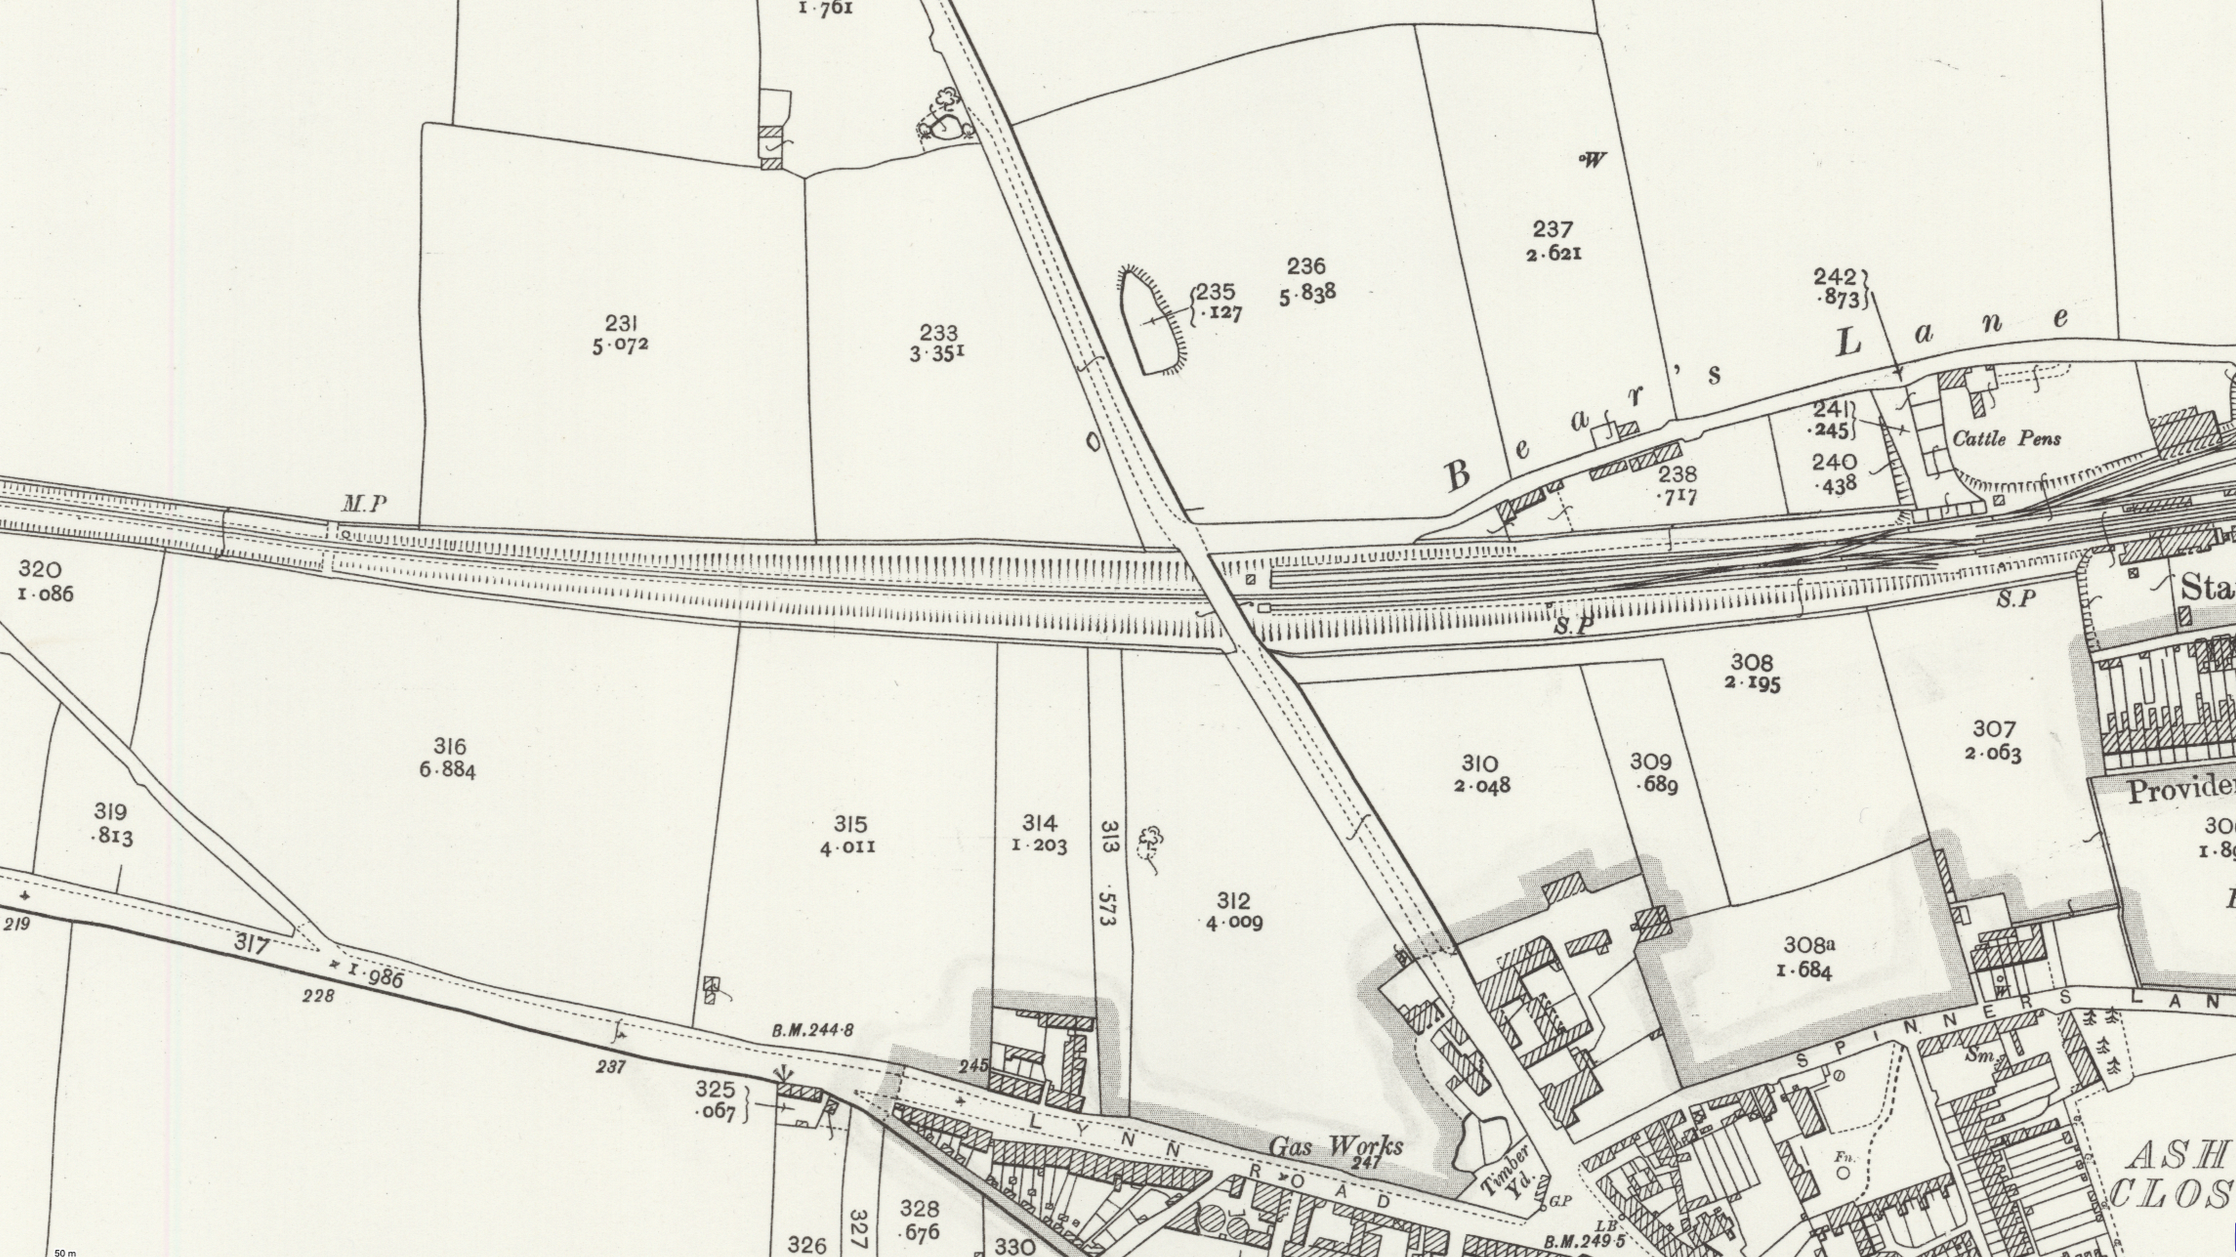
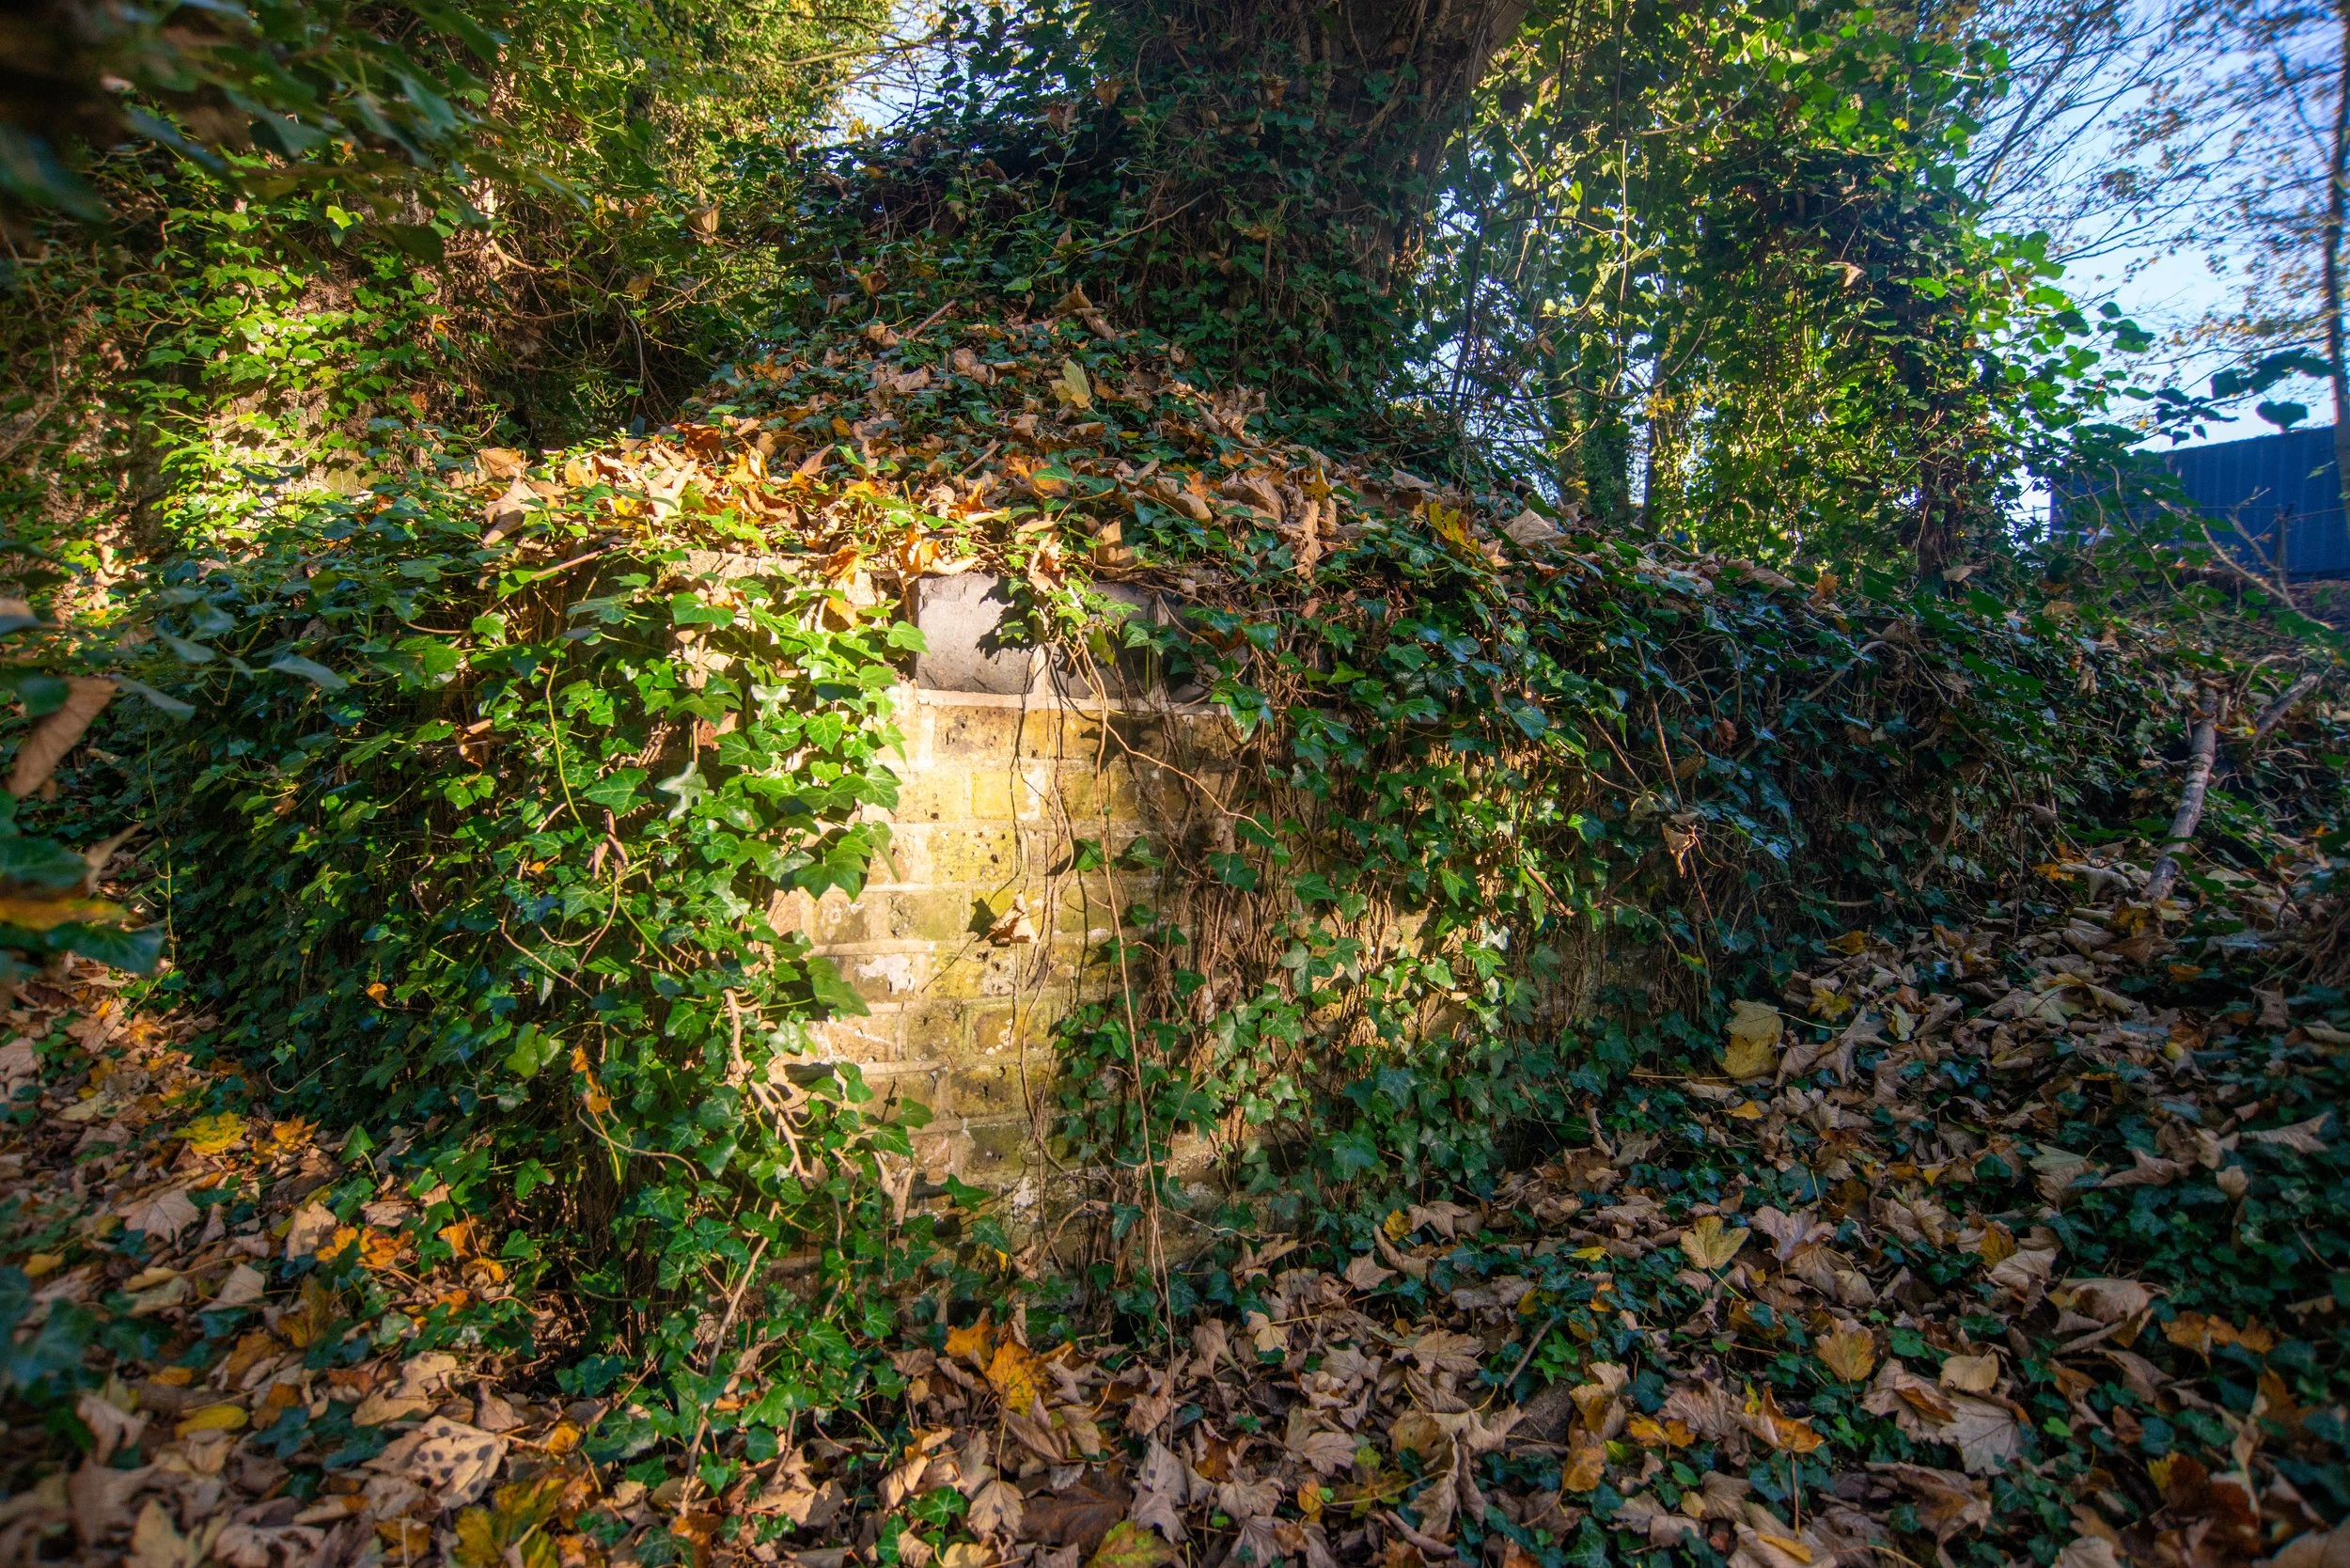
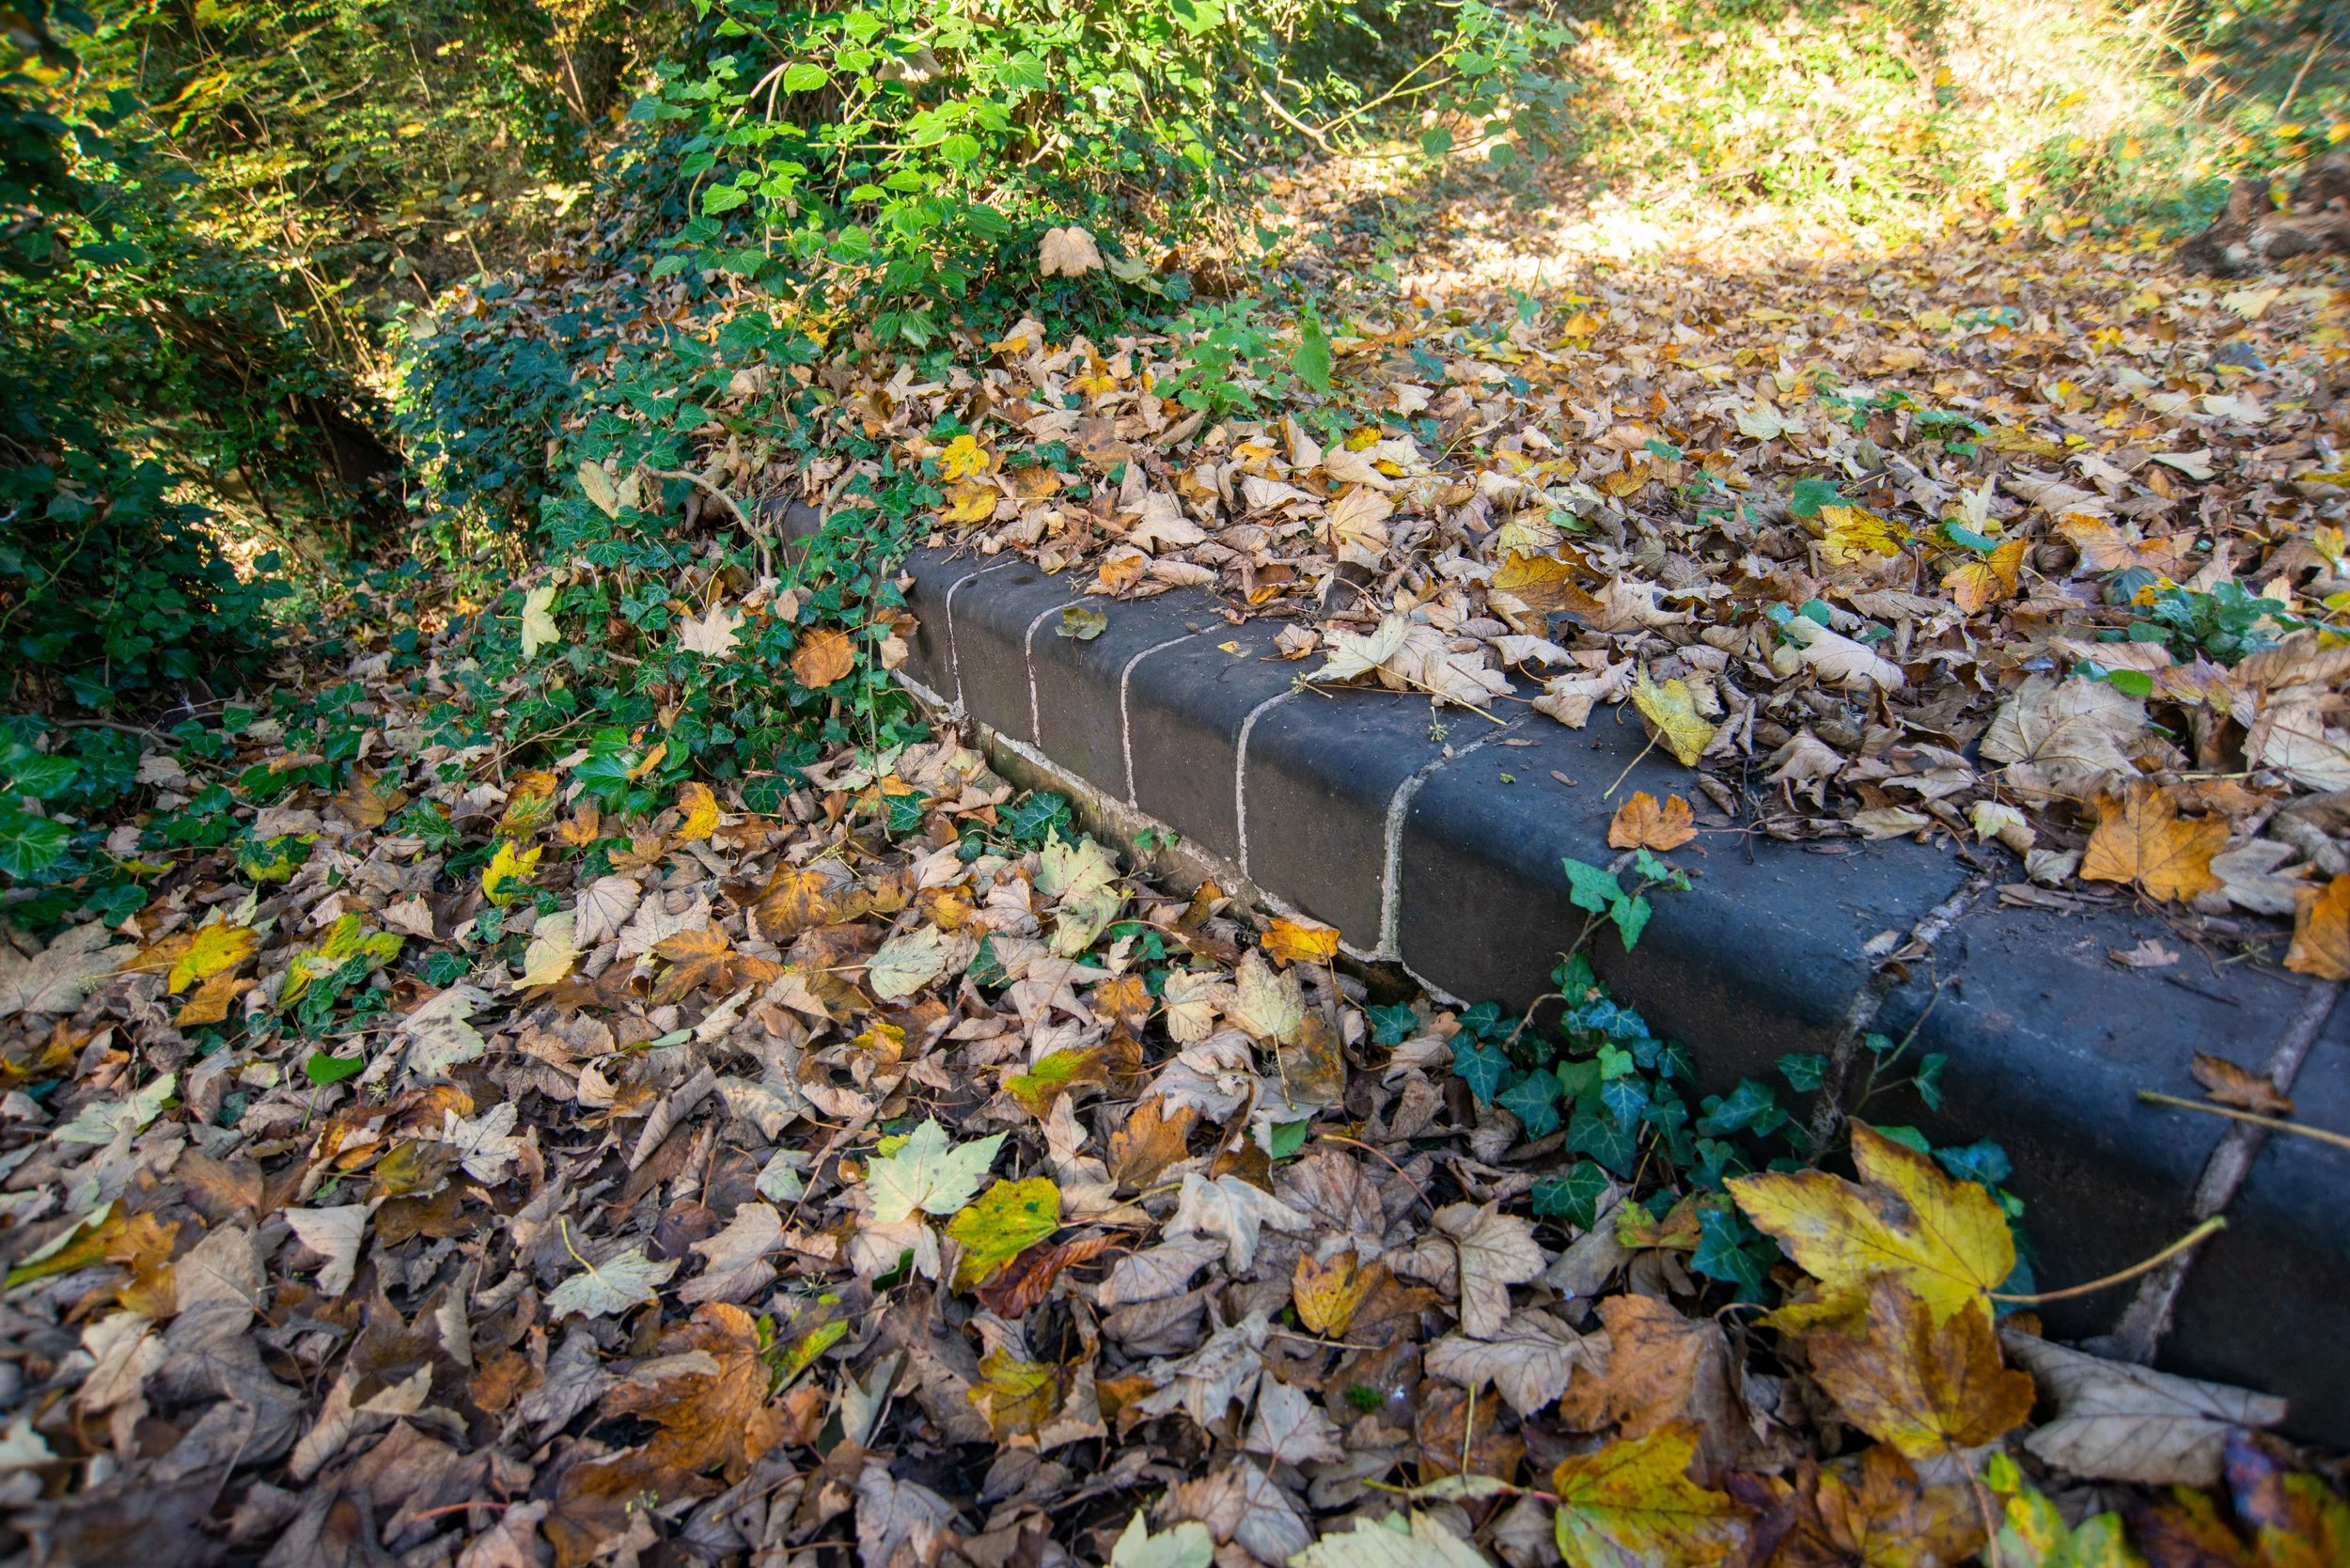
Close to Swaffham station, I found this engineered blue-brick support wall built along the track bed, which seems to support the railway cutting down from the Bear's Lane industrial units.


Cattle loading area.
Close to Swaffham station, there was a cattle loading area, as seen below; many remnants of this old loading area still remain today.
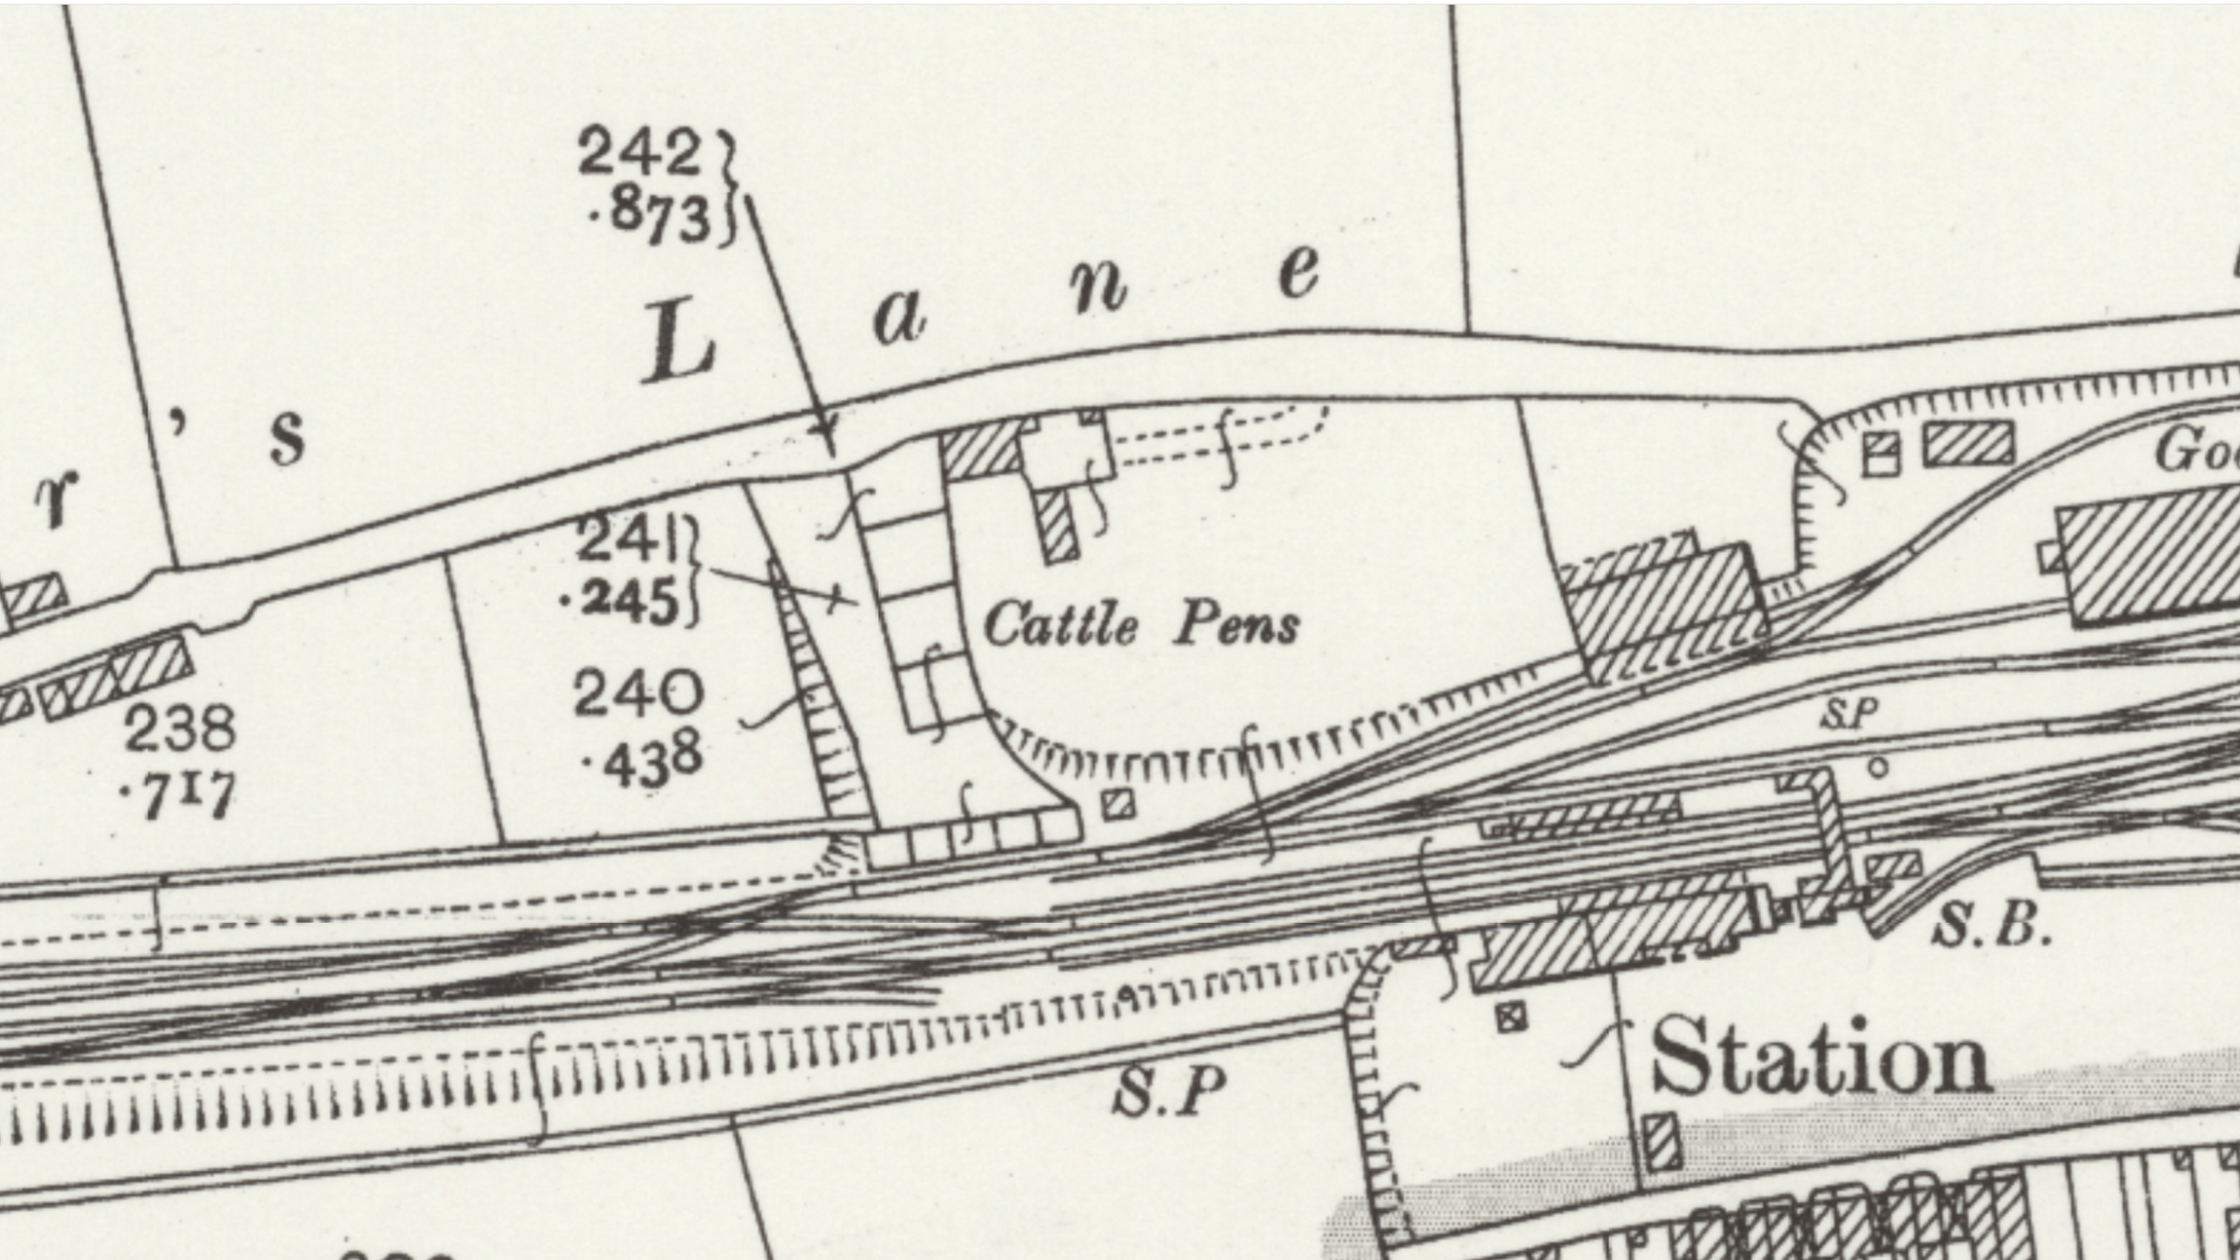
©National Library of Scotland


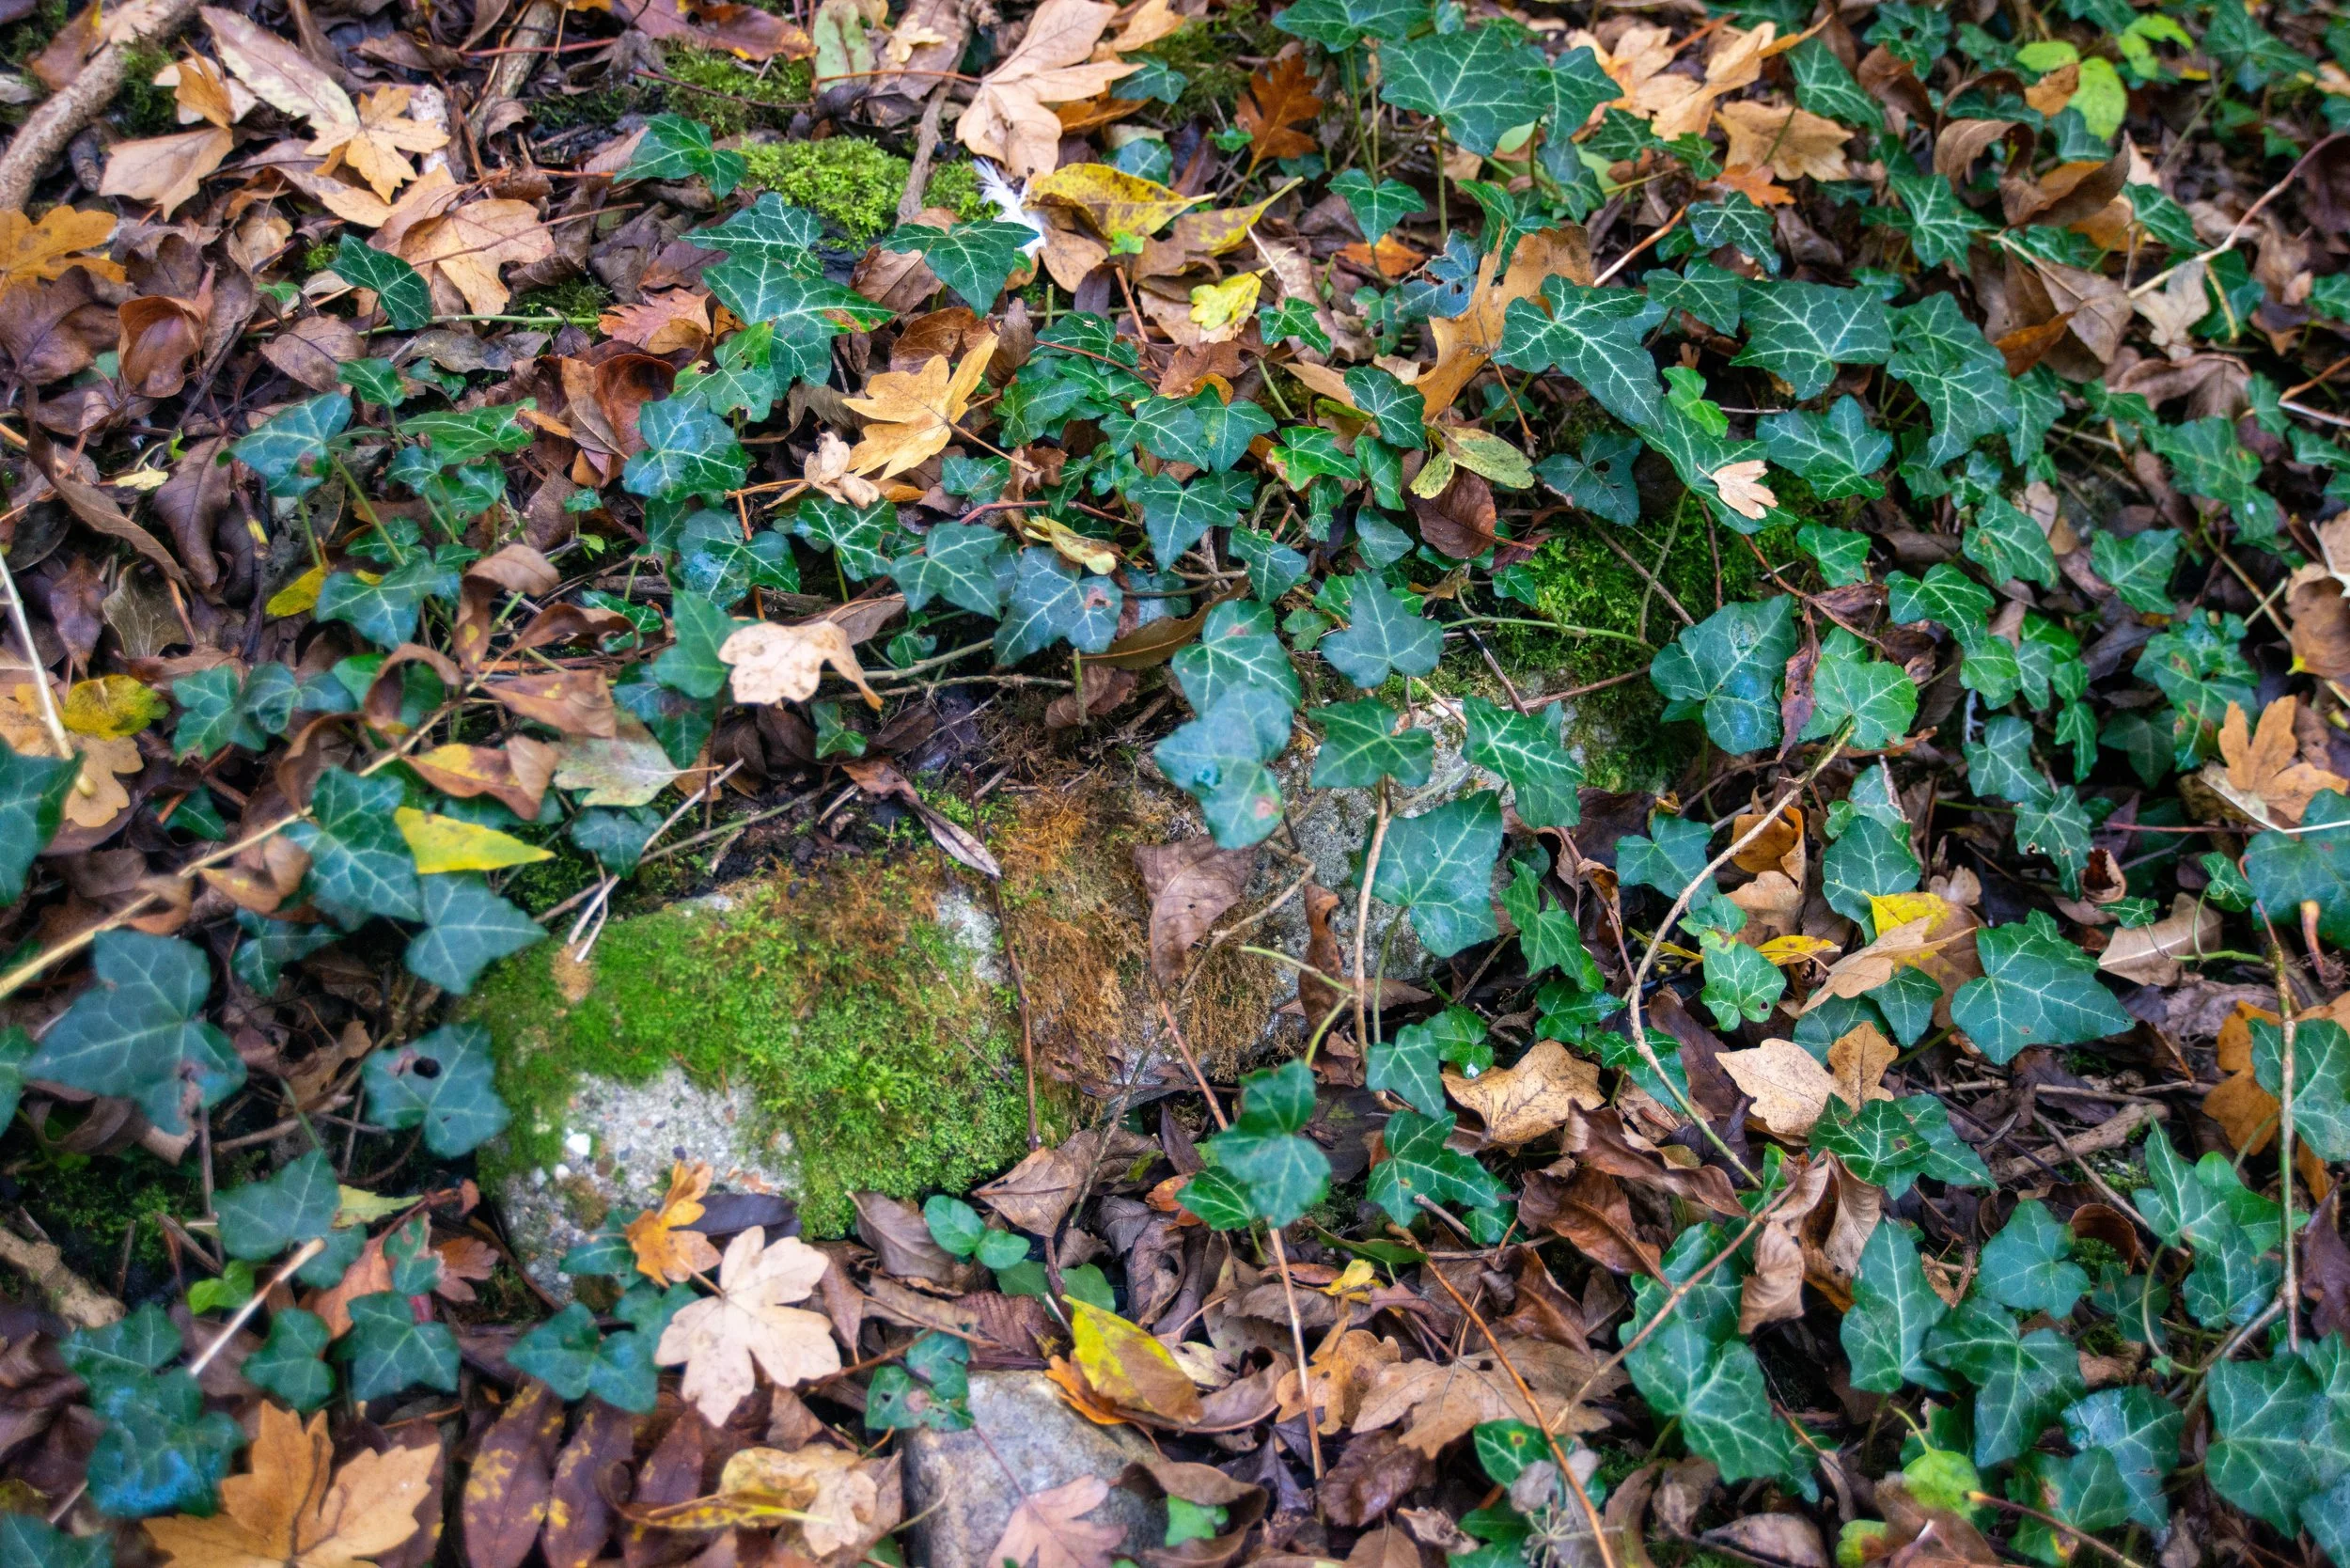
Some parts of the old cattle-loading area and pens are being reclaimed by nature, understandably.
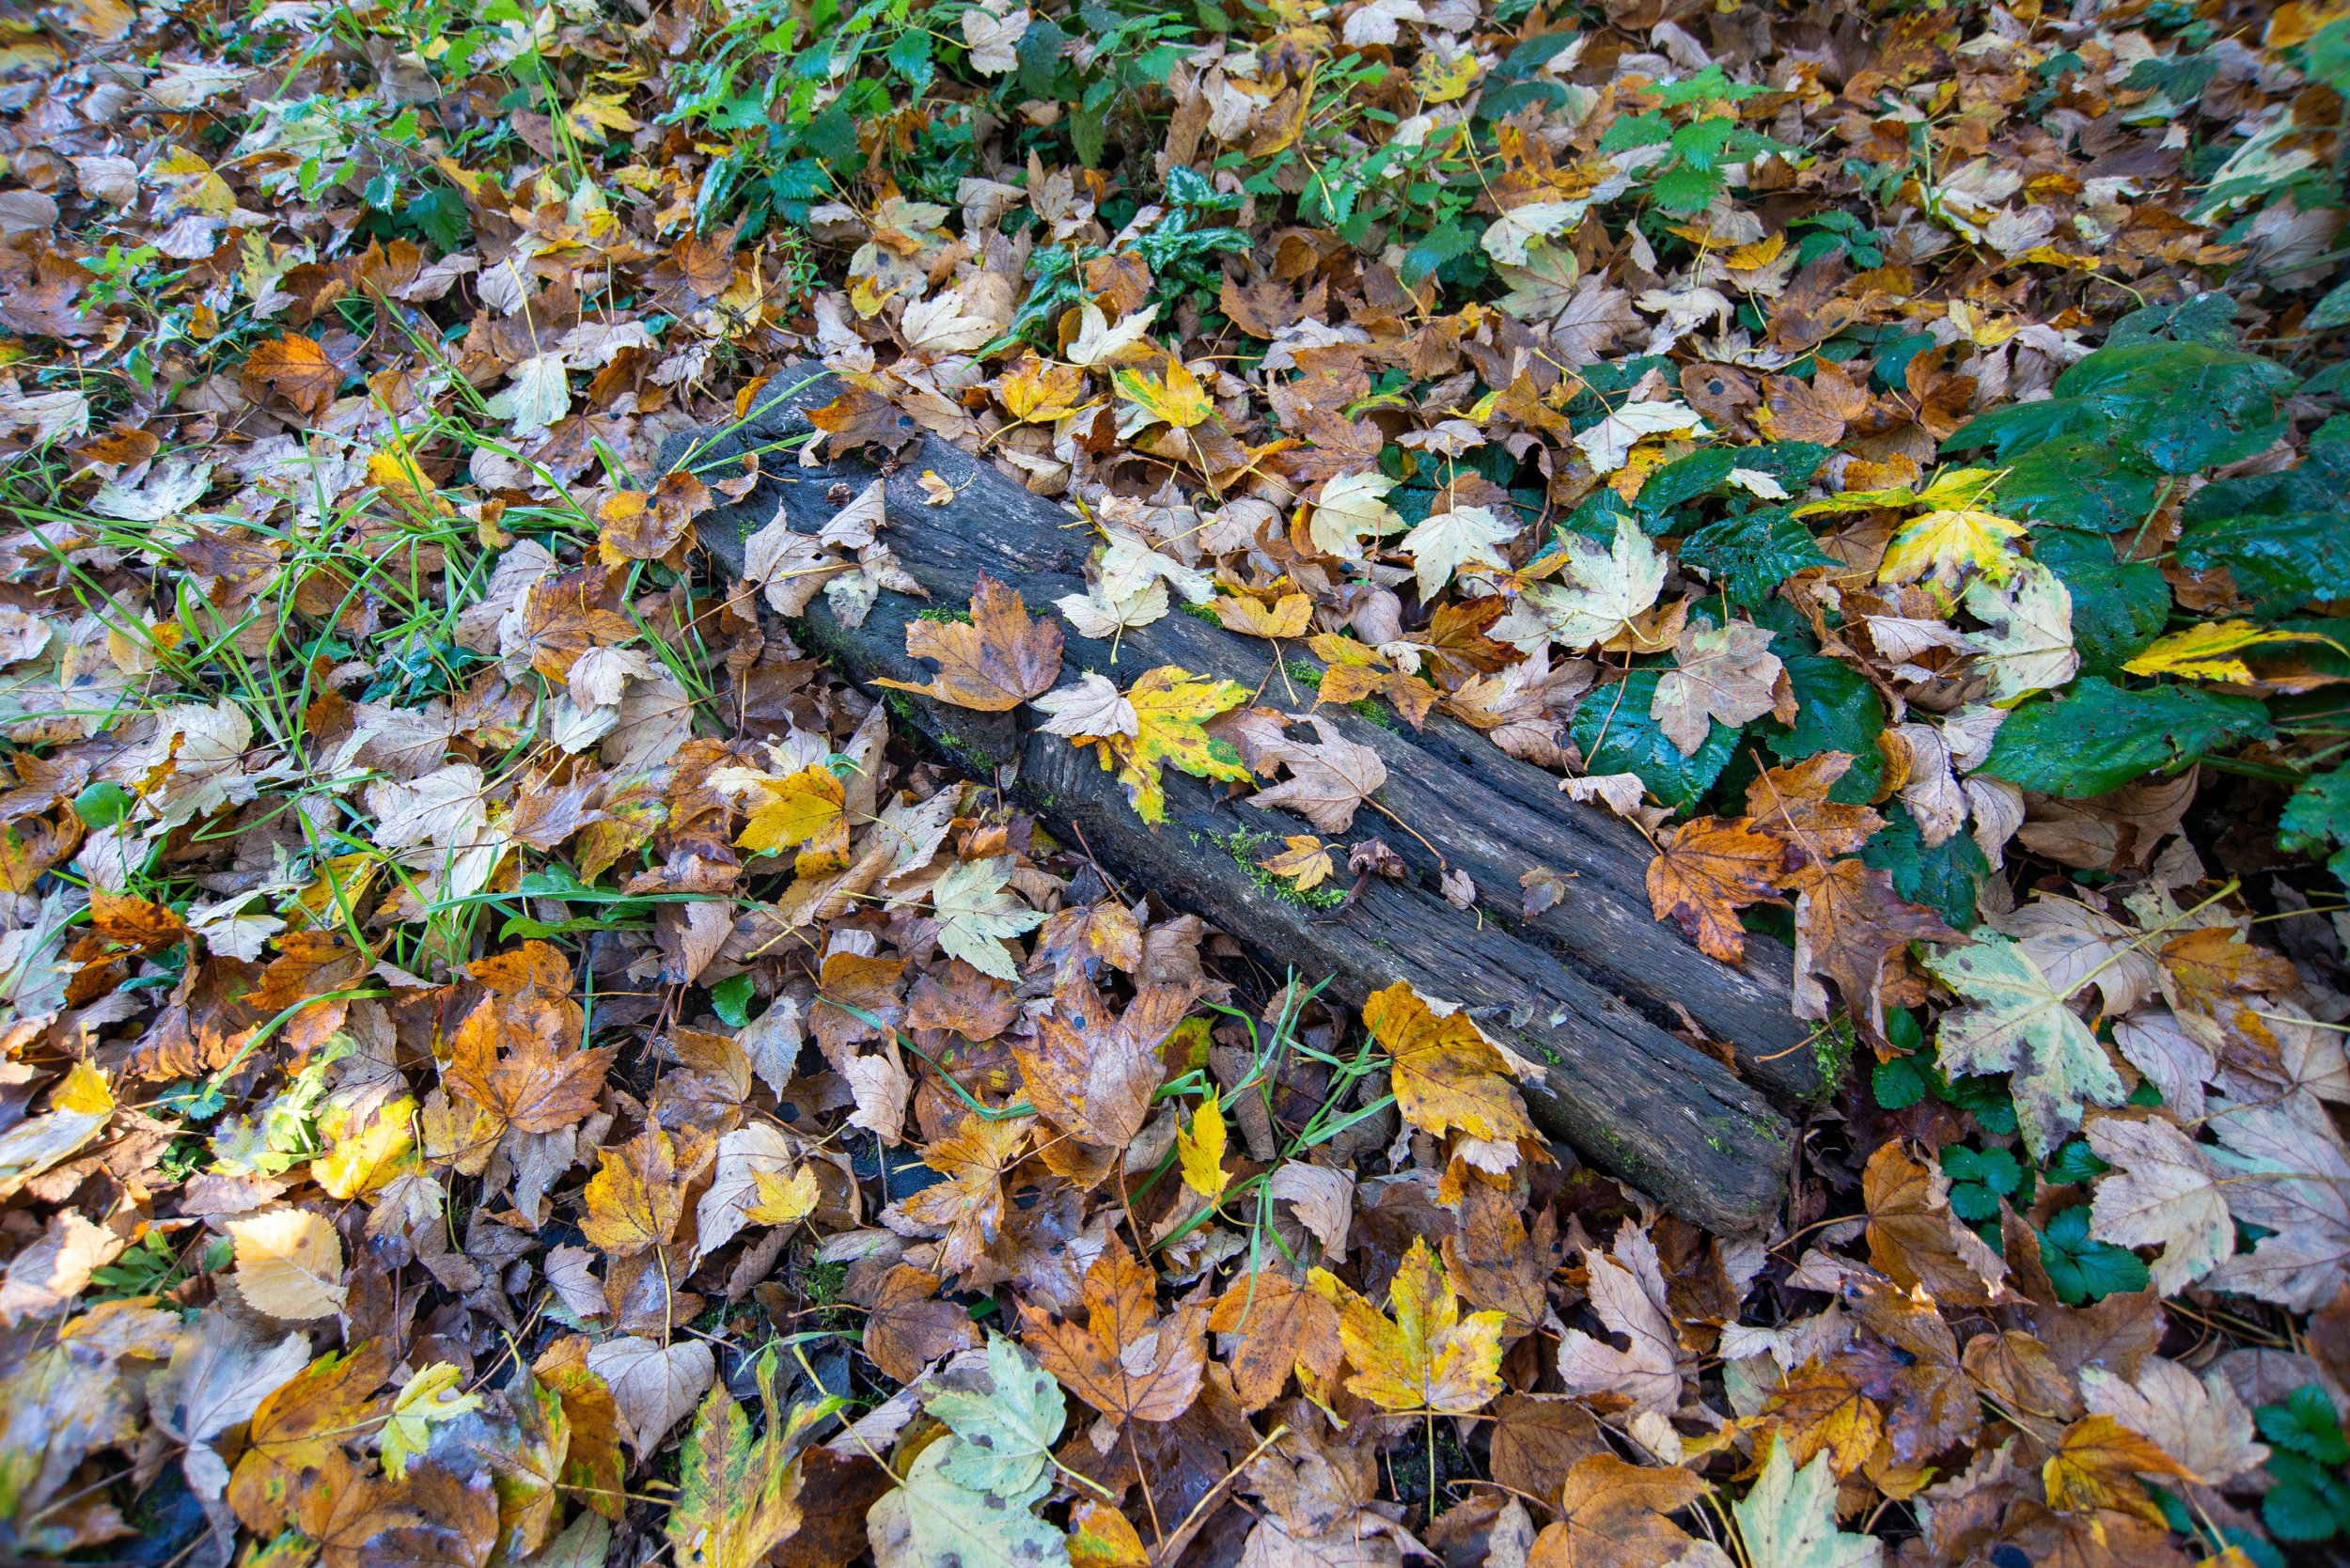
Sitting close to the cattle loading area, I found what seemed to be an old railway sleeper still sitting by the old track bed.